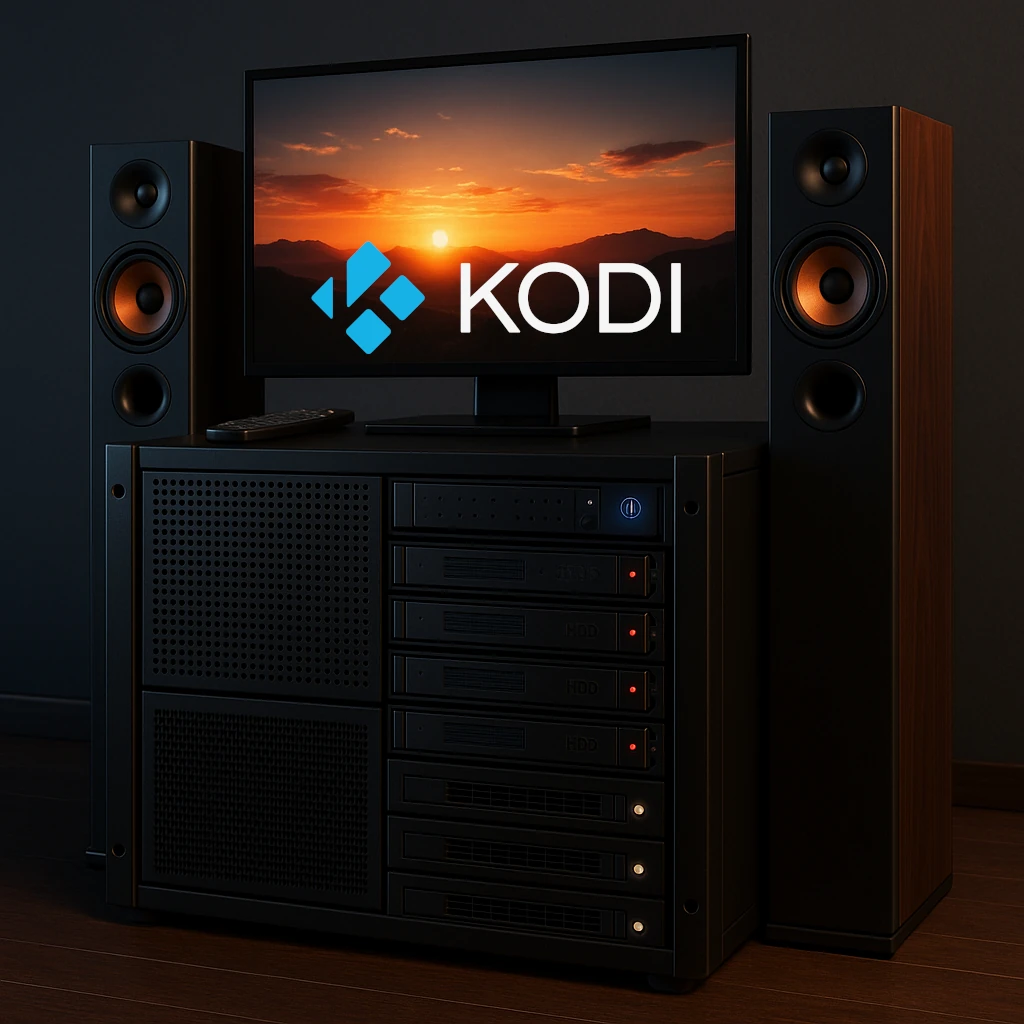
For self-hosting enthusiasts and homelab builders, the quest for the right media player and server arrangement is a familiar journey. You've meticulously curated your collection of movies, TV shows, music, and photos, and now you need a powerful and customizable platform to bring it all to life. Enter Kodi, the free and open-source home theatre software that has been a cornerstone of the home media landscape for years.
This article explains what Kodi is, how it functions, its standout features, and the important considerations to keep in mind. We'll also explore various installation methods for your homelab and uncover some compelling use cases to elevate your home network and media consumption experience.
What is Kodi and How Does it Work?
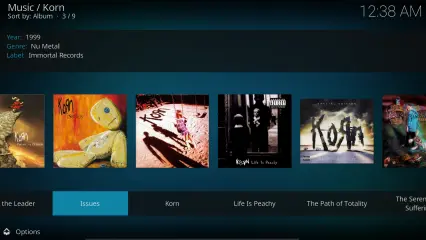
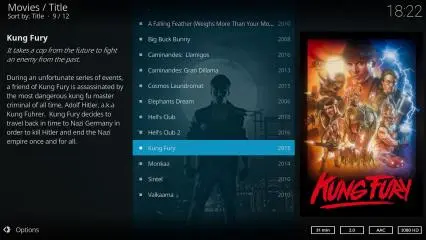
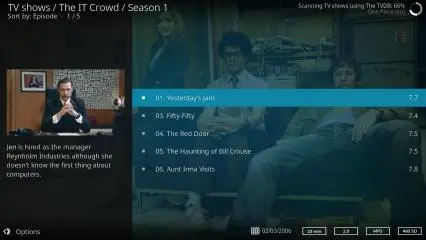
Kodi, formerly known as XBMC (Xbox Media Center), is a versatile media player application that transforms a computer or dedicated playback device into a media hub for all your digital media. At its core, Kodi is designed to be a "10-foot user interface," meaning it's optimized for a living room experience with a remote control, making it a true home theatre system.
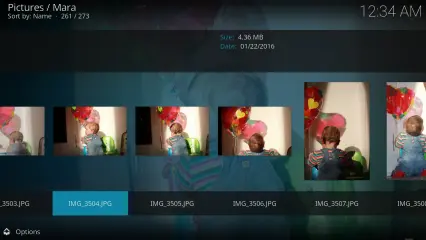
The magic of Kodi lies in its ability to scan and organize your media library, whether it's stored on a local hard drive, a network-attached storage (NAS) device, or a server in your homelab. It achieves this by "scraping" metadata from online databases like The Movie Database (TMDB) and The TVDB. This process can fetch rich information such as cover art, plot summaries, cast and crew details, and episode guides, presenting your collection in a visually appealing and easy-to-navigate library.
Key Features of Kodi
Kodi is packed with features that make it a favorite among homelabbers:
- Extensive Format Support: Kodi supports many media formats. Smooth playback still depends on the device’s decoder, operating system, subtitles and audio/display chain; software support is not a guarantee of hardware decoding.
- Highly Customizable Interface: Through a vast repository of user-created skins, you can completely change the look and feel of Kodi to suit your preferences.
- Powerful Add-on System: This is arguably Kodi's most significant feature. A rich ecosystem of official and third-party add-ons allows you to extend its functionality to include streaming services, weather forecasts, news tickers, and much more.
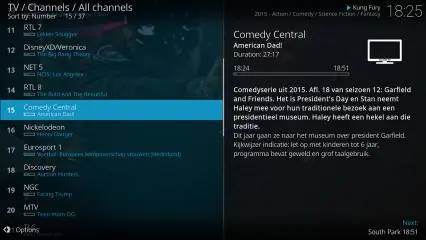
- Live TV and PVR/DVR: With a compatible TV tuner and a backend PVR software like Tvheadend or NextPVR running on your server, Kodi can become your all-in-one solution for watching and recording live television.
- Centralized Media Library with Syncing: By using a central database (like MySQL/MariaDB) in your homelab, you can synchronize your media library and watch status across multiple Kodi instances. Start a movie in the living room and seamlessly resume it in the bedroom.
- Cross-Platform Availability: Kodi runs on a wide range of operating systems, including Windows, macOS, Linux and Android, with suitable Raspberry Pi builds. iOS installation follows separate signing or sideloading requirements documented by Kodi.

Cons and Considerations When Using Kodi
While Kodi is a powerful tool, there are some important factors to consider, especially for the security-conscious homelab enthusiast:
- Third-Party Add-ons and Security: The vast world of third-party add-ons can be a double-edged sword. While many are legitimate and useful, others may provide access to pirated content and can pose significant security risks, including malware and privacy vulnerabilities. It is crucial to stick to the official Kodi repository and trusted sources.
- Legal Gray Areas: The use of add-ons that facilitate copyright infringement has given Kodi a sometimes-unwarranted reputation. Kodi does not supply rights to third-party films or services. Use media and services you are entitled to access and check the sources of installed add-ons.
- Manual Configuration: While powerful, setting up some of the more advanced features, like a centralized SQL database, requires a degree of technical know-how and manual configuration. This can be a steeper learning curve compared to more plug-and-play solutions like Plex or Emby.
Kodi Installation in Your Homelab
For homelabbers, there are several flexible ways to deploy Kodi:
- Bare-Metal Installation: You can install Kodi directly onto a dedicated machine running a supported graphical operating system, or an appropriate LibreELEC or OSMC build for a streamlined "appliance-like" experience.
- Headless deployments: These have been used for library-management workflows, but are different from a living-room player. LinuxServer.io deprecated its Kodi-headless image in February 2022. Check the current maintainer and release compatibility before choosing a community image.
- Virtual Machine (VM): You can also run Kodi within a virtual machine on your hypervisor of choice (Proxmox, ESXi, etc.). Display, GPU, audio output and remote-control access need explicit planning; a VM is not automatically a straightforward TV player.
- On a Raspberry Pi: For a low-power and cost-effective solution, installing Kodi on a Raspberry Pi is a popular choice for dedicated media players connected to individual TVs.
Use Cases for Kodi in Your Homelab and Home Network
Beyond being a simple media player, Kodi can be integrated into your homelab in several creative ways:
- The Ultimate Centralized Media Hub: Point Kodi to your network shares (NFS or SMB) on your NAS or file server. With a centralized database, all your media is beautifully organized and accessible from any Kodi device on your network.
- A Frontend for Your Headless Server: Run a "headless" version of Kodi on your server (often via Docker) to manage your media library, scrape metadata, and handle database updates without needing a graphical interface on the server itself. Each playback device still handles its own decoding and output requirements. A headless scanner is not a replacement for a client-server streaming service.
- Live TV and DVR Hub: Pair Kodi with a backend PVR server running on your homelab to create a whole-home DVR system, allowing you to watch and record live TV on any device with Kodi installed.
- Integration with Smart Home Systems: Through add-ons and APIs, you can integrate Kodi with home automation platforms like Home Assistant. Imagine your lights dimming automatically when you start a movie!
Conclusion: Your Homelab's Media Powerhouse
Kodi stands as a testament to the power and flexibility of open-source software. For the self-hosting enthusiast who enjoys tinkering and customizing, it offers a high level of control over the media experience. While it requires a bit more hands-on setup compared to some commercial alternatives, the reward is a truly personalized and powerful home theatre system that can fit well into your homelab environment. By understanding its strengths and being mindful of its considerations, you can unlock Kodi's full potential and build the ultimate media hub for your home network.
Choosing Between Direct Shares and a Media Server
You can combine Kodi with Jellyfin or Plex, or use Kodi directly with NAS shares. Choose the arrangement for your household rather than treating one as universally best:
| Arrangement | What it provides | What you maintain |
|---|---|---|
| Kodi plus SMB/NFS shares | Direct access to media files and Kodi's local library | File access, naming and each player's configuration |
| Kodi plus a shared SQL library | Shared metadata, watch state and resume points | Compatible Kodi versions, database service and identical reachable paths |
| Kodi plus a supported media-server add-on | Server library/accounts with a living-room Kodi interface | Server, add-on compatibility and the chosen playback mode |
Kodi is primarily a player at the screen. A client-server platform handles a different set of needs, such as managing users and serving streams to other applications. A powerful server does not make a TV box decode every file, and an excellent Kodi player does not give every phone an identical viewing experience.
Jellyfin for Kodi and JellyCon
Jellyfin for Kodi synchronises selected server metadata into Kodi's local SQLite library. Its documentation explicitly says remote MySQL databases are not supported for this add-on. It can also conflict with other software managing that local library, so decide who owns the library before adding integrations.
JellyCon behaves more like a streaming add-on and does not synchronise the full library into Kodi's database, making user/server switching easier. Jellyfin for Kodi's add-on mode accesses files through Jellyfin; its native mode accesses shares directly and needs correctly mapped paths. Those are different network and permission requirements.
Kodi can reduce server transcoding when it can directly play the source. It does not guarantee that the server will never transcode. Test your actual file, subtitles and selected audio track, then check the server's playback information. A limit on bitrate, an unsupported format or a different client path can change the result.
Check the Playback Chain Before Buying Hardware
Choose a few representative files you are entitled to use: a normal HD video, the highest-resolution format you expect, a subtitle-heavy example and an audio track matching your receiver. Check seeking, audio sync, frame drops and subtitle display. Include the network source you plan to use, because a file that plays locally may still stall over weak Wi-Fi.
Hardware decoding depends on the codec, profile, bit depth and player platform. Audio passthrough means forwarding encoded audio to a receiver for decoding; it is different from the player decoding audio itself. Kodi's audio guide requires passthrough-capable hardware and a receiver supporting the selected format. Enable only formats supported by the whole connection chain, including any TV or intermediary device.
For a Raspberry Pi, use a build intended for the exact board and check its supported formats. For an Android TV box, check the actual operating-system and output support. A list containing “4K,” “Atmos” or “DTS” cannot by itself prove all combinations of video, subtitles and audio work as intended.
Shared SQL Libraries: Plan the Requirements First
Kodi's official wiki calls shared MySQL libraries an advanced, experimental feature and requires clients to use the same Kodi version. Different library schema versions do not automatically share one library. Plan upgrades across devices and retain database backups before moving to a newer release.
All clients must reach the media through suitable network paths, not a drive letter that exists on one machine. Kodi's setup guide uses SMB or NFS sources and connection entries in each client's advancedsettings.xml. Database metadata does not grant permission to open those files. Check both database connectivity and file-share credentials from every device.
Use the official setup guide for the selected Kodi/database versions and place Kodi's databases on a deliberately managed server with appropriate permissions. Avoid granting a Kodi service account control over unrelated application databases. Keep database access on trusted networks and protect the client settings that contain credentials. If a media-server add-on owns Kodi's library instead, use that add-on's supported arrangement.
Library Naming and Maintenance
For movies, Kodi recommends a separate folder named with the title and year, with the movie file named accordingly. Episode filenames should identify season and episode, such as S01E02. Check the order used by your selected metadata provider; broadcast and disc ordering may differ.
Test scraping on a small folder before scanning a whole collection. A wrong match is a metadata problem, not proof that a film is missing from the disk. Keep useful NFO files and artwork with the media where appropriate, and back up Kodi's user settings along with any shared database.
Live TV requires a working backend, supported tuner/source and the corresponding Kodi PVR client. Get the backend working first. Home Assistant's Kodi integration can control playback and send notifications when configured with Kodi's web interface; keep that management interface within your intended access rules.
The combination of skins, add-ons and local playback remains a strong attraction for people who enjoy tailoring a home theatre. Start with reliable playback and a correctly matched library, then add shared state, PVR and automation one at a time. This makes a personalised setup easier to troubleshoot and maintain.
Further details: Jellyfin's Kodi integration guide, Kodi shared-library requirements, Kodi audio settings and Home Assistant's Kodi integration.