
Today we wrap up the configuration of our Headscale installation so that we can access our Local resources when not at home. We have installed Headscale, configured the Headscale server and have a client set up on our Android phone that can connect to our internal Headscale/Tailscale network, but can't access any services. Today we are going to set up Exit nodes so that we can access our network services.
Step 1: Install Tailscale
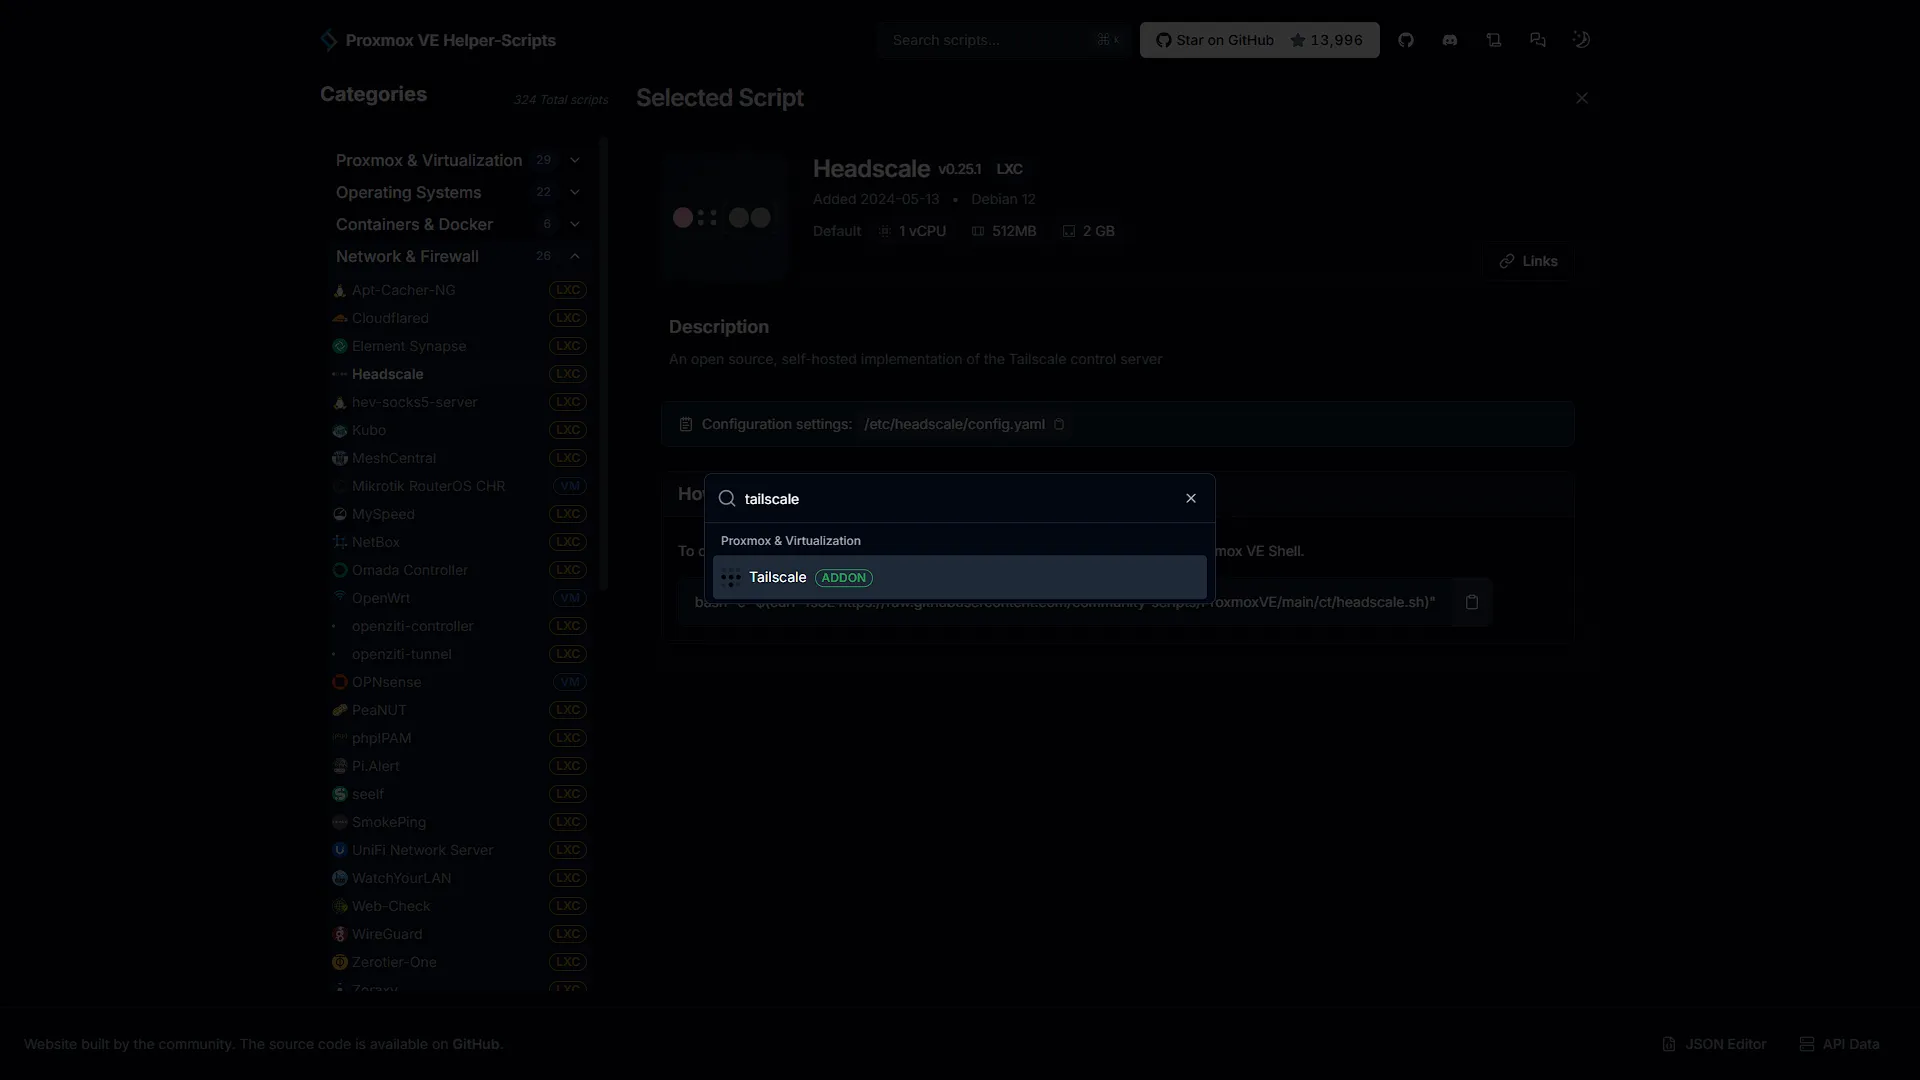
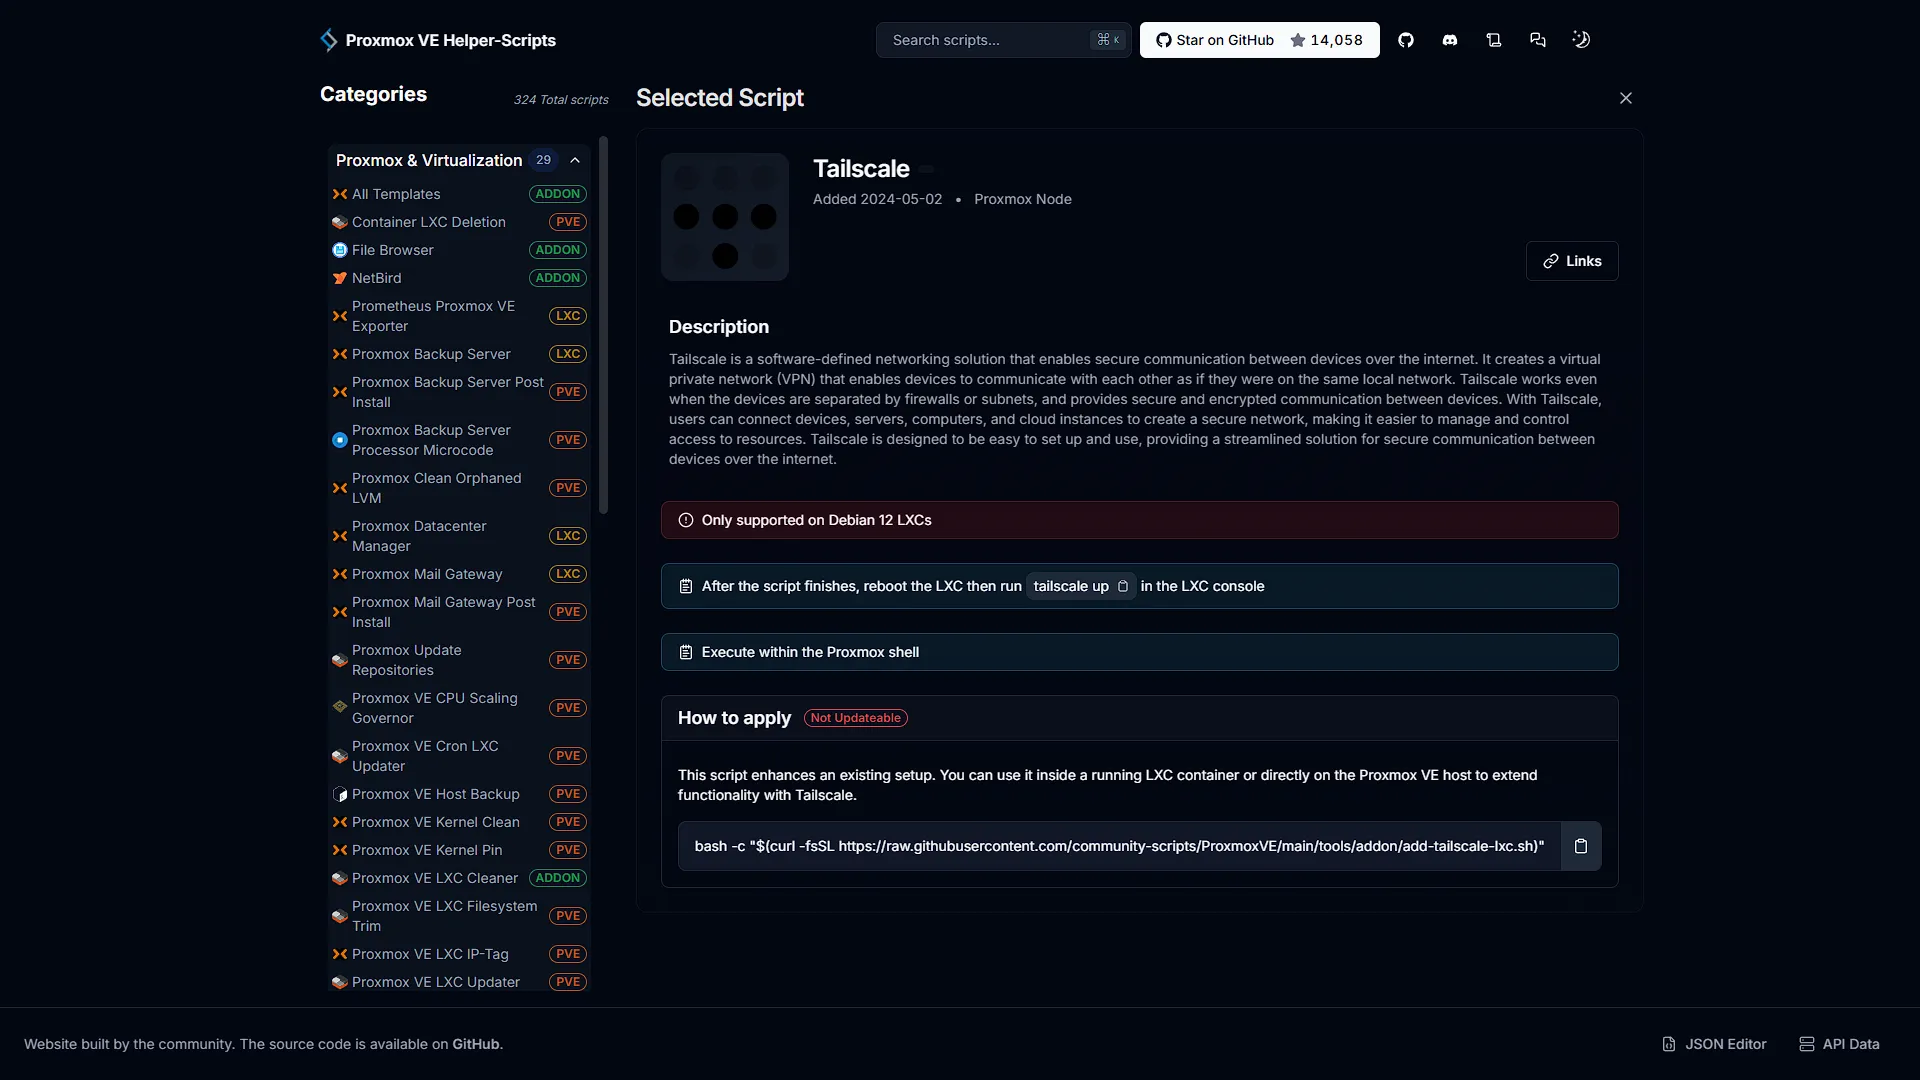
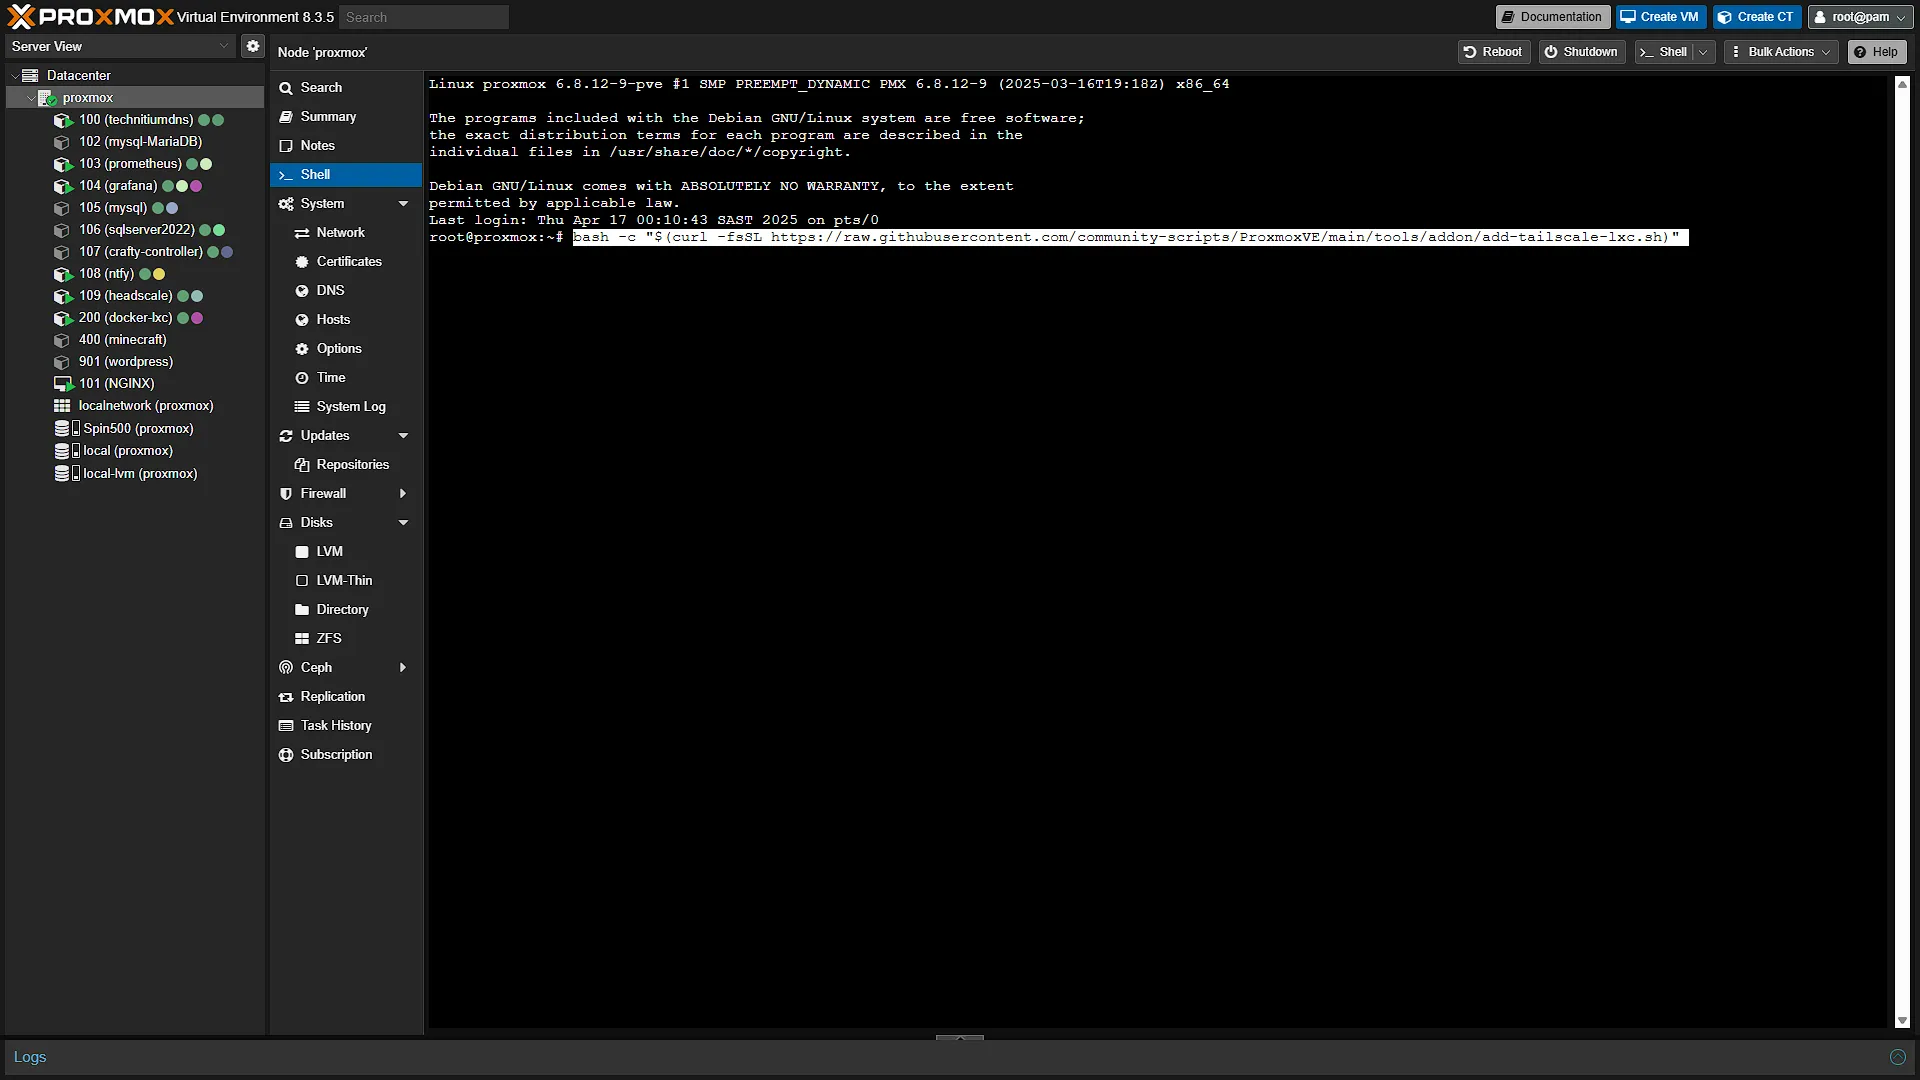
Yes, you read that right. We need to install Tailscale, even though we are using Headscale. The installation of Tailscale in Proxmox is actually a fairly intricate (and extremely frustrating) endeavour, but luckily we have friends over at helper-scripts.com that have simplified everything yet again. Go over to their site and search for tailscale. There will only be one result - this time it is classified as ADDON and not LXC or VM as we are used to. This is because Tailscale is added to an existing LXC container. So, instead of running it in the LXC container's Console, we need to run it in the Shell of the Proxmox main node. Run the command:
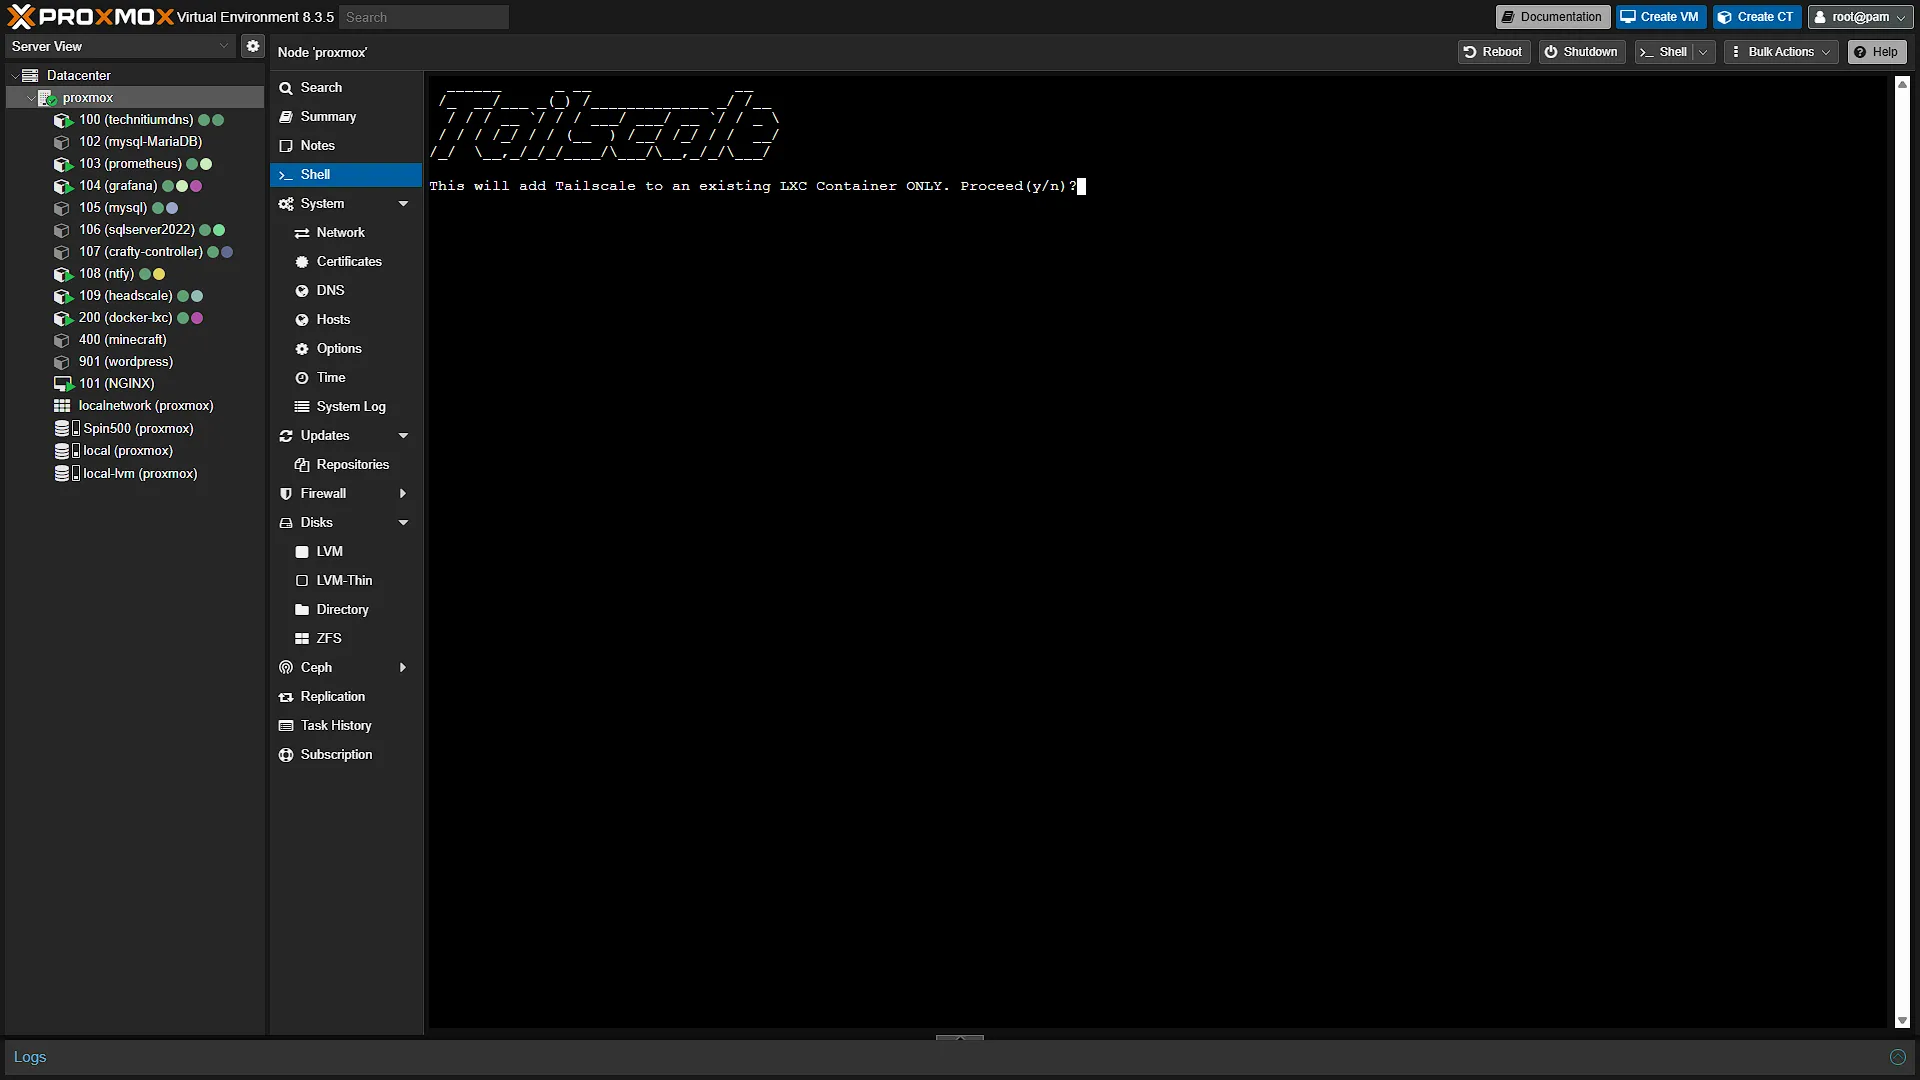
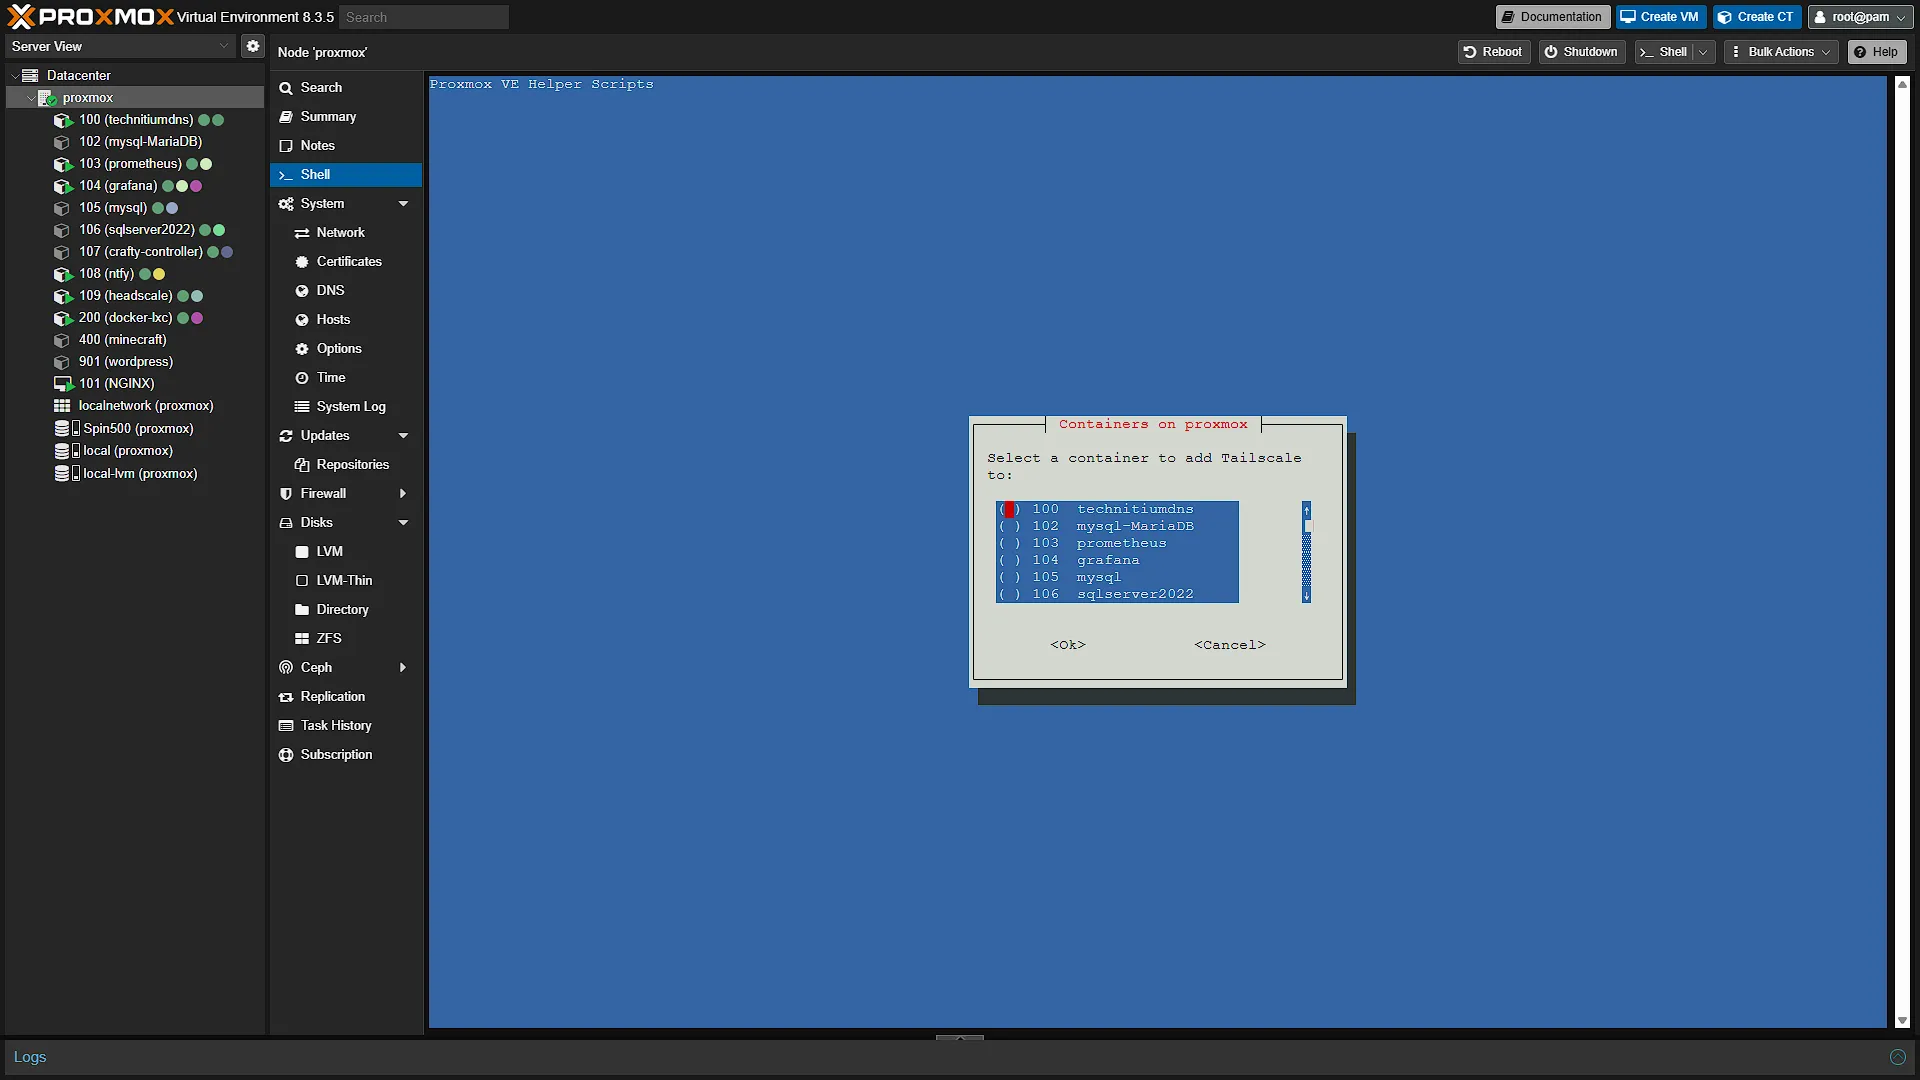
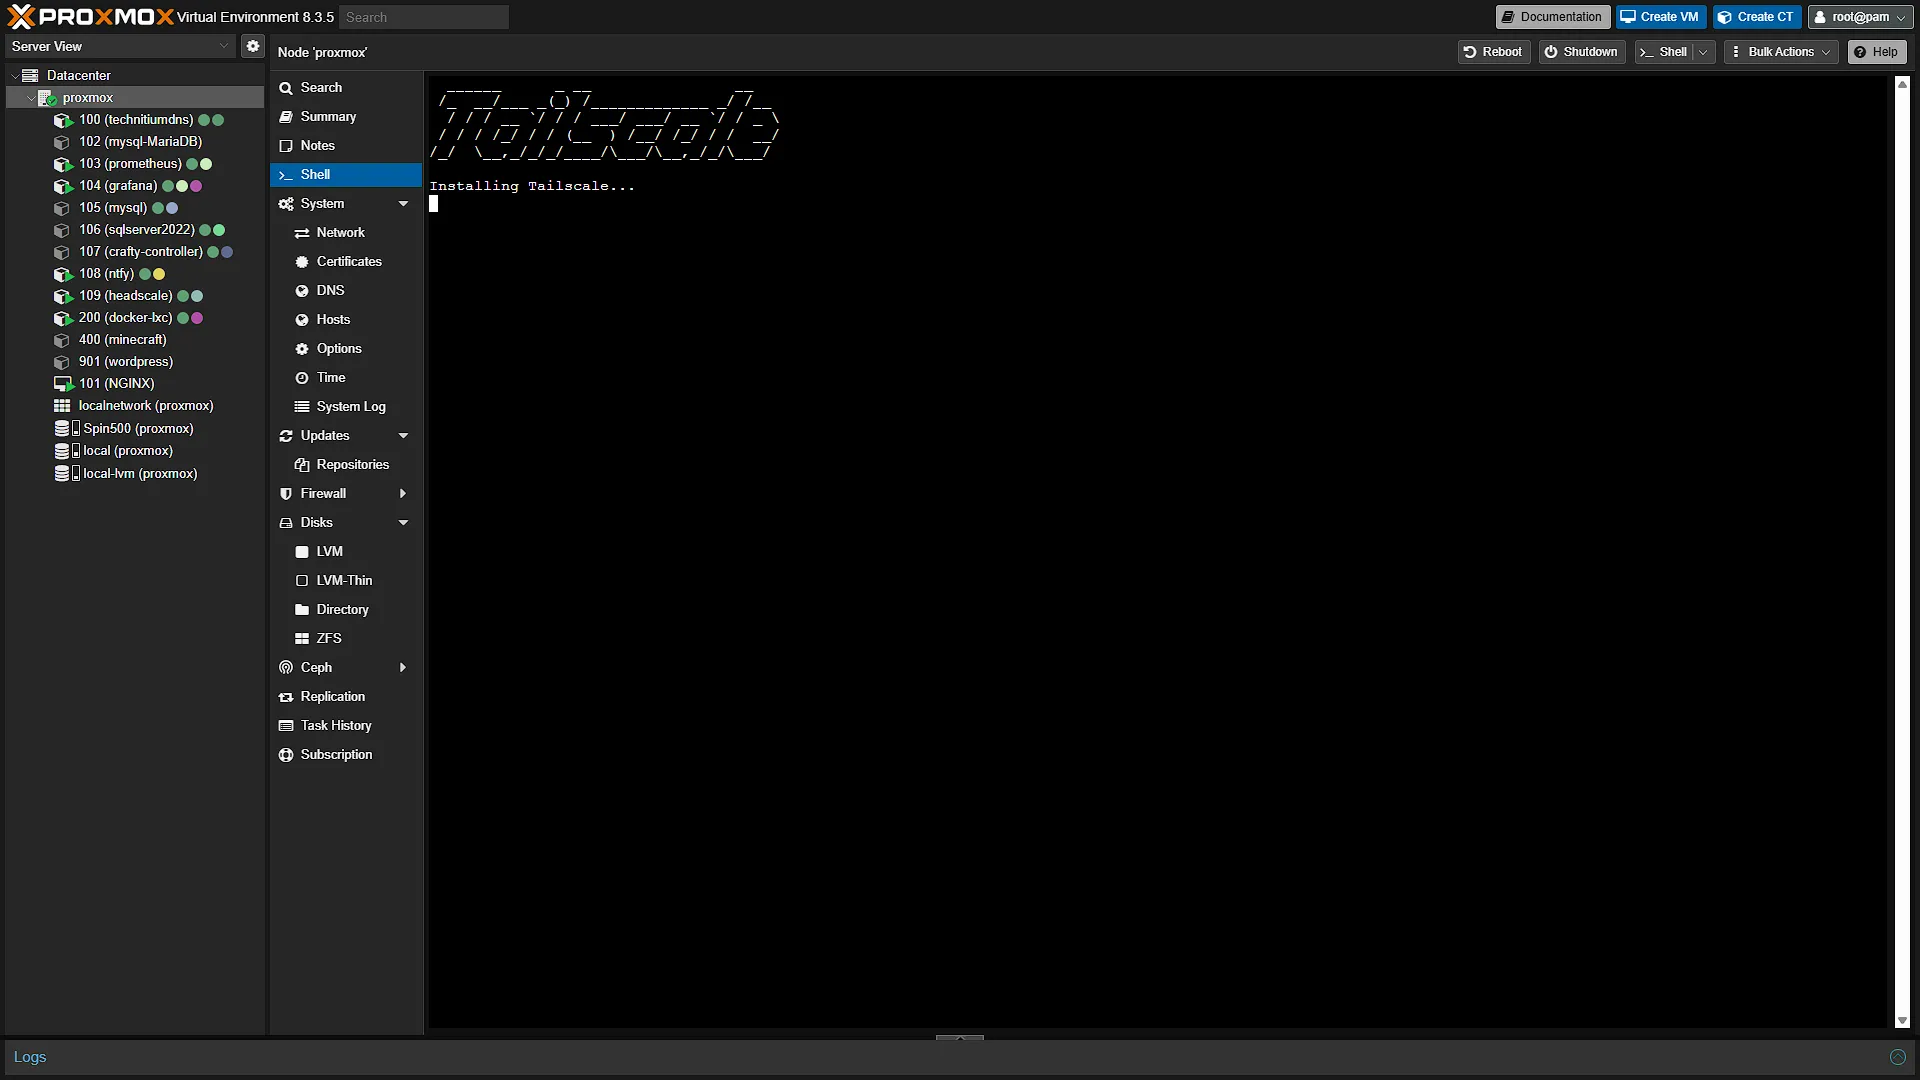
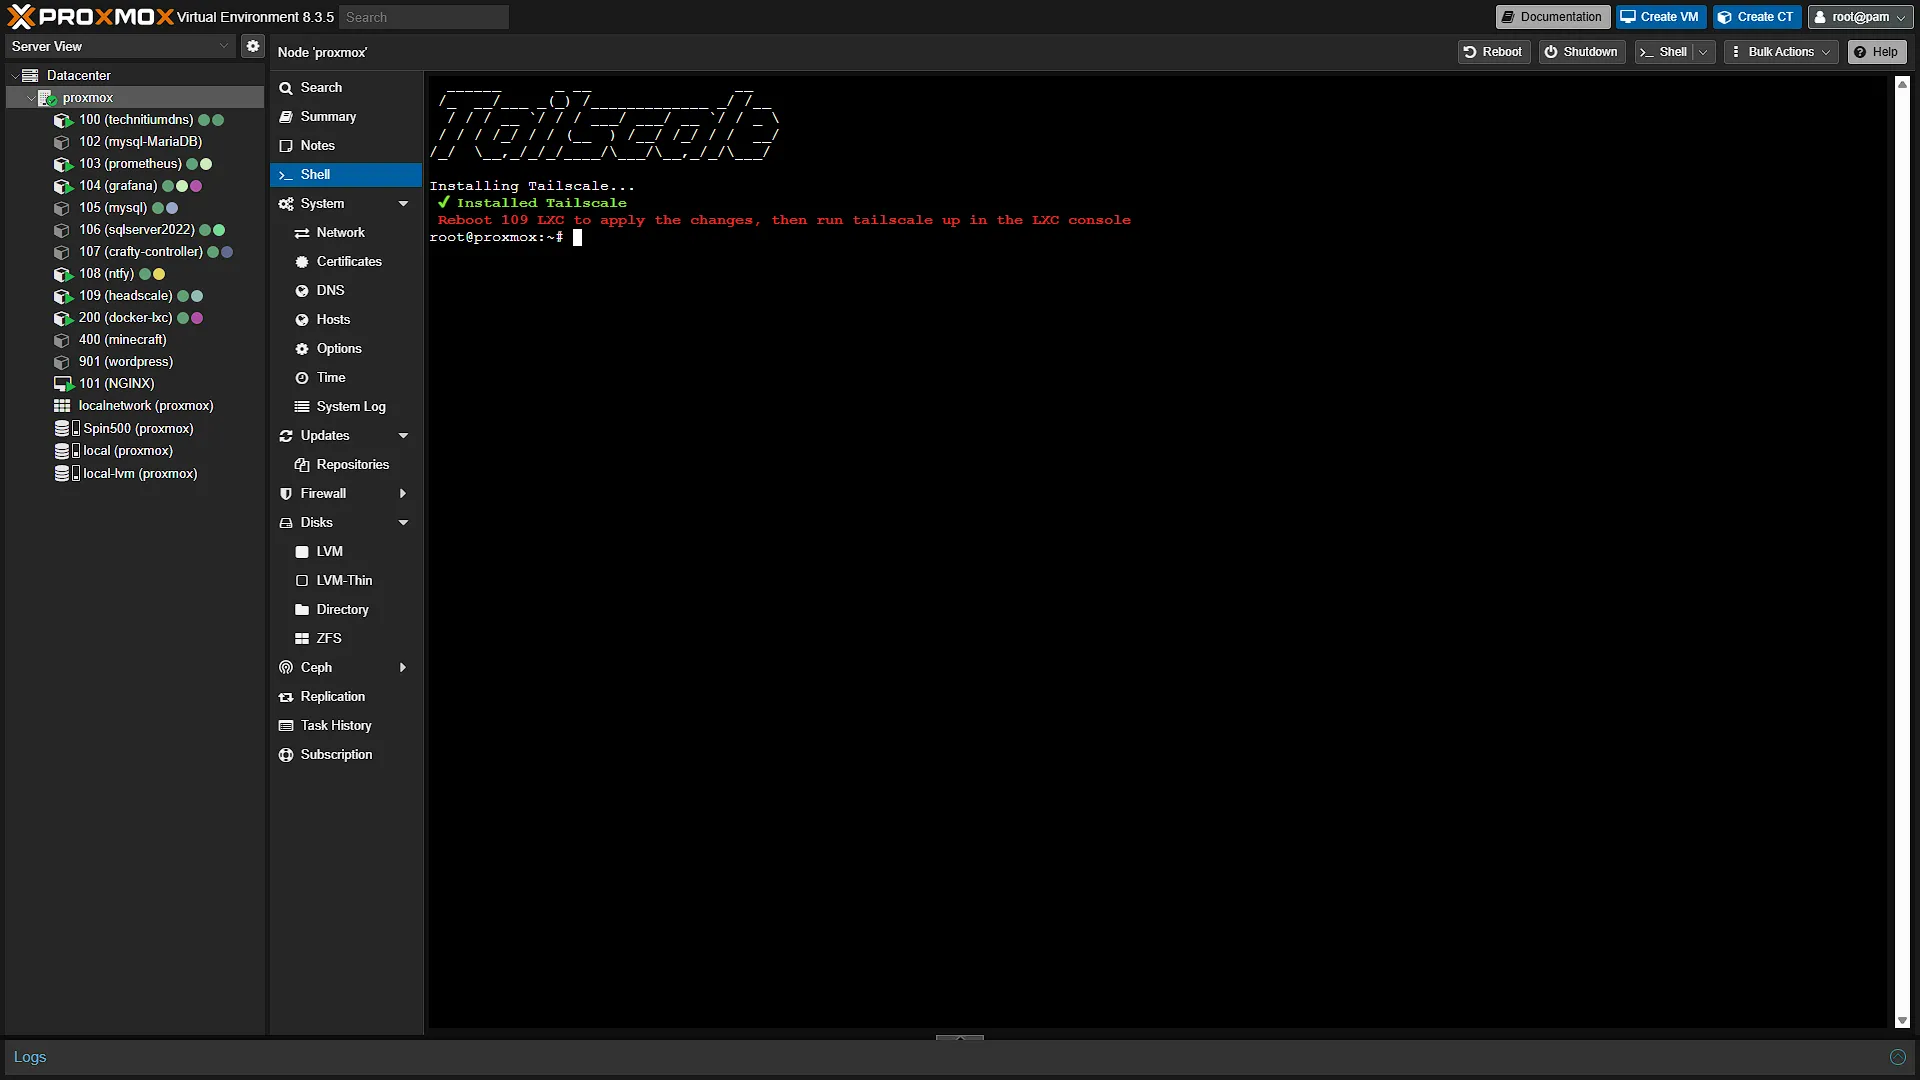
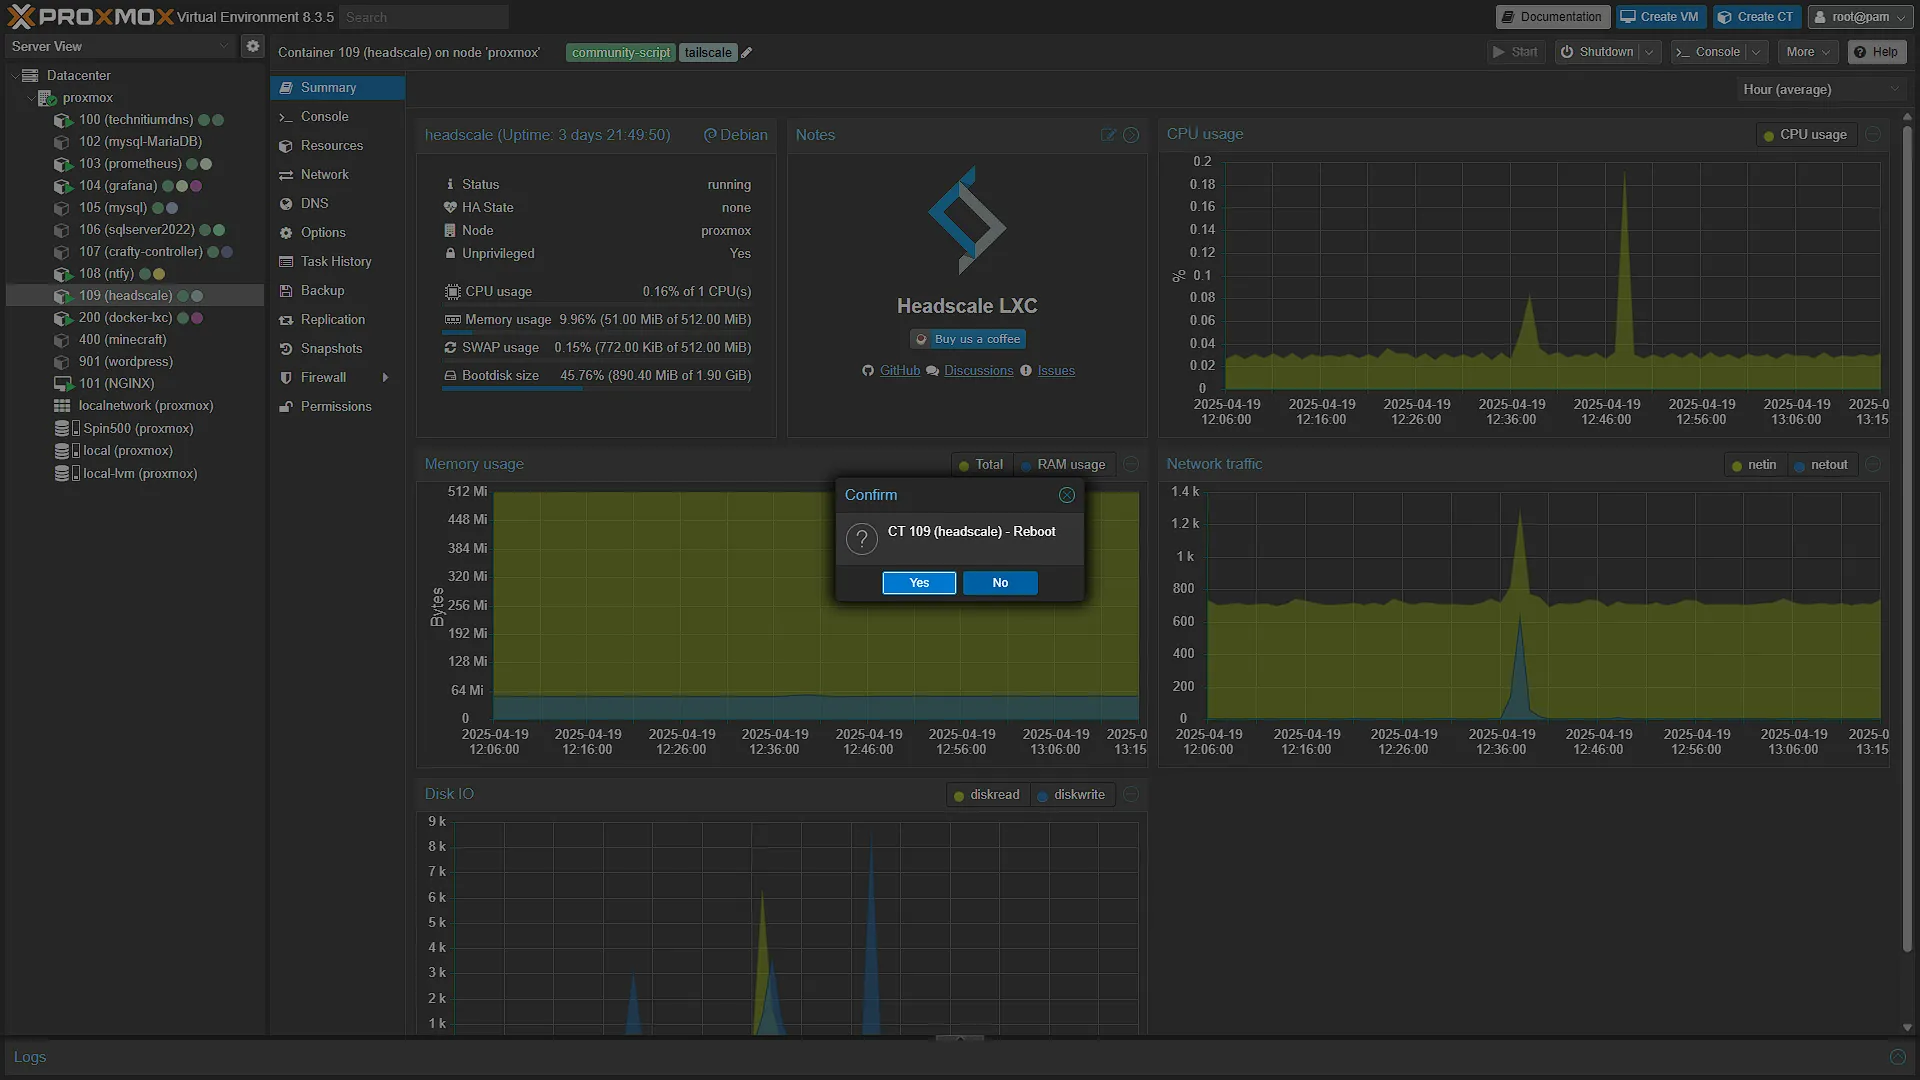
bash -c "$(curl -fsSL https://raw.githubusercontent.com/community-scripts/ProxmoxVE/main/tools/addon/add-tailscale-lxc.sh)"The install will start, first by confirming that we want to install Tailscale. Yes, we want to. The next screen will display a list of LXC containers to which we can install Tailscale. Select the Headscale LXC with SPACE and press enter. The install will complete fairly quicklyly and ask us to reboot the container and then run tailscale up. Restart the container, but don't run the command yet, we have a few other steps to do first, and we want to run the command so that we have an exit node which we can select from our connecting device.
Step 2: Configure Exit Nodes
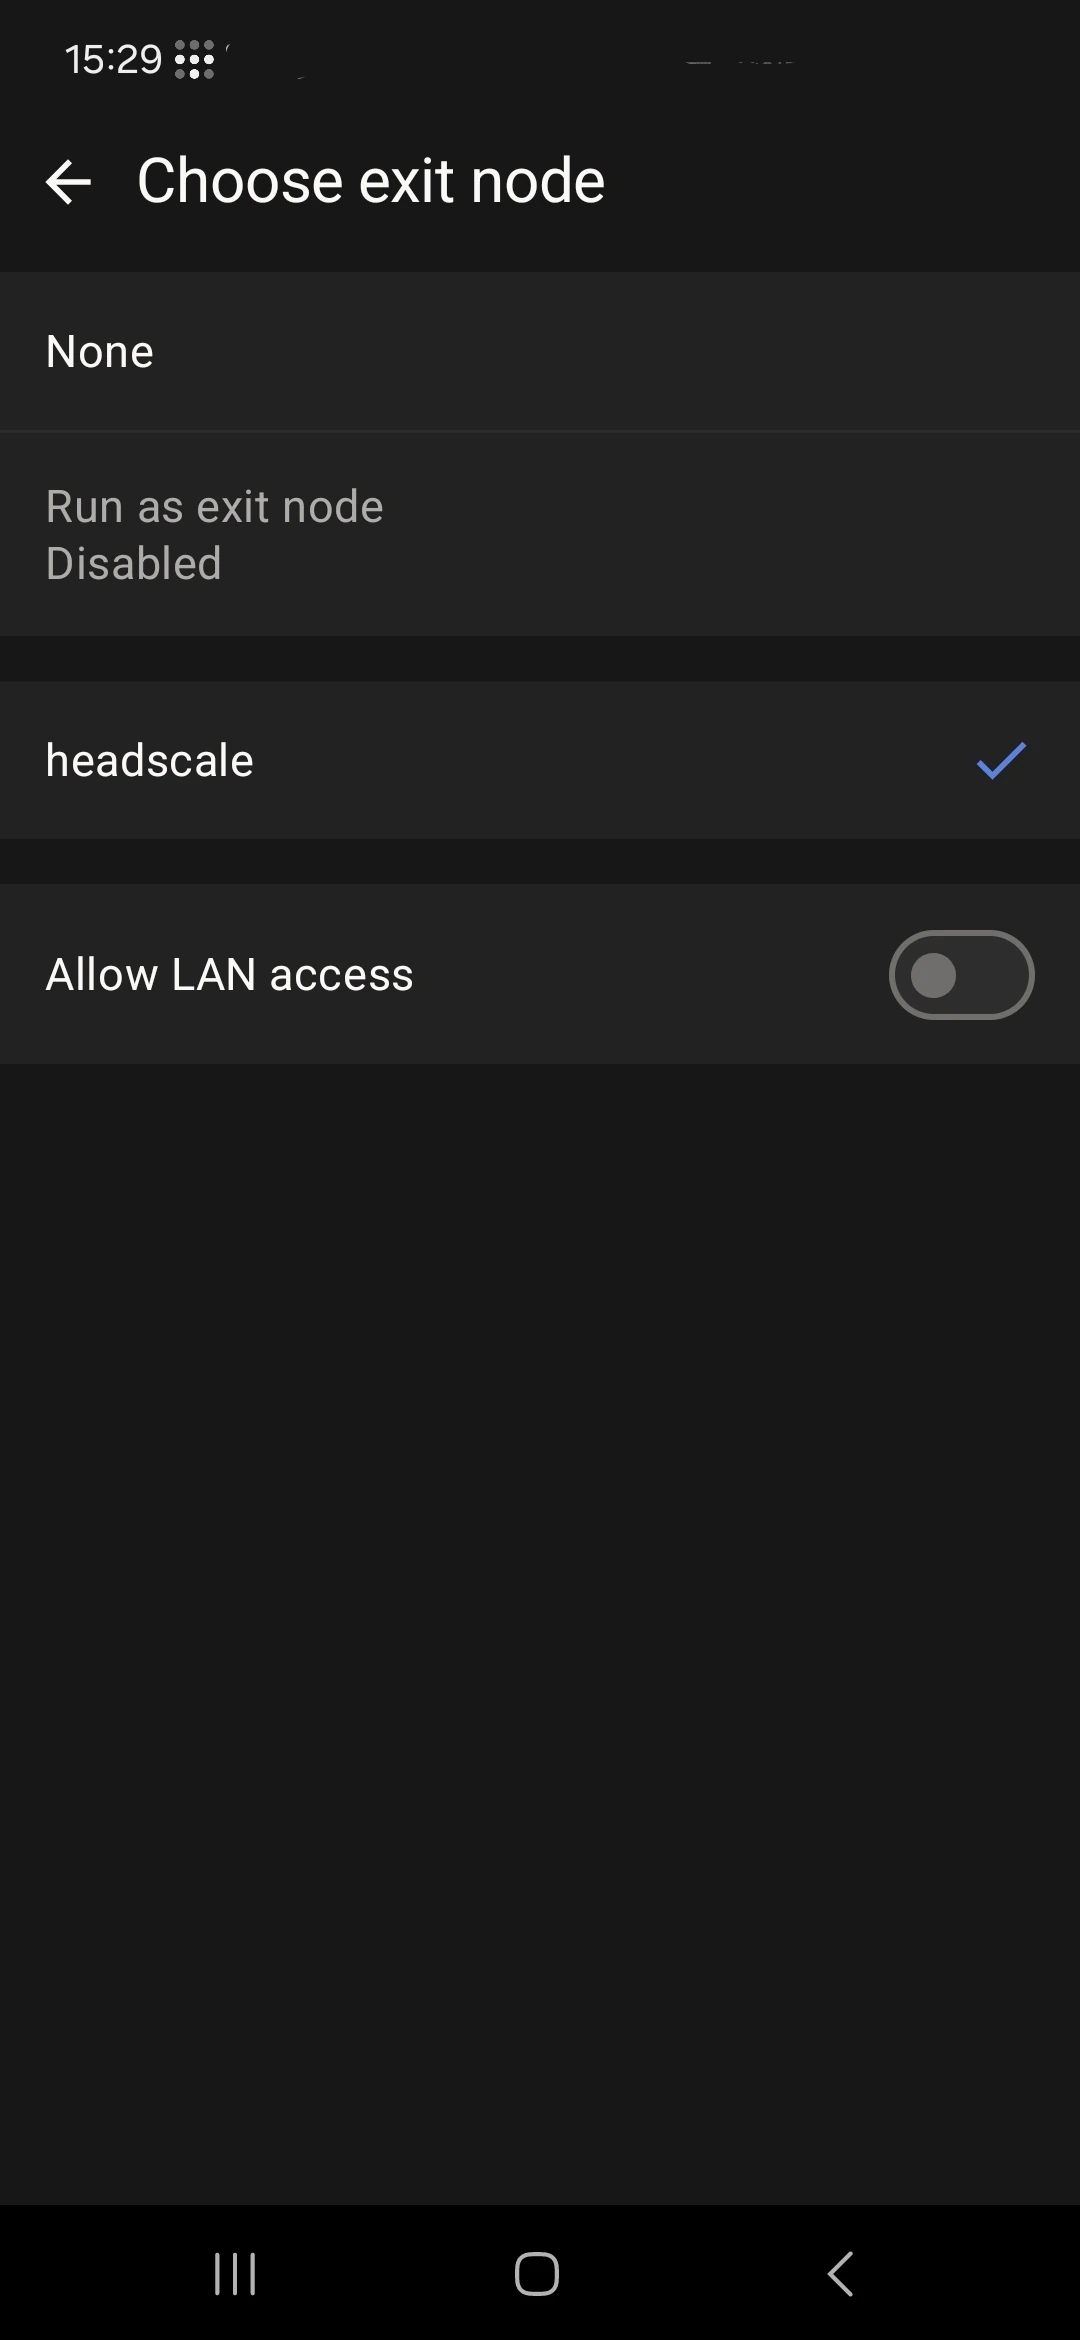
The screenshots record a temporary experiment with the phone advertising itself as an exit node. This is optional and is not needed to register the home routing node or reach the home subnet. To reproduce that experiment, use the following phone setting; otherwise skip it and continue with IP forwarding on the LXC. Open the app and in the top part, there will be a section called EXIT NODE, currently set to none. Tap this and enable the option Run as exit node. A warning will pop up, but seeing as this is temporary, just accept and continue.
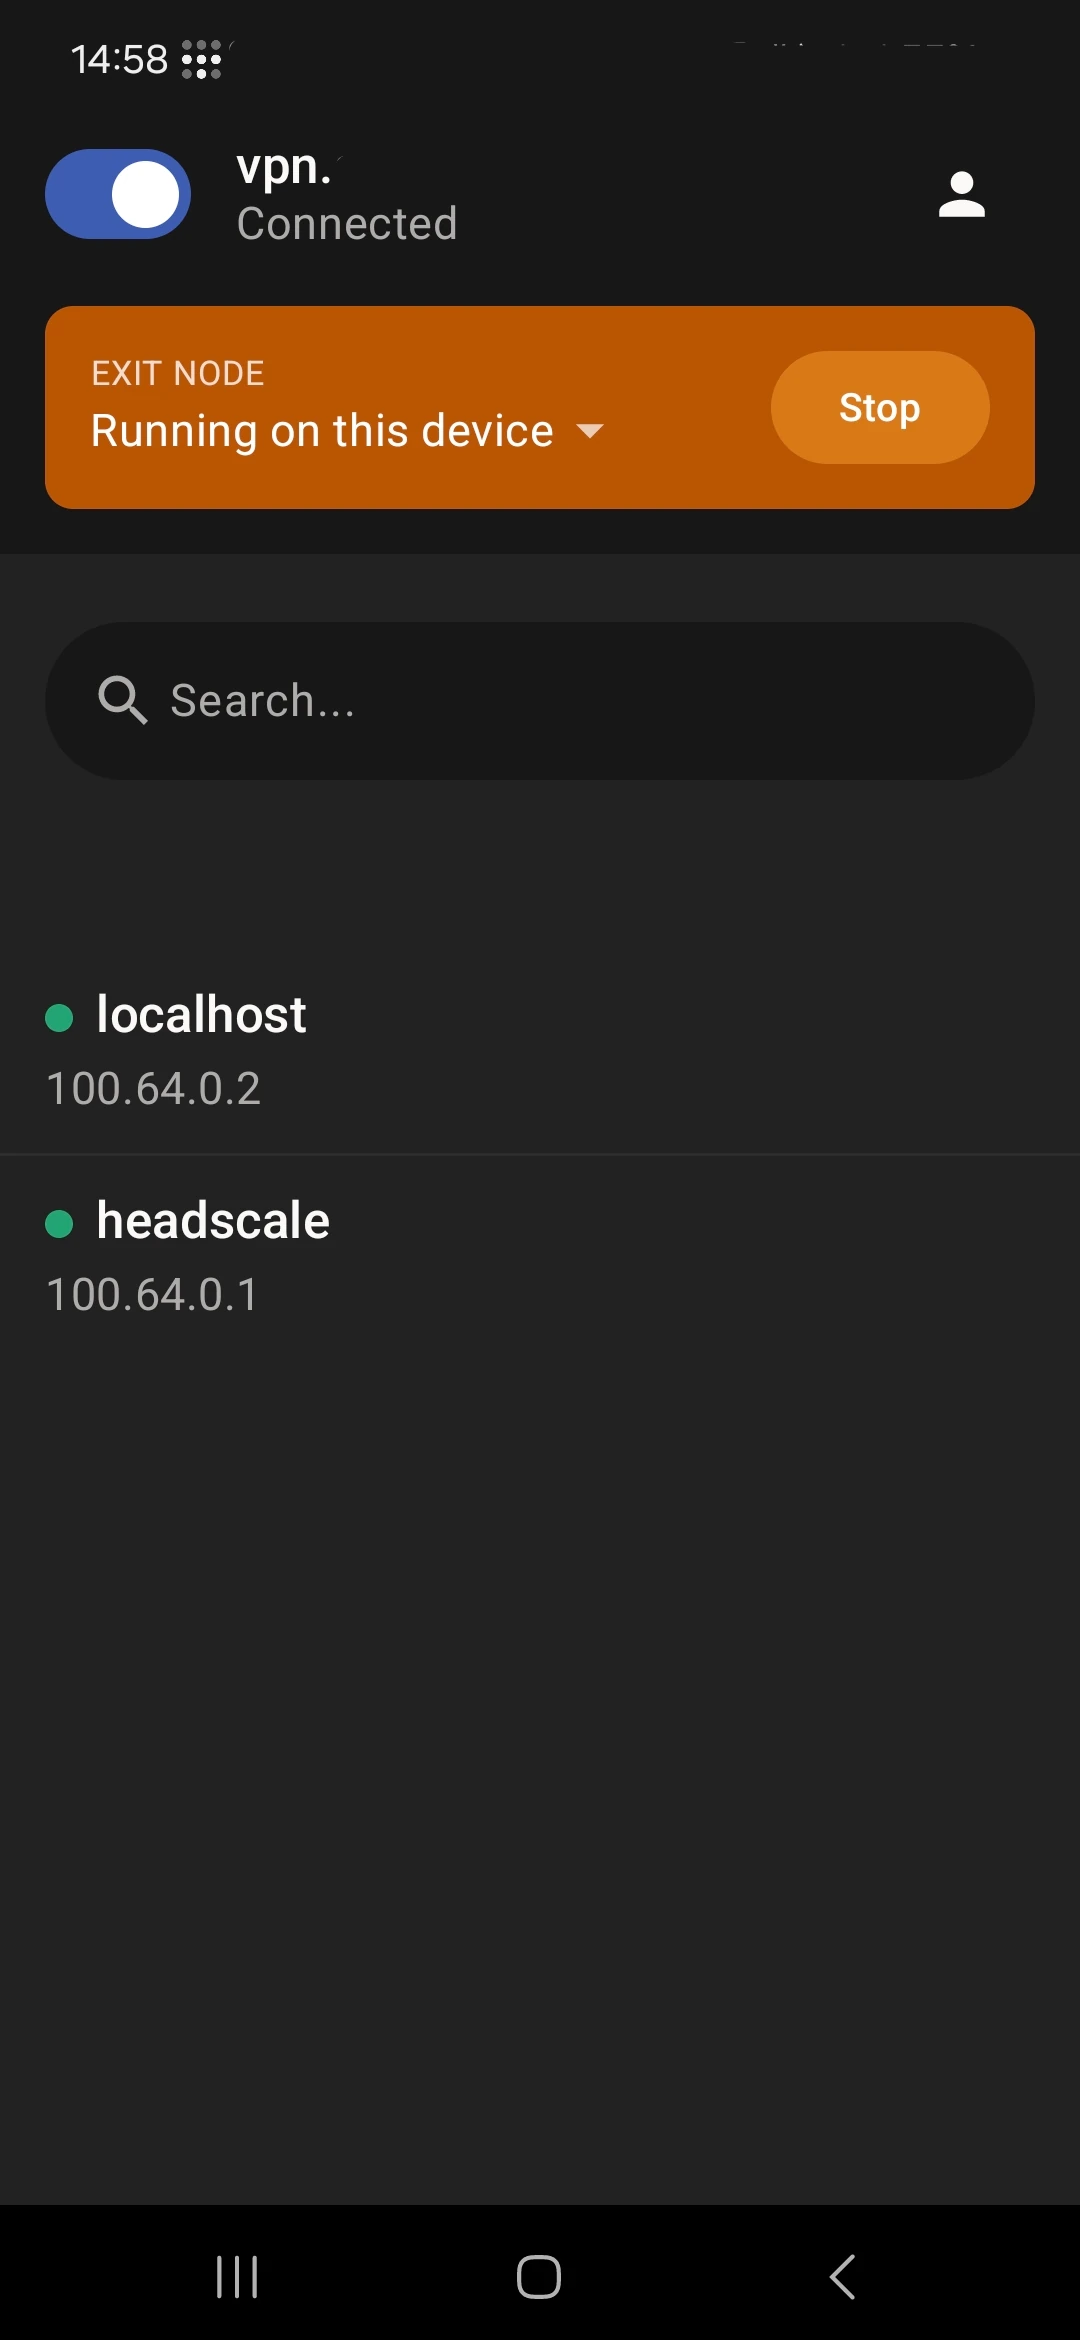
Next we need to enable our Headscale node as an exit node as well. Before doing this in Proxmox, we will need to enable IP forwarding on our LXC container. In Proxmox, access our Headscale LXC container's console and run the following commands:
echo 'net.ipv4.ip_forward = 1' | sudo tee -a /etc/sysctl.d/99-tailscale.conf
echo 'net.ipv6.conf.all.forwarding = 1' | sudo tee -a /etc/sysctl.d/99-tailscale.conf
sudo sysctl -p /etc/sysctl.d/99-tailscale.conf
This enables routing through the container; it does not create a router port-forwarding rule. Now we need to generate a preauth token, to authenticate our user against our Headscale instance. For this, run the command:
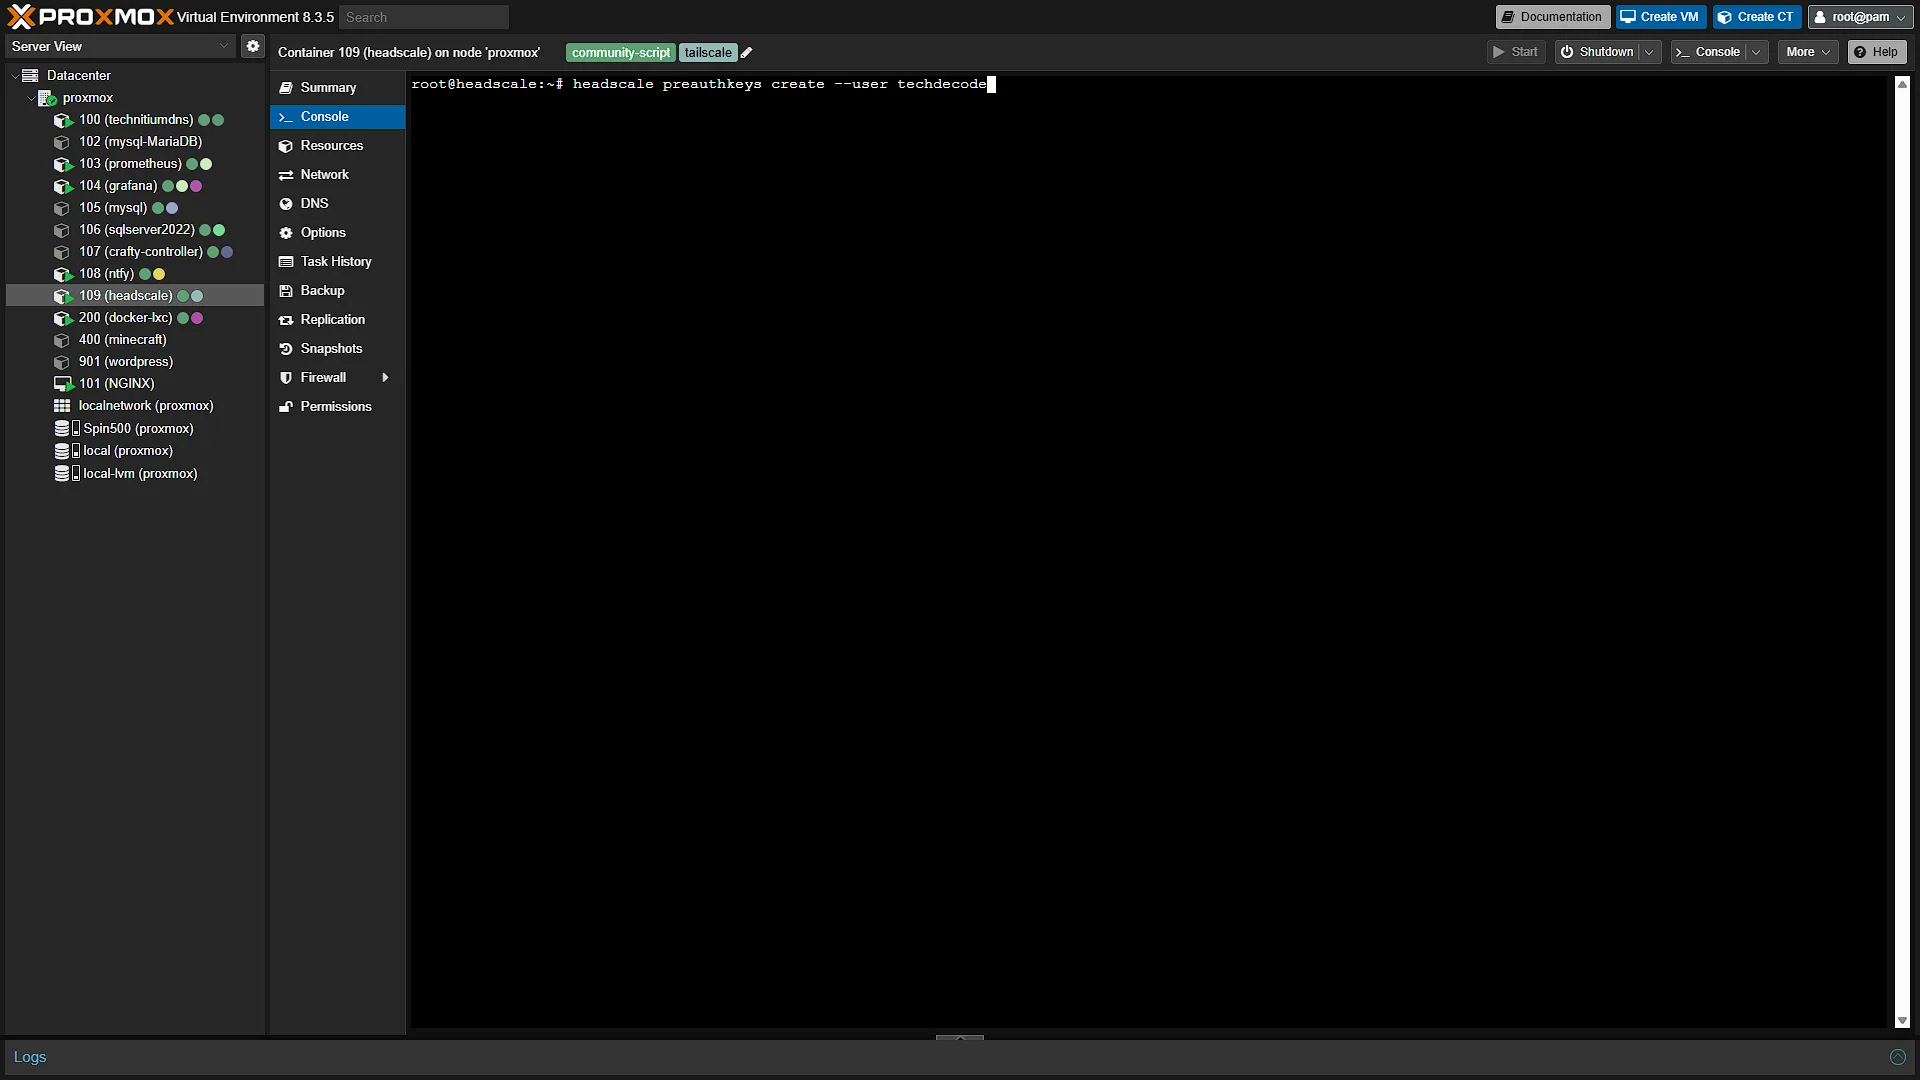
headscale preauthkeys create --user techdecodeRemember to change the user techdecode to the user you selected in the previous articles. An auth token will be displayed. Check the key expiry in your installed Headscale version and keep the generated key private. Use it in the next command:
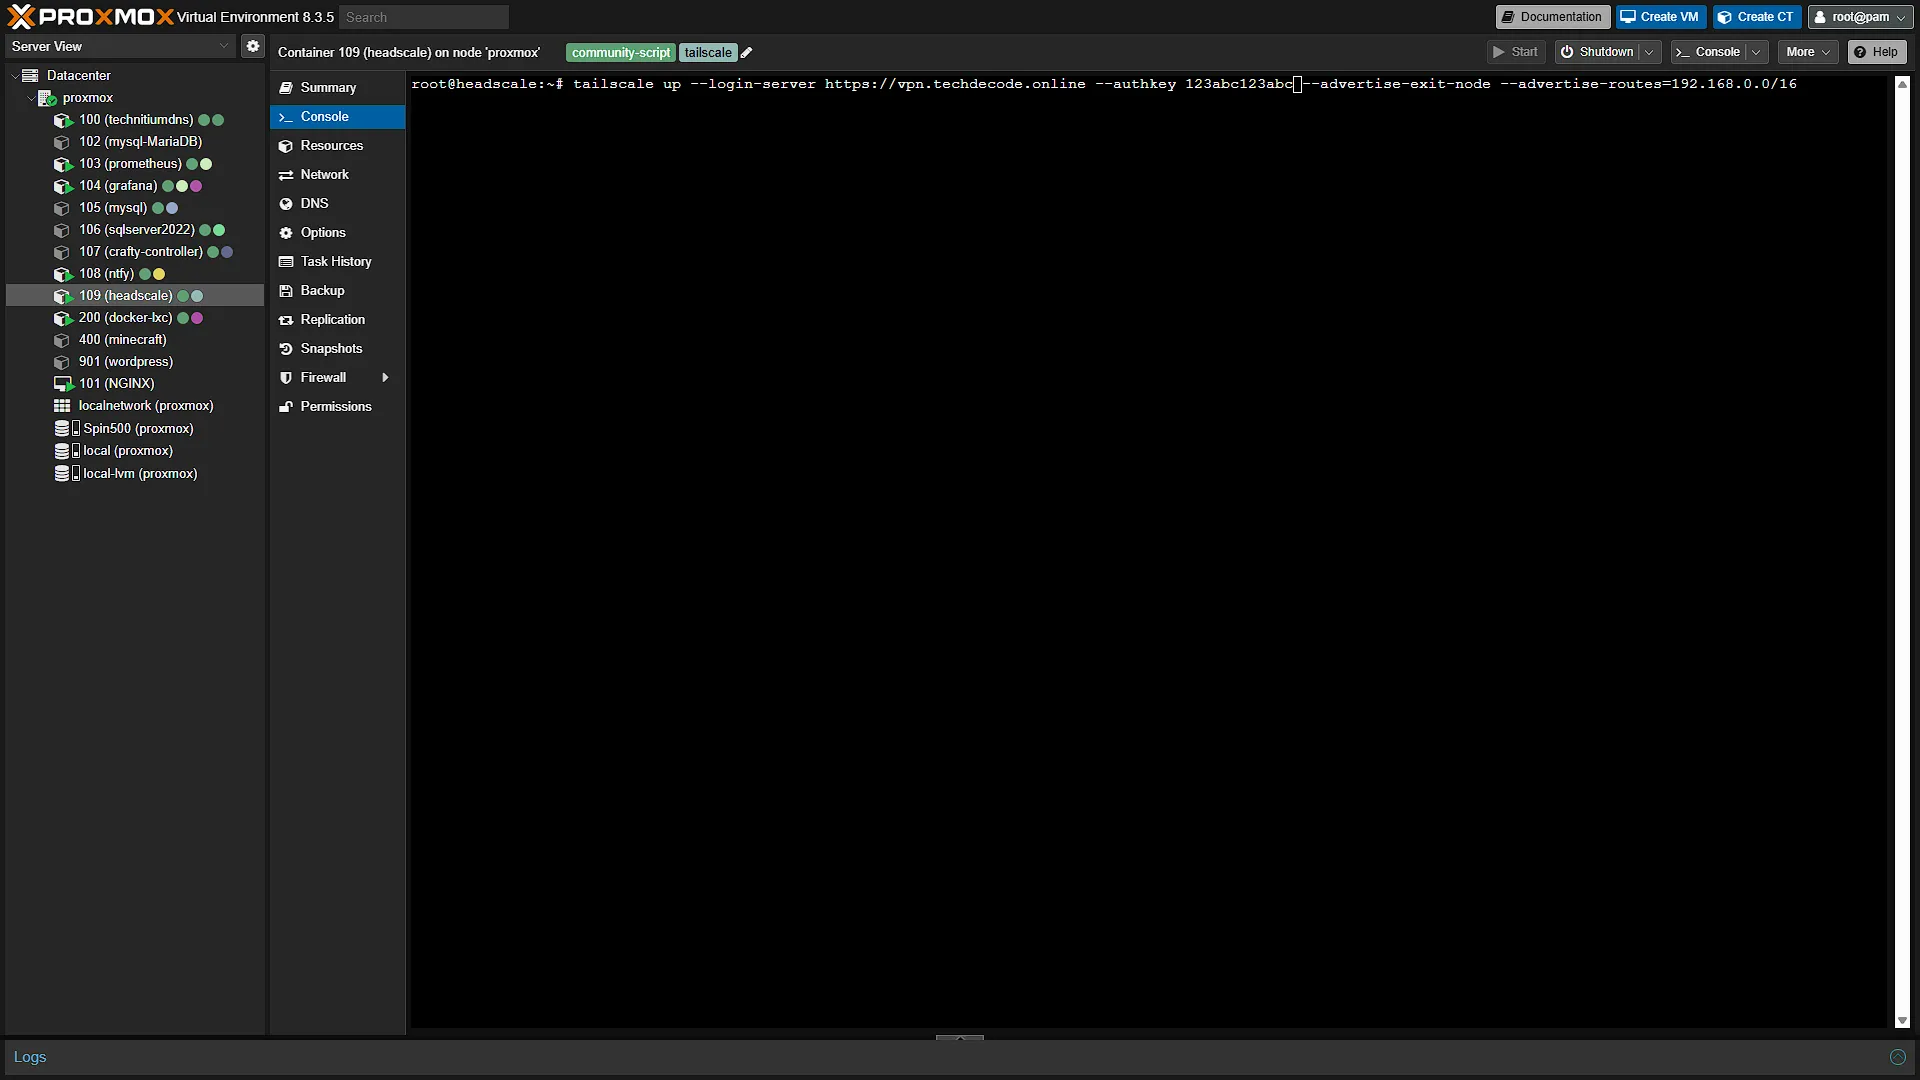
tailscale up --login-server https://vpn.techdecode.online --authkey <GENERATED_TOKEN> --advertise-exit-node --advertise-routes=192.168.0.0/16 --accept-dns=truePlease change https://vpn.techdecode.online to your VPN domain name. Add the generated token to the <GENERATED_TOKEN> part. We are also advertising routes, in our case 192.168.0.0/16. If your Local Area Network is running on 10.0.0.0, please change this to 10.0.0.0/16 to enable that we can access any machine on that IP subnet. In 192.168.0.0, the last two sections (.0.0) can be substituted with any IP address, so we can access 192.168.1.3, also 192.168.50.50 etc.
Now that the Tailscale server is up and running, we can enable the routes. Still in the console, run
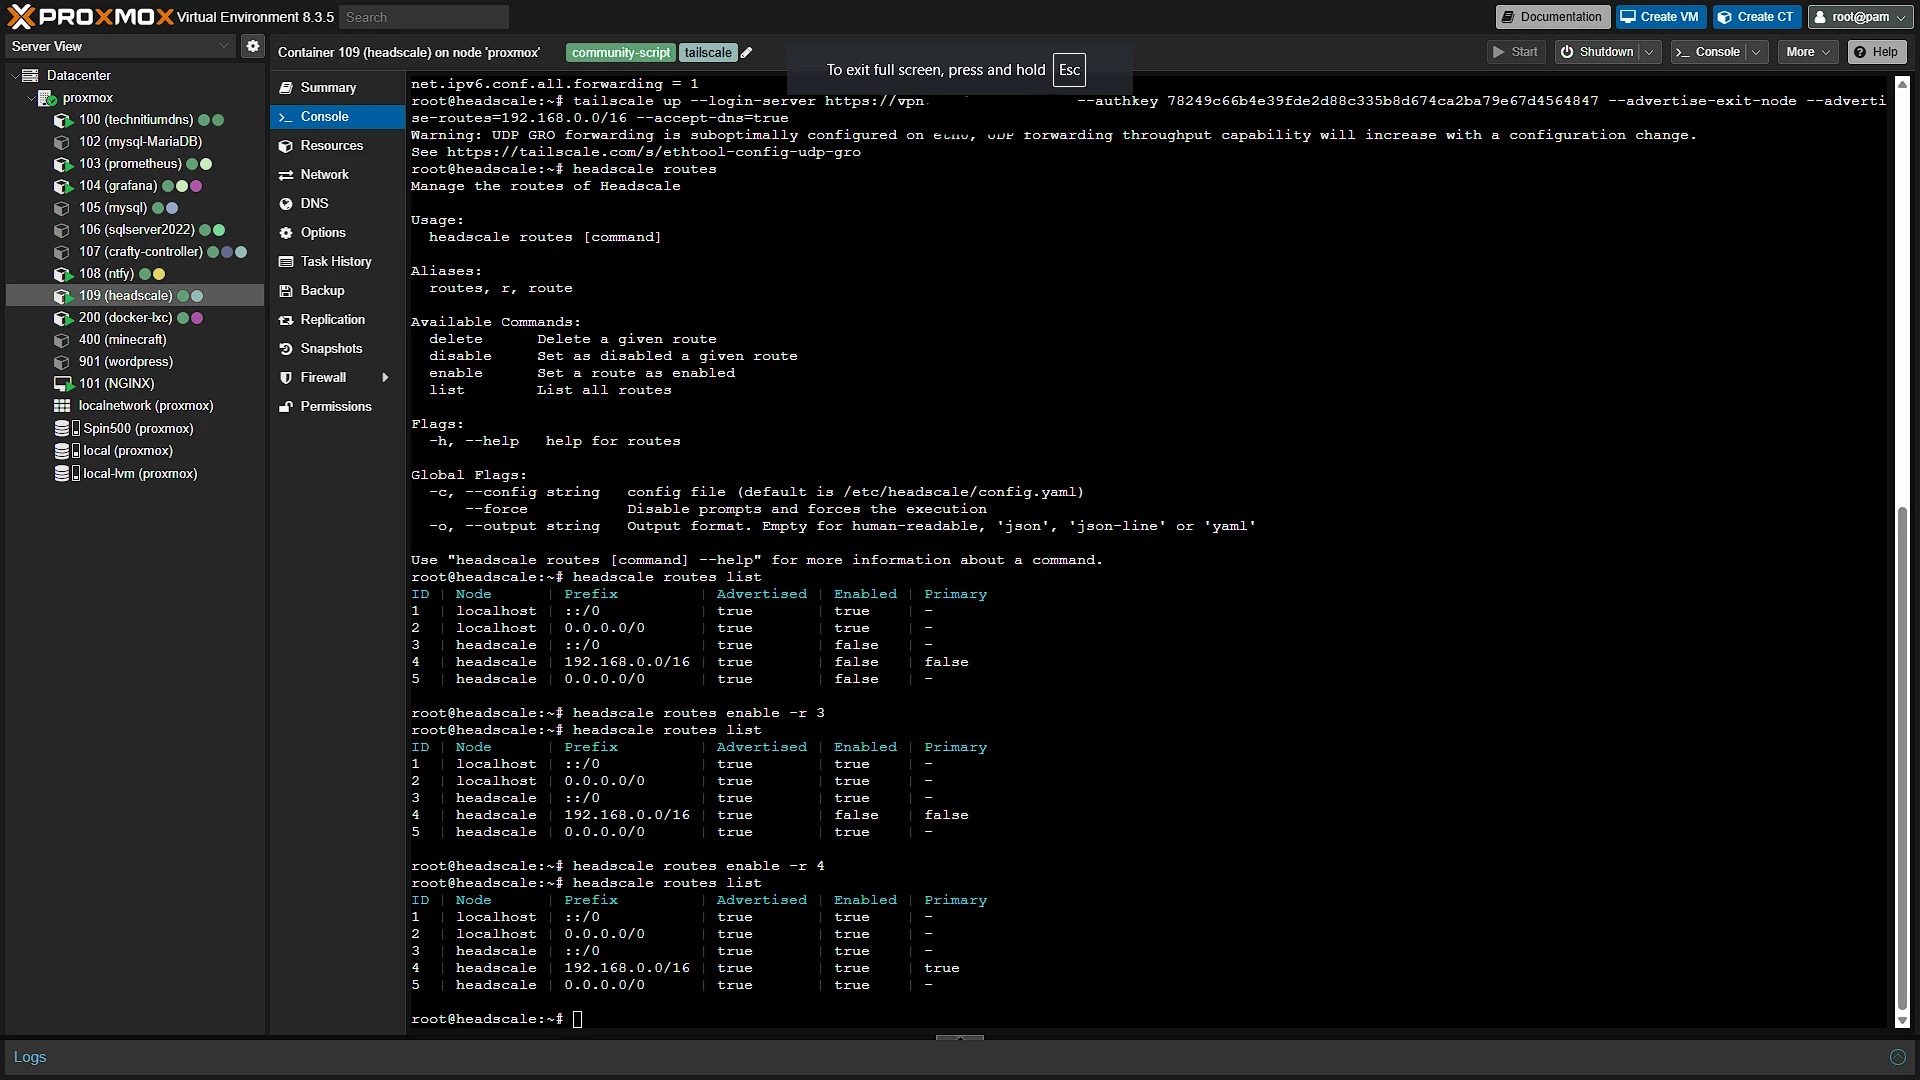
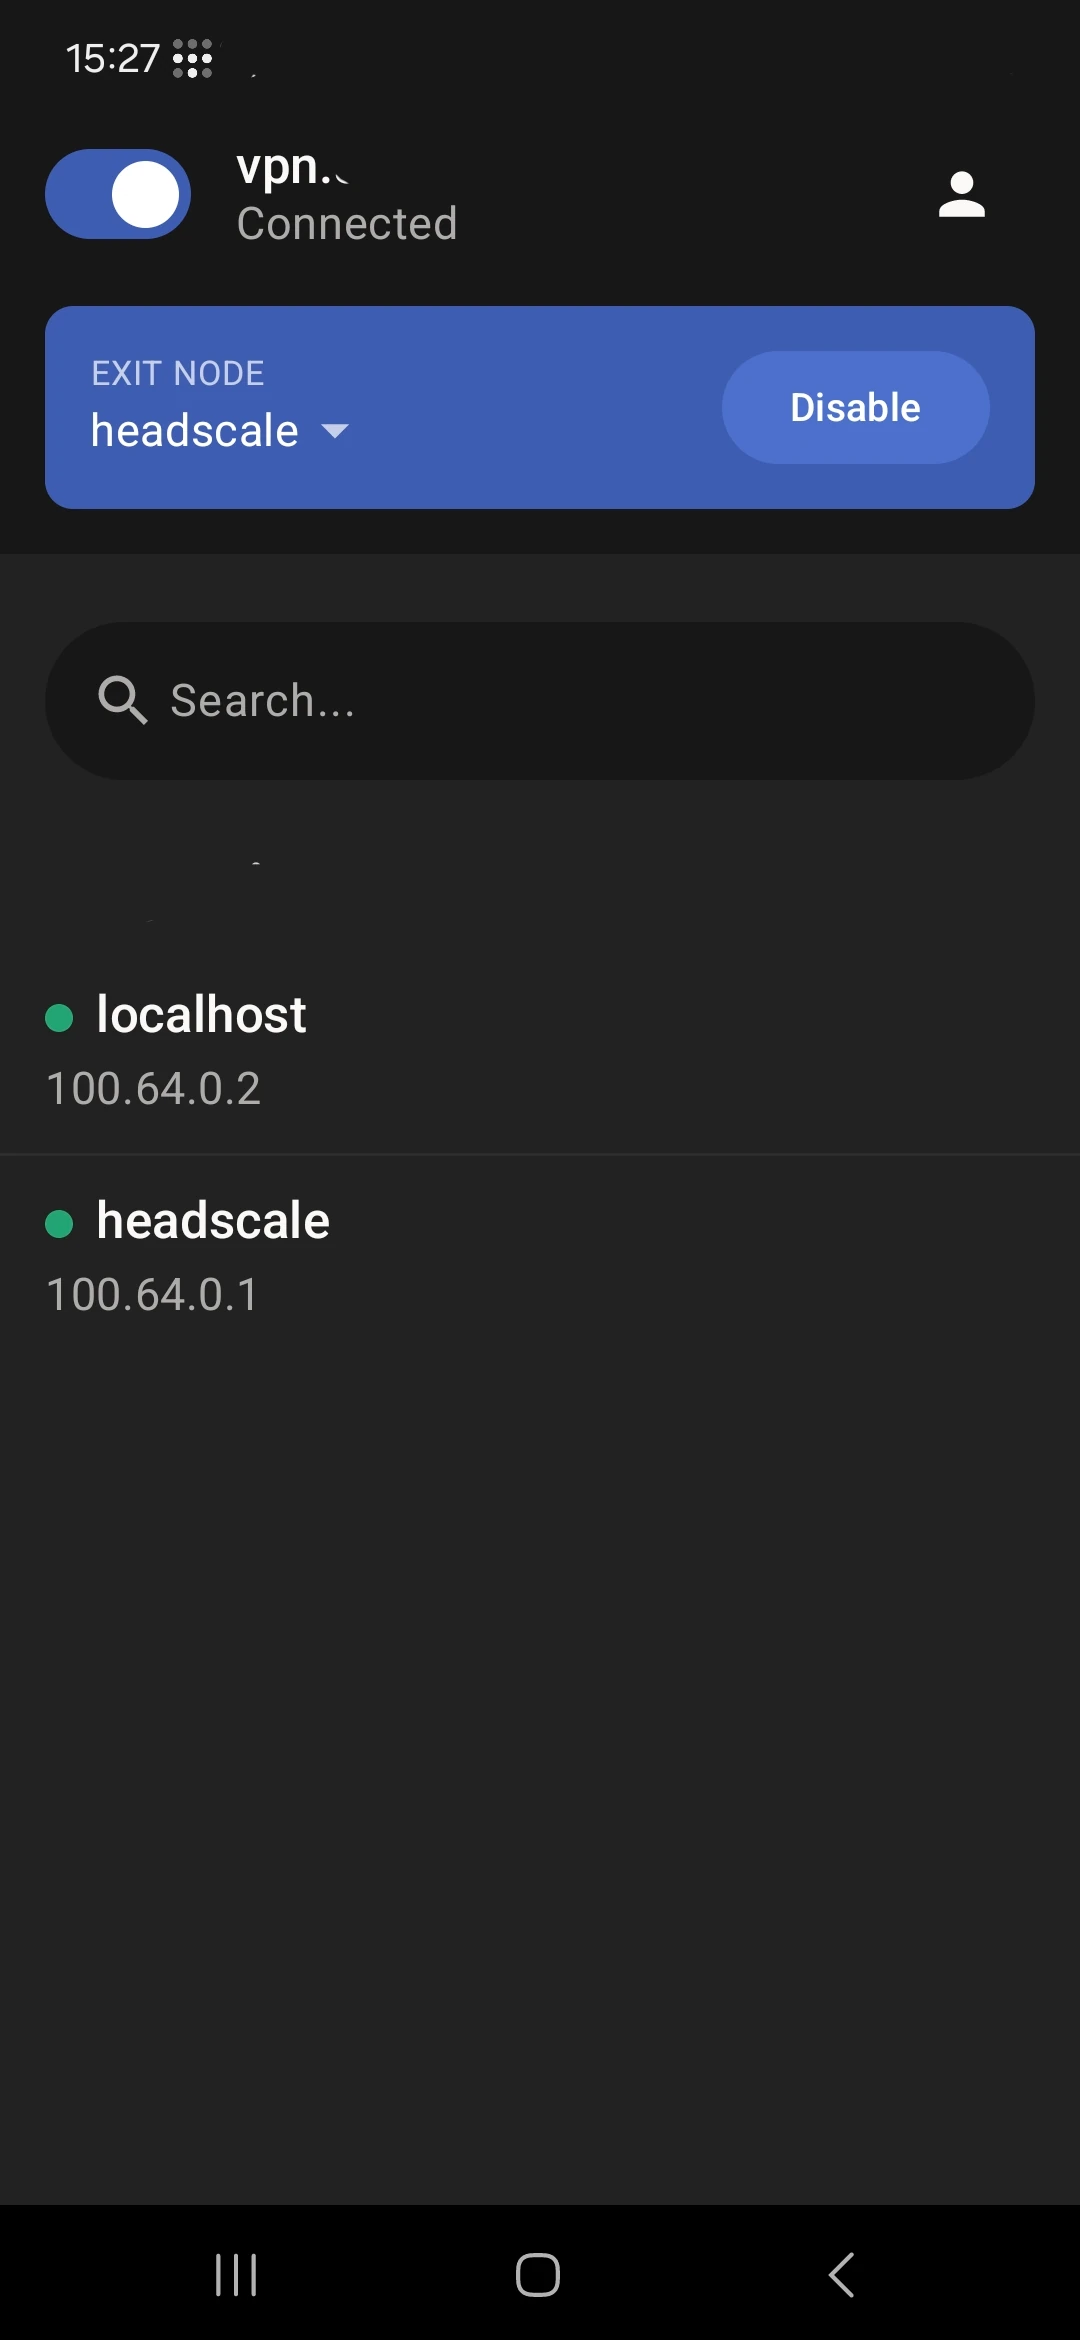
headscale routes listThis will display a list of routes. The first two should be from our Android device (not sure why ours is saying localhost, but anyway...). The next three will be from the Headscale server. Identify the home LXC's advertised subnet and exit routes before enabling them. The phone's temporary exit routes are not required. Take note of the route ID in the first column. We need to activate with
headscale routes enable -r <ID>Replace <ID> with the ID of the routes. The IDs in the screenshot are examples, not stable identifiers for another installation. Check the advertised prefix and originating home LXC, then list the routes again after each approval.
Step 3: Select exit node on Android
From our android app, we can now change the setting we set earlier that enabled it running as an exit node. However, also select the newly created exit node, in our case headscale. This way, we are now connected from our android device as if we are the Headscale server node. This means that our IP address to the internet will be the same as that of the Headscale server and it would seem to the internet that it is that node that is connecting to the internet. This also enables us to access all of our local LAN services.
Optional After the Walkthrough: Subnet Routes, Exit Routes and CLI Versions
The screenshot command advertises 192.168.0.0/16 and exit-node capability from Tailscale running in the home LXC. Headscale coordinates registration and policy; the Tailscale client in that LXC forwards packets. A subnet route covers the advertised private destination range. Selecting an exit node additionally sends public traffic through that node according to the client's policy.
The photographed /16 is retained. A narrower 192.168.1.0/24 may suit a different lab, but changing it is an optional route-policy adjustment: advertise the intended range, approve that range and test the destinations again. Do not merely replace the explanatory table while leaving a conflicting command above. Advertise only networks this node can actually reach, and consider overlap with the remote client's local network.
The main headscale routes list and routes enable -r commands explain the release used in the screenshots. Current Headscale documentation instead uses headscale nodes list-routes and headscale nodes approve-routes, with a node identifier and chosen route list. The old syntax is not guaranteed to work identically in all later versions. Inspect the installed CLI help and version-matched guide before translating the approval step; do not substitute a route-row ID for a node ID.
The phone's temporary “Run as exit node” experiment is preserved as optional context, not a requirement for reaching home. Approve the home LXC's intended routes, then select that home exit node if full tunnelling is wanted. Subnet access and exit-node access can be tested separately.
For a missing TUN device, inspect the helper-created LXC settings and current addon guidance before appending duplicate device lines. After routing changes, test an internal IP, then its DNS name, and finally public egress if an exit node is selected. These establish different parts of the path.
Further reading: Headscale route approval, Tailscale subnet routers.
Conclusion
And that is all there is to it. We can now access our home services from anywhere, without opening them up to the world wide web. We also have a secure tunnel to our home network for in case we want extra security when accessing the internet from untrusted sources. This is a significant accessibility barrier that we just overcame and in the process we added an extra layer of security for our mobile devices. Stay tuned for the next instalments in our Build your own homelab series - where we will start to run services that can start saving us money each month.