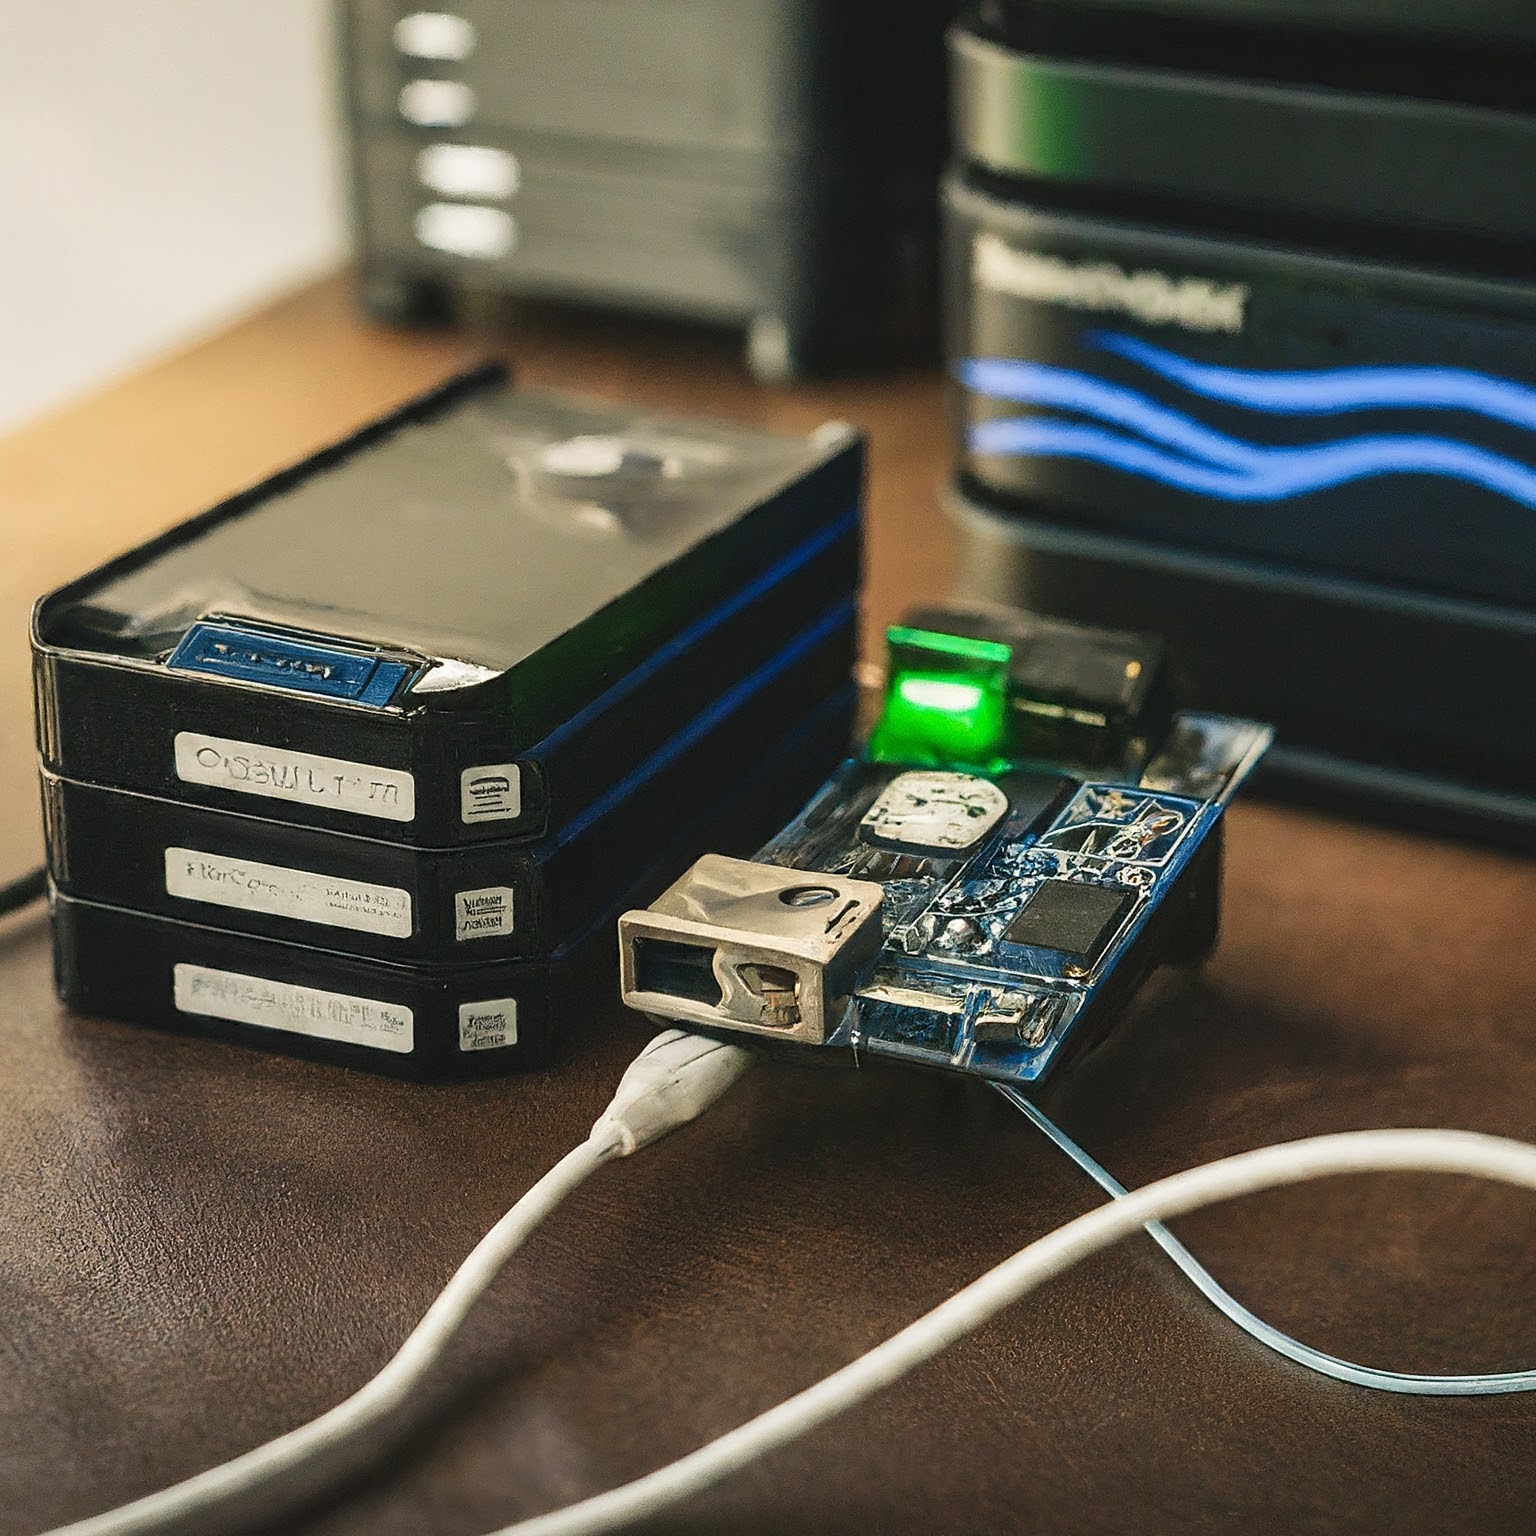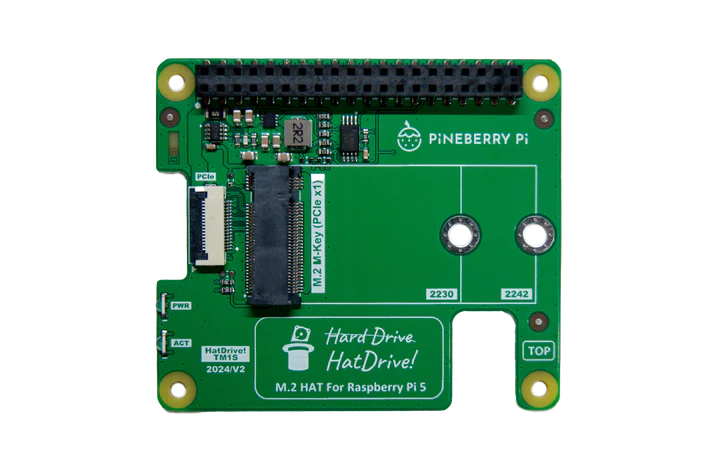
An M.2 adapter lets Raspberry Pi 5 use its external PCIe connection for NVMe storage. It can be useful for a database, container workload or project with frequent storage access, but the adapter, drive, power supply and cooling must work together. This guide separates the official M.2 HAT+ options from third-party boards and explains how to verify a storage upgrade without treating advertised limits as measured benchmarks.
Choose the Adapter and Drive Together
The official M.2 HAT+ connects an M-key device to the Pi 5's single-lane PCIe 2.0 interface. Its stated peak interface rate is 500 MB/s, before application and storage limits. A drive advertised for a desktop's four-lane connection will not deliver that desktop rate through the Pi's one-lane link.
M.2 describes a physical family of connectors and card sizes; it does not mean every M.2 drive uses the same protocol. Choose an NVMe drive supported by the adapter rather than an M.2 SATA drive merely because it has a similar outline. Confirm the exact model and firmware with the adapter's compatibility information.
The official adapter guide distinguishes the standard HAT+, which accepts 2230 and 2242 devices, from Compact, which accepts 2230. Standard leaves room for the Active Cooler; Compact fits around the official case fan and does not accommodate the Active Cooler beneath it. Do not apply one board's mounting or clearance instructions to the other.
Third-party bases, dual-drive boards and integrated cases can have different supported lengths, cables, cooling and power arrangements. Read the documentation for the specific product instead of treating several brands as one interchangeable design. Two drives behind a PCIe switch still share the upstream connection; two sockets do not create two independent Pi PCIe lanes.
Power, Cooling and Physical Installation
The official HAT+ specifies up to 3 A supplied to the connected M.2 device. This is a capability, not a requirement that every SSD continuously consume 5 W. Account for the whole Pi setup's power needs, including attached peripherals, and use the power arrangement documented for the selected board.
Shut down and disconnect power before handling the adapter or SSD. Follow the manufacturer's cable orientation and mounting instructions, seat connectors evenly and secure the drive without forcing it. Keep the original boot medium and important data safe before starting. A successful physical fit does not establish electrical or software compatibility.
Check case clearance, airflow and cable strain before closing the enclosure. Do not obstruct the cooler or bend the ribbon sharply to make a case fit. A storage task that runs for several minutes can reveal thermal or power problems that a quick boot misses.
Verify Detection Before Moving Data
Use an up-to-date supported Raspberry Pi OS installation and check its bootloader state. The following commands inspect the system; they do not format a drive:
sudo rpi-eeprom-update
lsblk -o NAME,SIZE,MODEL,TYPE,MOUNTPOINTS
findmnt /
Compare the reported model and size with the SSD you installed. Identify the existing root filesystem separately. A detected, unformatted drive may not appear as a mounted desktop volume. Decide whether it will become the boot drive or additional storage before selecting an imaging or formatting operation.
If it is missing, disconnect power before checking the cable and mounting. Review the adapter's requirements, bootloader compatibility and power supply. Change one cause at a time so that a later successful detection tells you what helped. Do not immediately force a faster PCIe generation to troubleshoot an undetected drive.
Boot from NVMe with a Recovery Path
The official guide supports writing Raspberry Pi OS to the selected NVMe target with Raspberry Pi Imager. Imaging erases the selected storage, so verify its model and capacity and back up any existing contents first. Use a spare or clearly identified target rather than guessing from a device name.
On a Pi already booted from microSD, run Imager there if supported by the installed environment, choose the NVMe drive and complete the write. Shut down before removing the microSD. Retain it as a recovery option until the NVMe installation and your applications are verified.
When an SD card remains inserted, boot preference can matter. In sudo raspi-config, use the documented Advanced Options → Boot Order → NVMe/USB boot choice; menu numbers can differ between releases. Reboot and inspect findmnt / again to confirm where the root filesystem actually lives.
If boot fails, return to the retained working medium and inspect detection and boot settings. Copy application data consistently rather than cloning an actively changing database and assuming the copy is complete. Confirm the restored application records as well as a successful operating-system boot.
PCIe Gen3 Is an Optional Experiment
The Pi hardware documentation states that Pi 5 is not certified for PCIe Gen3 and that Gen3 links may be unstable. Keep the default Gen2 baseline for a dependable setup. There is no guaranteed 850–900 MB/s result for every drive and adapter.
If you deliberately test Gen3, save your working configuration and recovery medium first. The documented optional setting in /boot/firmware/config.txt is:
dtparam=pciex1_gen=3Use the selected adapter's activation requirements; a conforming official HAT+ is automatically detected. After a planned reboot, repeat the same workload and inspect errors and temperatures. If instability appears, remove the experimental setting and return to the known-working configuration. An SSD's own Gen3 or Gen4 rating does not certify the Pi link.
Measure the Workload That Matters
The earlier tables called generic sequential and IOPS figures “measured” without a test method or device evidence. Use a repeatable task on your own hardware instead. Record the drive, adapter, OS, PCIe setting, cooling and workload so that a comparison has useful context.
For a container server, compare application startup or a representative query, not just one large-file read. For a media server, the network or transcoding can limit the task even after storage improves. Keep file size and conditions consistent, note caching and repeat the test. Avoid destructive write tests on a drive containing important data.
A faster interface does not guarantee endurance or recovery. Choose capacity and workload suitability, keep free space available and back up the application data to separate storage. The official SSD documentation provides details for Raspberry Pi's own drives; it is not evidence that every SSD in a brand family has identical compatibility.
The useful upgrade is the one that improves your actual storage task while remaining stable through restarts and sustained use. Verify both performance and restoration before retiring the older boot medium.