Now that we have most of the necessities out of the way in our Homelab, we can start to focus on items that is going to add value to the homelab in general. As an example, Wordpress is already running in or homelab, but if is a single container that is responsible for both PHP and MySQL. So today we are going to start looking at splitting our services so that each container or VM is only responsible for one task at a time. Today we are going to get our own separate MySQL server up and running and working, but using a LCX container again (due to its lightweight nature compared to a VM). One of the most valuable additions to any homelab is a MySQL instance, a powerful and widely used relational database system. But why would you want to run MySQL at home? Whether you’re a developer testing applications, a data enthusiast exploring structured storage, or a homelabber setting up self-hosted services like WordPress or Nextcloud, MySQL provides a solid foundation for storing and managing your data.
Step 1: Get the MySQL LXC Container
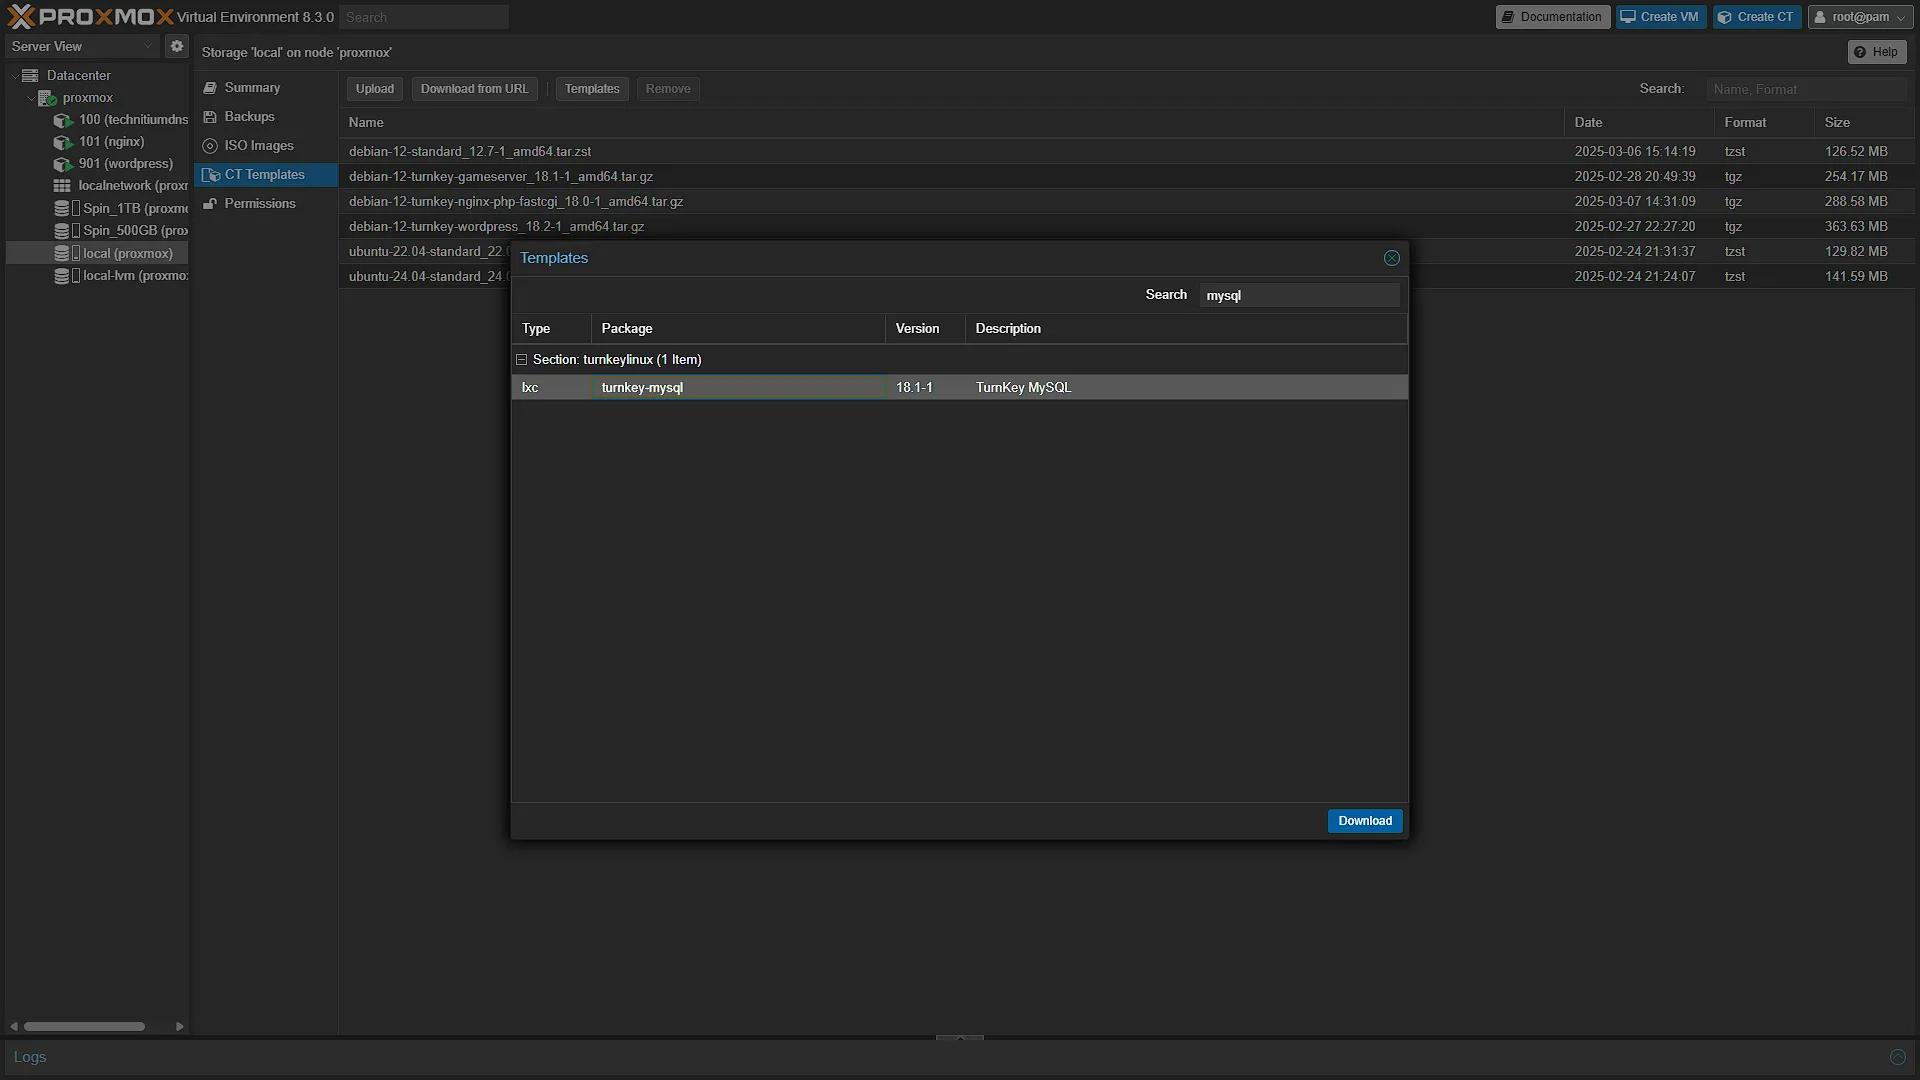
Log in to your Proxmox web address again and in the left navigation pane expand Datacenter, then expand your main node, ex proxmox. From there select the local directory. In the middle navigation pane, select CT Templates and the click  in the main window. In the window that pops up, search for
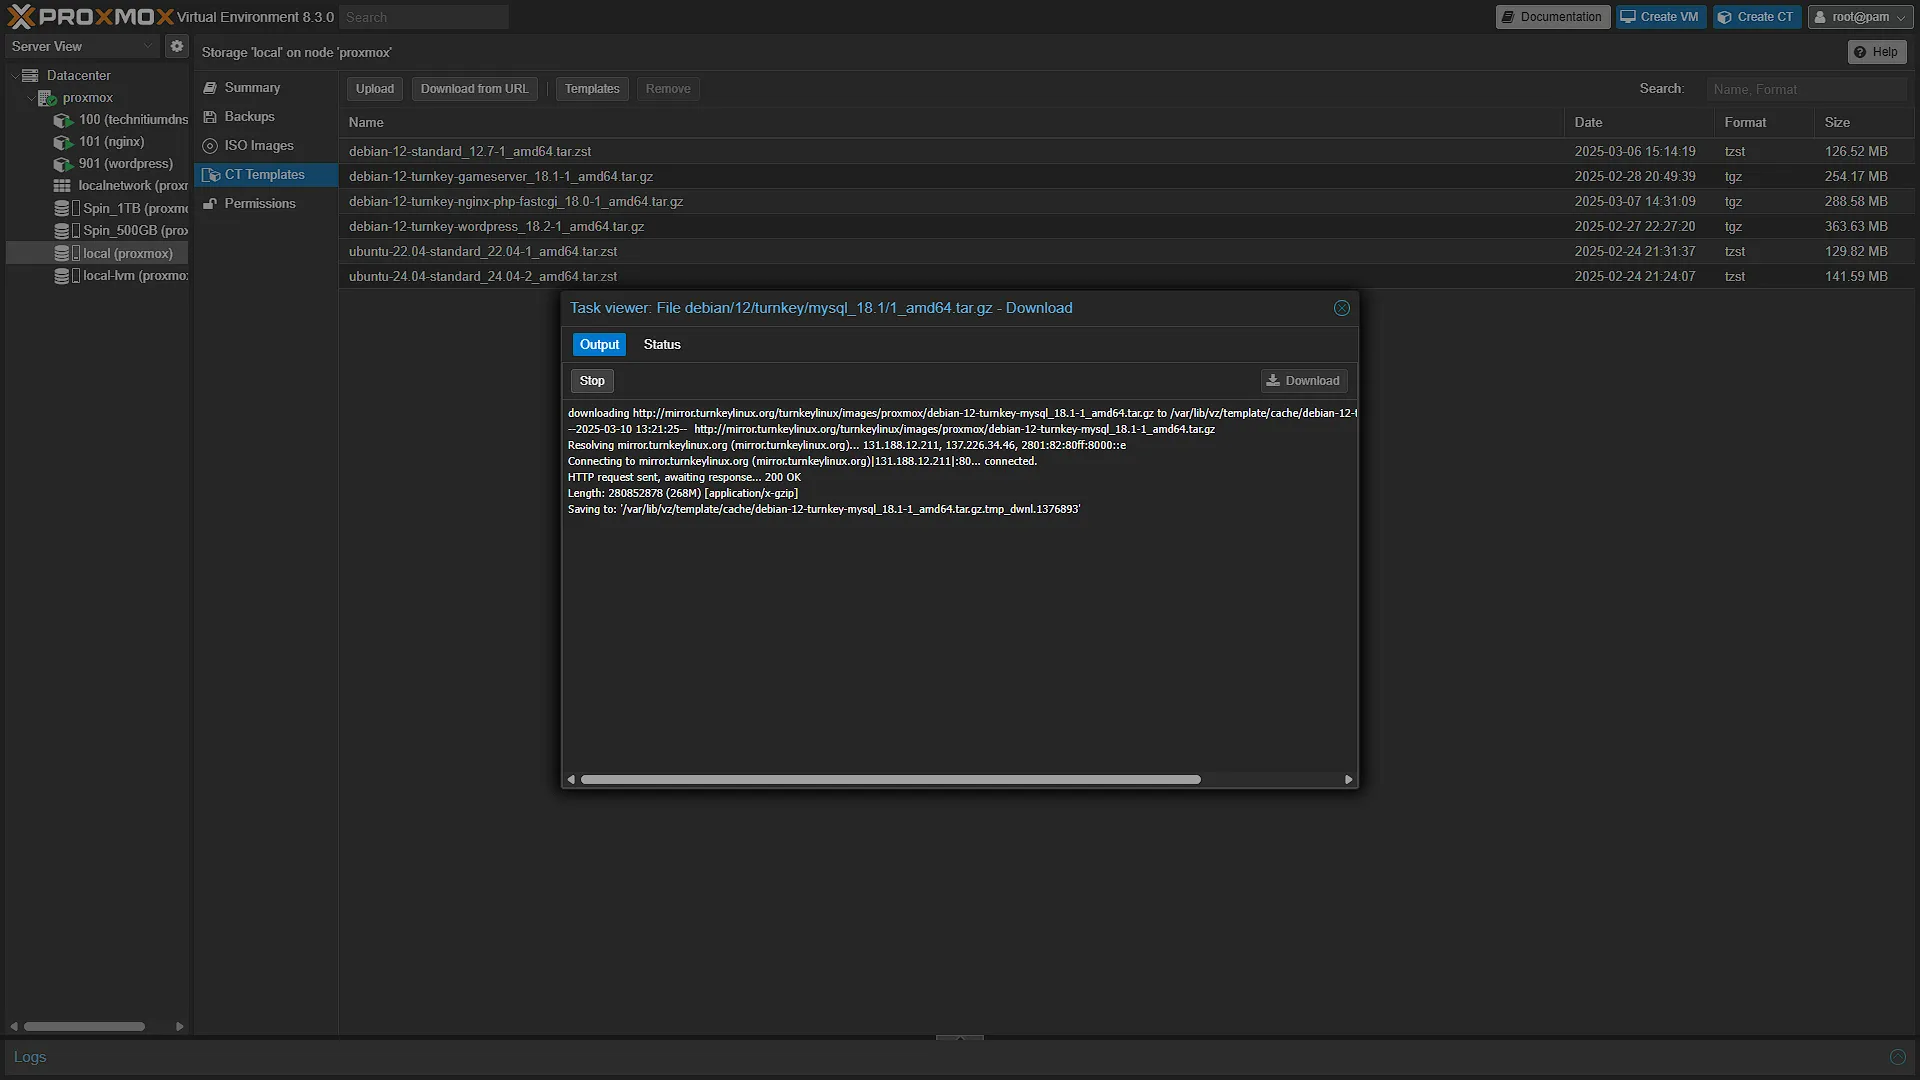
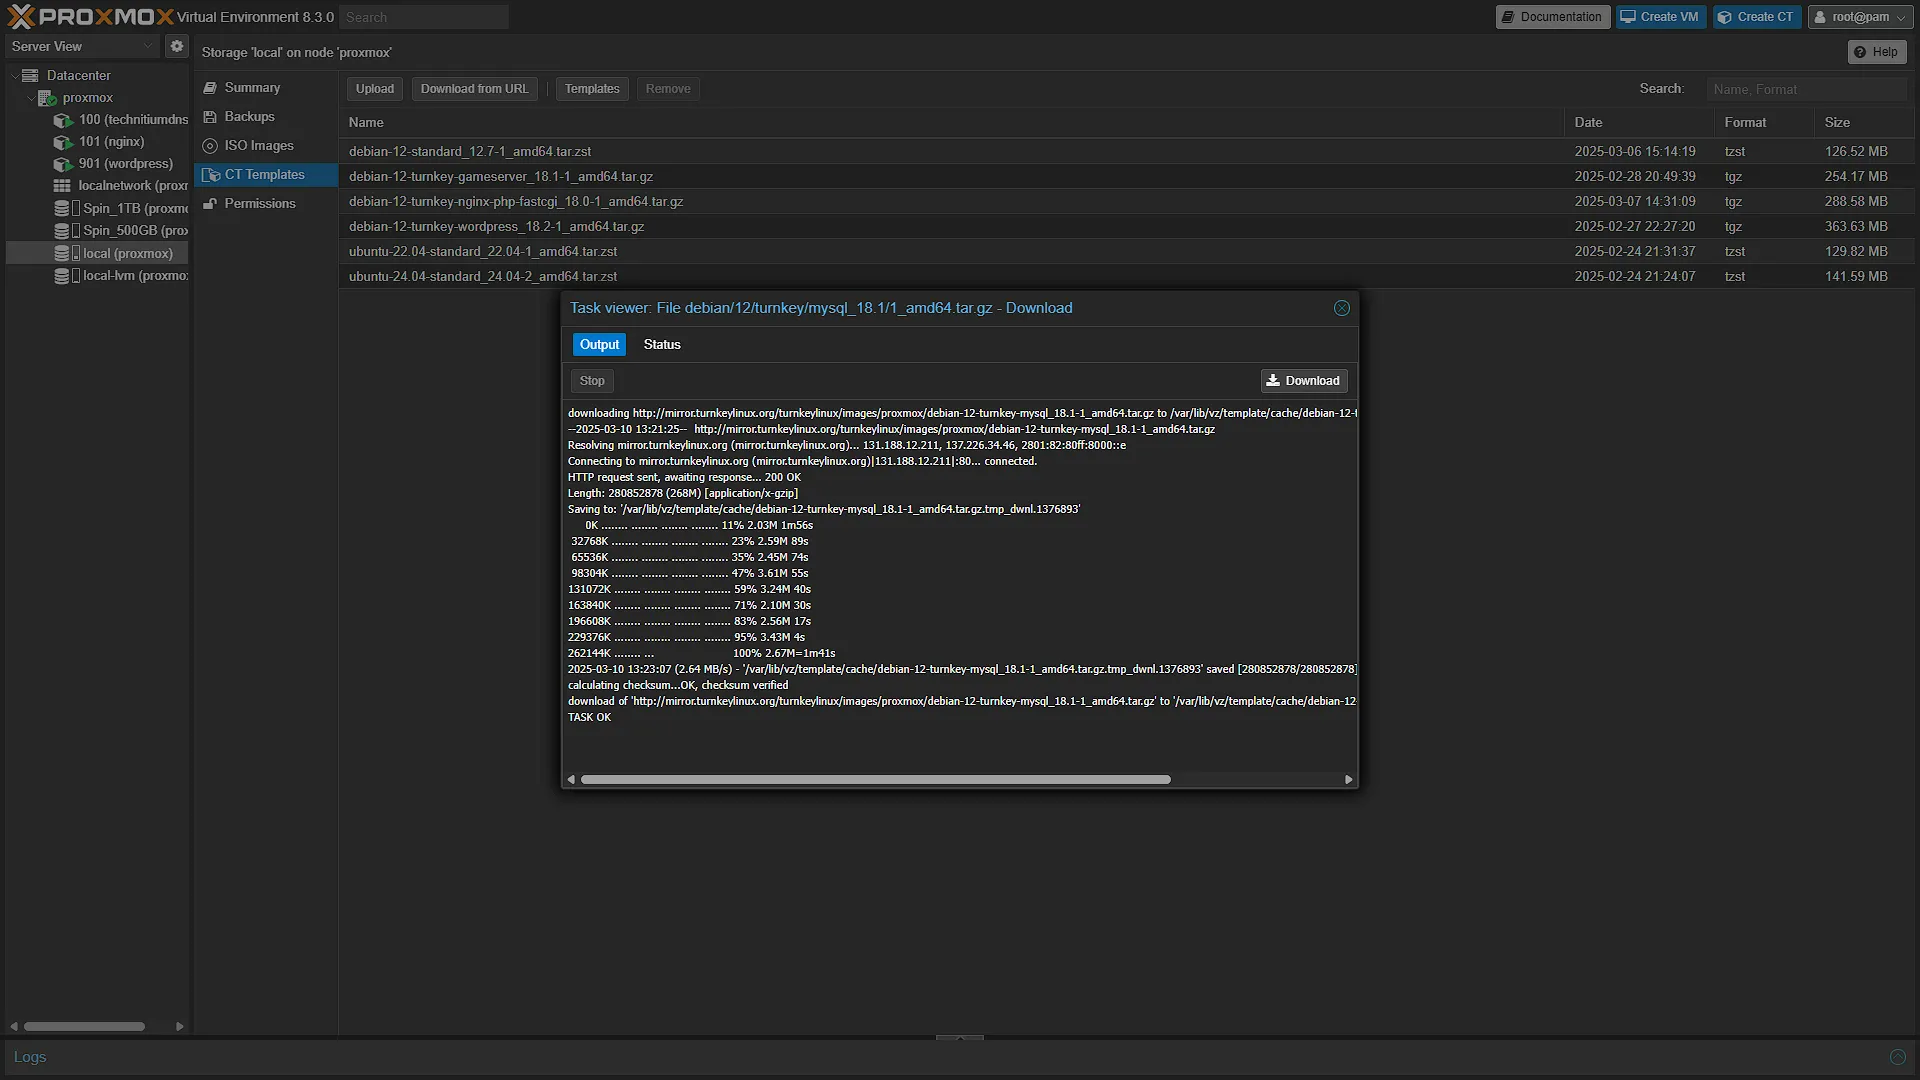
 MySql and select the search result. Click  to start the download process of the LXC Container Template. Once completed, we can create a new instance of this CT Template.
Step 2: Create a new container
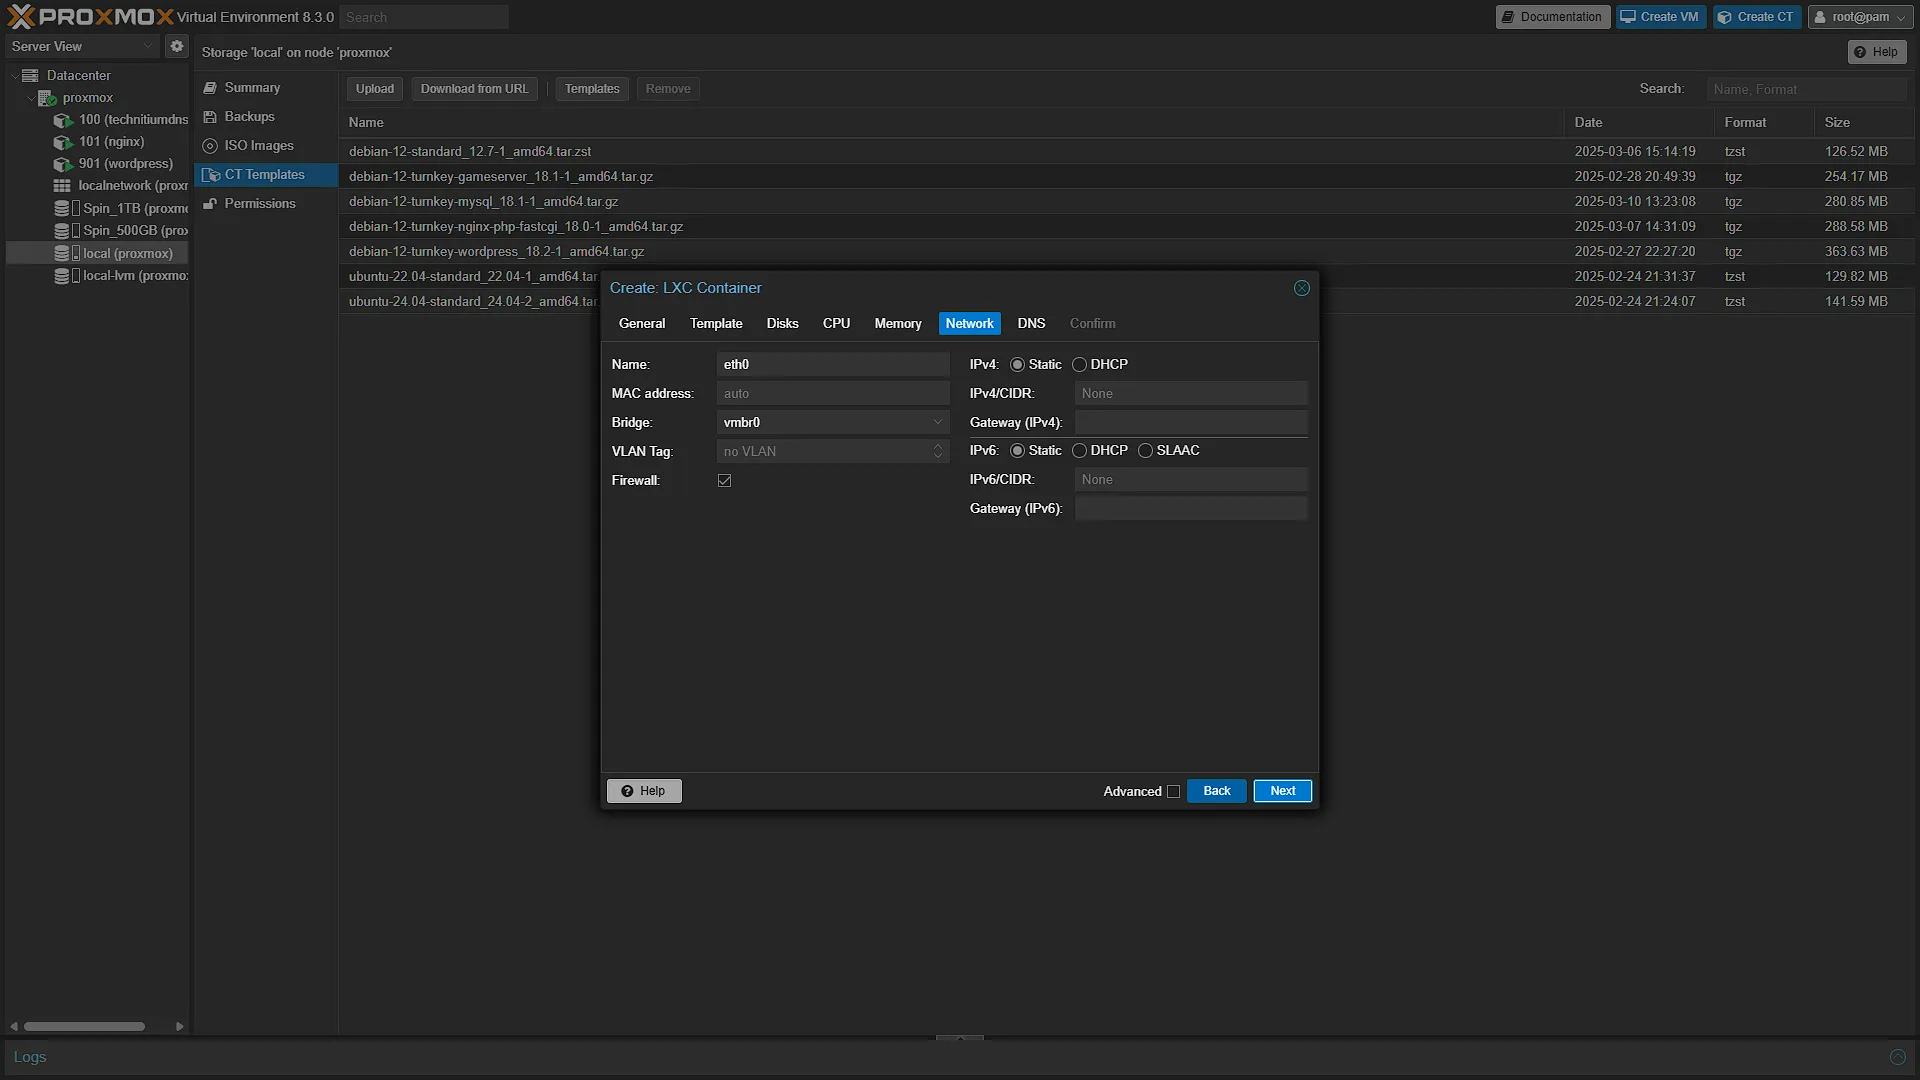
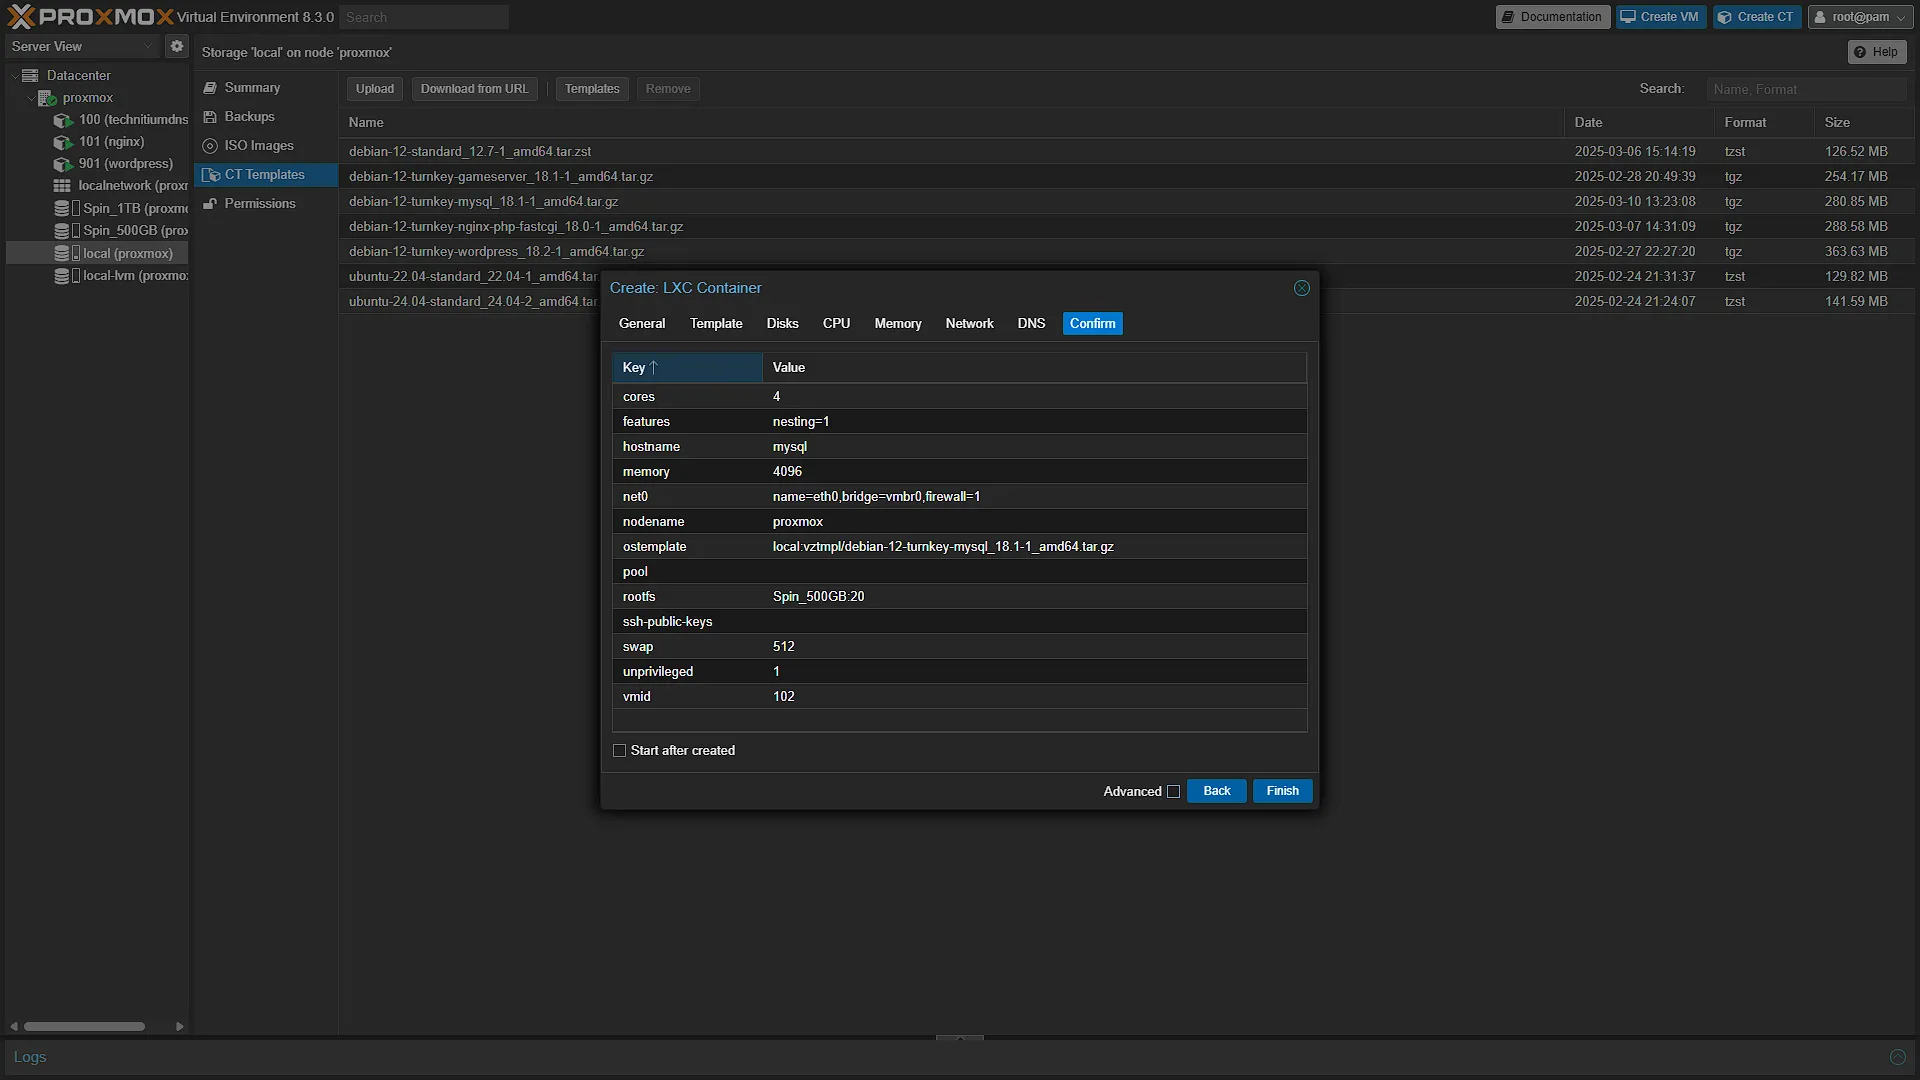
Once we have the container template, we can click the  button to create a new container. We need to use the following values:
In the general screen, fill in the CT ID field, this can be any number normally in the 100 - 999 range, and this is just an ID for the container. Fill in the hostname (
mysql) and choose a password. This password is the password for the root user of the Linux container.
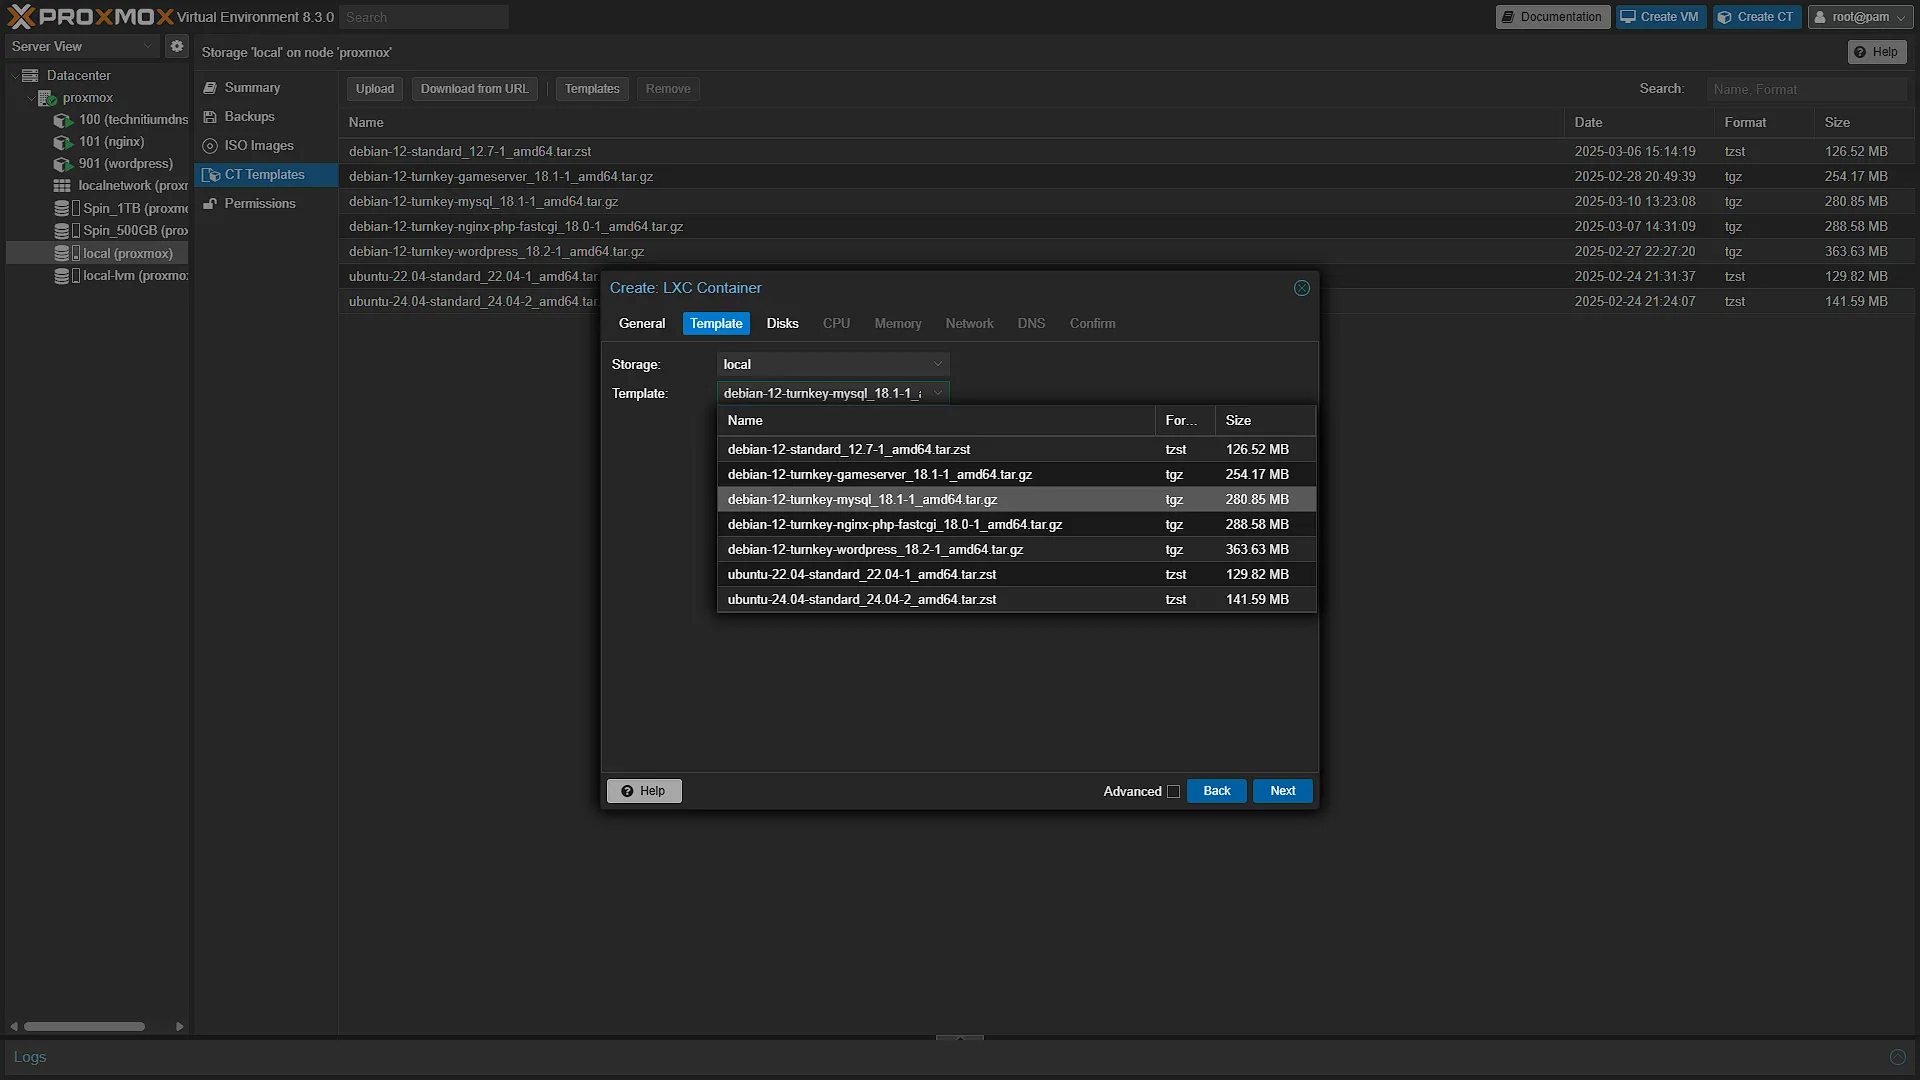
TemplateIn the template screen, select the container template. You should only have the option to select
local in the Storage dropdown as that is the only place where container templates are installed. In the Template field, select the mysql container template we downloaded in step 1.
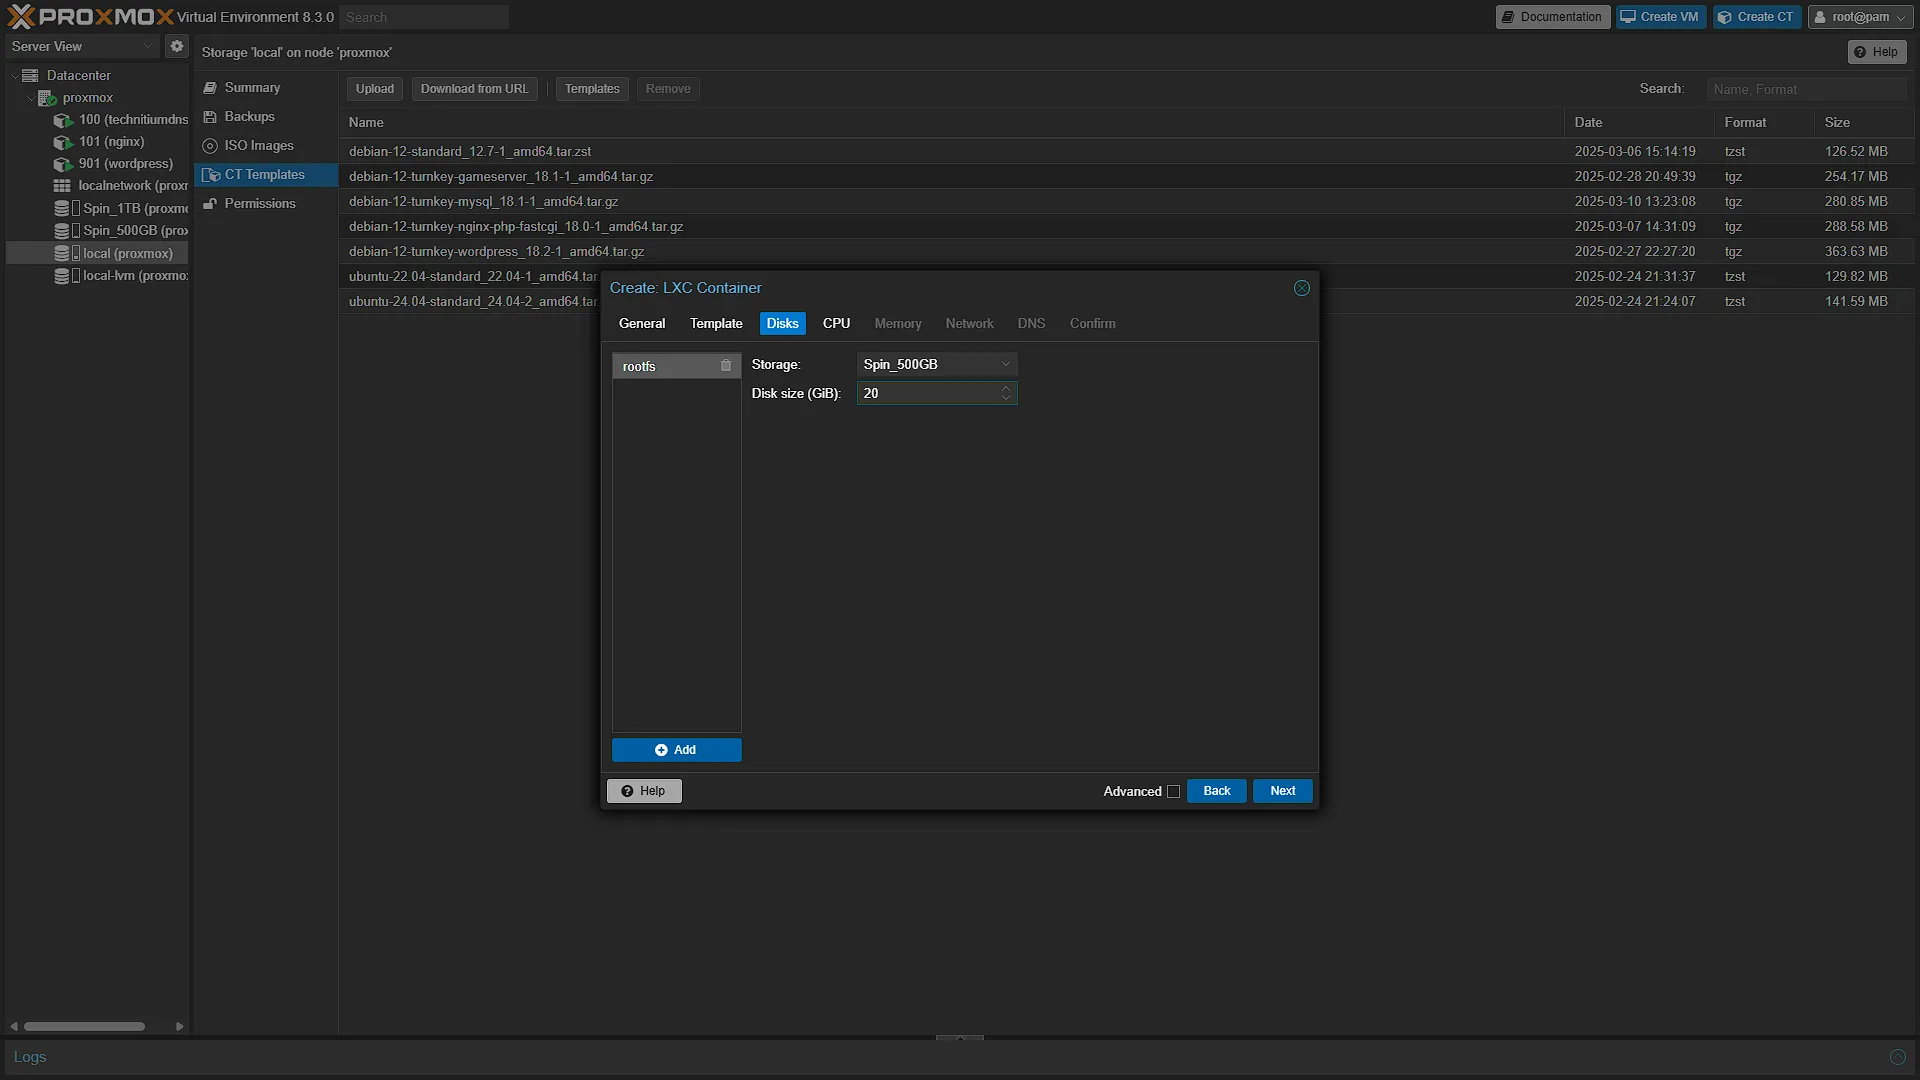
DisksNow we come to the location where the container will be installed. Select any disk of your choosing and disk size as well. The default 8GB of storage is more than enough for now, but we will grow into it as we run more services. We are going to increase this to 20GB for now, we can increase more later. CPU
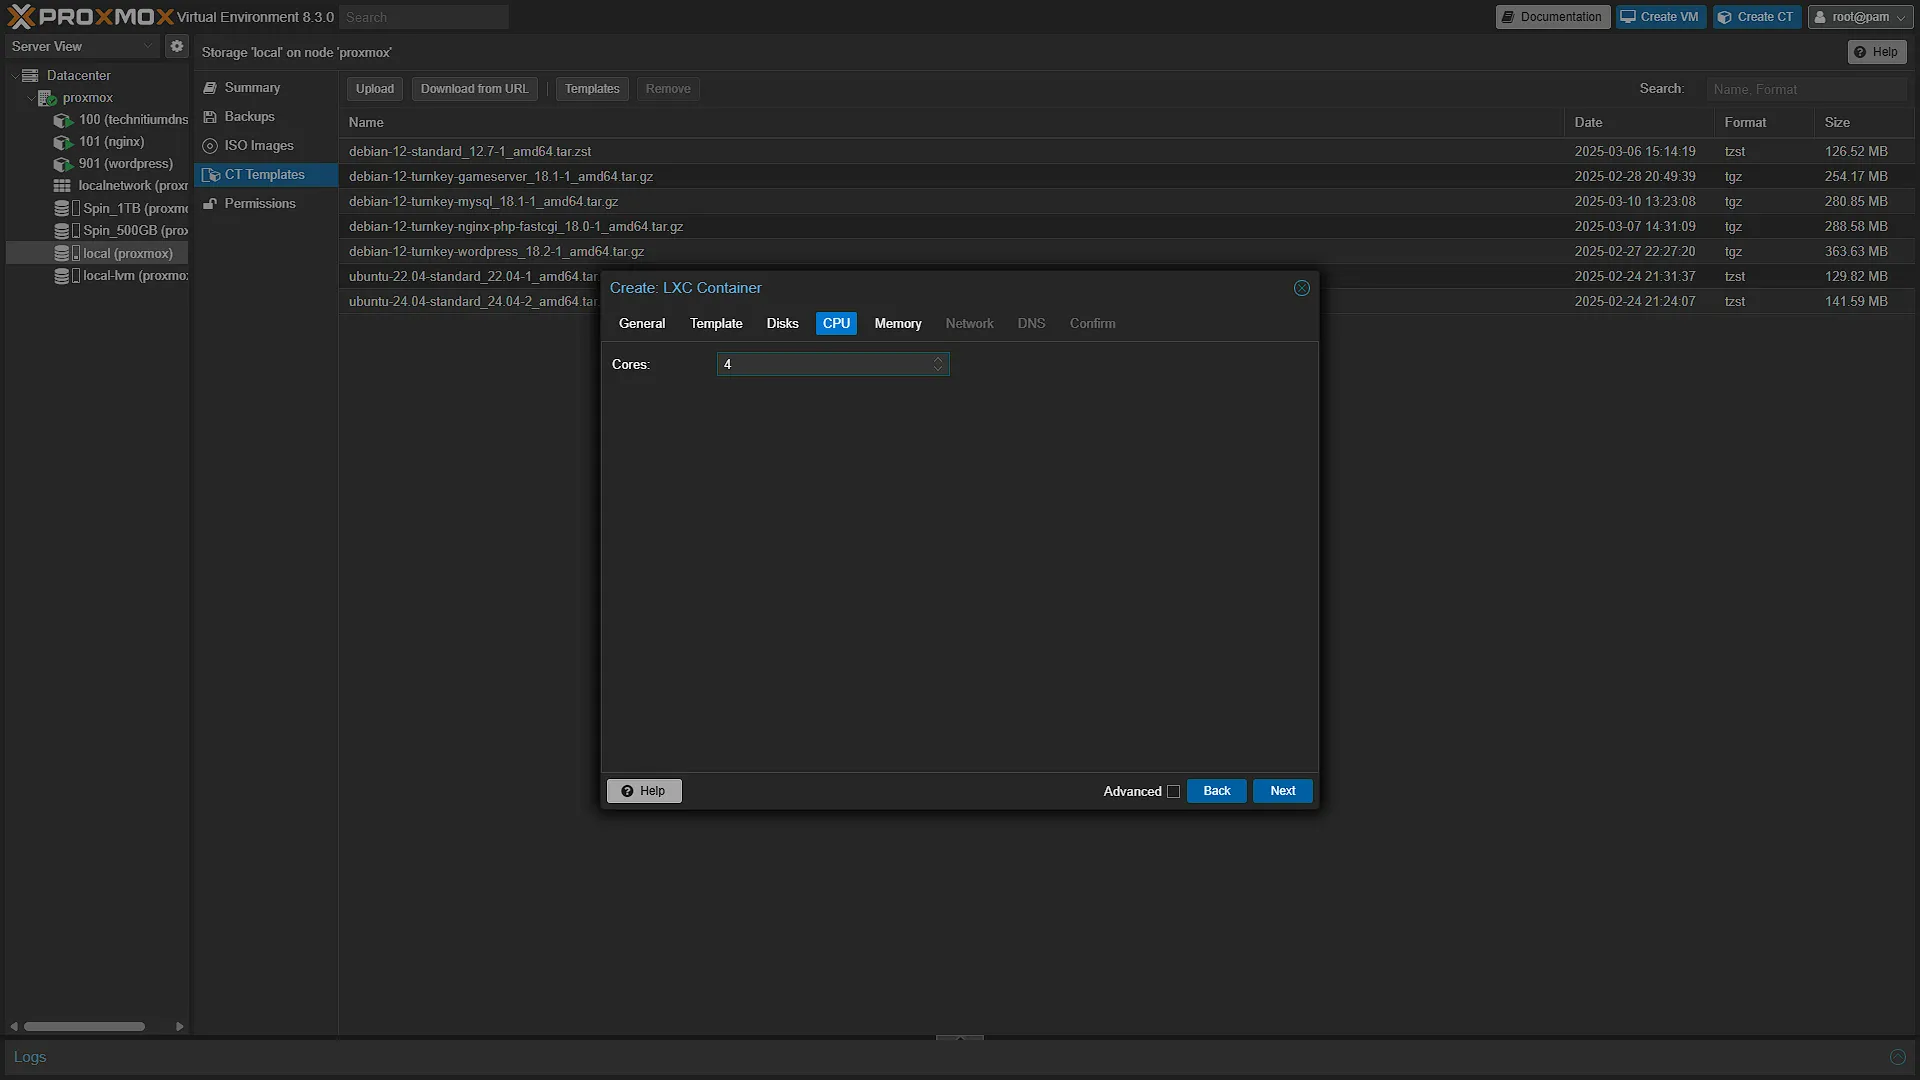
This is just the maximum amount of CPU cores the container has access to. This does not mean that those cores are only assigned to this container, it merely states that the container cannot access more than these. We opted for 4 so that we can handle multiple databases at the same time when needed. Memory
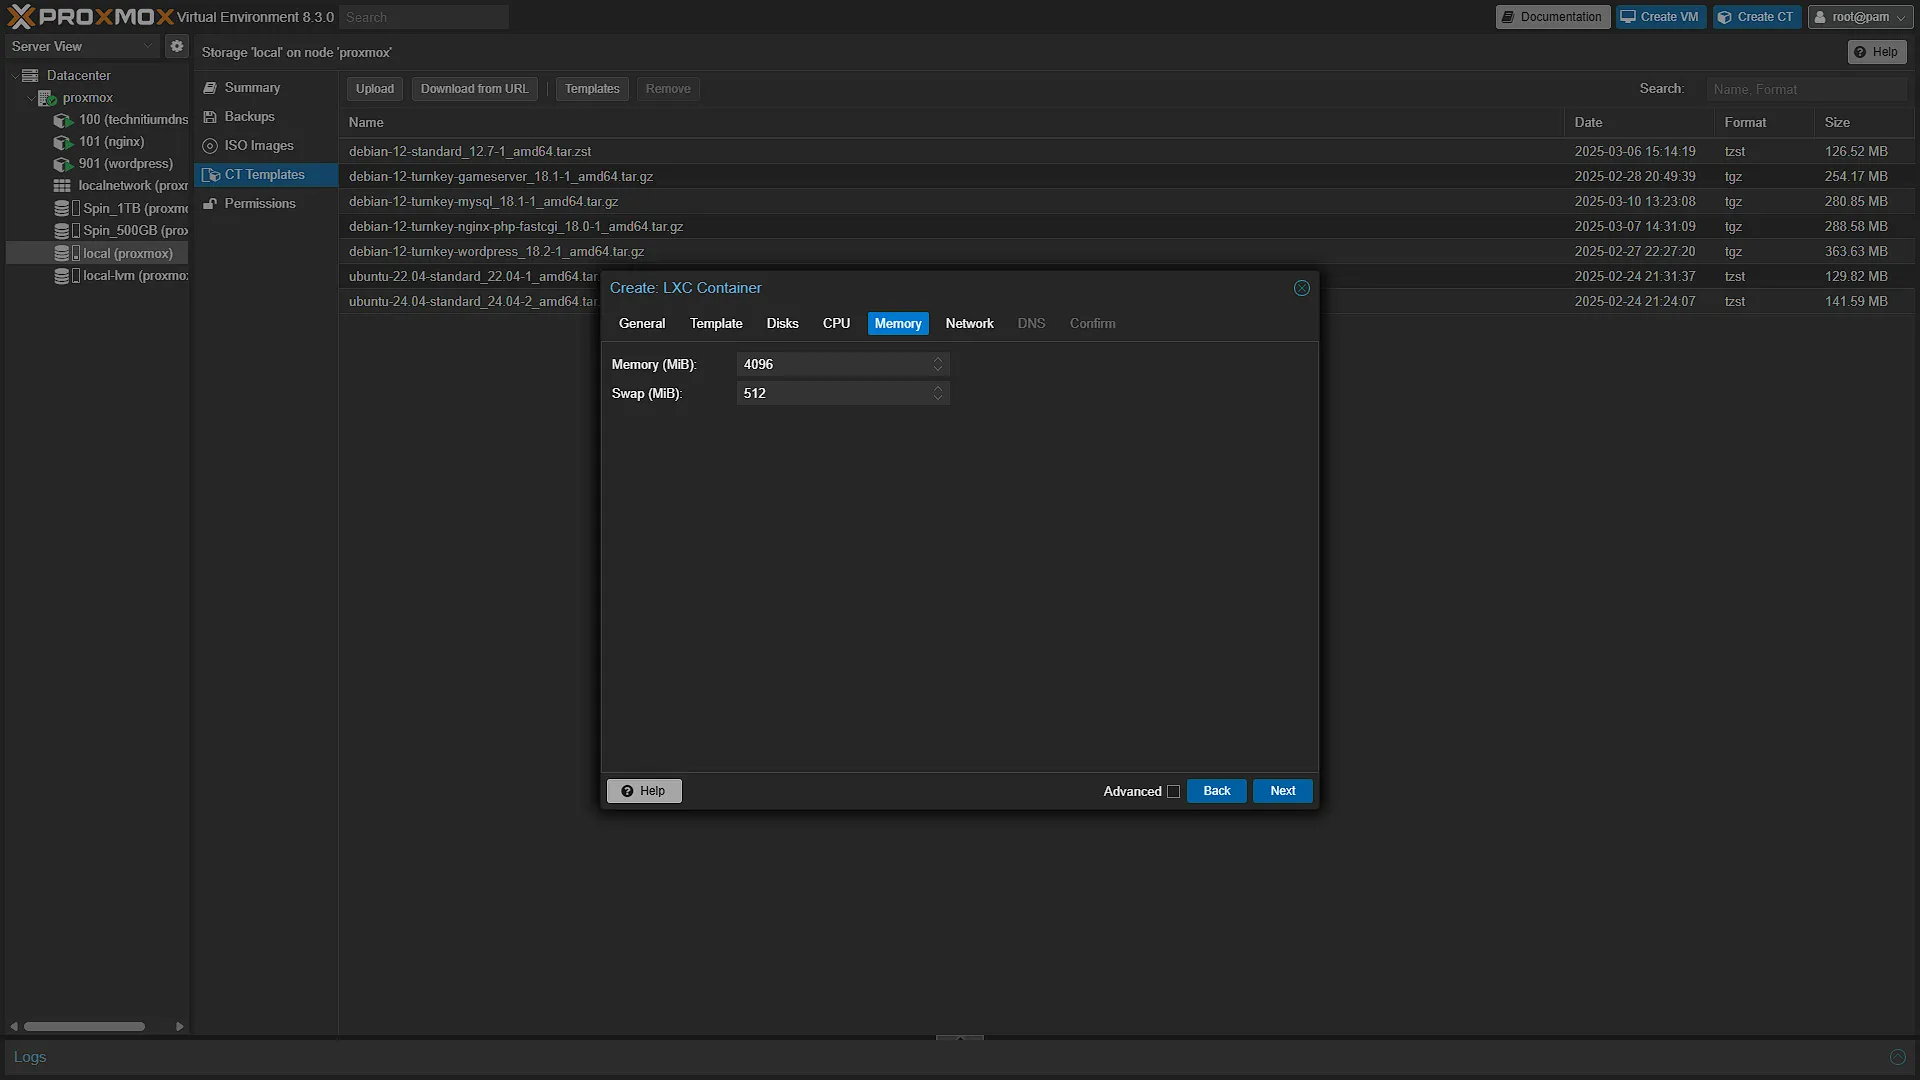
Same as CPU, this states the maximum. We are increasing this to 4GB, we will probably need more later on but for now we will have plenty. Network
Leave as is and just continue to the next screen. DNS
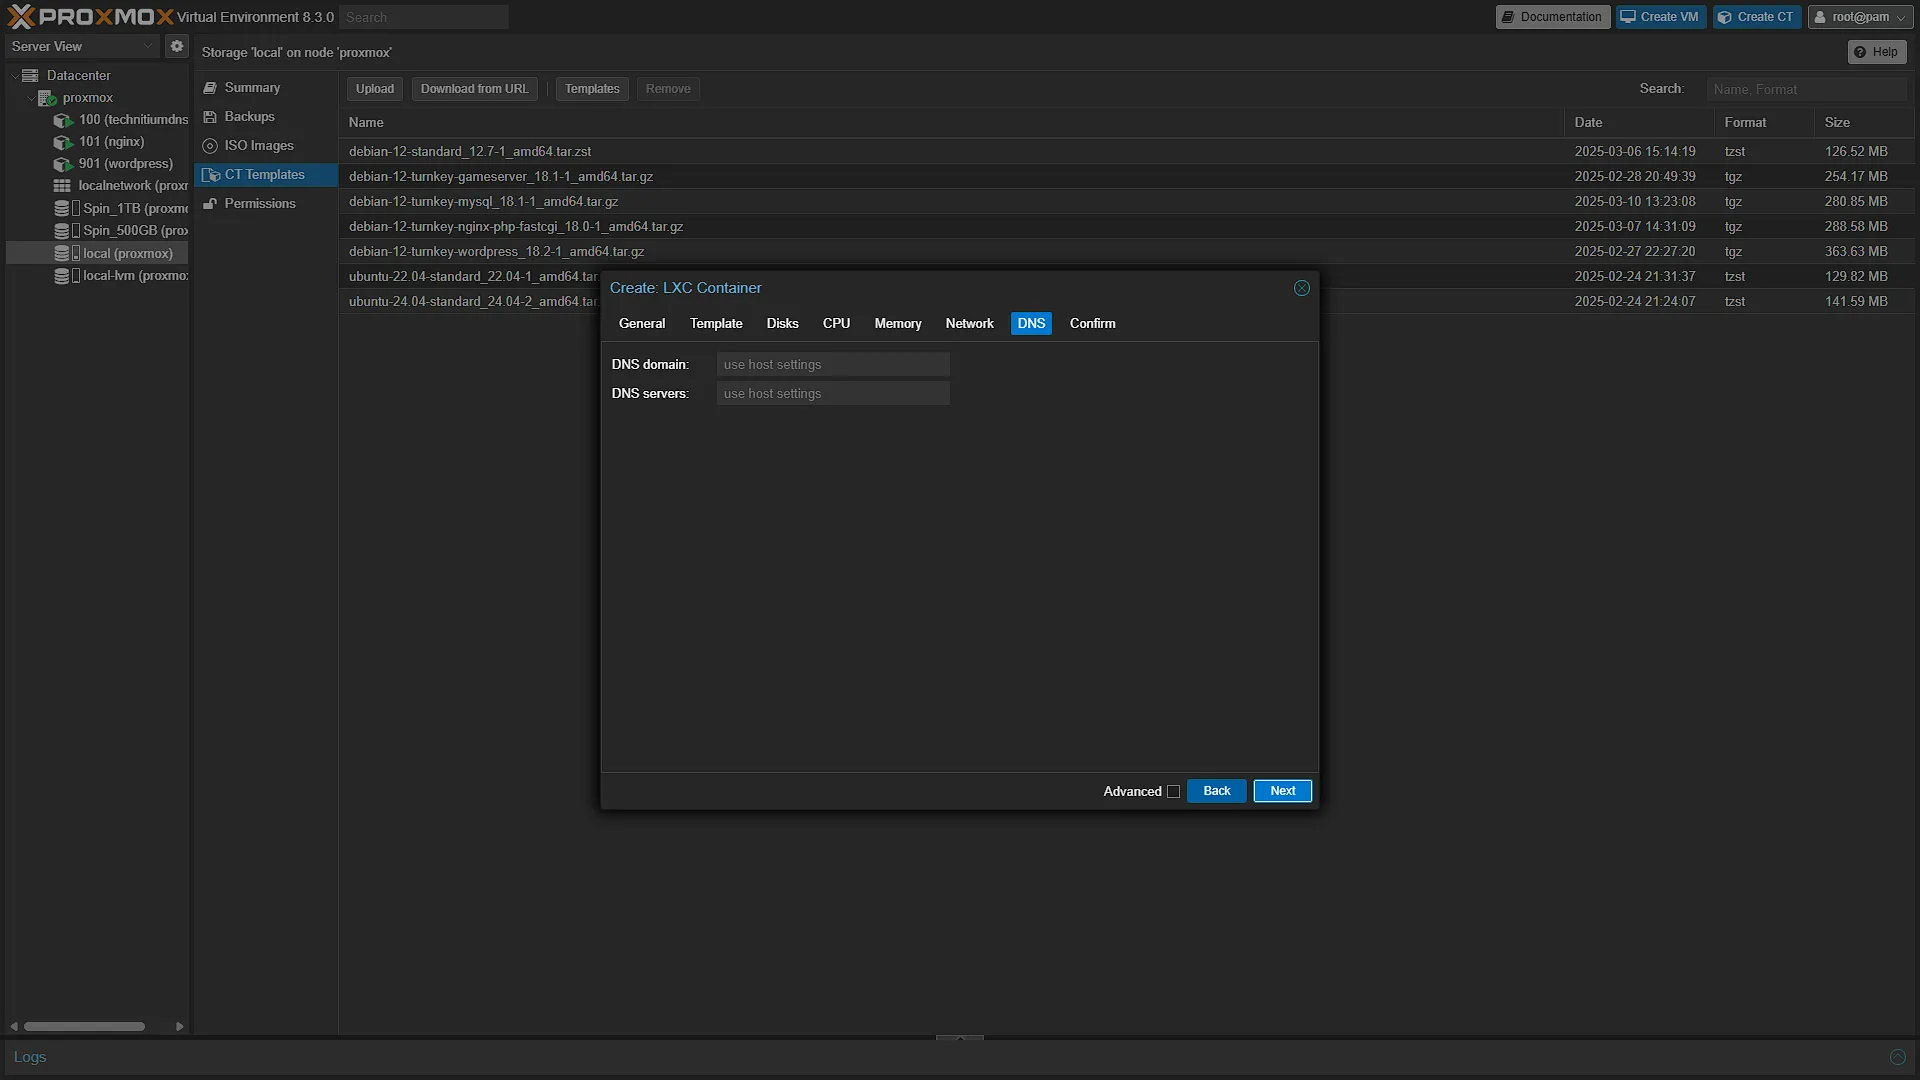
Again, leave as
Use Host Settings, we might change this in a future container or VM, but seeing as we don't even have our own DNS server up and running yet (At the time of writing), there is no need to change this.
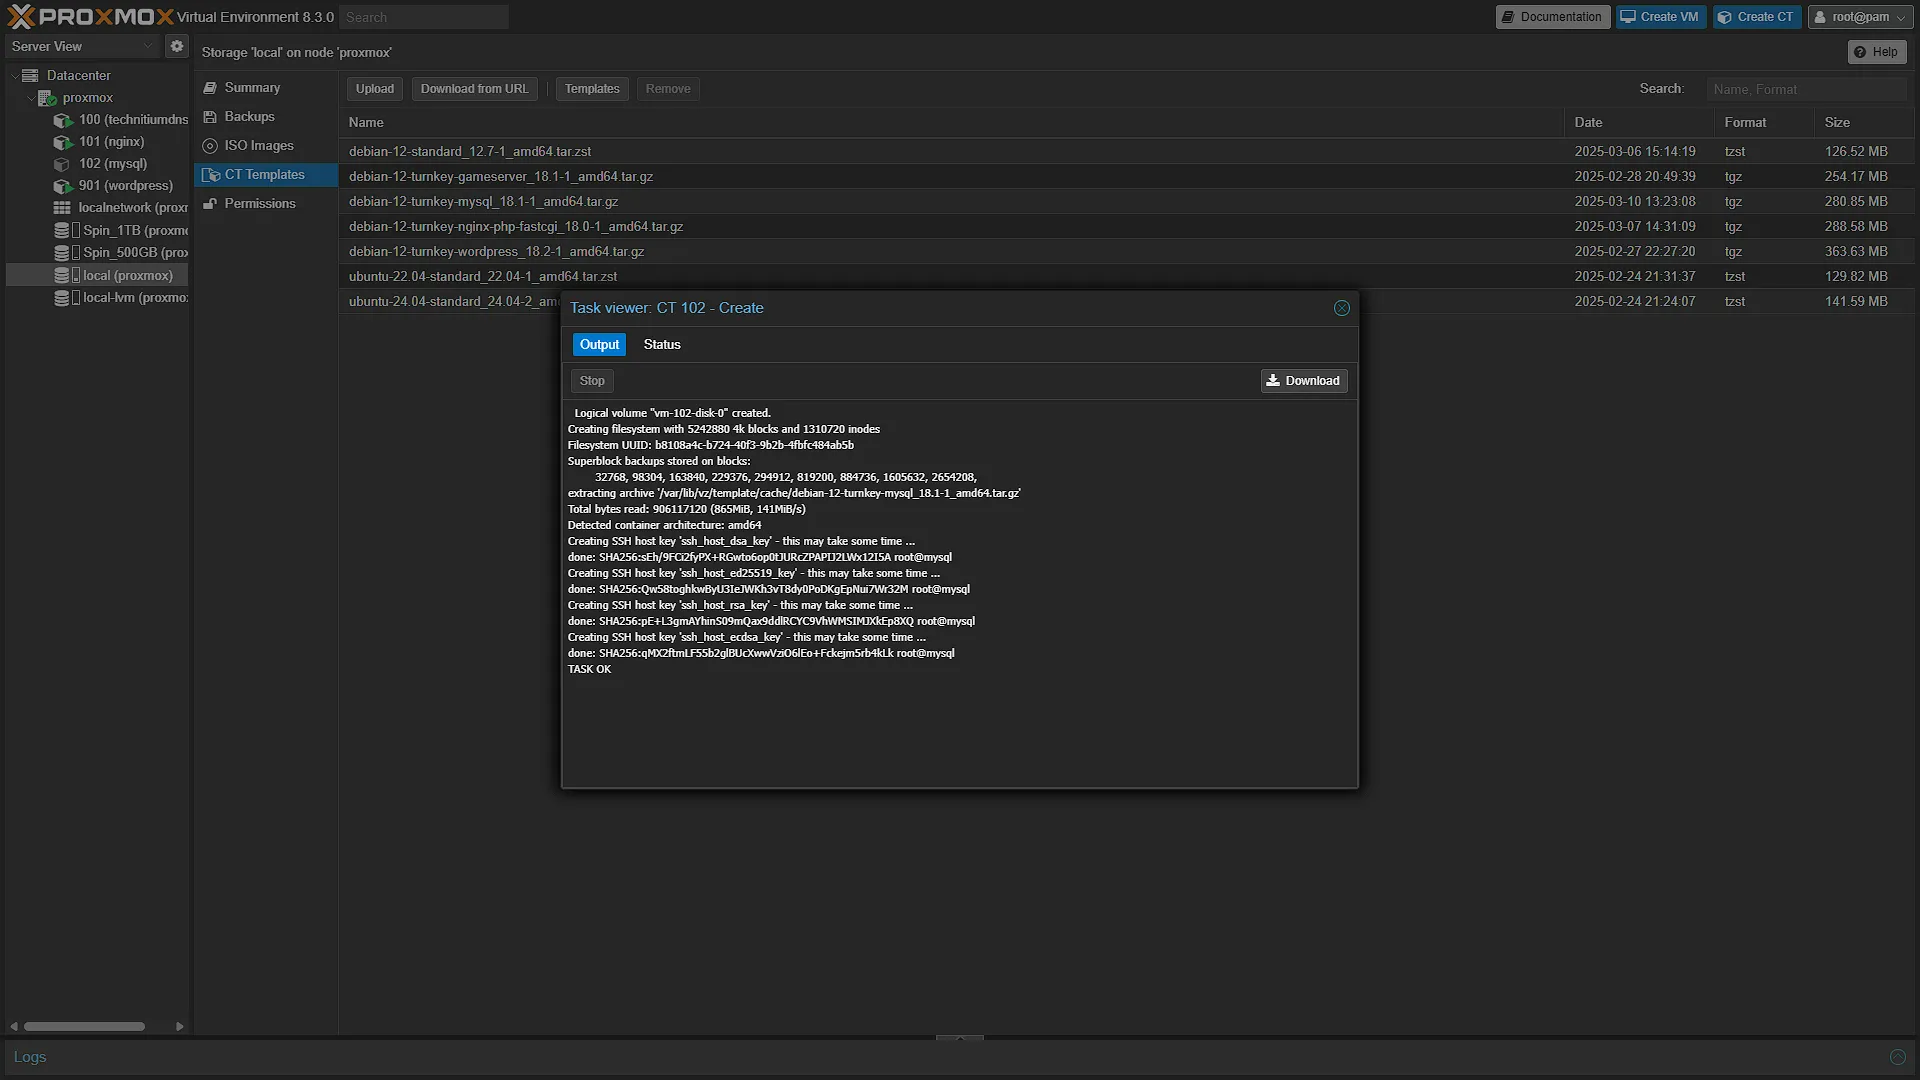
ConfirmCheck that you are happy with all of the settings, and if you are, hit
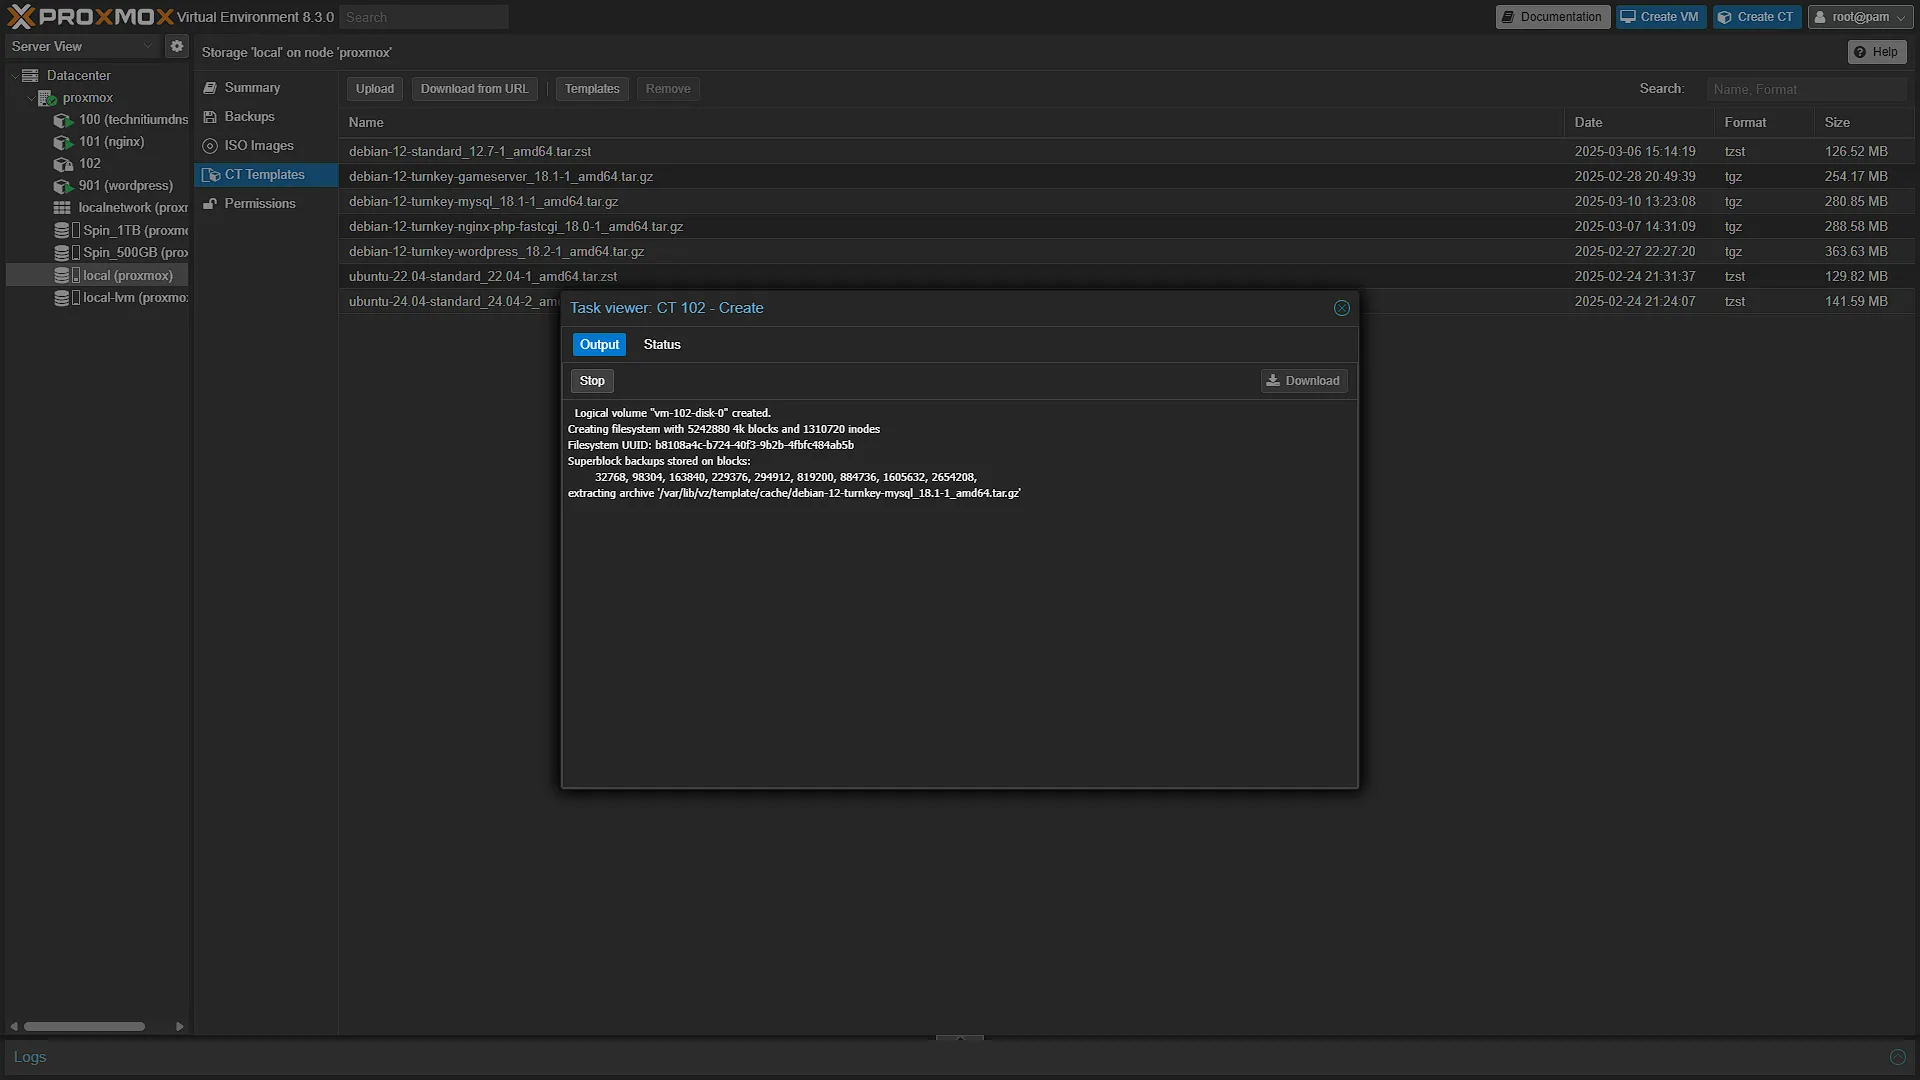
 . The installer will run and let you know once done.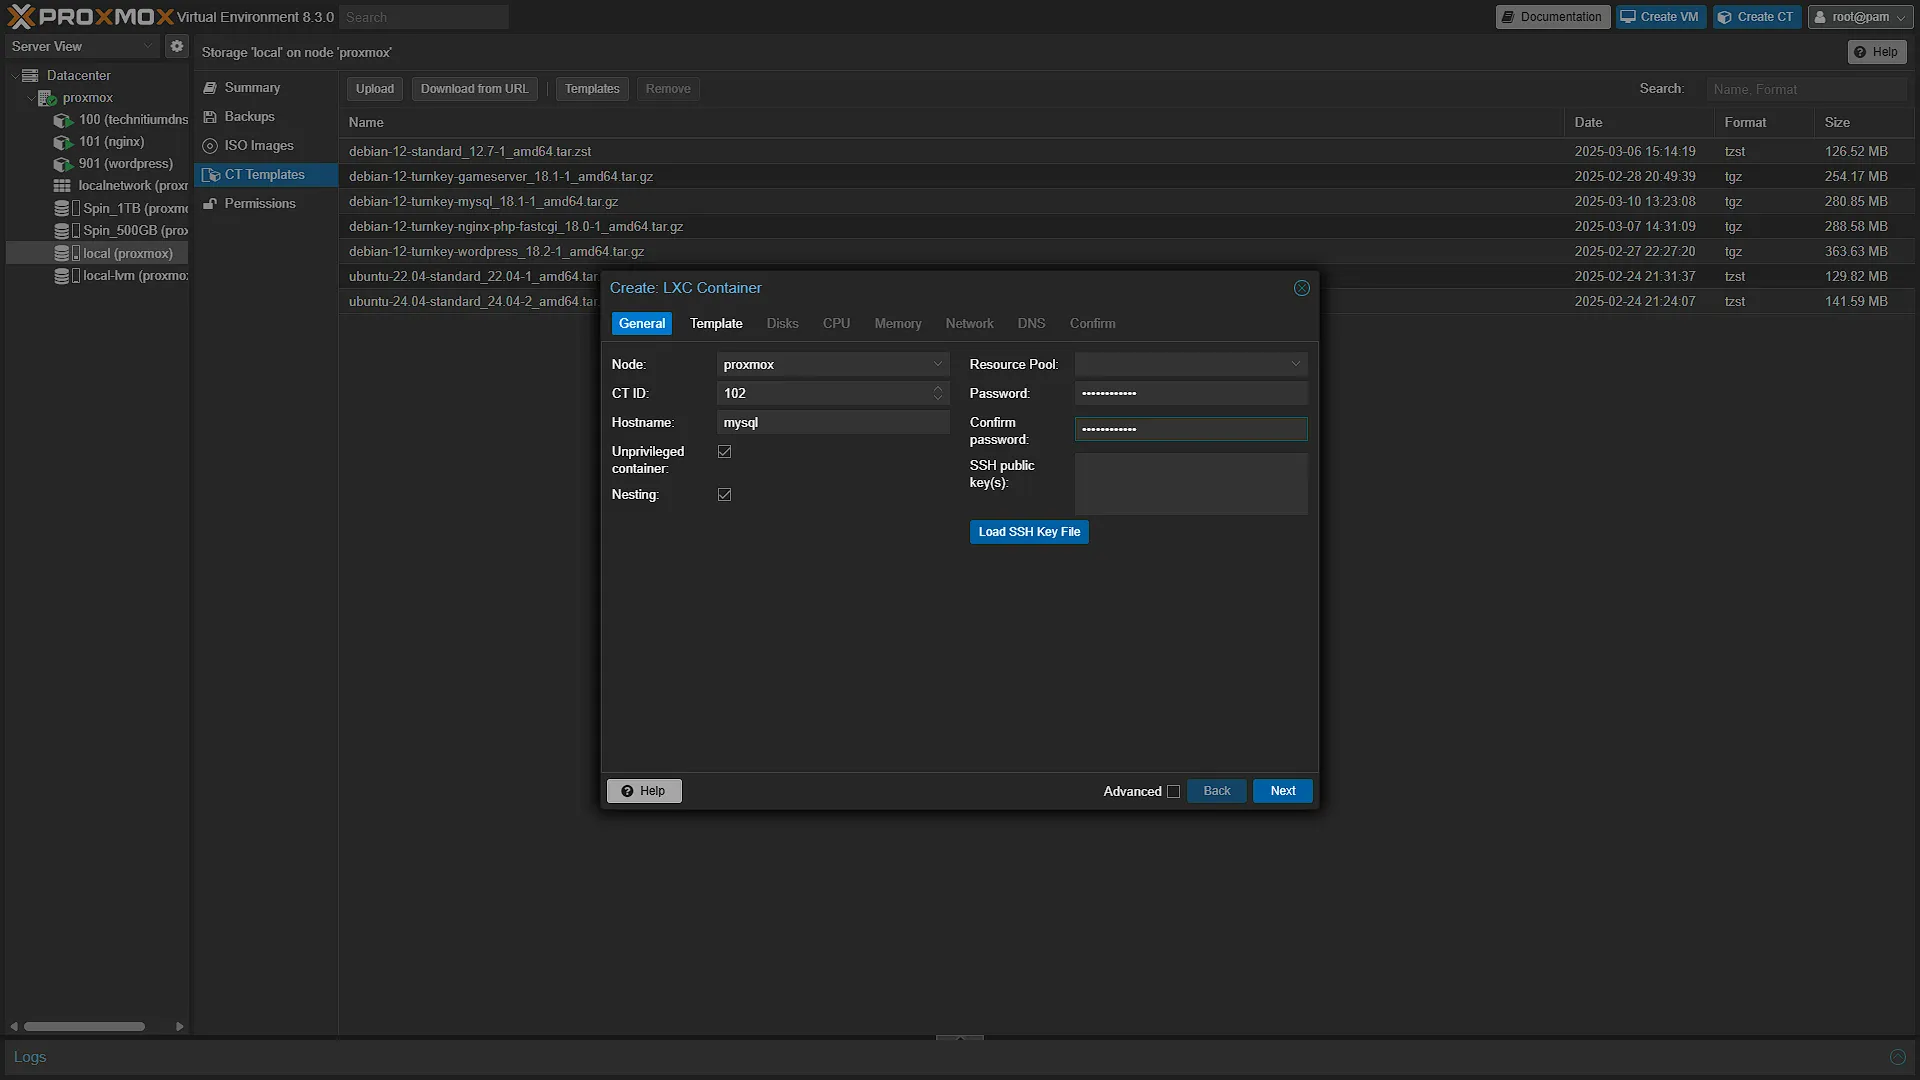
Step 3: Configure Container
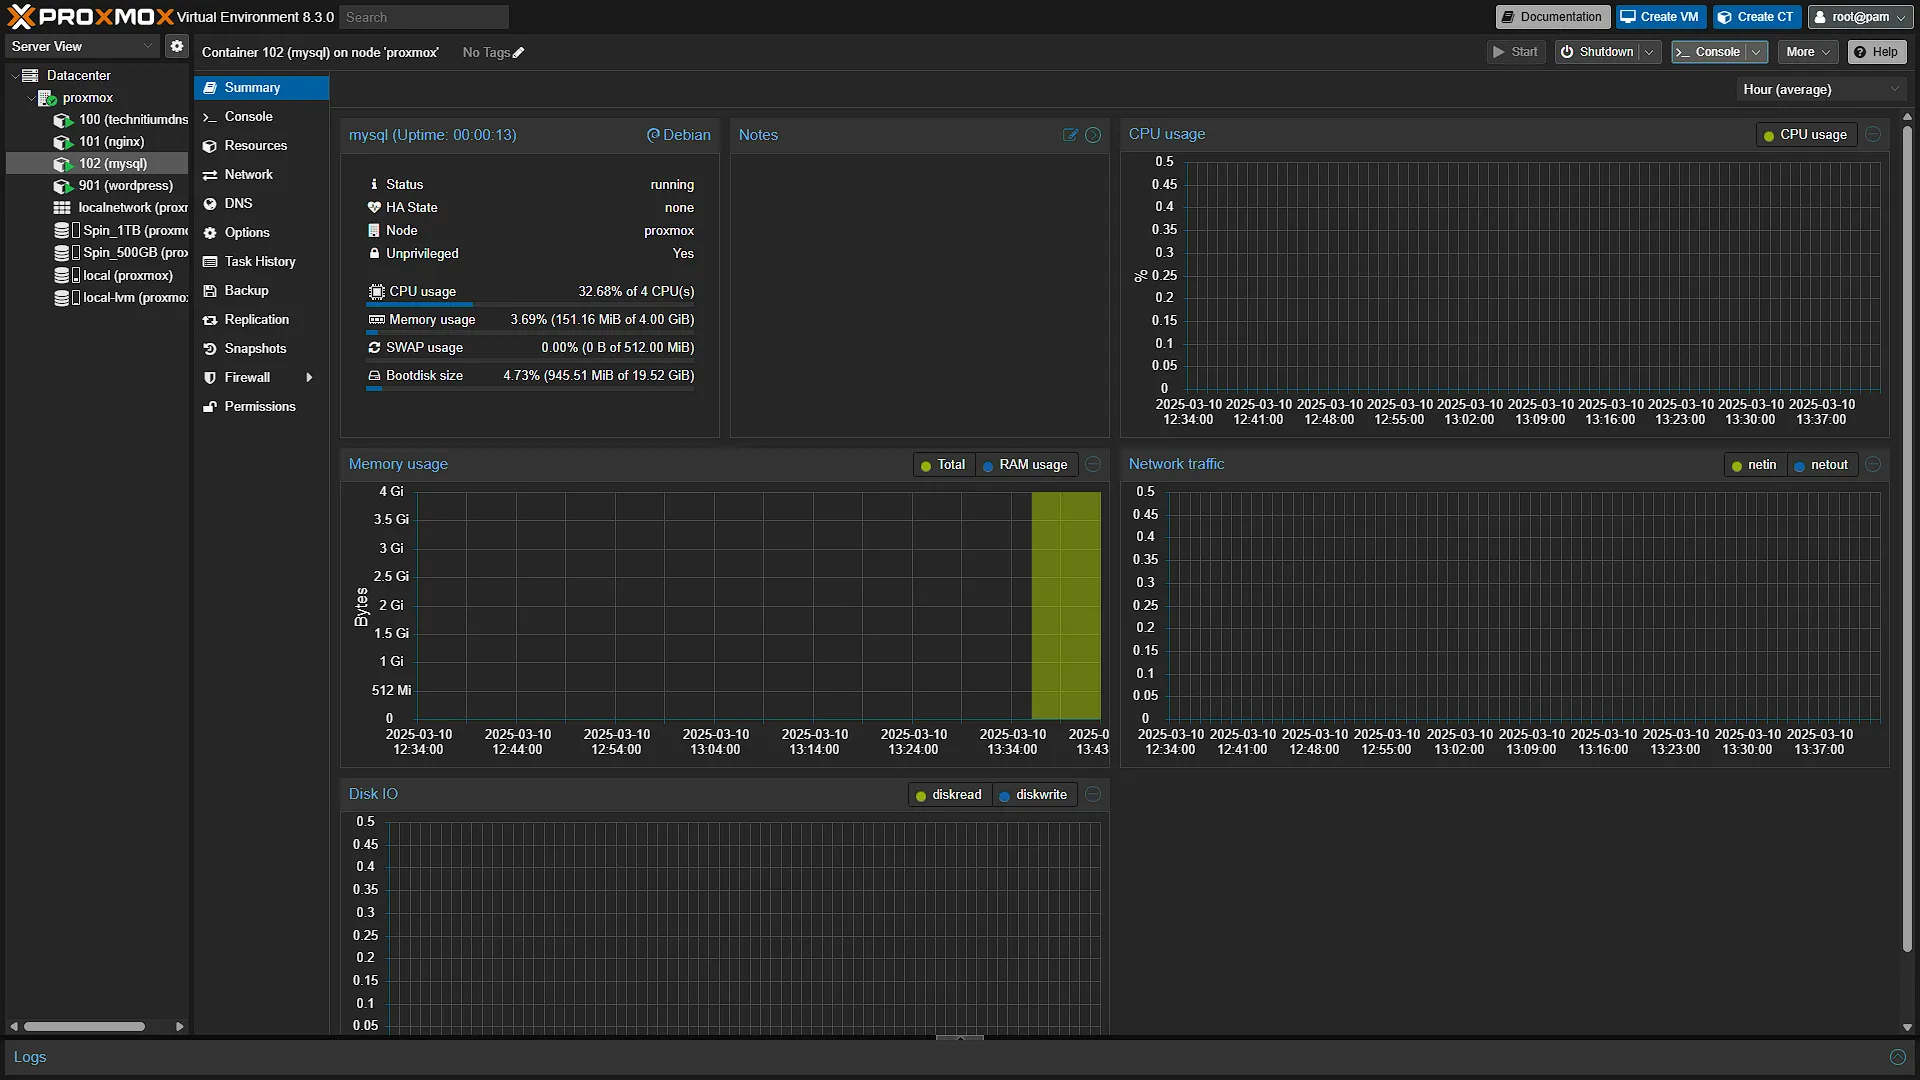
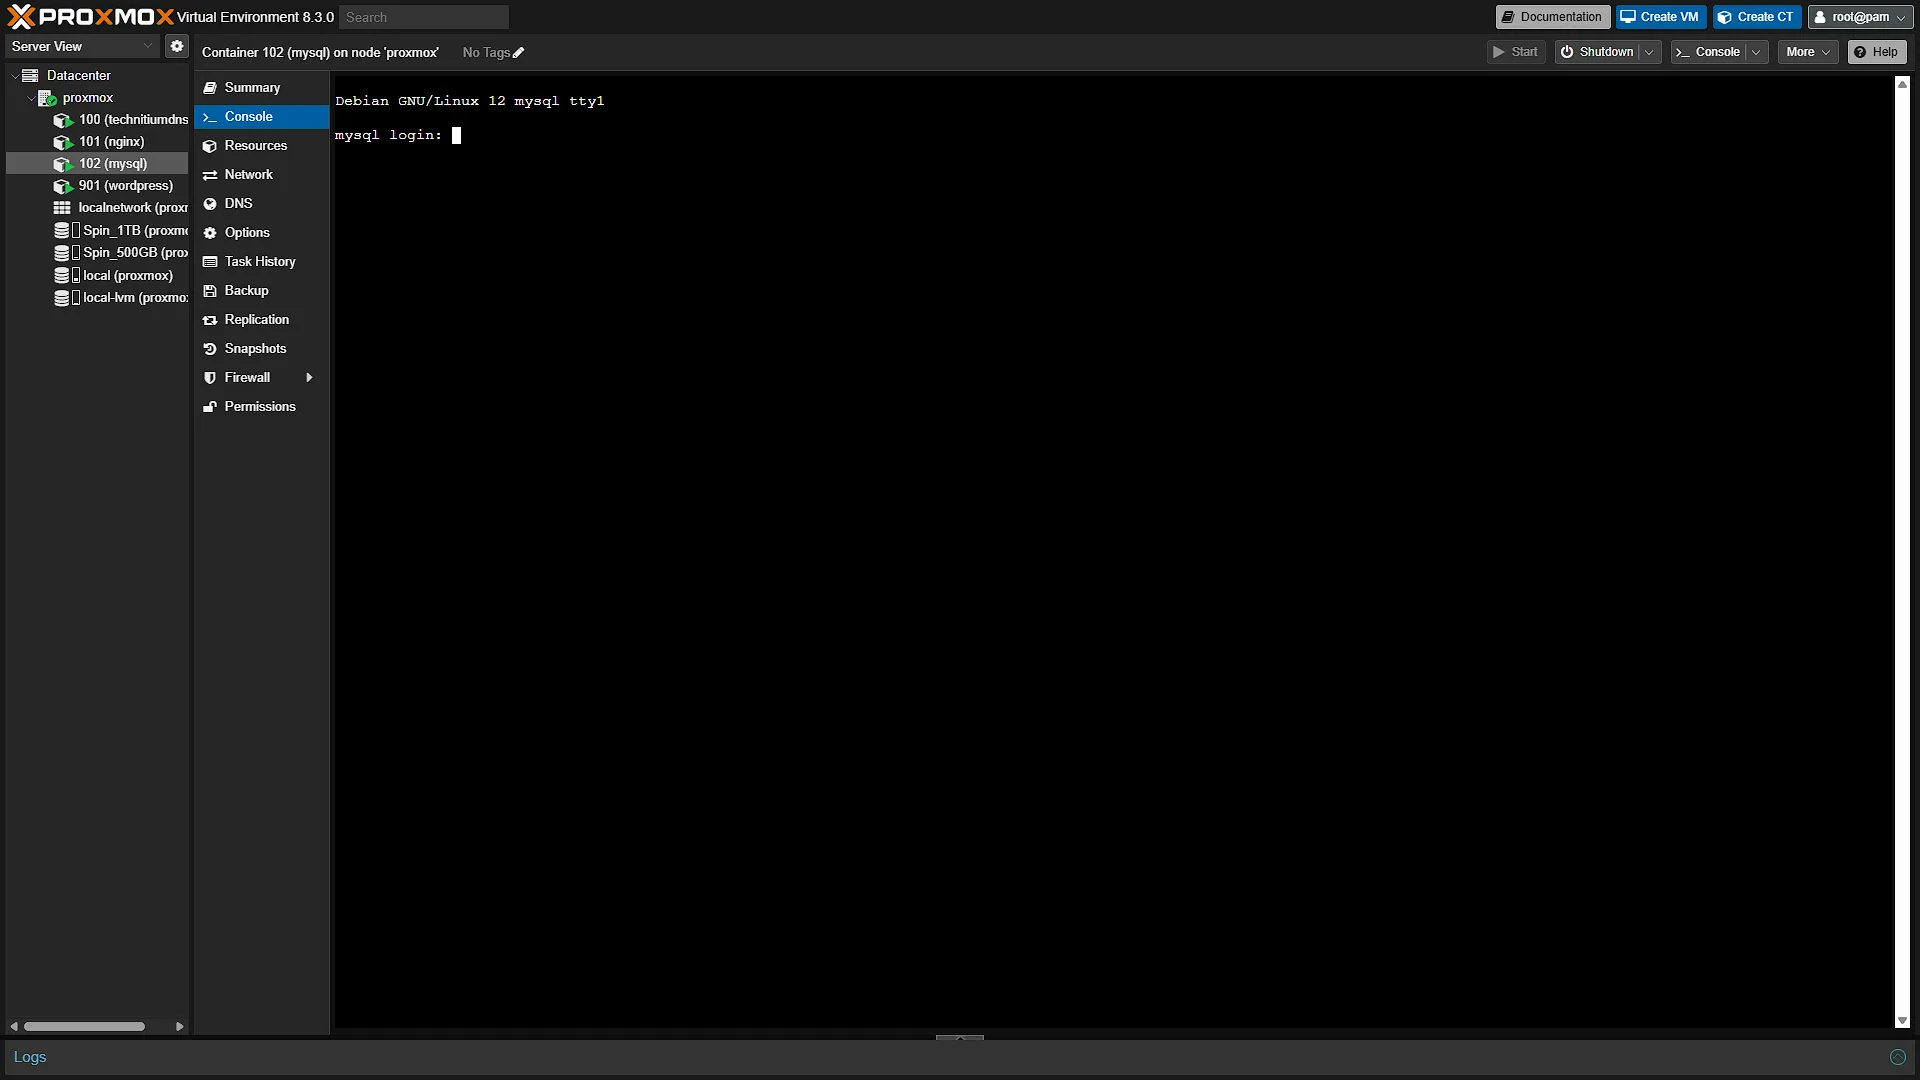
Select the newly created container from the left navigation pane. If it is not running, click Start to start up the container. From the middle navigation pane, select Console to open the integrated console. Log in with the username root and the password selected in the General section of step 2.
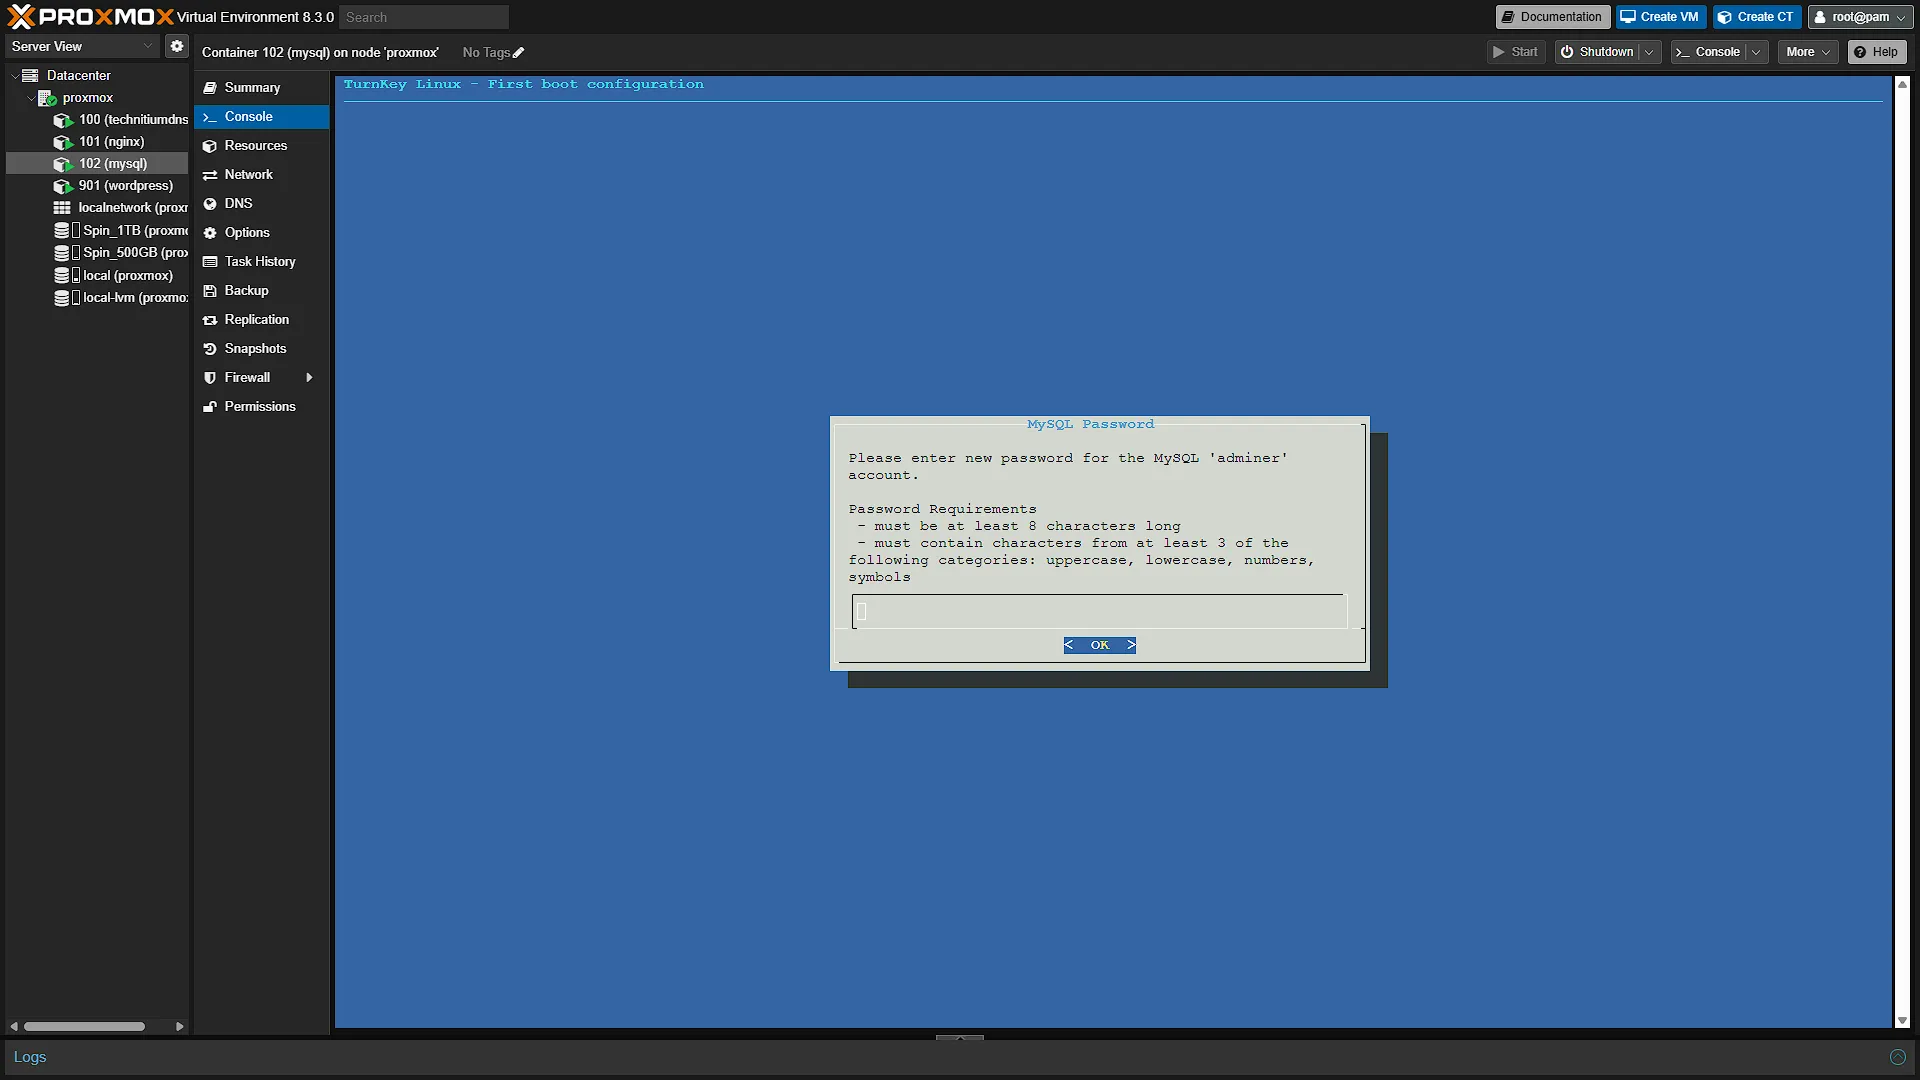
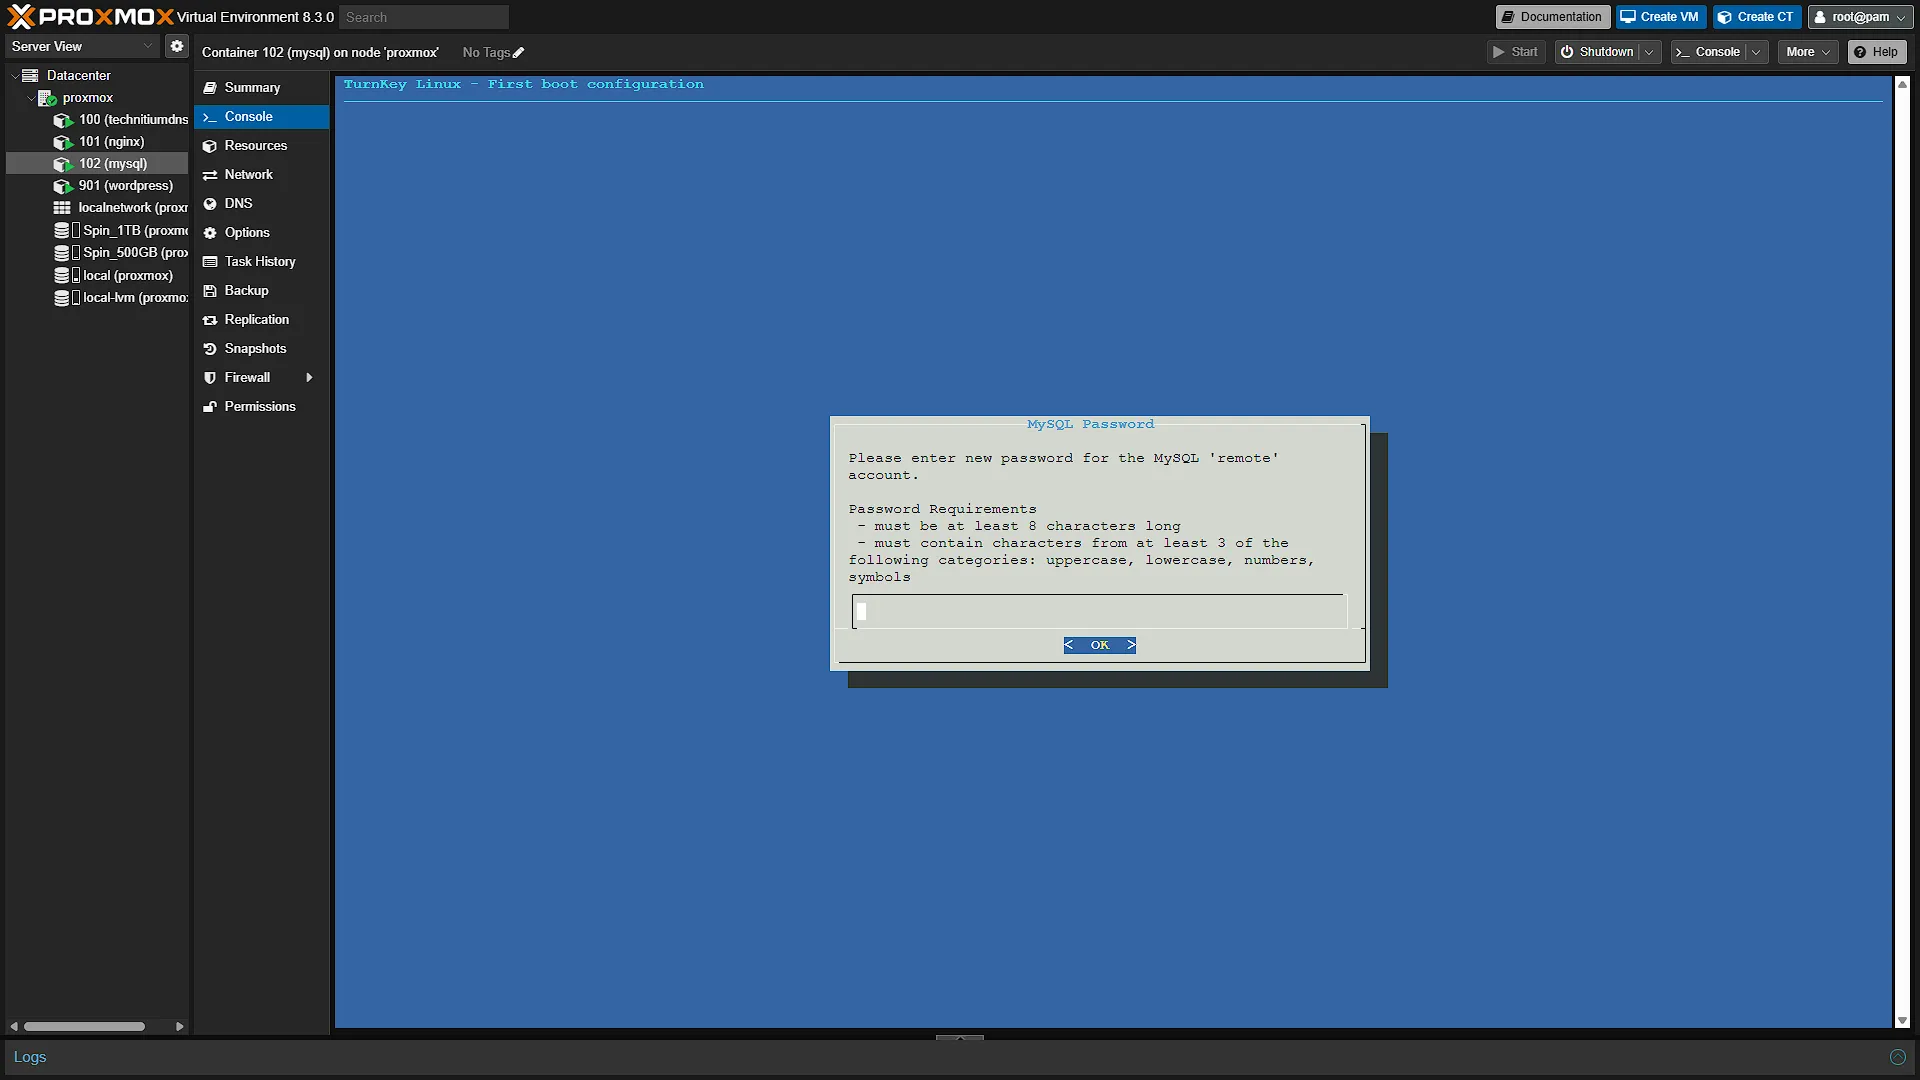
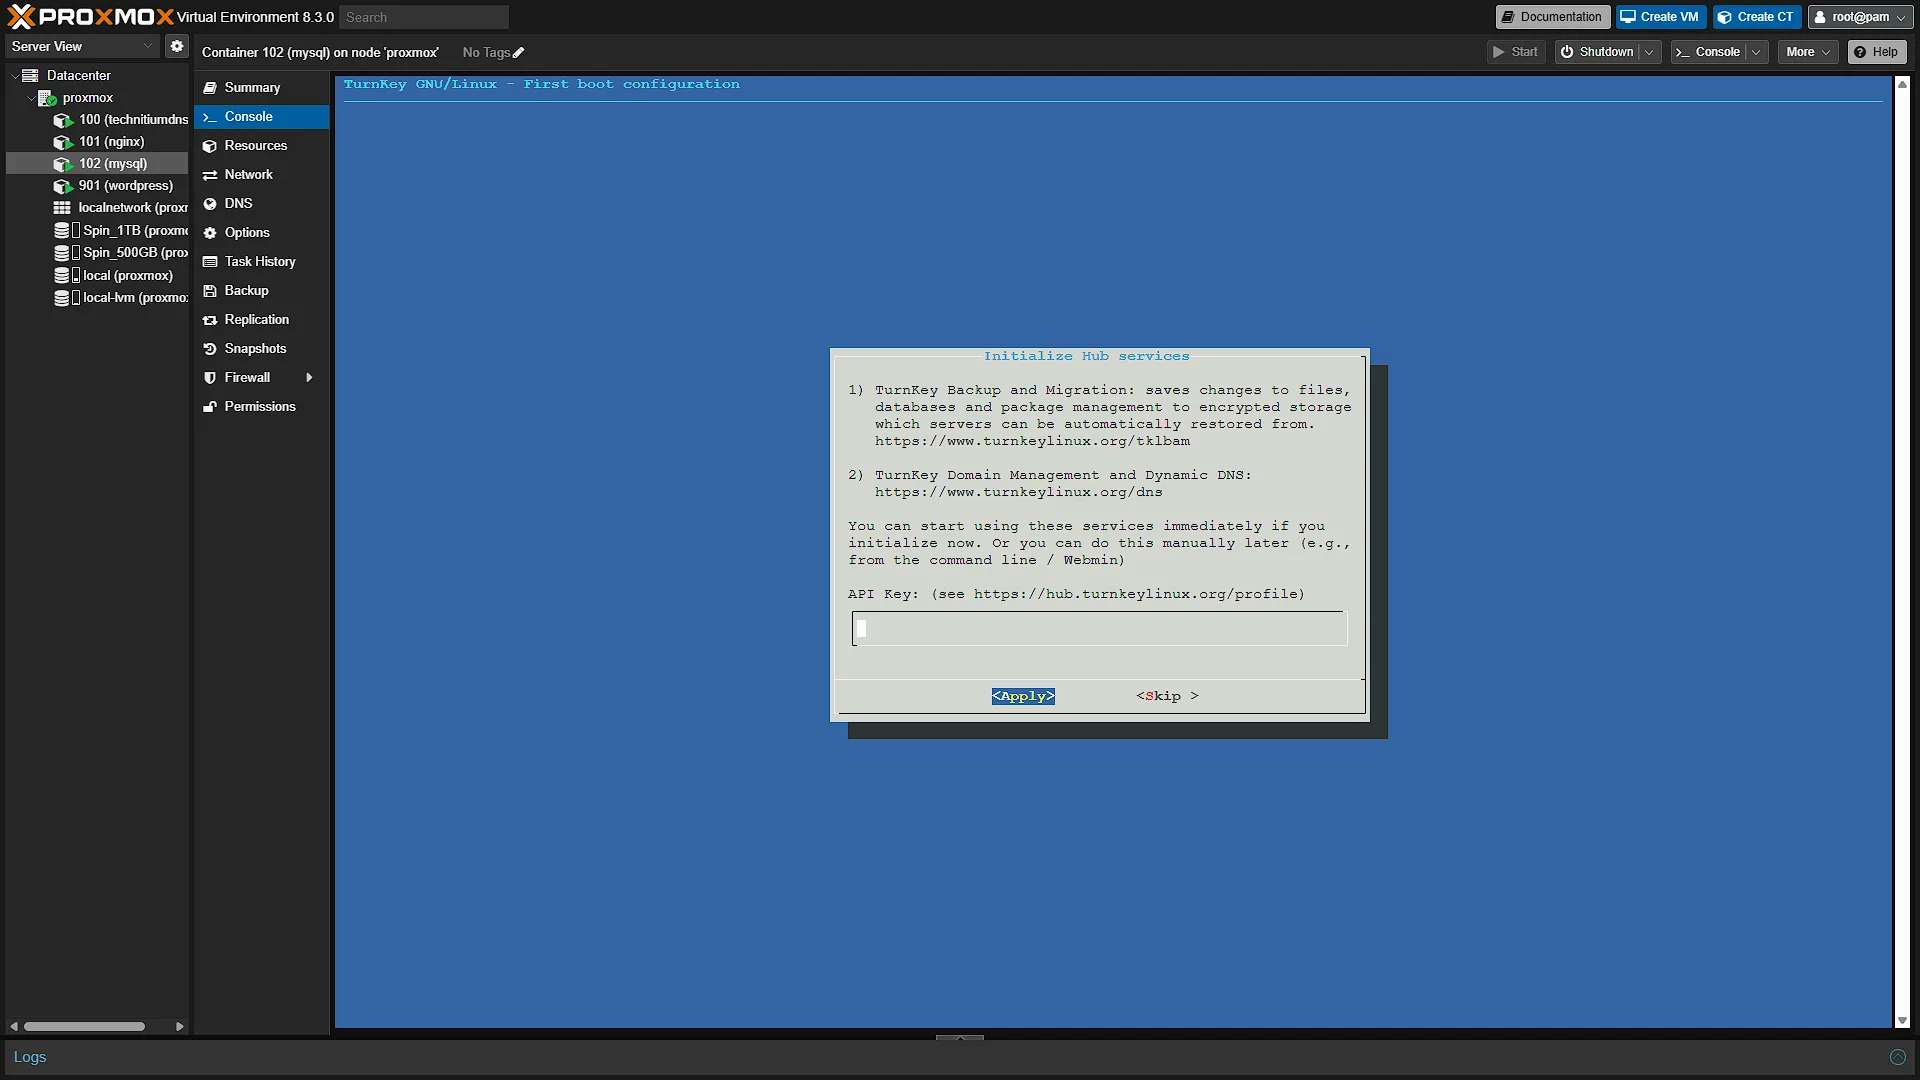
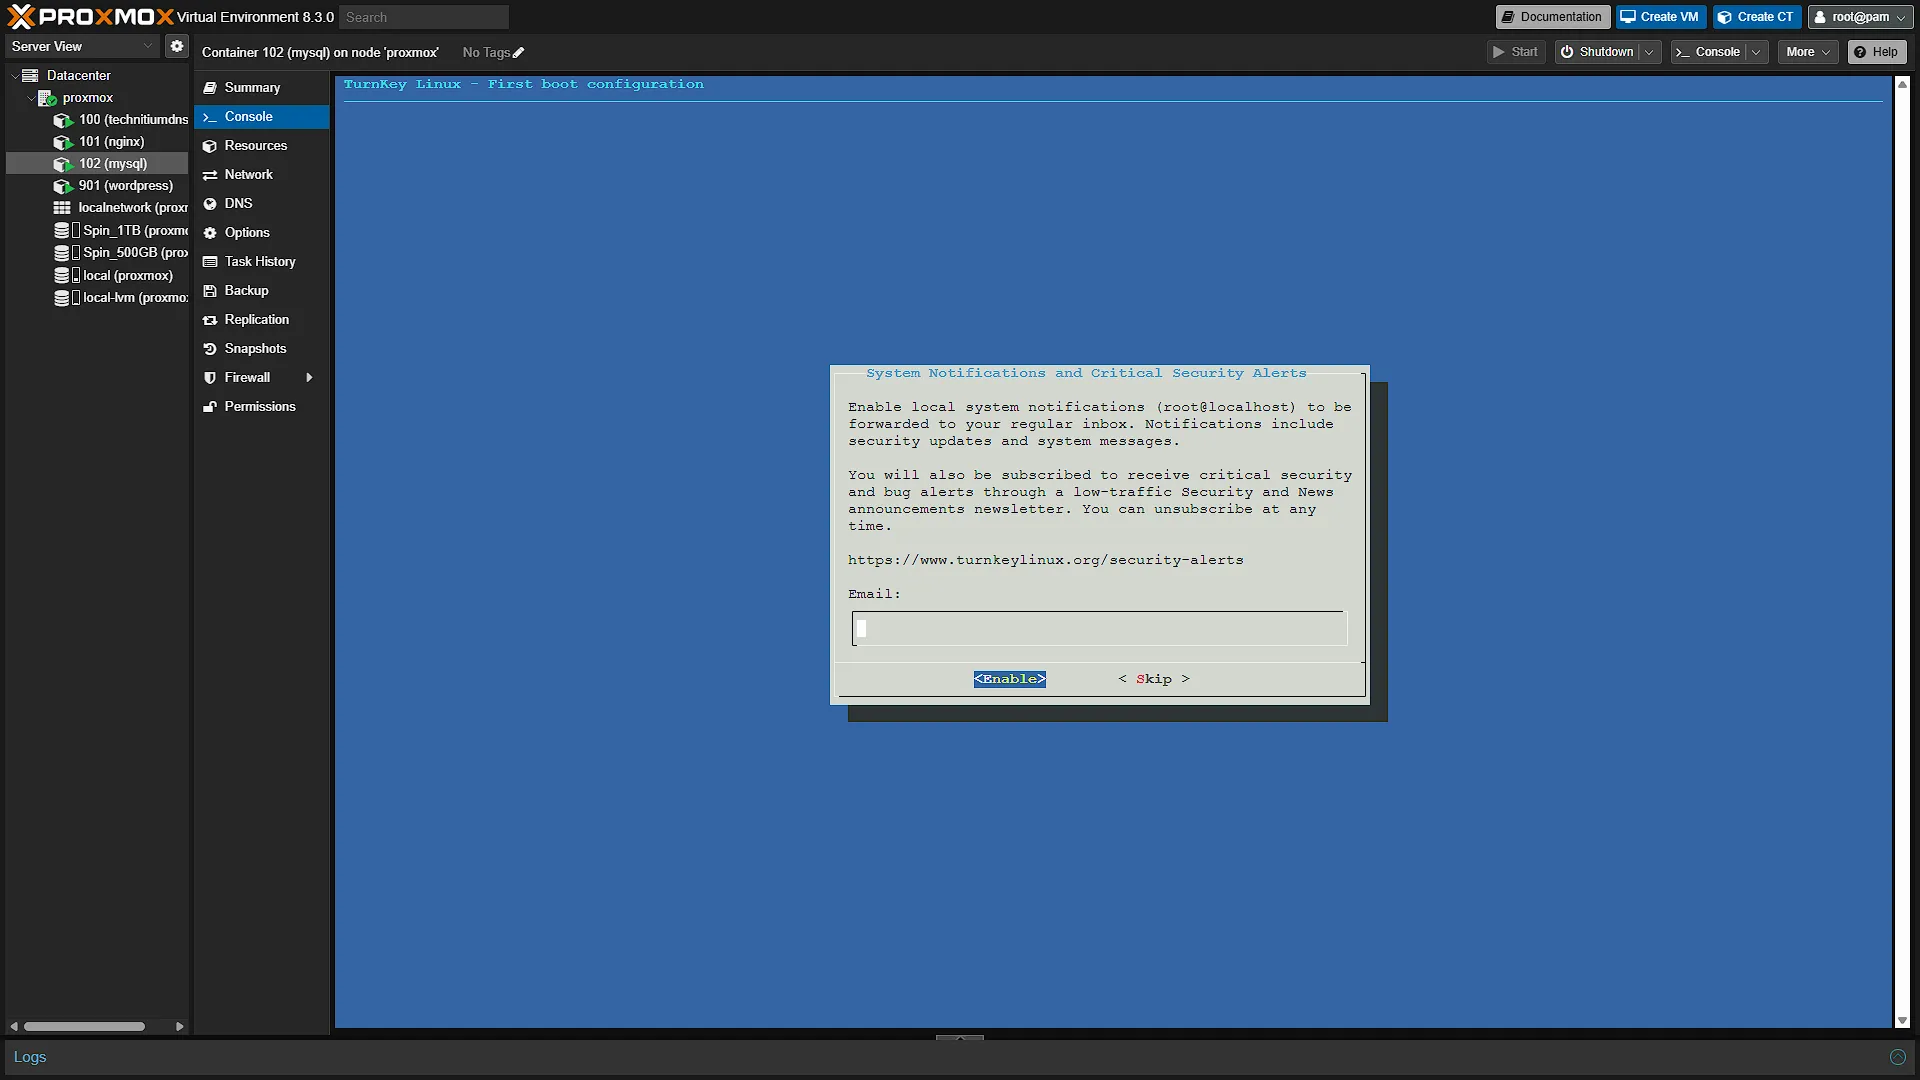
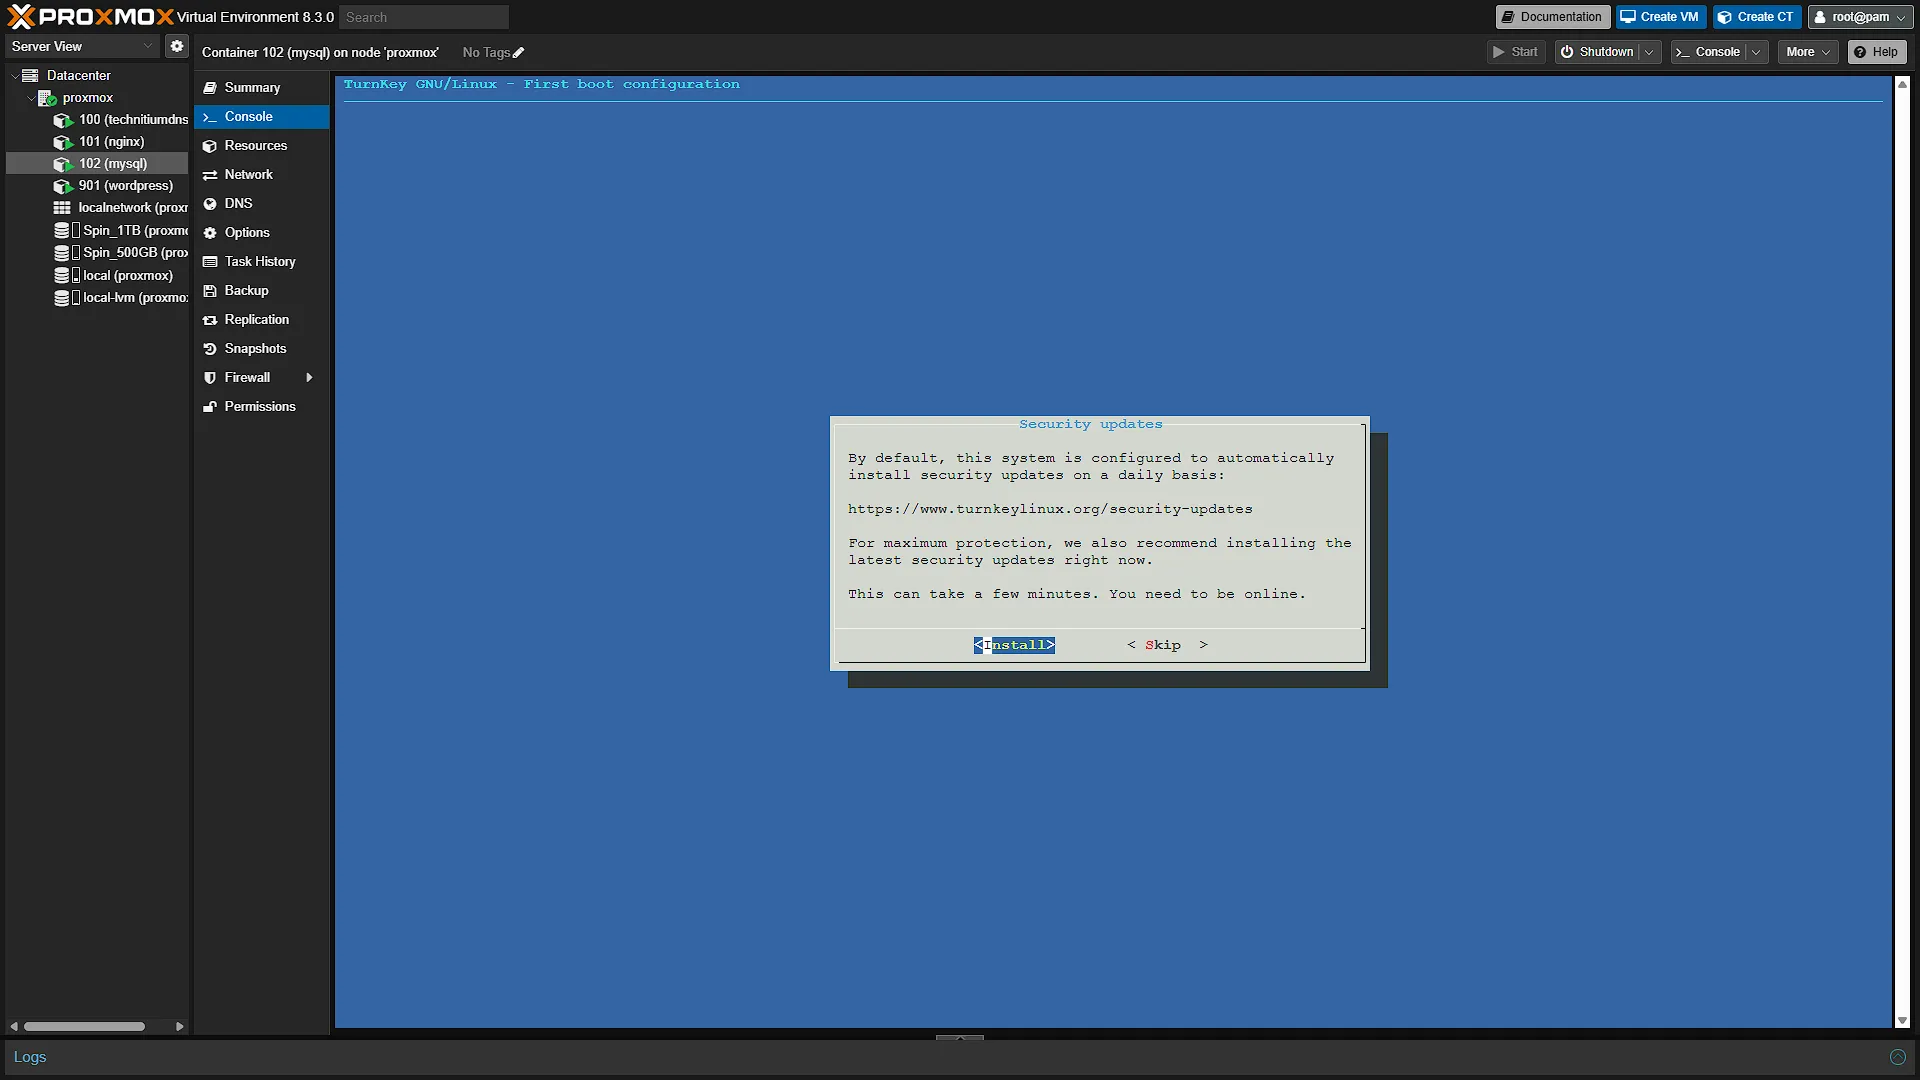
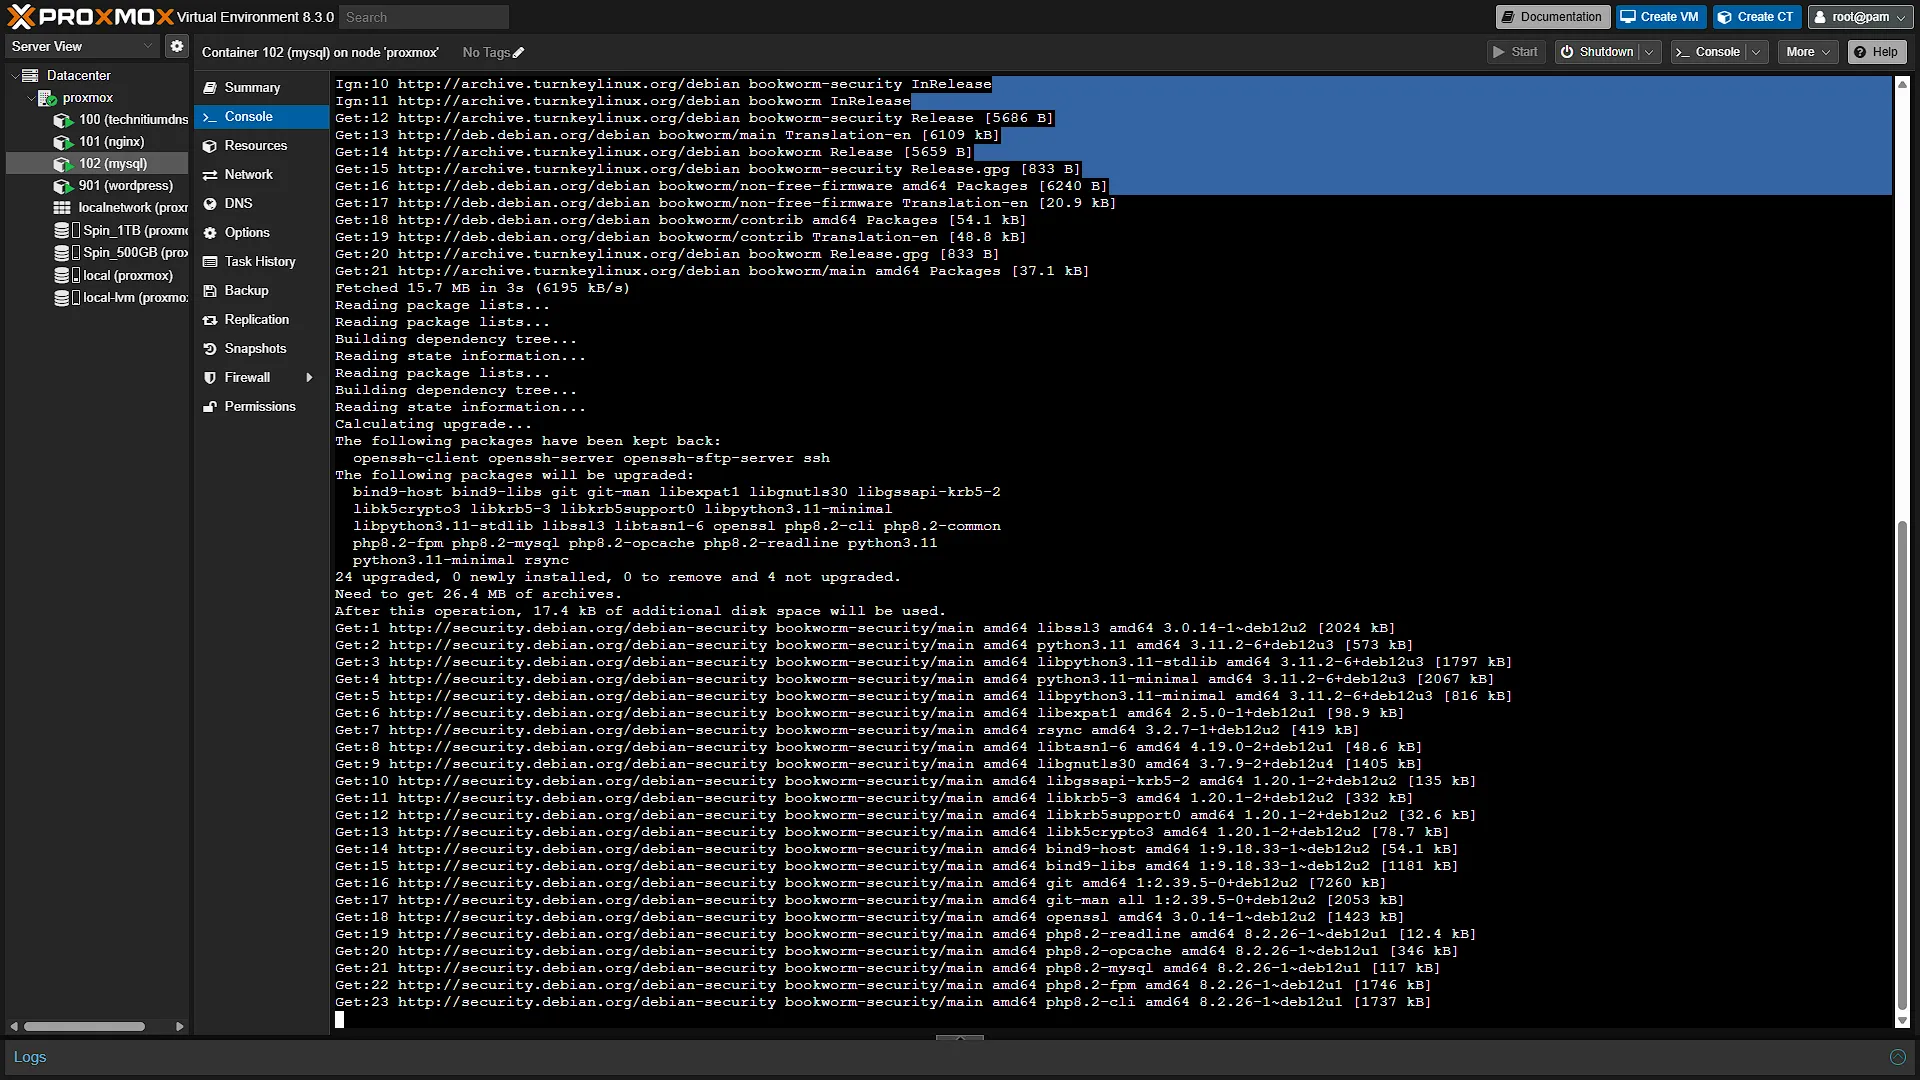
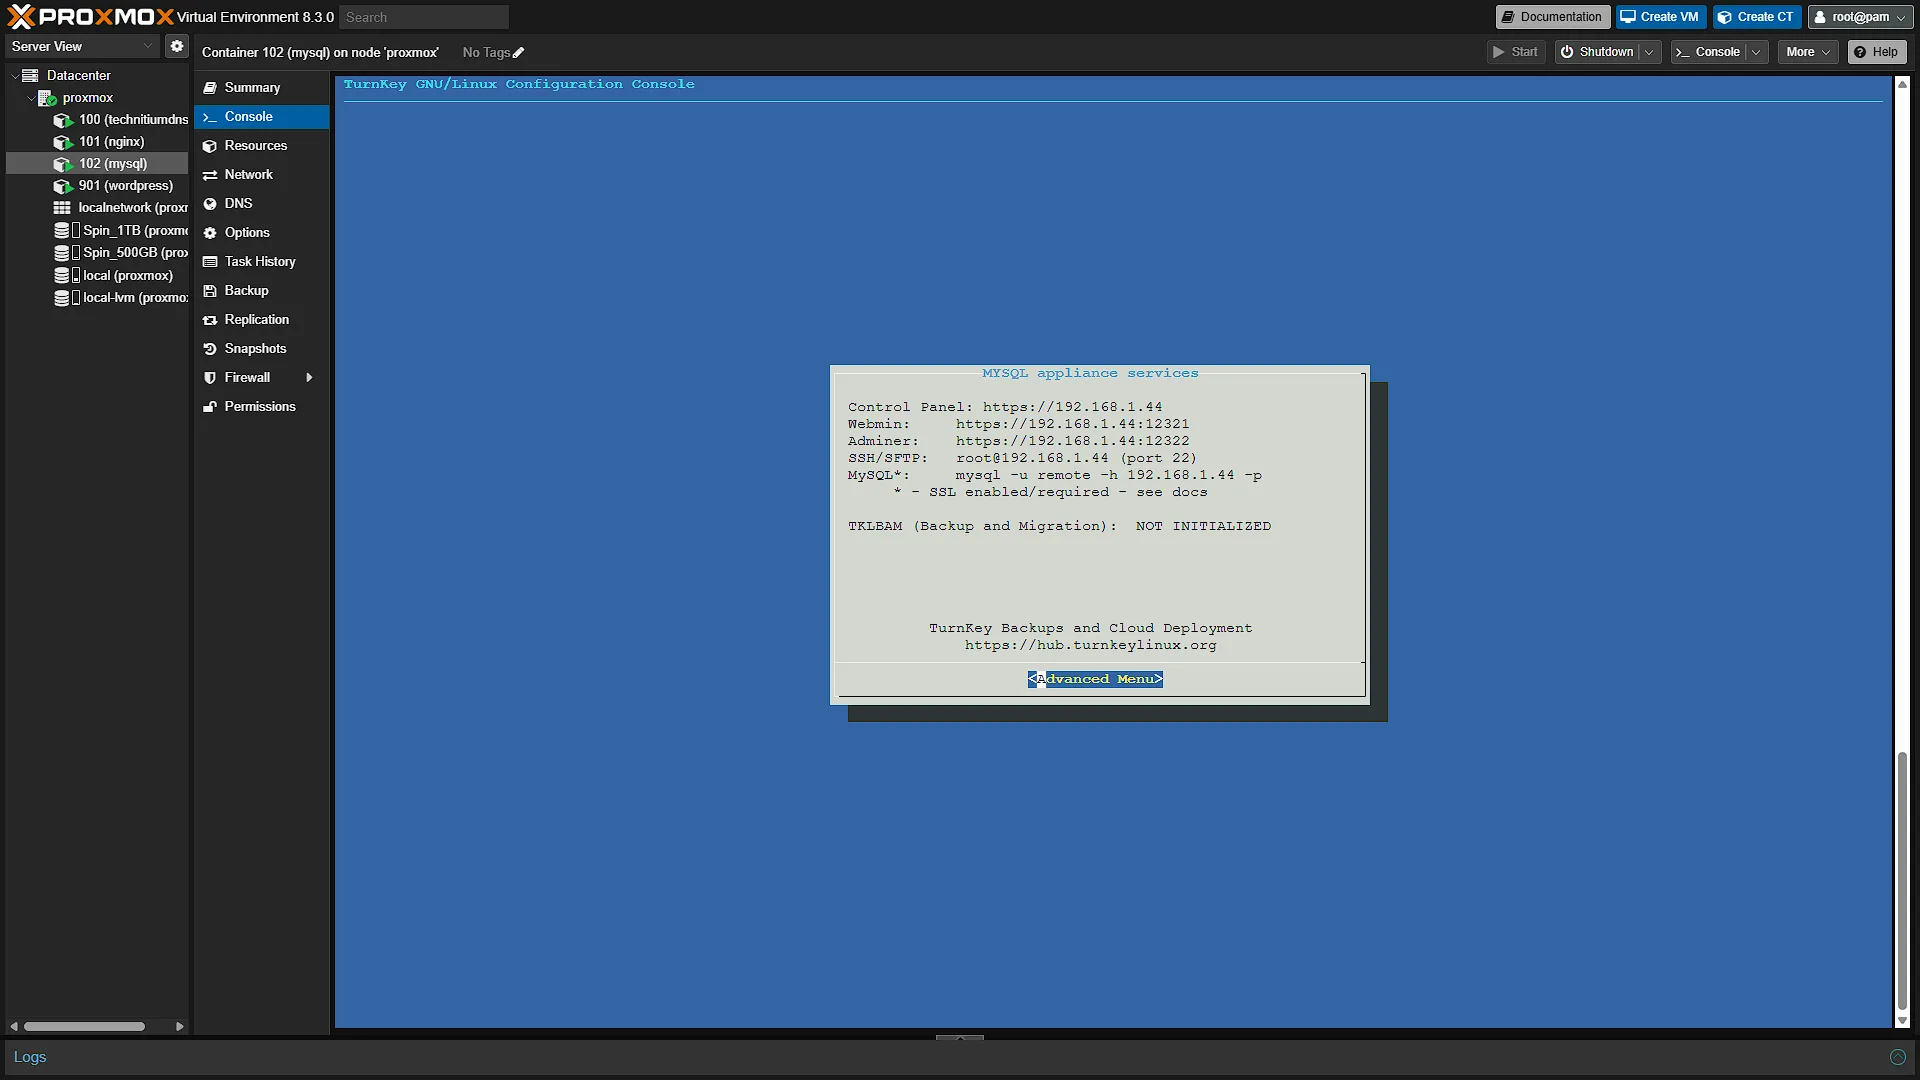
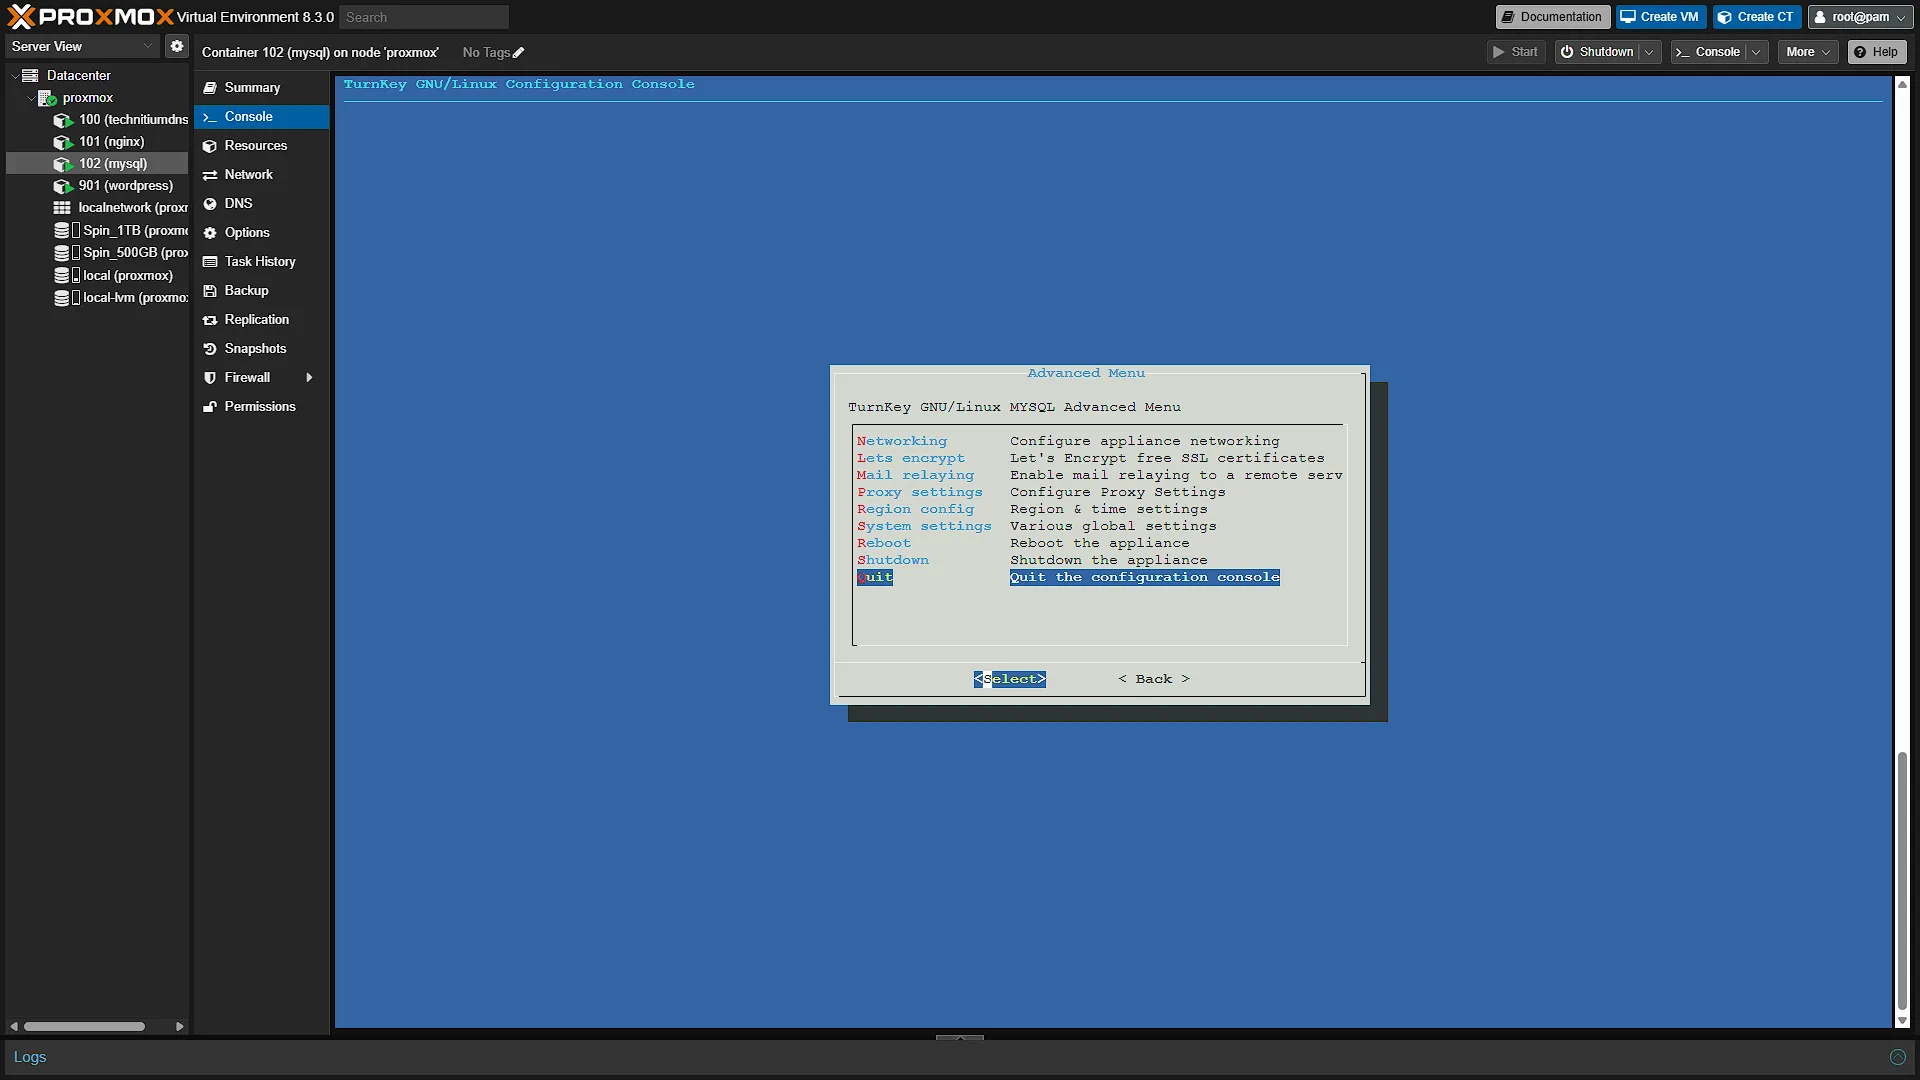
A graphical screen will now open and prompt you a couple of things. Firstly, provide a password for Adminer (this is the web page used for the Turnkey LXC Container admin). After providing a password, and confirming the password, you will be asked to provide a password for the MySQL 'remote' user. Note that you can also log in with the adminer user with the password you selected previously. After entering a password, and confirming it, for the remote user, you will be prompted for the Turnkey Backup and domain management key again. Skip this for now and more to the next screen where you will be prompted if you want to received emails with security updates. Decide if you want, and move to the next screen. You will be prompted if you want to install the latest security updates. It is always a good idea to do so. Once installation is completed, you will be shown the screen with the connection details. Take note of the adminer url as well as the IP address of the server. In the Advanced Menu you can just quit.
Step 4: Connect via SQL Workbench
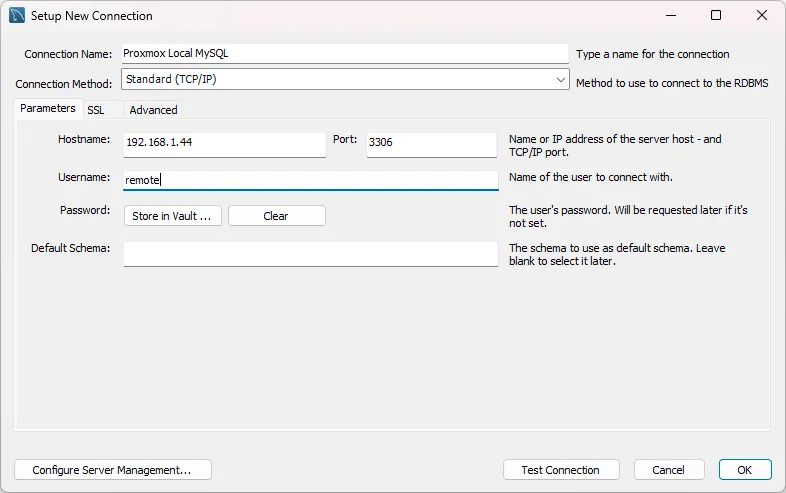
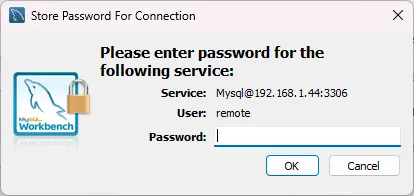
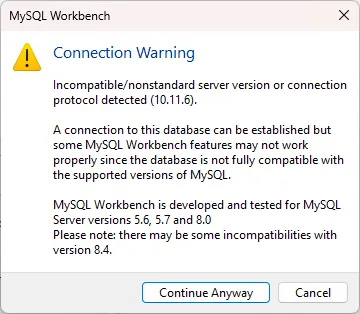
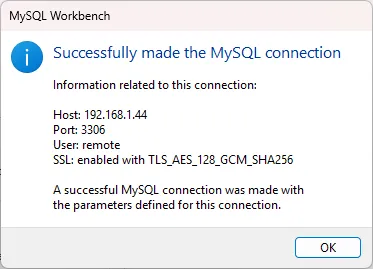
If you have MySQL Workbench installled, we can do a quick setup and connection test to ensure everything is working. If you don't have it installed, you can get it from https://www.mysql.com/products/workbench/ Click the + icon next to MySQL Connections to create a new connection. Enter a connection name, enter the IP address and enter remote as the user. Click Store in Vault in the password section to enter the password. If you get a warning about version mismatches, just continue. Hopefully you will get the connection success message, which means that everything is working as expected.
Bonus Step
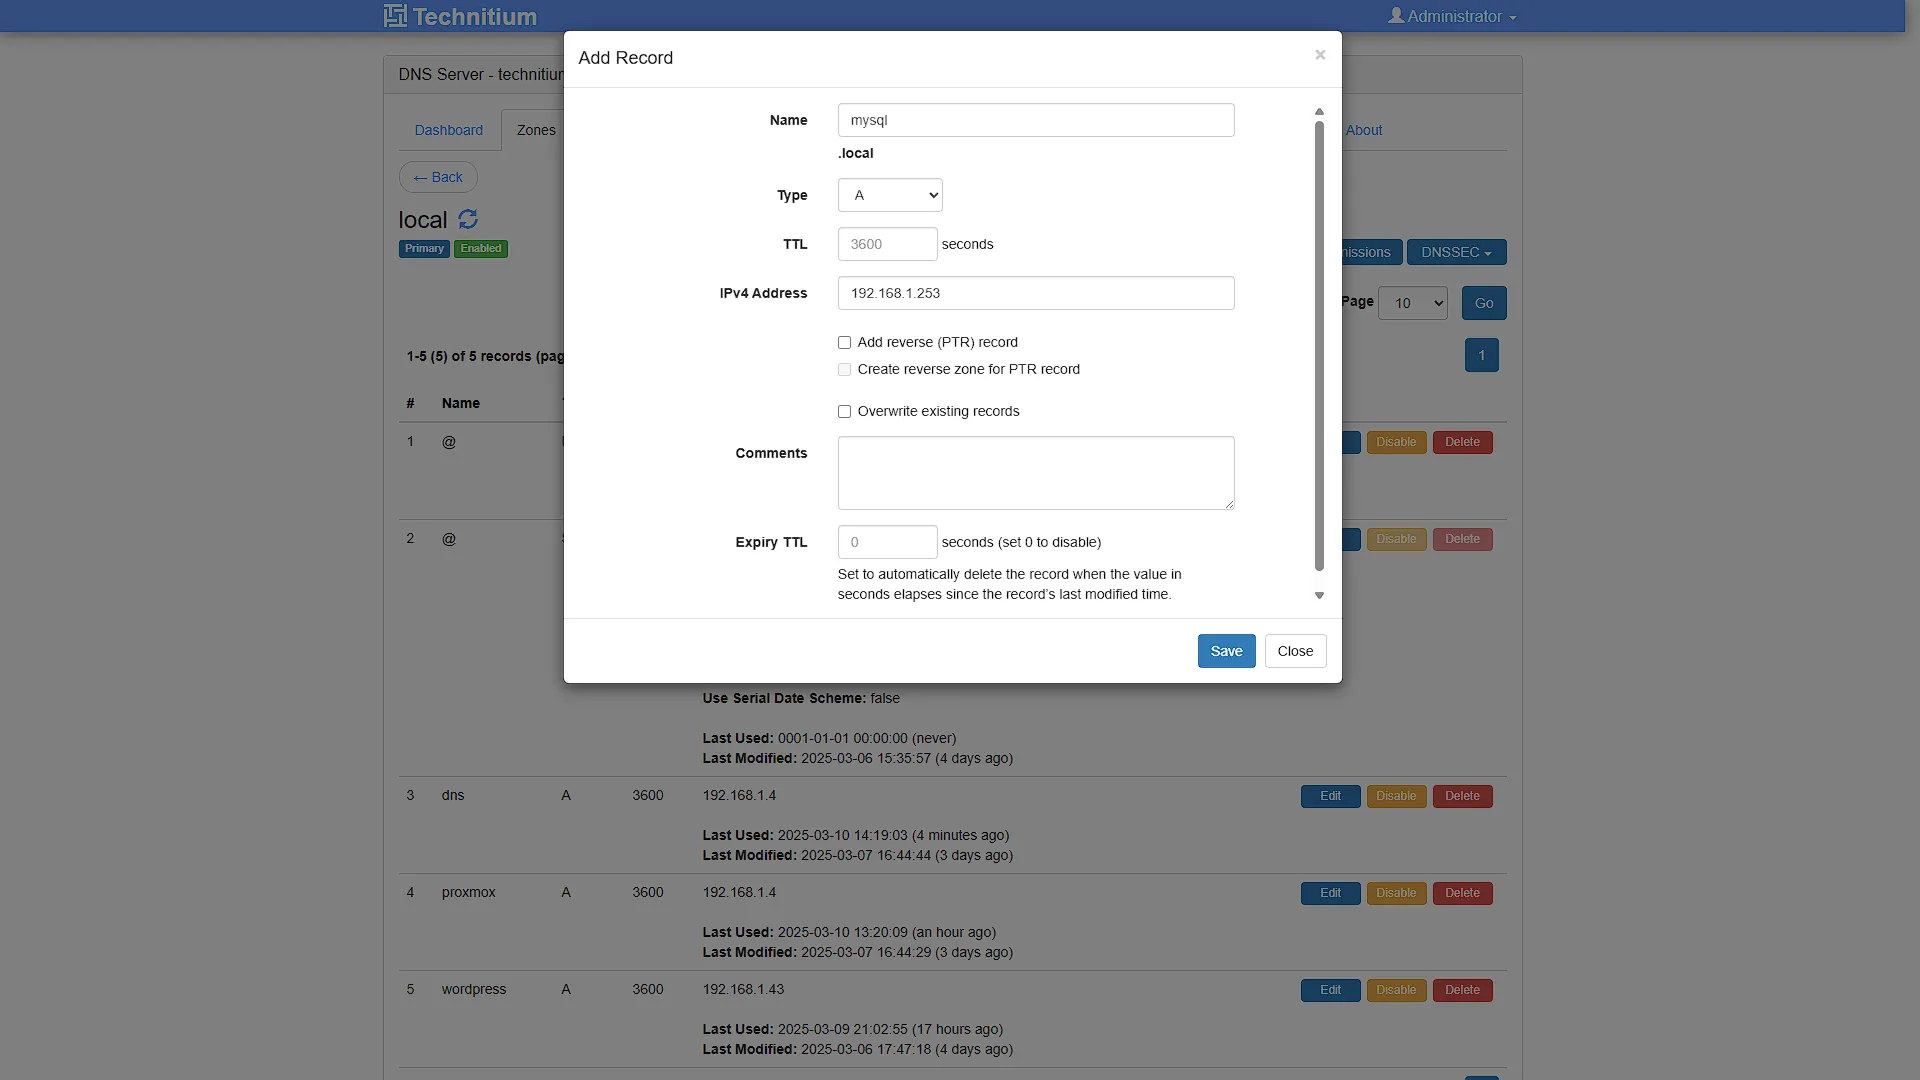
If you want, you can also access your Technitium DNS server and add a new record that points to the IP address of the MySQL node. This means that you can just use mysql.local in stead of using the IP address. There is no need to use our NGINX Reverse Proxy for this.
Optional After the Walkthrough: Identify the Database and Limit Access
The TurnKey appliance called MySQL in the template list uses MariaDB in the releases relevant to this walkthrough. Keep the demonstrated remote account and Workbench connection as the main test. Inspect the actual server version before choosing application drivers, backup tools or migration instructions; a familiar protocol does not make every MySQL and MariaDB feature interchangeable.
TurnKey's database appliance is designed to permit remote connections. Do not assume it is bound to 127.0.0.1 and rewrite its listener to 0.0.0.0 as a required step. If connection troubleshooting is needed, inspect the current listener, firewall and account first. A refused TCP connection and a database access-denied response indicate different failure layers.
For an application, create a separate account with permissions limited to its own database and the intended client host. Preserve the working demonstration account until you have tested the replacement. Avoid using the server administrator account in each service just because it is convenient; separate accounts make accidental changes and credential rotation easier to contain.
Test the new connection from the actual application network, not only from the database container. Then check that the account can perform the application's normal operation and cannot read an unrelated database. Restrict the network path as well as SQL grants, and use VPN access when an off-site workstation needs administration. Publishing port 3306 on the router is not part of this tutorial.
A useful backup includes a database export and the information needed to restore grants and application configuration. Check the restore on a separate instance of a compatible database version. Copying live database files without a consistency strategy is not the same as a verified restore. Part 19 installs Oracle MySQL as another choice; it does not require replacing this already-working MariaDB service.
Further reading: TurnKey remote database access.
Conclusion
Now that we have our own MySQL instance up and running, we will be able to deploy services a lot faster that depends on it. We will also be able to be in control of the resource usage of the entire instance, which means we don't have overheads of individual instances. This means better performance when running multiple apps and better control over resource usage.
In a future article, we will be installing Wordpress (Again) but this time from a manual install, using this MySQL instance for the database in stead of running a separate one in the Wordpress Container.