
We previously looked at installing Immich in our homelab setup running Proxmox by installing a new Docker LXC and then installing Immich via Docker in that instance. Although it is a viable and not-too-difficult solution, the amazing team over at helper-scripts.com released a helper script for Immich on 1 June 2025.
Immich is a self-hosted, open-source photo and video management application designed for individuals and families who want to keep their digital memories safe and private. Unlike cloud-based services like Google Photos, Immich lets you store and manage your media on your hardware, such as a home server, giving you total control over who can access your data - perfect for our homelab running Proxmox. Let's take a look at another option of installing Immich in our Proxmox homelab via a helper-script.
Step 1: Get the helper script
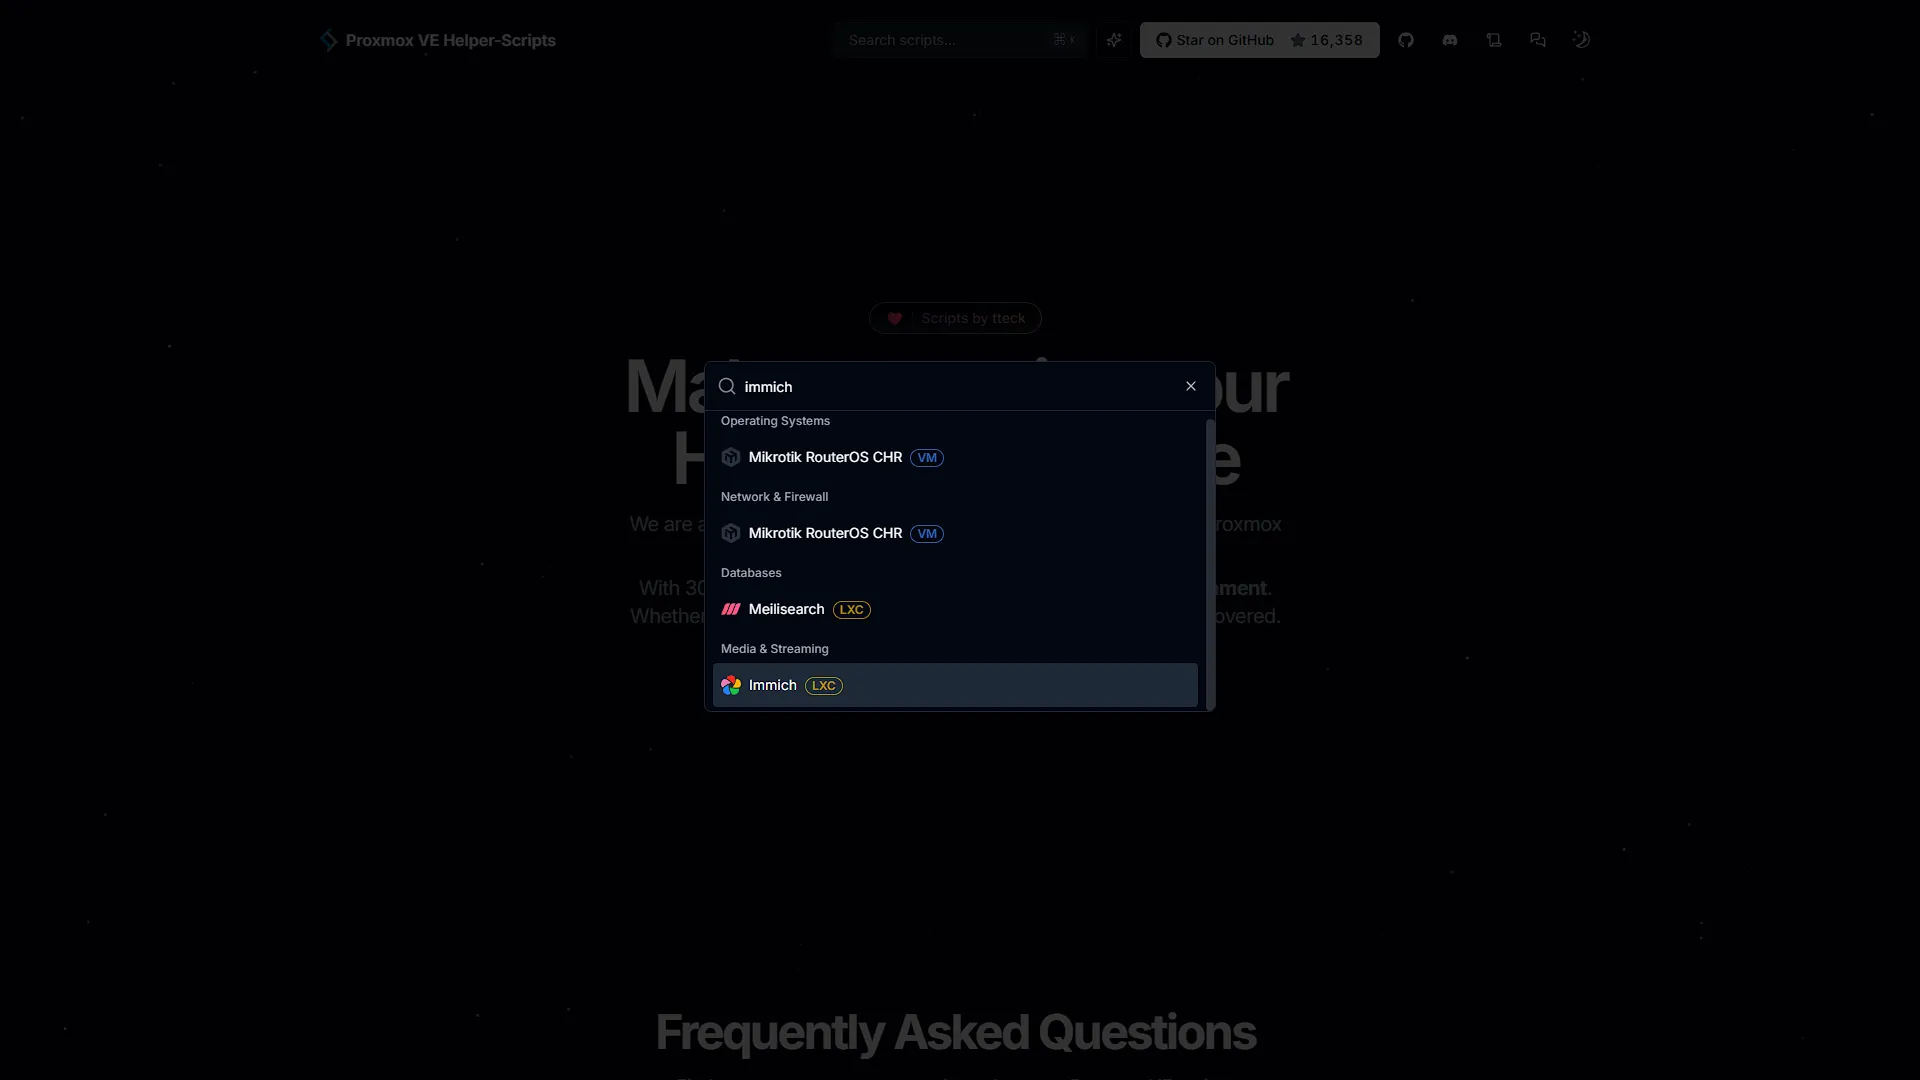
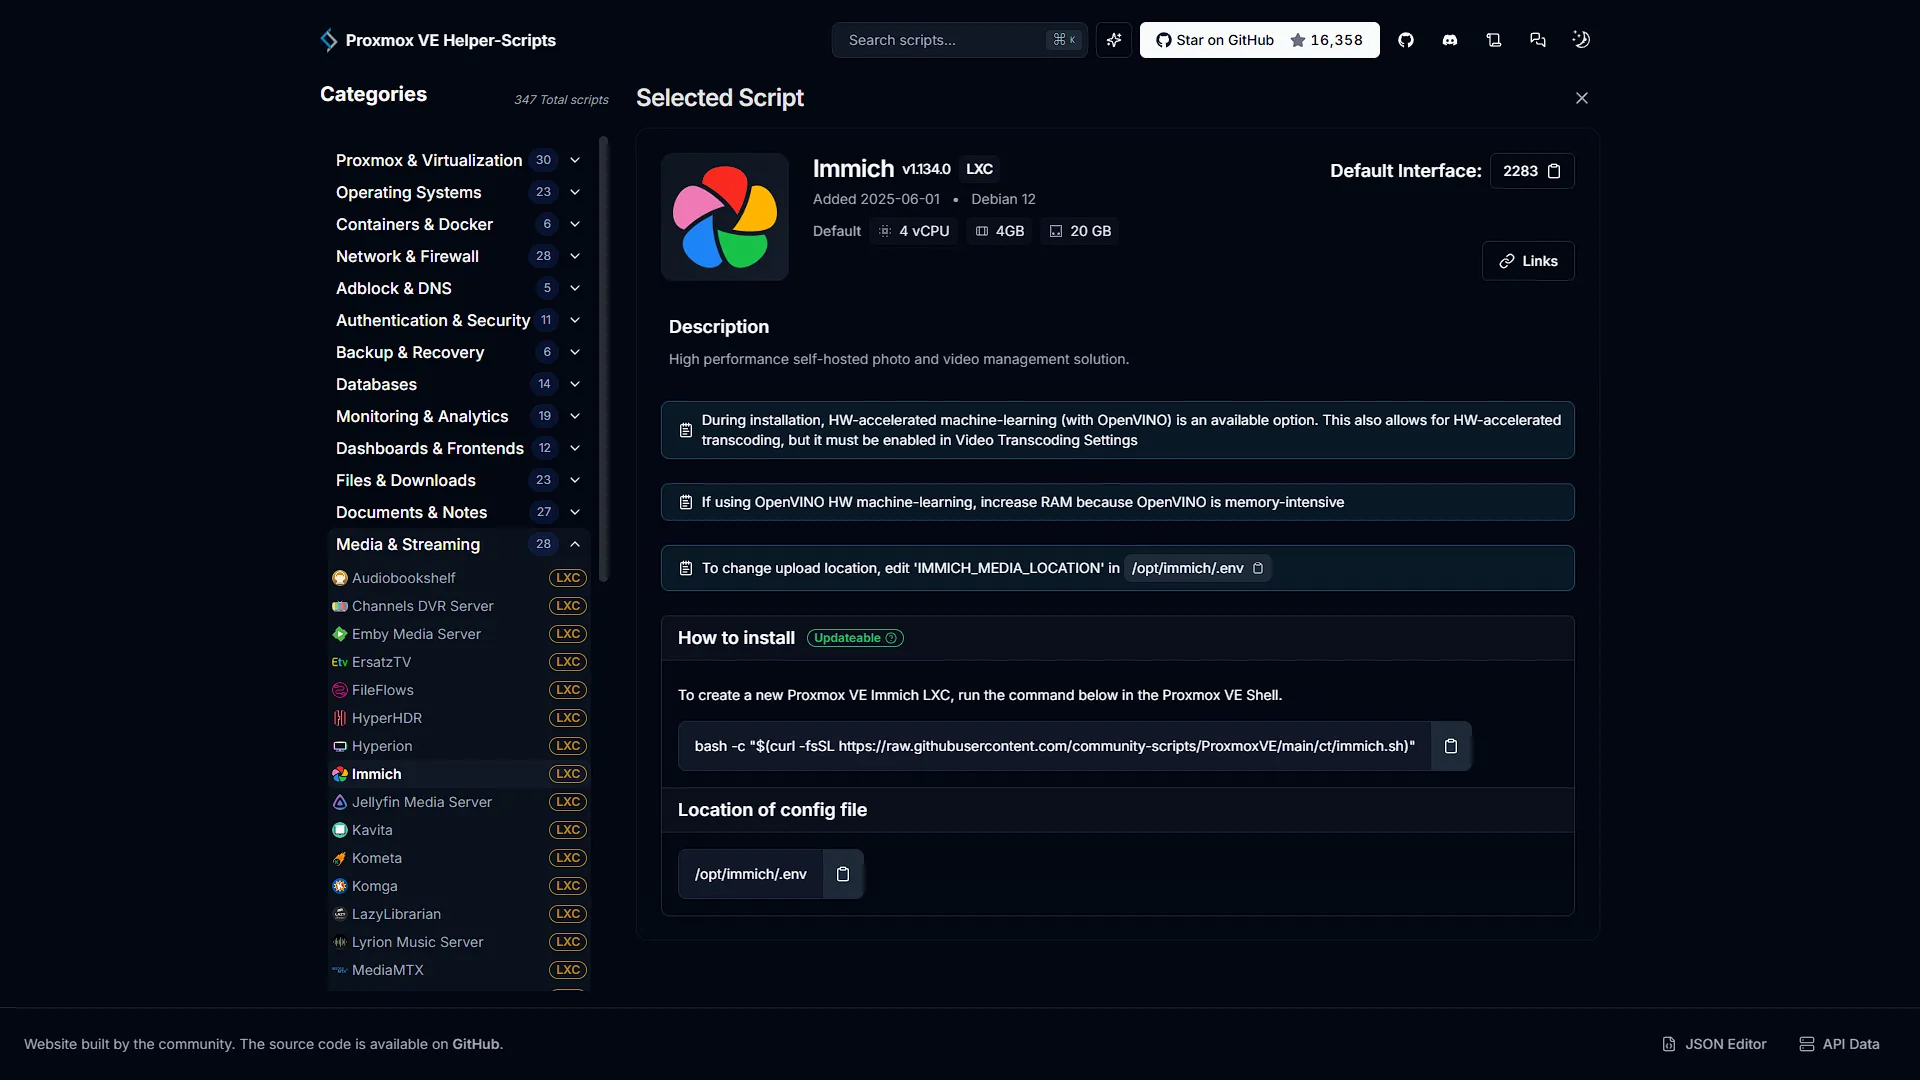
To start off, go to our friends over at helper-scripts.com and search for Immich. There should only be one result, an LXC container for Immich. Get the latest command to install Immich. At the time of writing, that command is:
bash -c "$(curl -fsSL https://raw.githubusercontent.com/community-scripts/ProxmoxVE/main/ct/immich.sh)"Please ensure to get the latest at all times from the website directly.
Also take note that the Immich LXC is updatable, meaning you can update Immich by following our guide.
Step 2: Install Immich
The Immich install is pretty much the same as any other LXC install done via helper script, but there are one or two small differences as there are extra options to take into consideration.
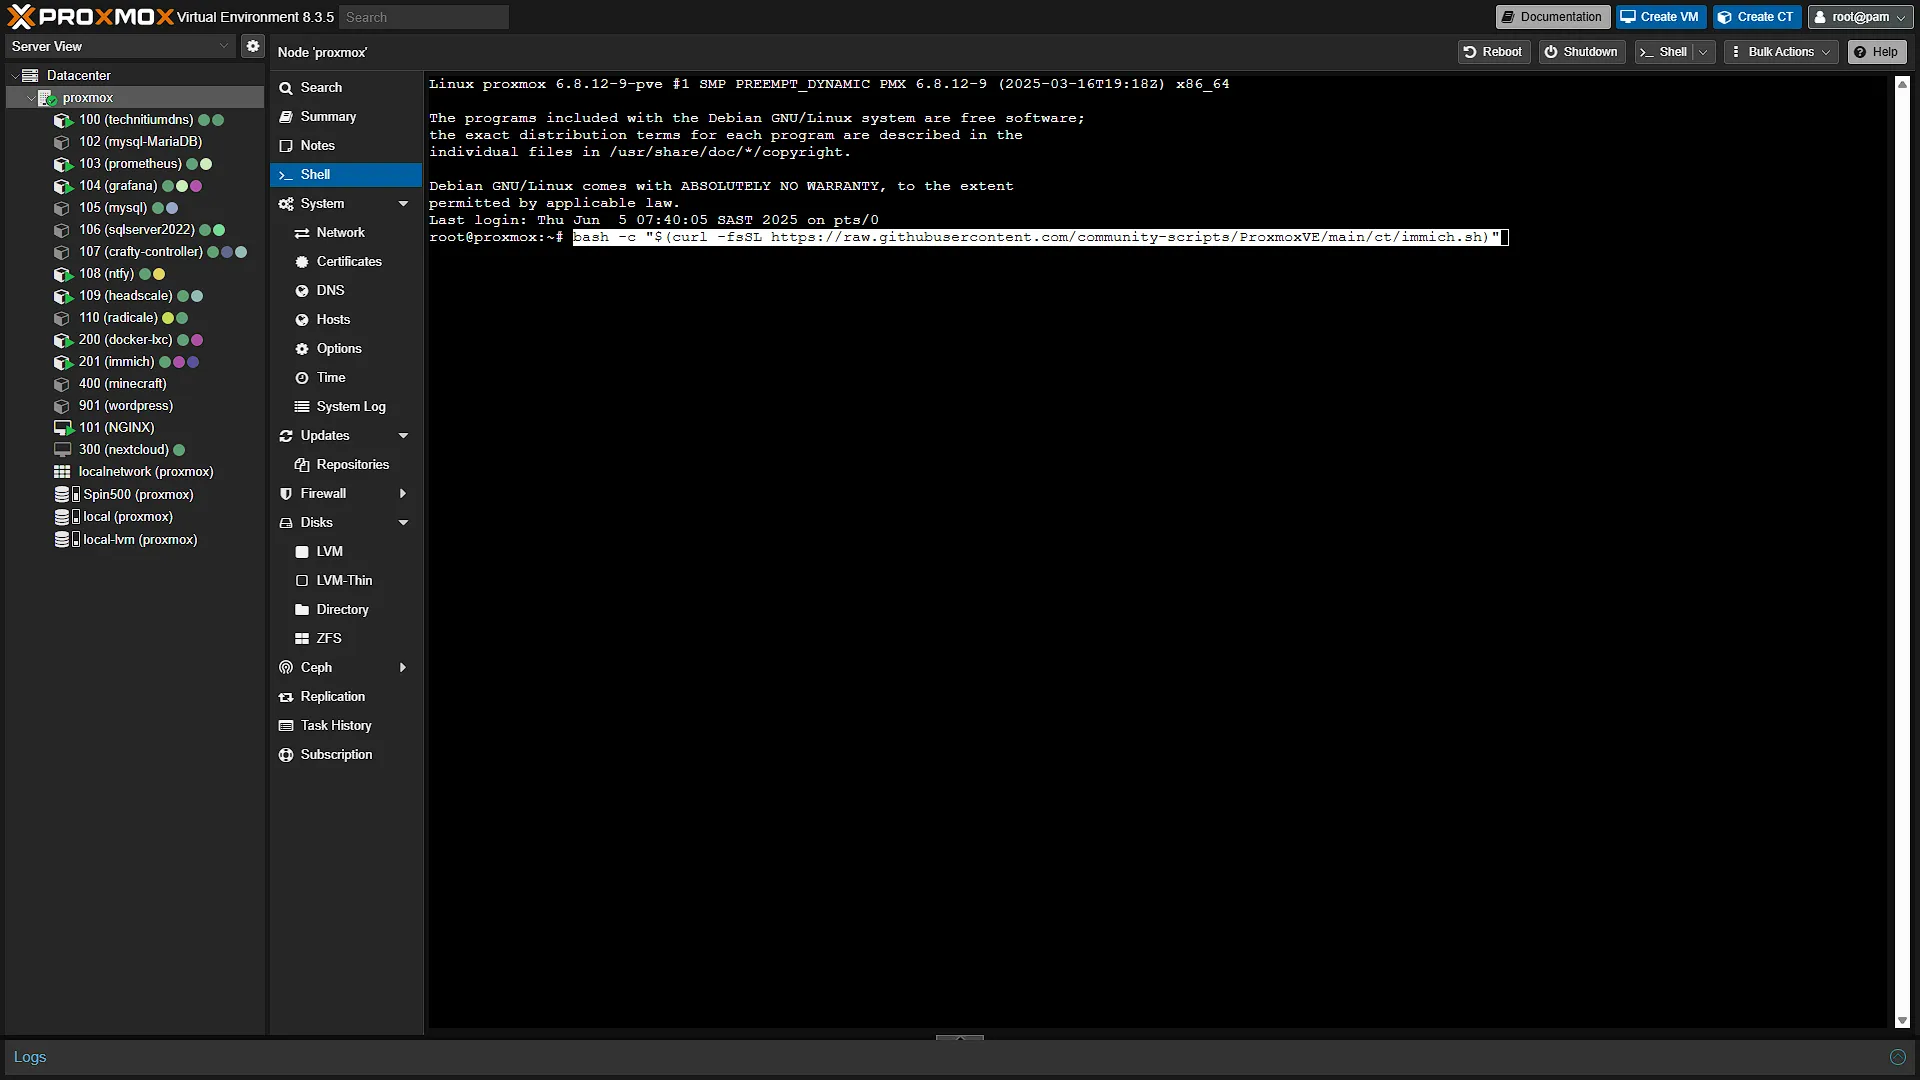
First, access your Proxmox instance and log in. In the left navigation pane, expand Datacenter and select the Proxmox instance you want to install Immich on (we only have one instance at the moment but will make a tutorial on creating more instances soon.) With the instance selected, in the middle navigation pane, click on  to open the integrated shell in the main window. Paste the helper script and press enter to execute it and start installation:
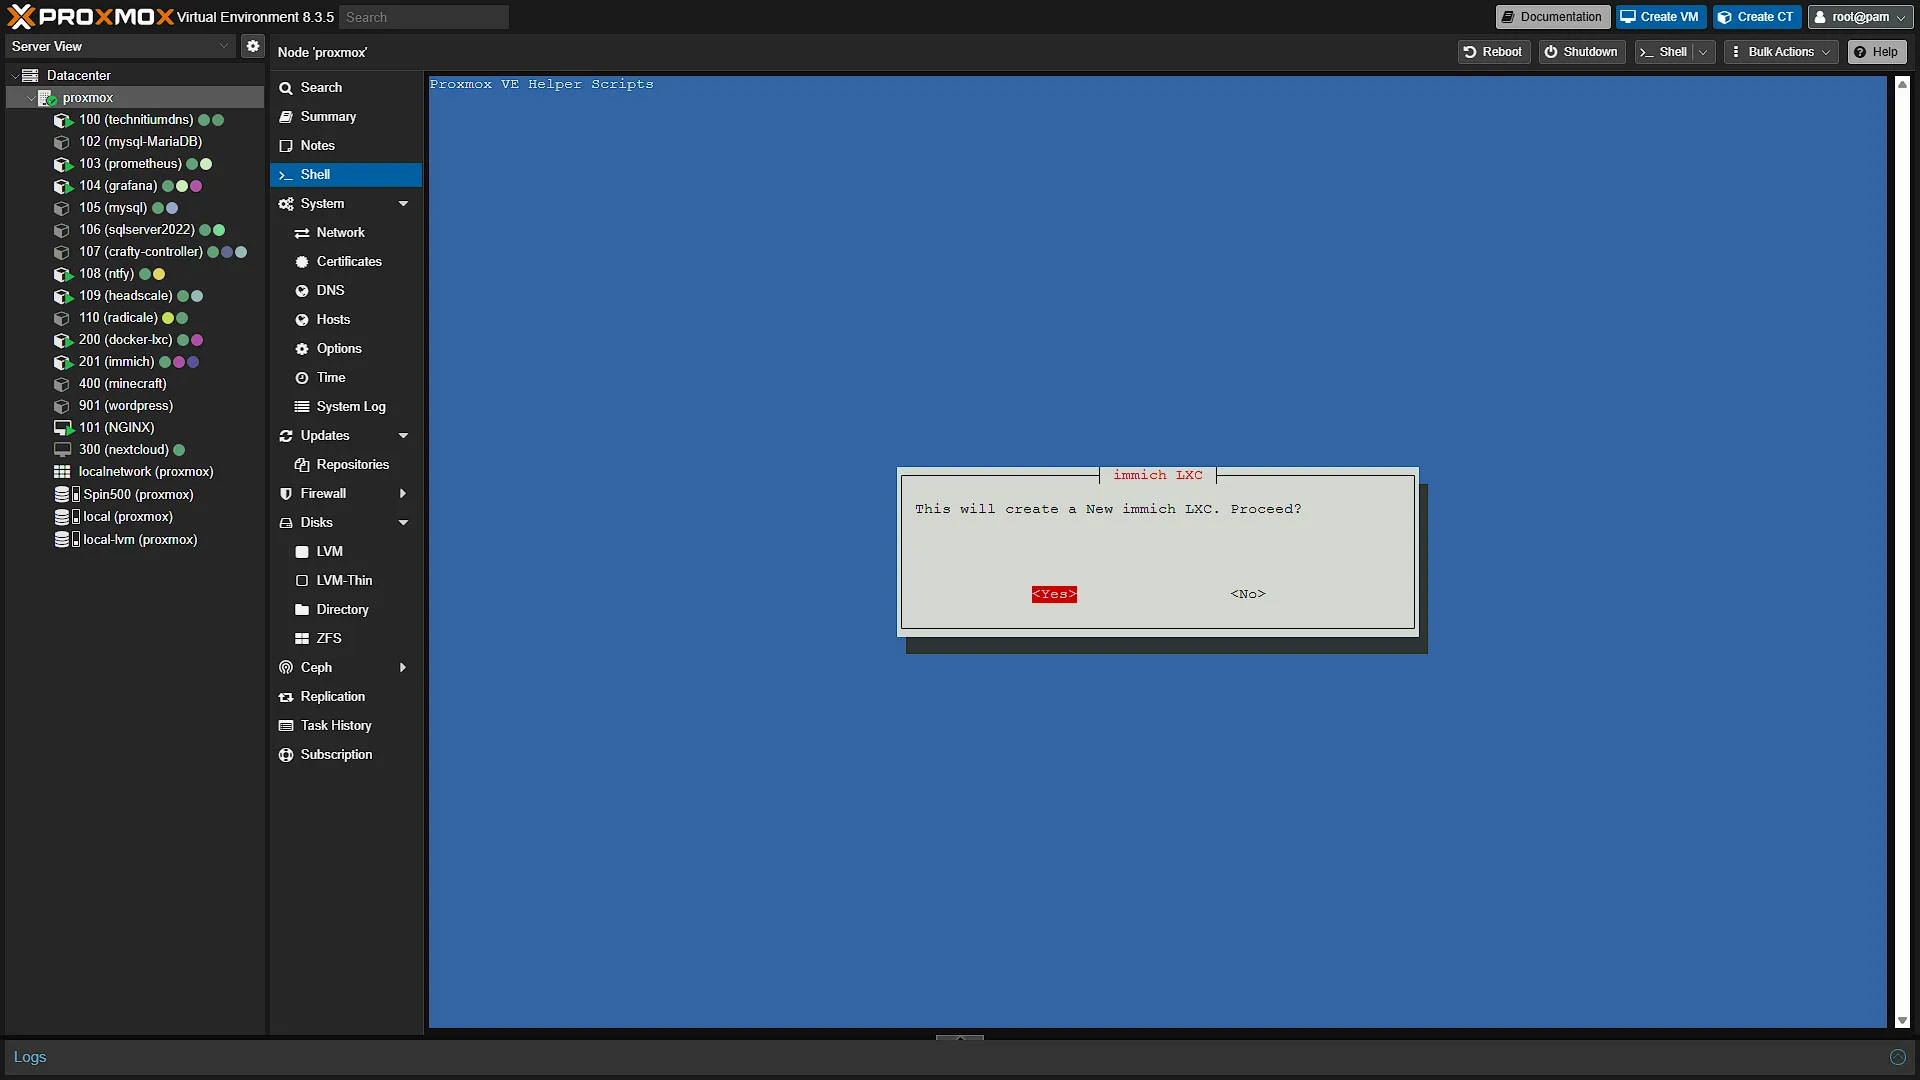
bash -c "$(curl -fsSL https://raw.githubusercontent.com/community-scripts/ProxmoxVE/main/ct/immich.sh)"The installation will start and first ask you if you are sure you want to install Immich. Select YES and continue.
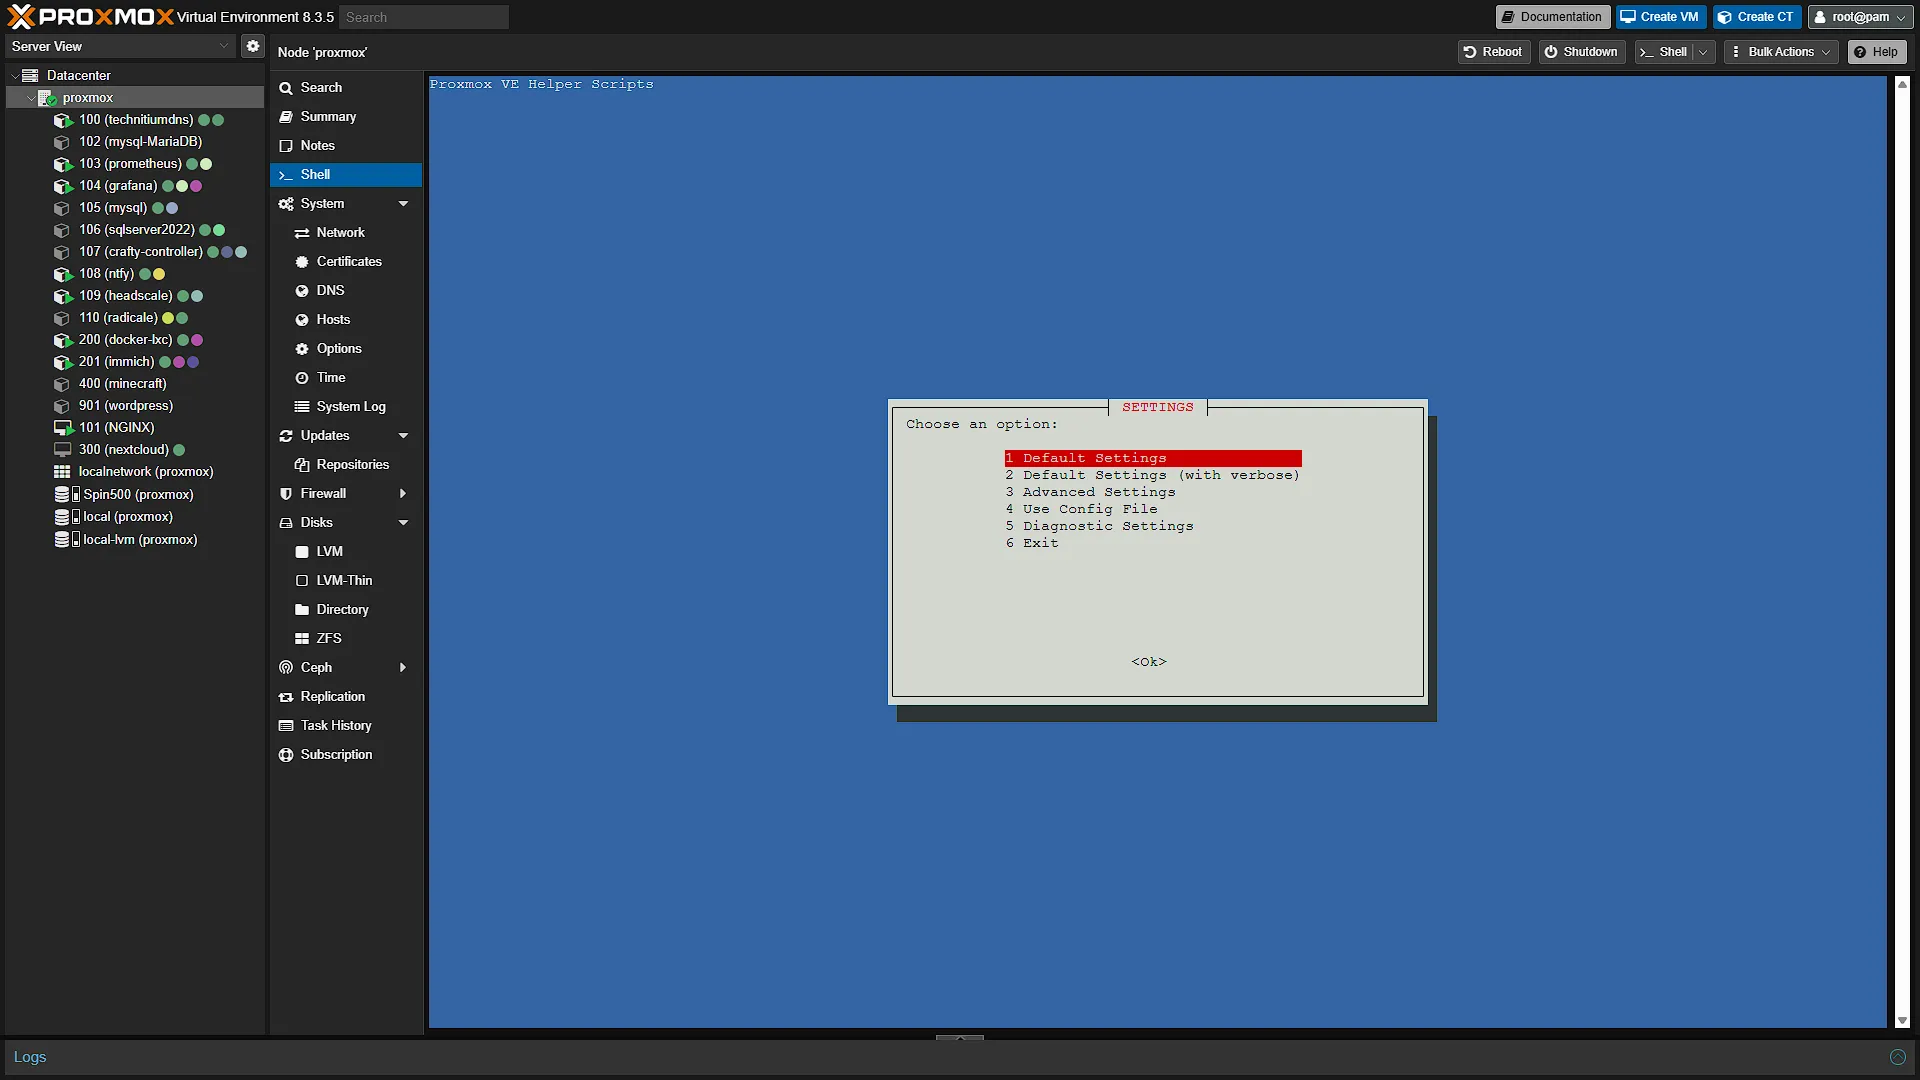
The next confirmation will be to choose a SETTINGS option. For now, we are going to stick with the default settings, so select that and continue (we will be increasing resources before starting up, but we need to make a few decisions along the line first to determine what the resources will need to be).
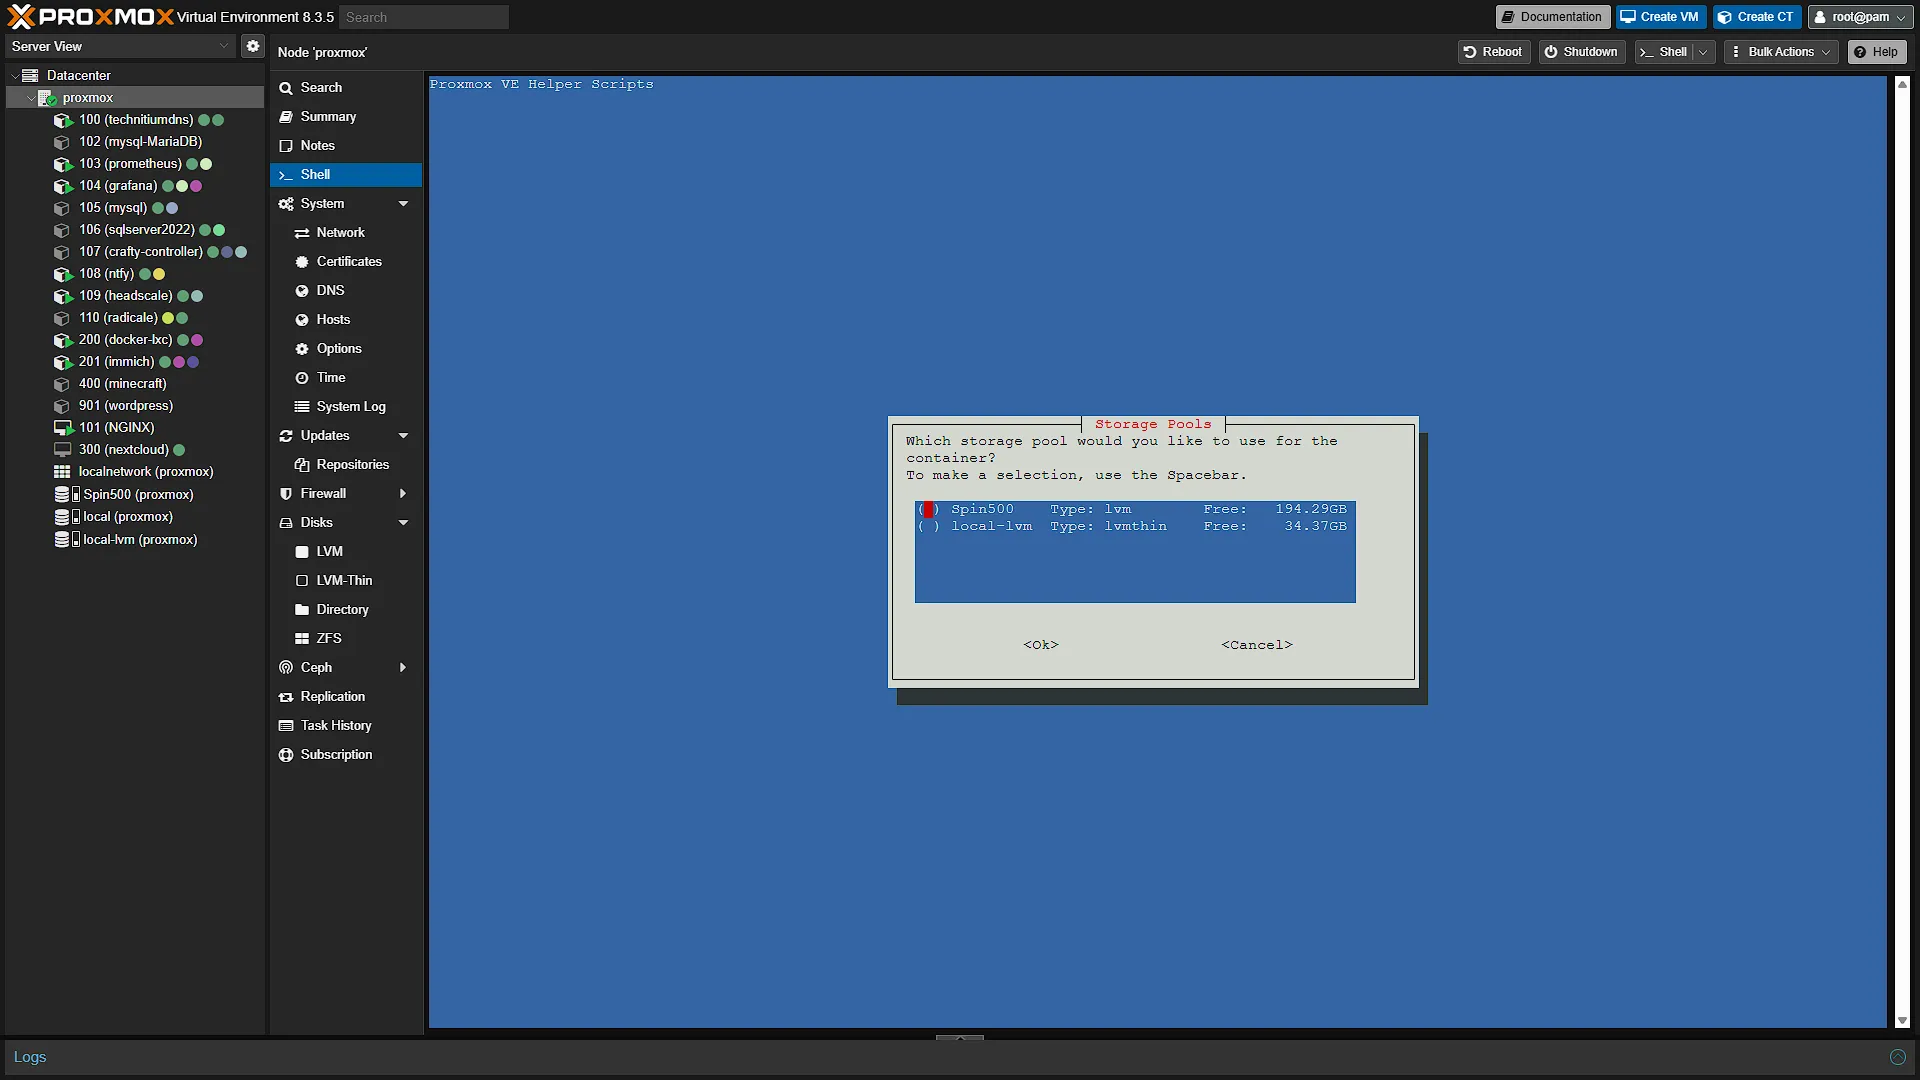
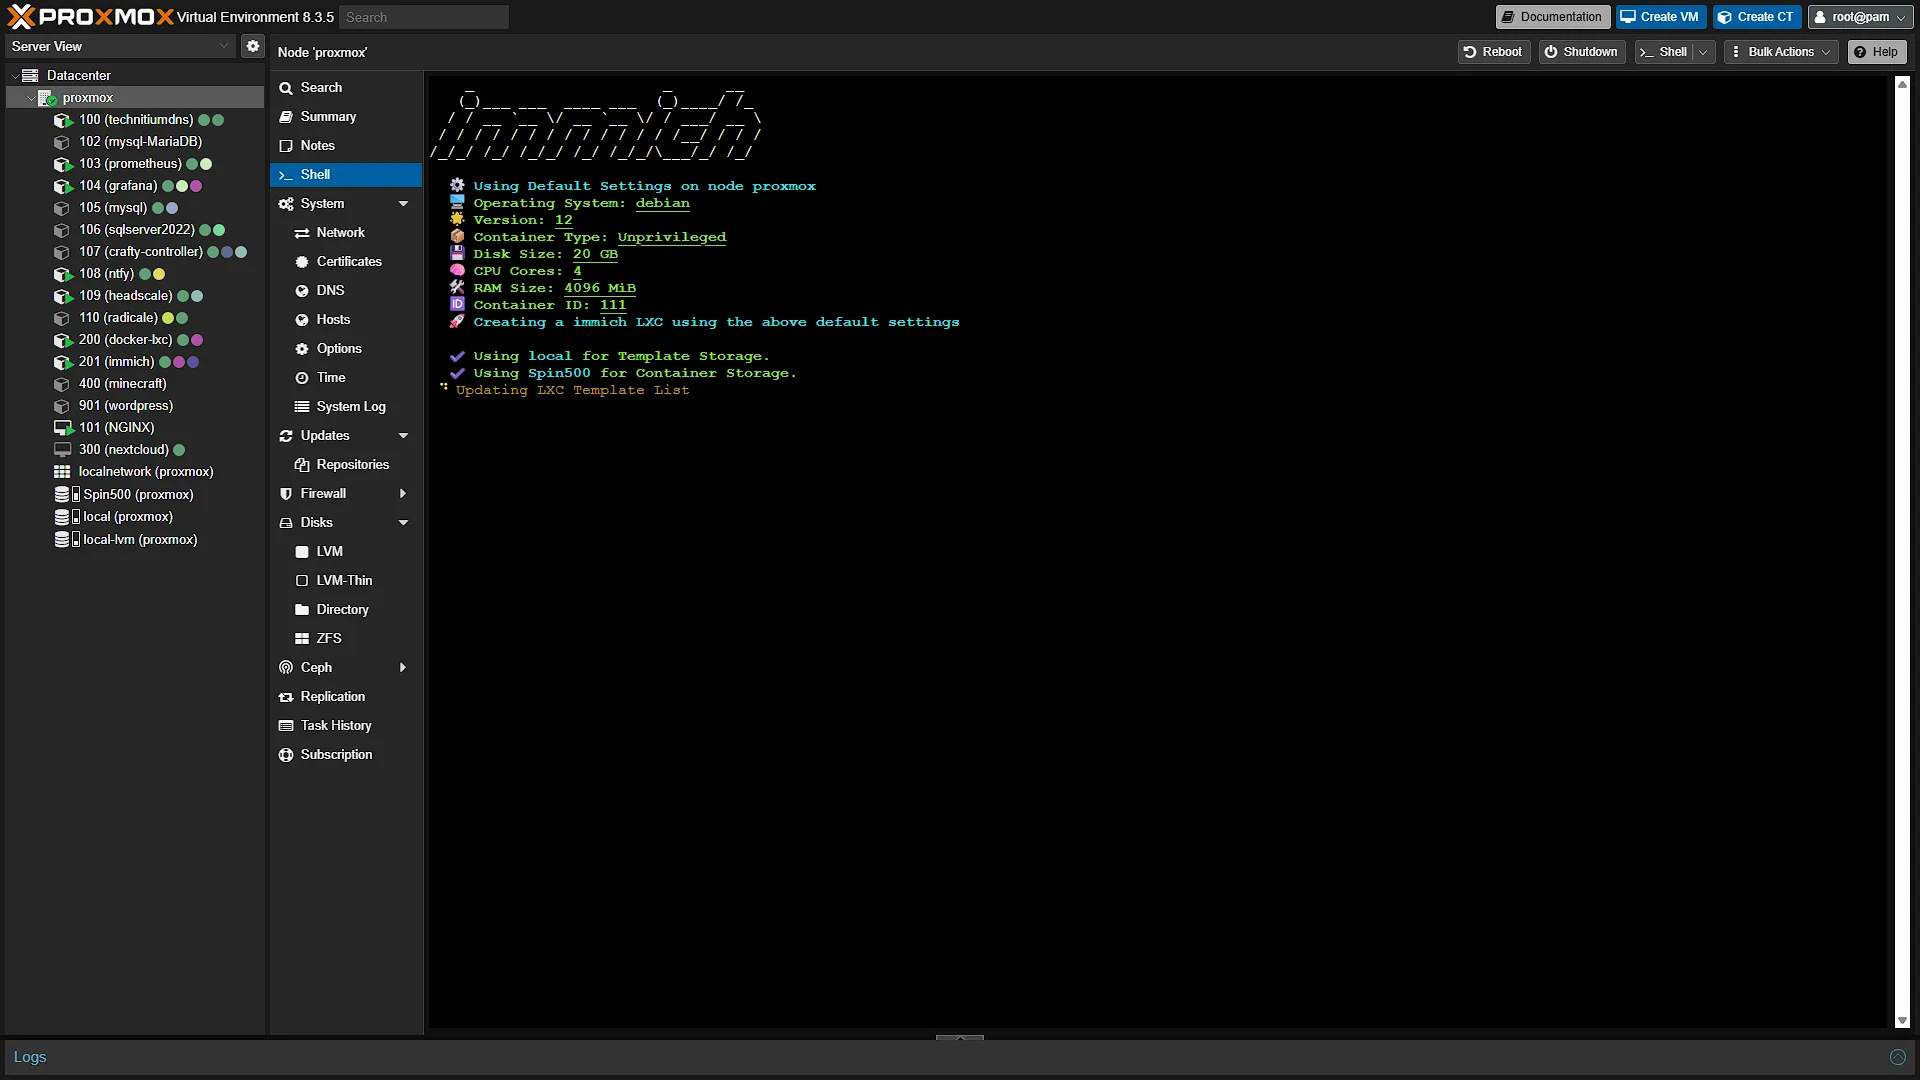
The installer will do a quick storage validation and ask you to select the disk to install on (if you have multiple disks). Select the disk you want to install on and continue. The default resource settings for Immich are:
| CPU Count | 4 |
| RAM | 4GB |
| Disk Space | 20GB |
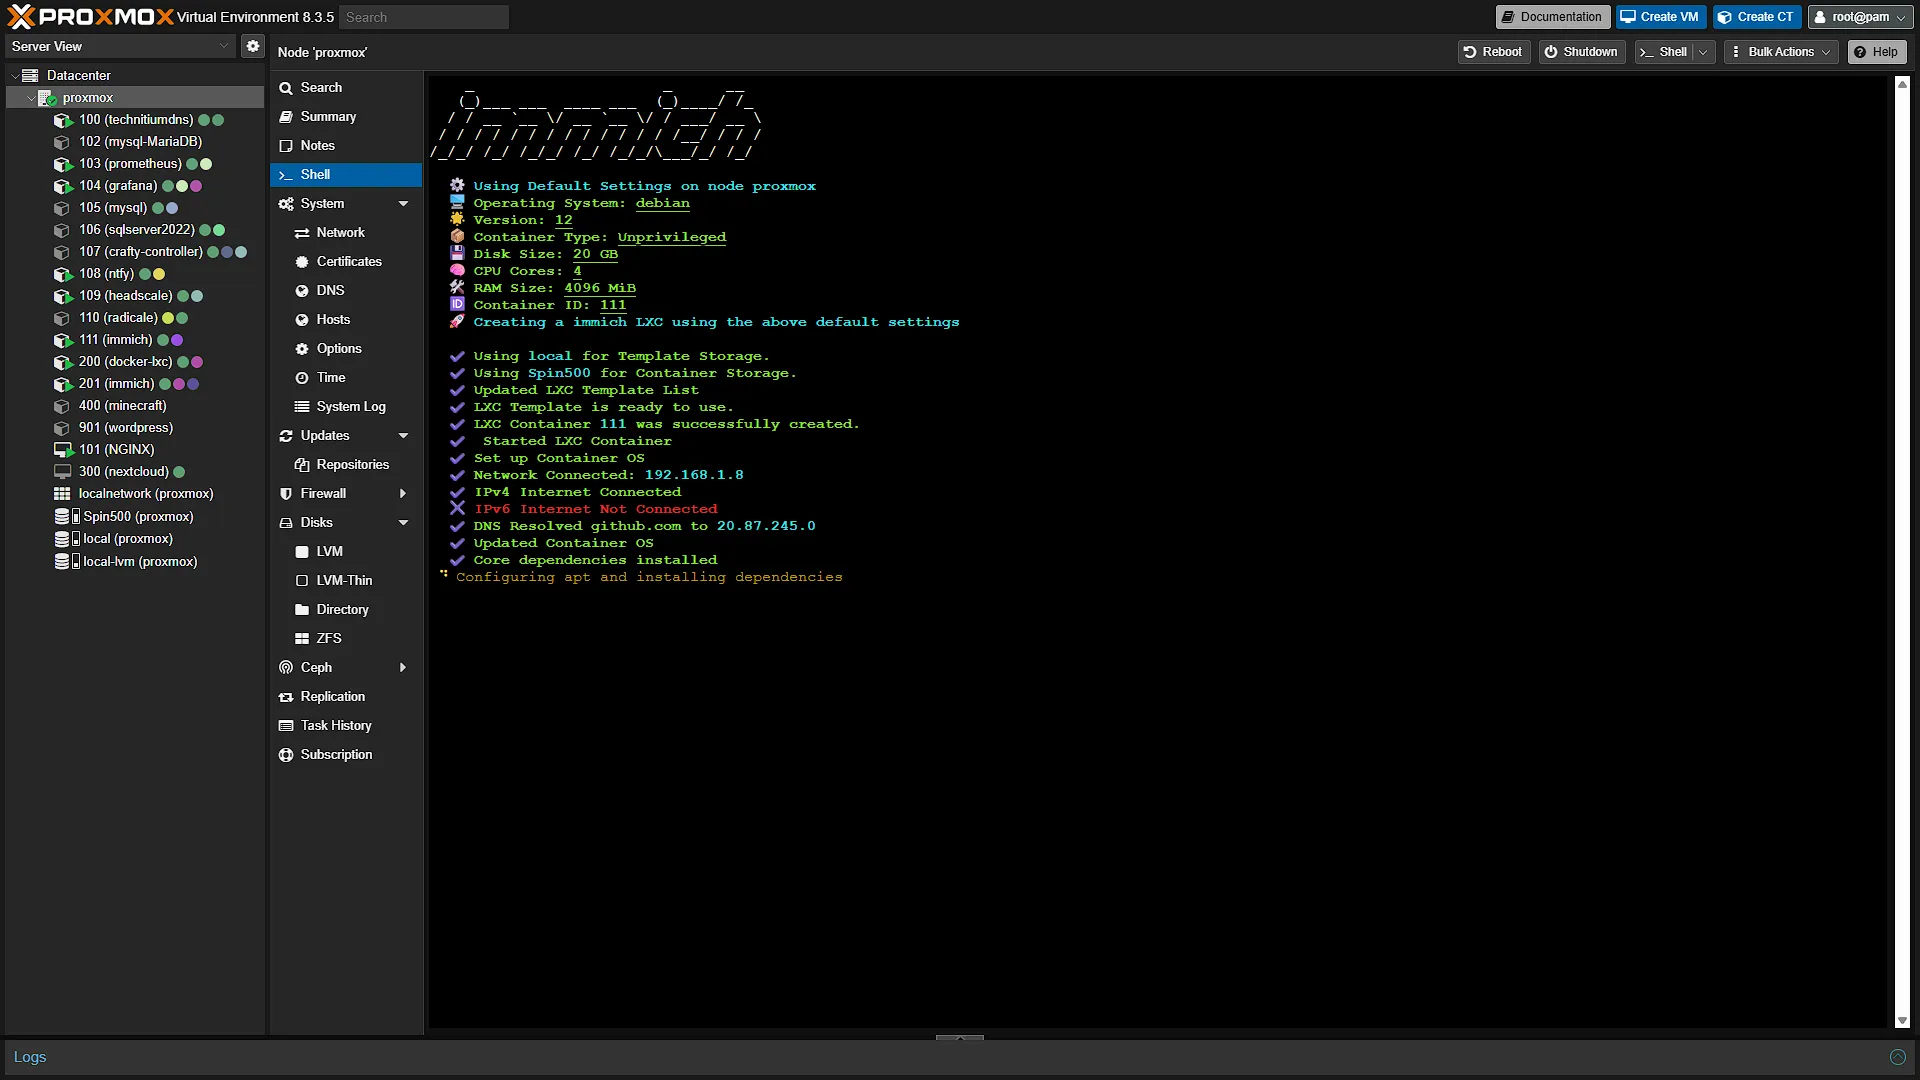
The install will now start and take quite a few minutes to complete.
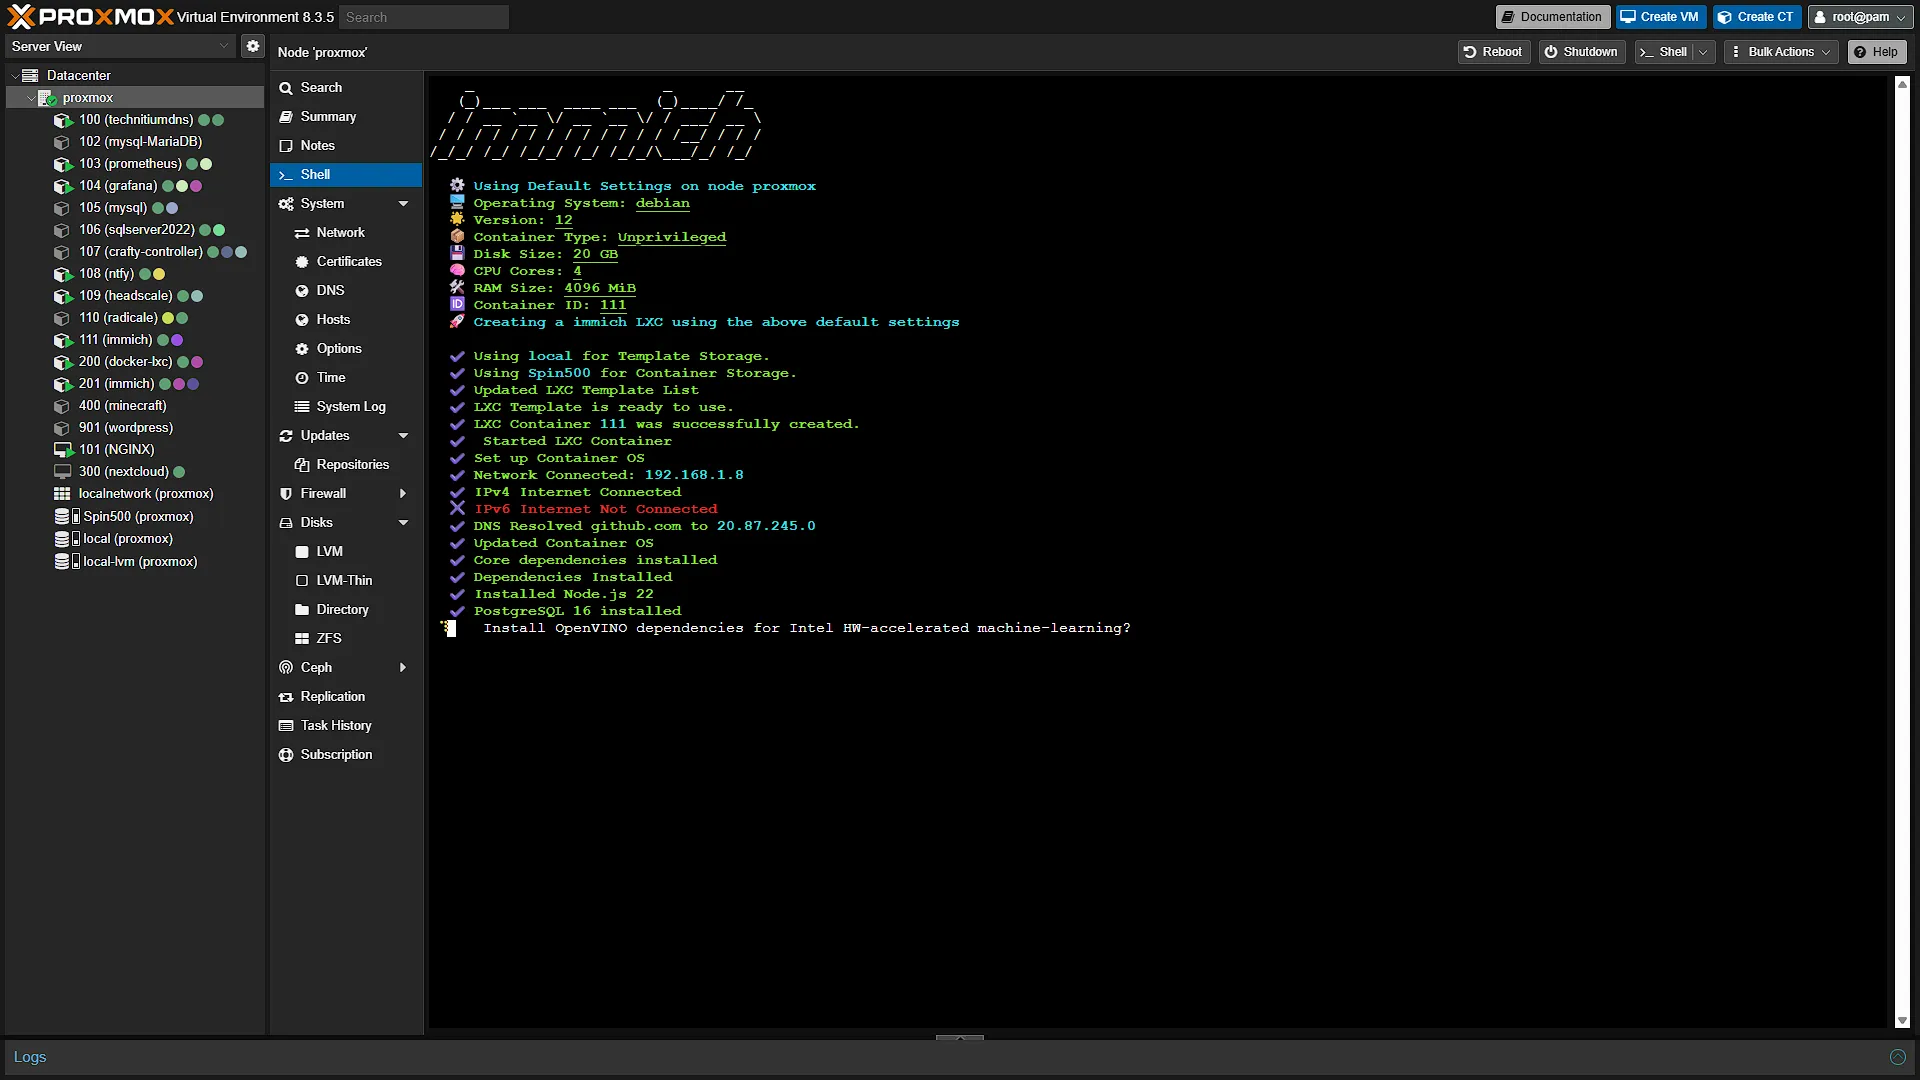
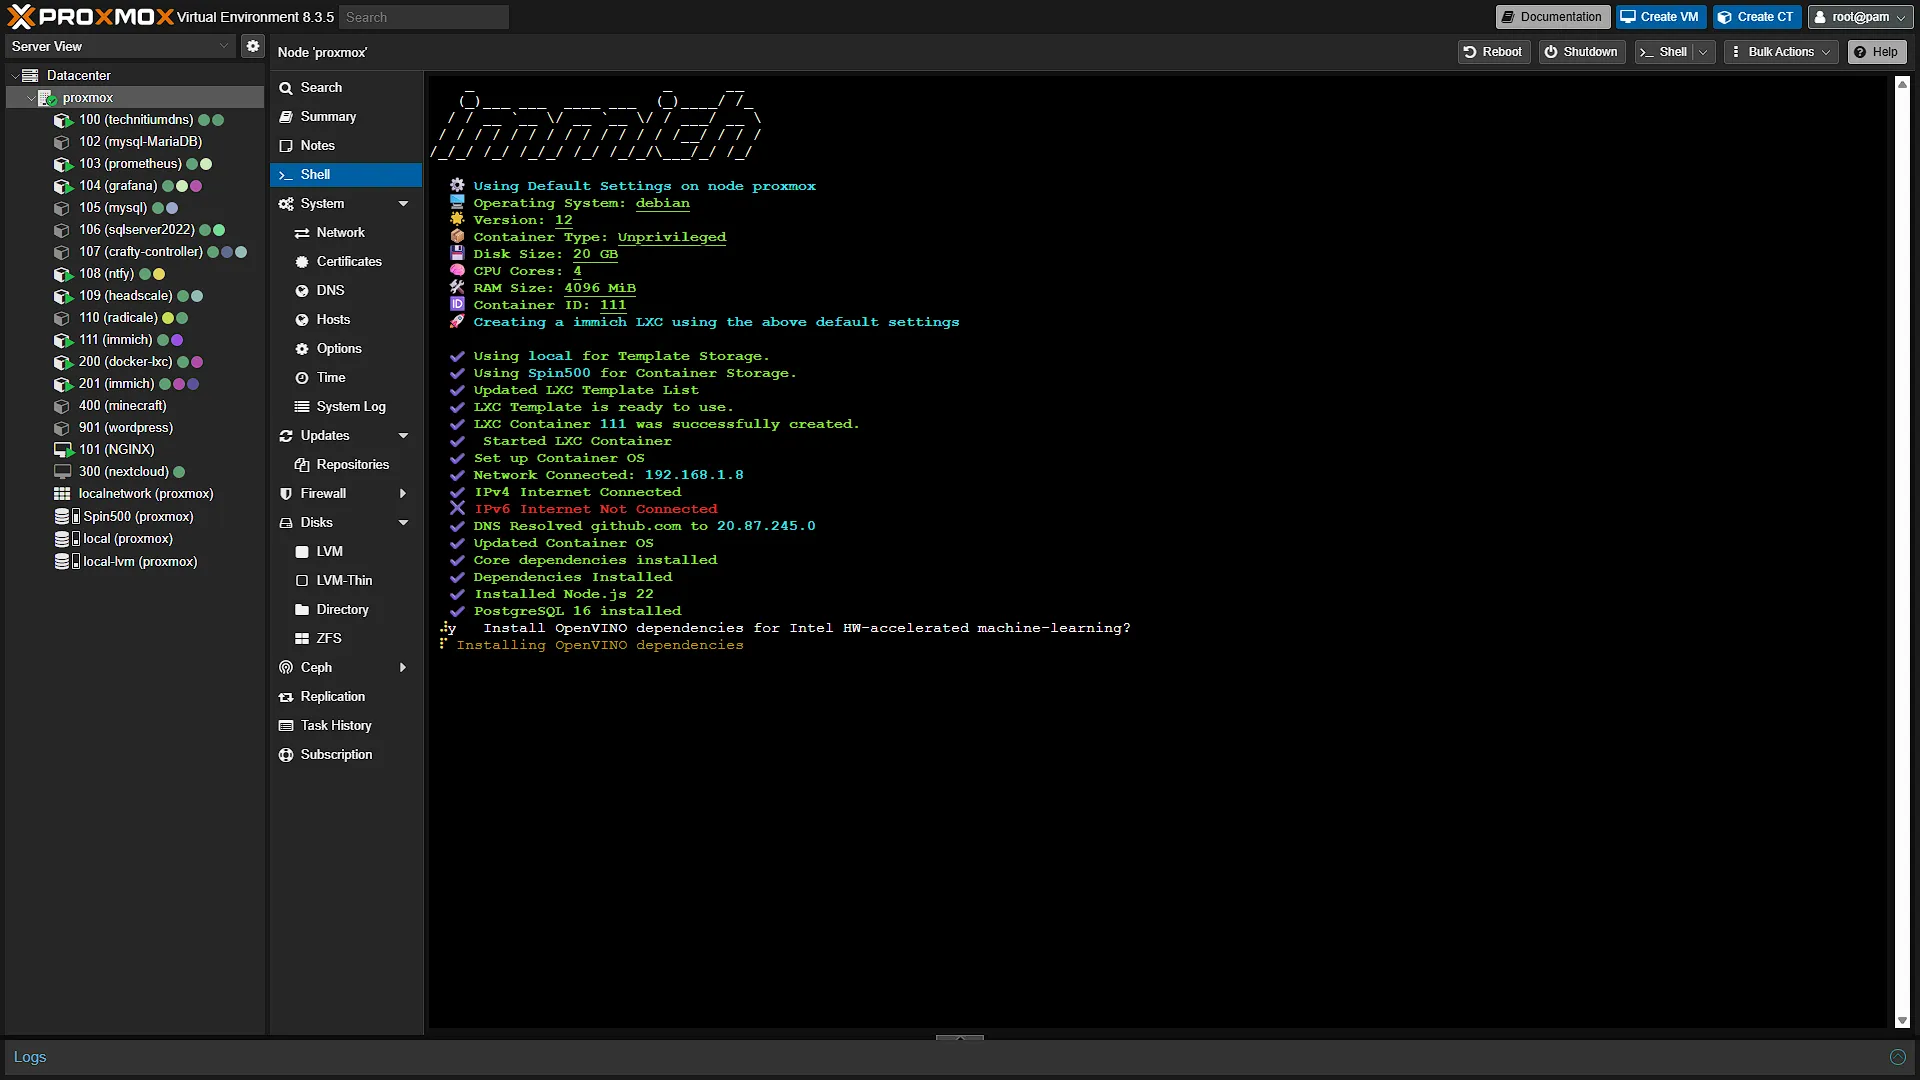
During the installation, you will be prompted in the command line:
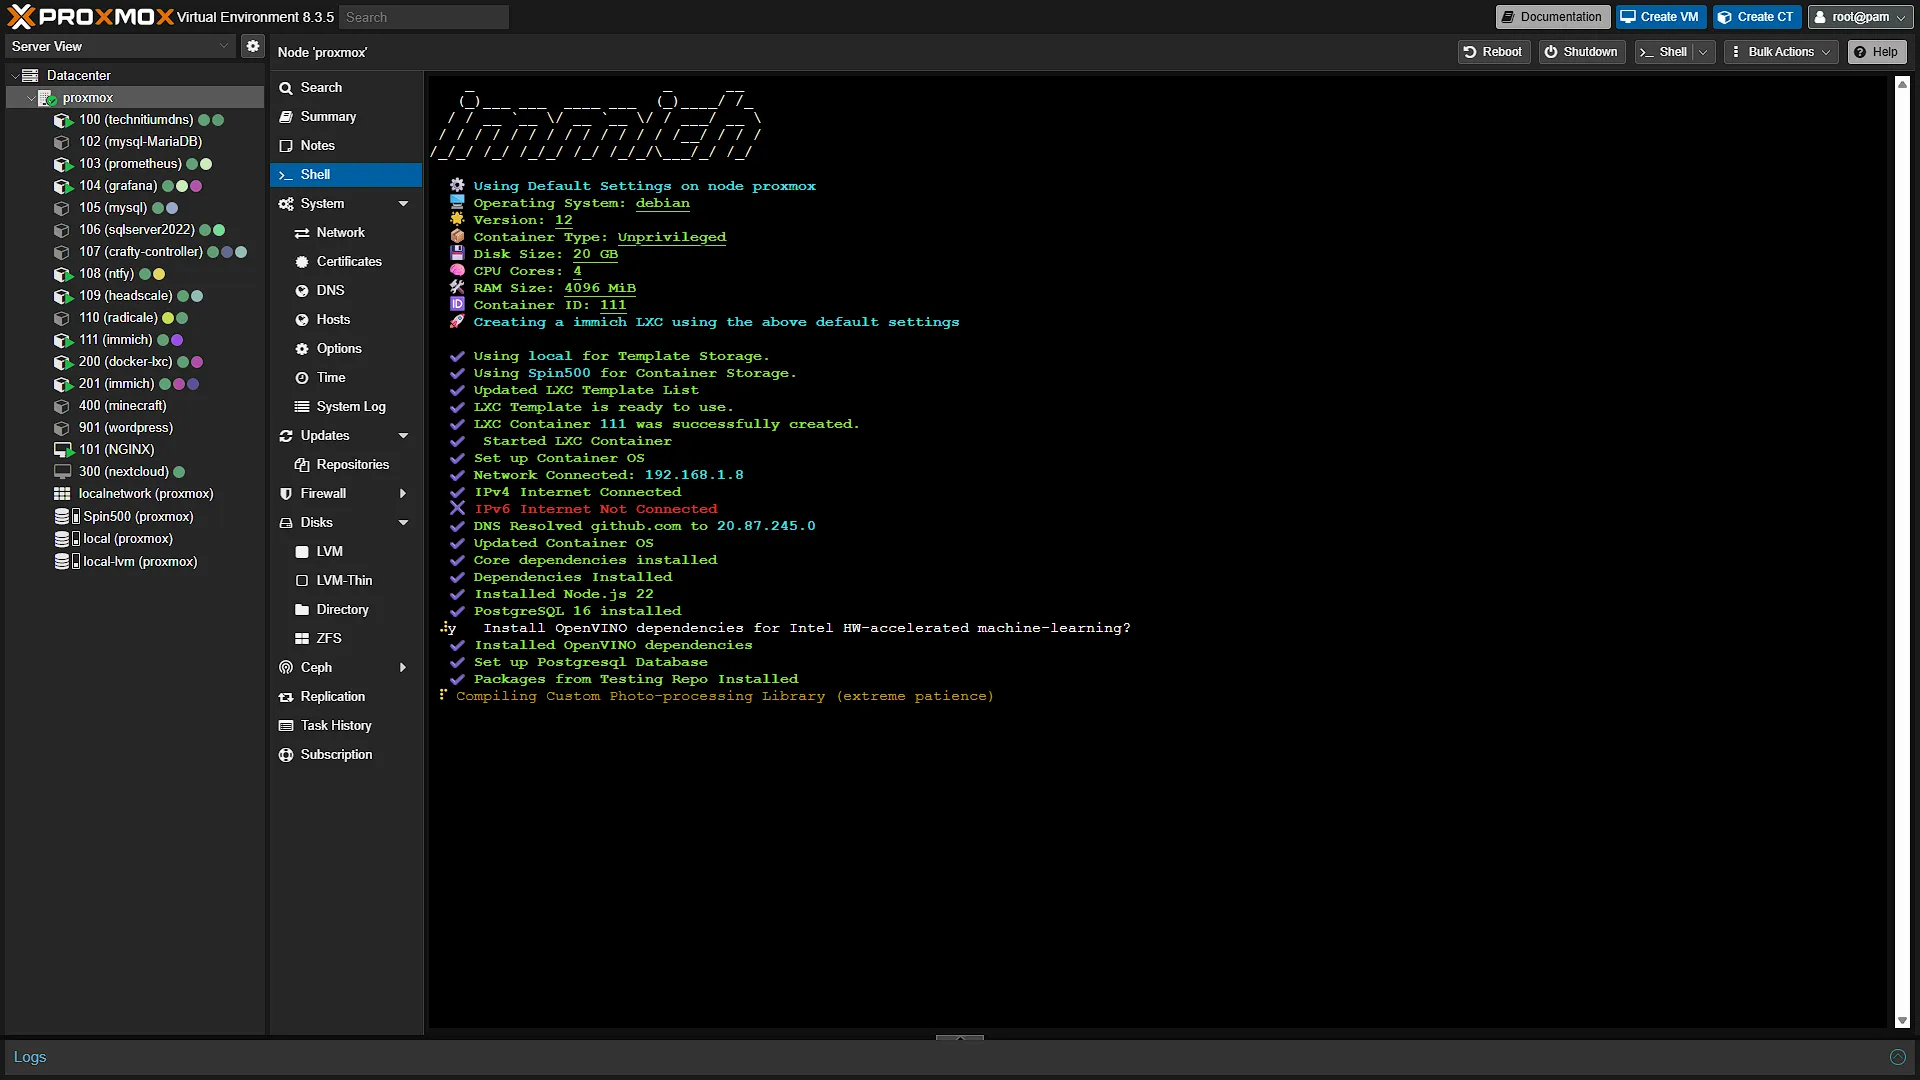
Install OpenVINO dependencies for Intel HW-accelerated machine-learning?If you want to install hardware accelerated machine learning, type y and press enter. Alternatively, you can press n and enter to skip this installation. Lastly you will see the last step being compiled:
Compiling Custom Photo-processing Library (extreme patience)This requires quite some patience. But once completed, you will need to adjust resources for the Immich LXC. By default, it runs on 20GB disk space, which might be way too little for most users. Also, if the OpenVINO Hardware Accelerated Machine Learning library was installed, you will need to increase the RAM to at least 8GB for it to work properly.
To adjust resources for this Immich LXC, follow our guide to update the disk size or RAM amount.
Step 3: Configure and access Immich
The configuring and accessing of Immich stays the same as it previously was. Follow our guide for the configuration of Immich. This will also take you through the accessing of Immich.
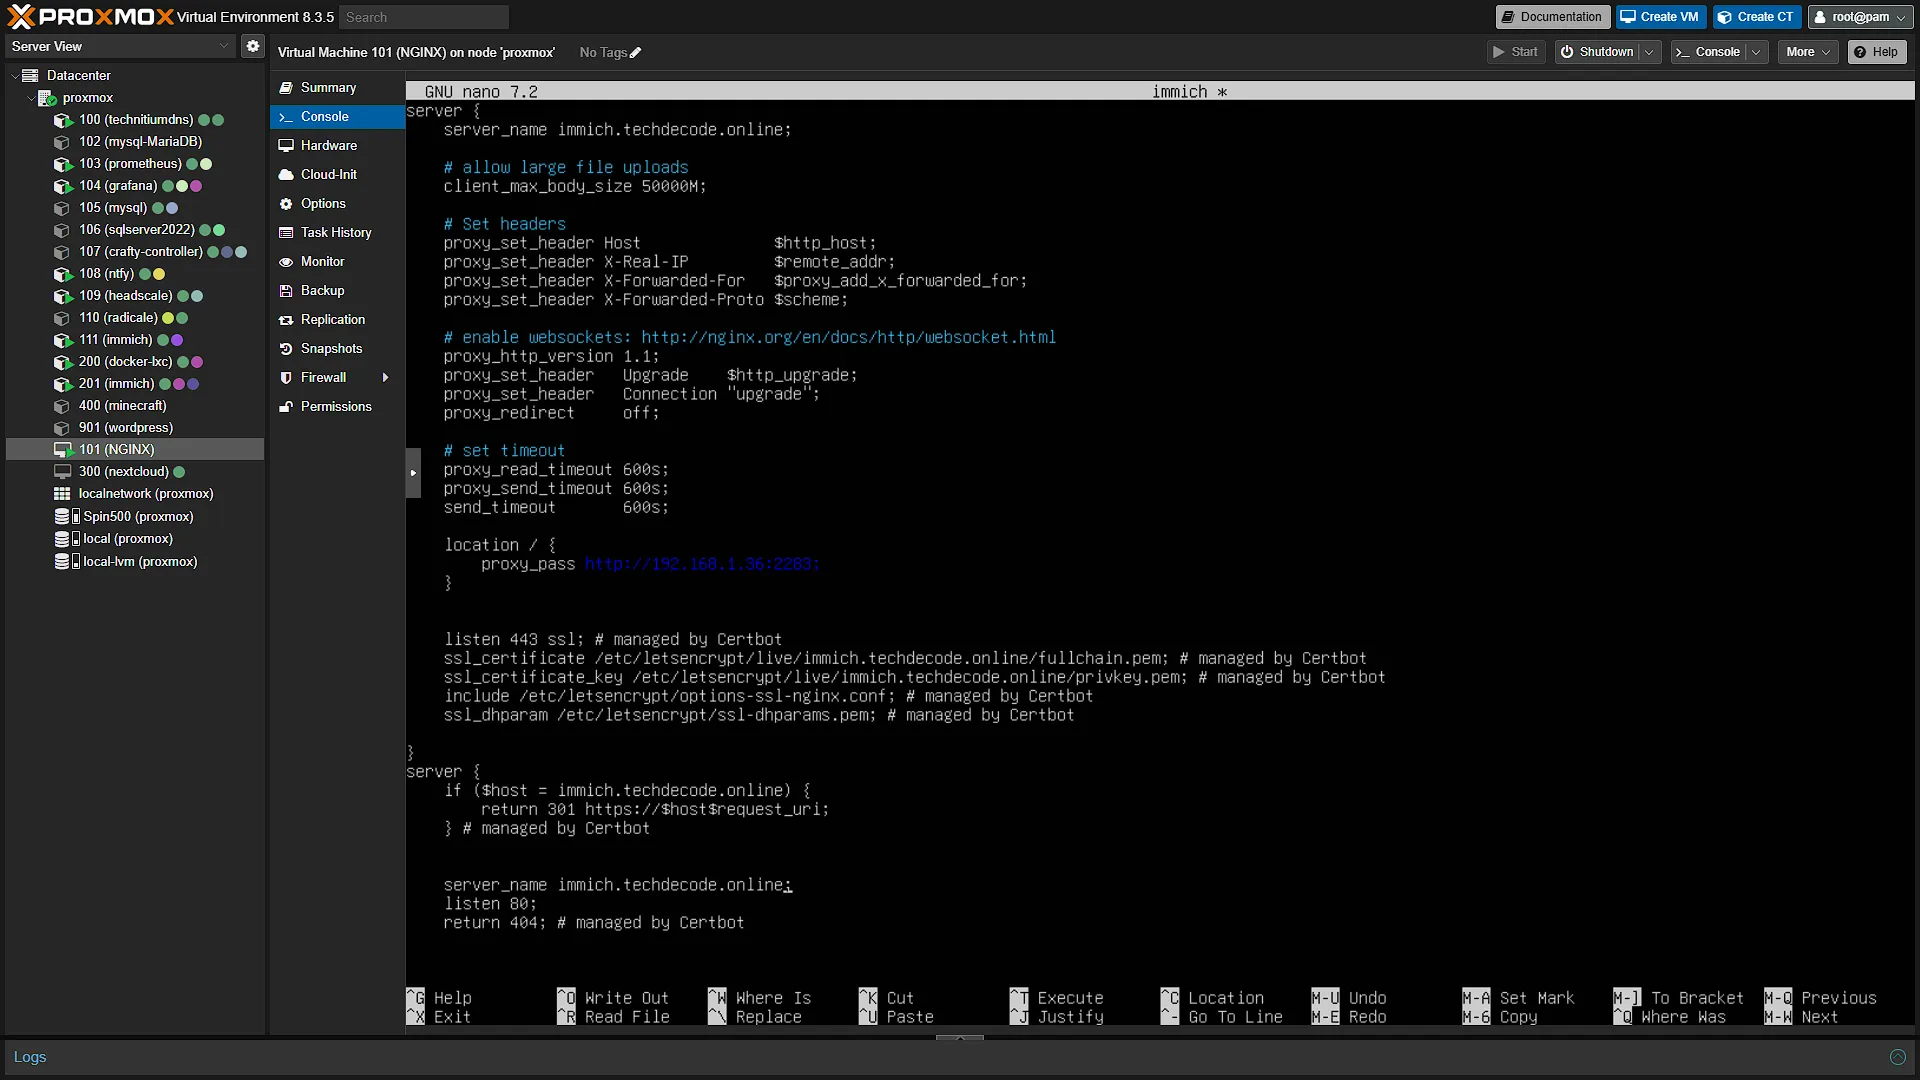
If you followed our previous installing Immich guide, note that you can just go into NGINX and update the IP address of the old Immich to the new Immich LXC's IP Address and you can continue as normal. There is also no need to get a new Let's Encrypt certificate again - the original one will work as normal without any issues.
Optional After the Walkthrough: Native LXC, Device Access and Storage
This is the native helper-installed alternative to Part 39's Docker stack. Keep the original install prompts and resource choices as the recorded example. Current helper revisions can change supported releases, resource requirements and device setup. Inspect the current helper page before a fresh installation; a fixed screenshot allocation is not a guarantee for every model or optional acceleration feature.
A privileged LXC is not a universal requirement for GPU access. Permissions and device mappings depend on the host, guest and helper revision. Verify the actual available render/device node and the installed release's supported acceleration path. Keep the working non-accelerated service available while diagnosing it. Do not promise a fixed import time or performance improvement from the architecture alone.
For storage expansion, inspect the actual container ID and its existing mount points first. A sample pct set 113 -mp0 ... can target another guest or overwrite a mount definition already in use, so it is not a generic command to copy. Plan a free mount-point index, the host path, guest path and UID/GID permissions against the real configuration.
An Immich external library references existing files; its upload location holds application-managed files. They are different features and cannot be exchanged simply by pointing both to a NAS directory. Use the helper/distribution's matching storage instructions for an upload-location migration and Immich's documented external-library workflow for an existing collection. Keep the database on supported local storage.
Bind-mounted NAS data is not automatically included in a Proxmox guest backup. Back up that media independently alongside the database/configuration and test a restore. When following Part 40's proxy steps, replace its Docker example .36 address with the native guest's reported address and actual web port. Test direct login and upload before the proxy, then repeat through the chosen hostname.
Further reading: Immich external libraries, Immich custom locations, Community Immich helper.
Conclusion
That is as easy as it gets to Install Immich. Immich will stay one of the best services one can host in your homelab and is a staple of any self-hosting enthusiast. We hope you found this guide helpful, but let us know by sending us a message.