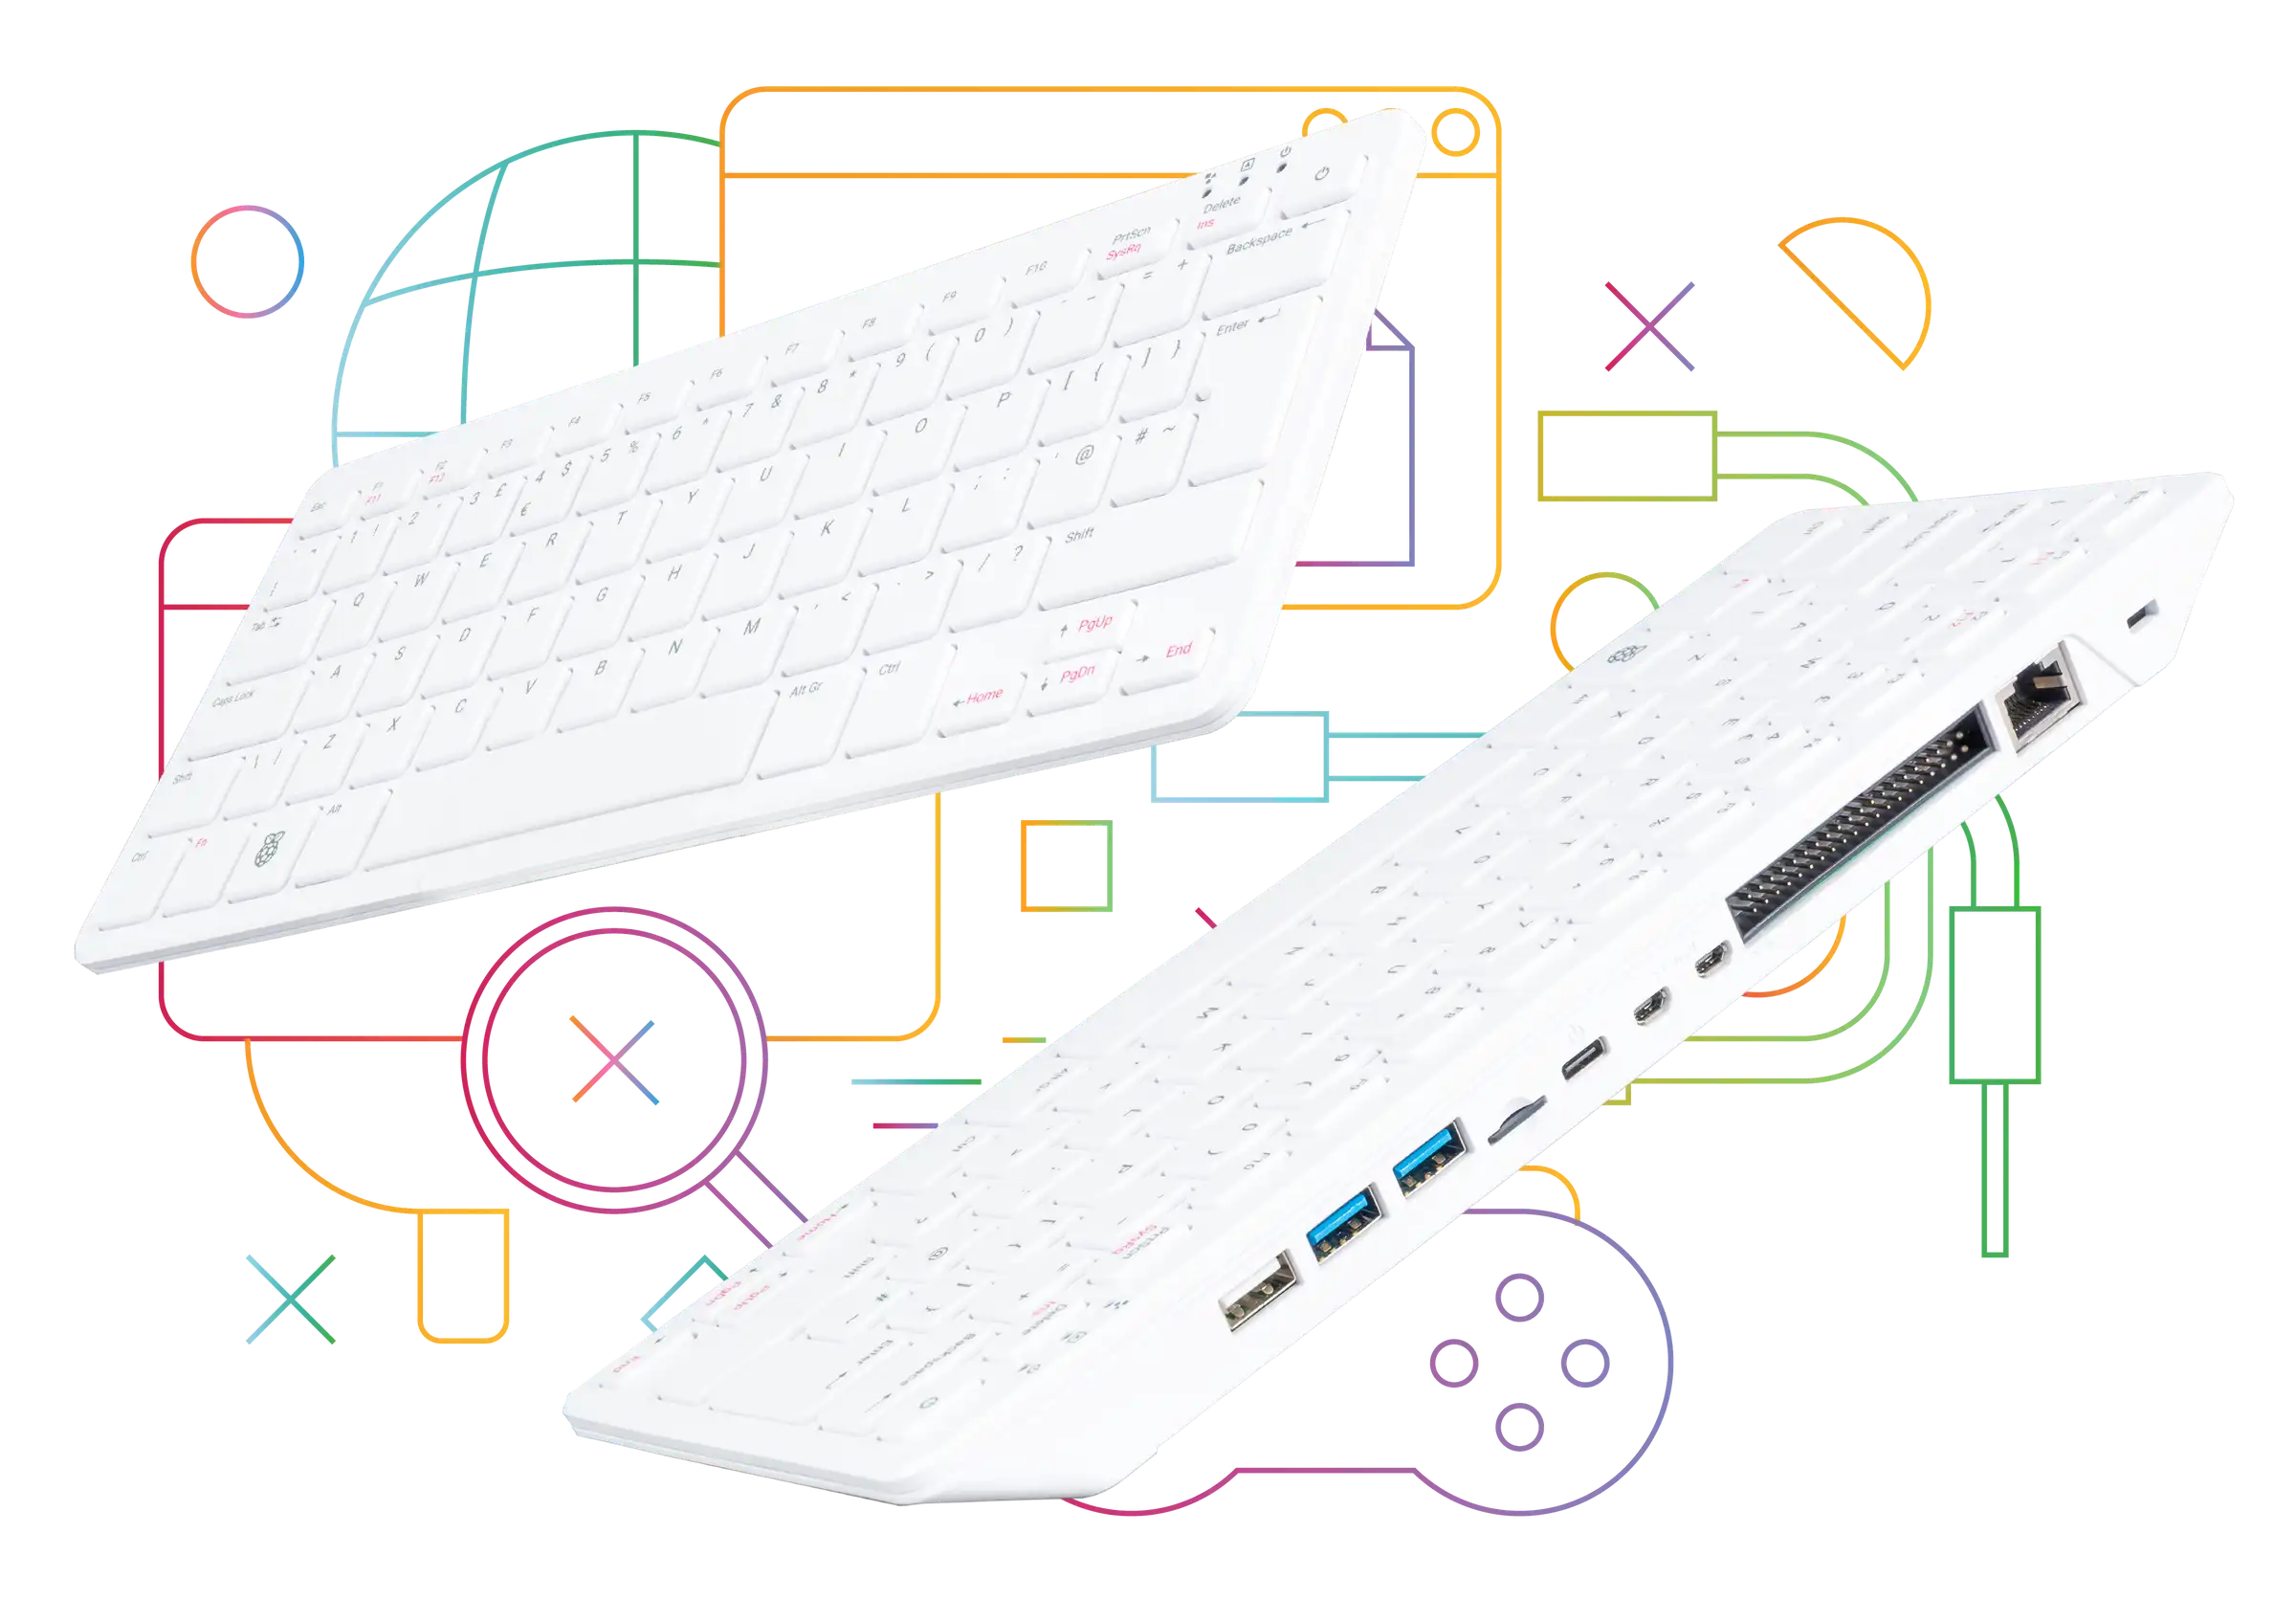
The Raspberry Pi 500 puts a complete Raspberry Pi computer inside a compact keyboard. It follows the Pi 400's convenient format while adopting the BCM2712 processor and RP1 I/O controller from the Pi 5 platform. I see its main appeal as simplicity: a computer and keyboard in one enclosure, ready to form the centre of a learning or everyday Linux setup.
It still needs suitable power, a display and normally a mouse. It has no laptop-style battery or built-in screen. The keyboard design reduces the number of separate pieces on the desk, rather than removing the need to choose an operating system, connect peripherals and check the software you want to run.
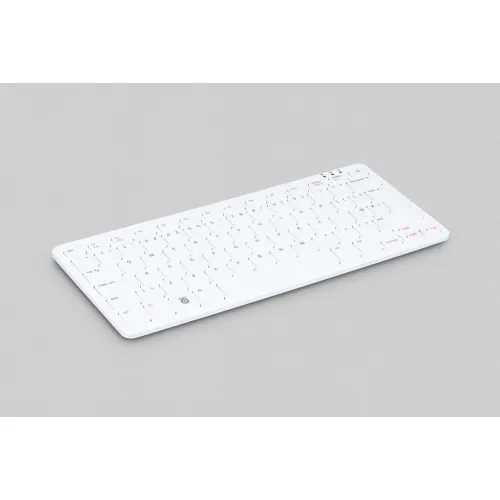
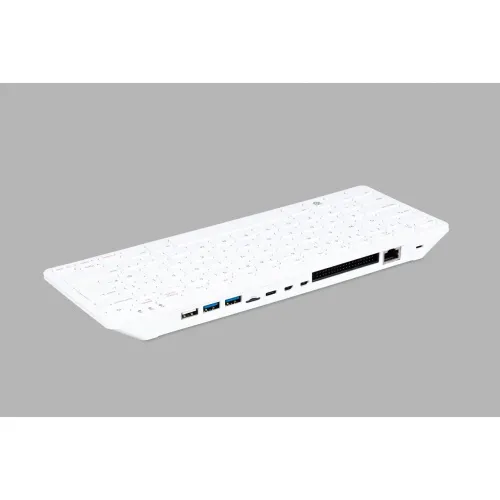
What Is Included in the Standard Pi 500?
The standard Pi 500 has a 2.4 GHz quad-core 64-bit Cortex-A76 CPU and 8 GB of LPDDR4X-4267 RAM. Its graphics support two micro-HDMI outputs up to 4K at 60 Hz, with H.265 hardware decoding documented at 4Kp60. Those are interface and codec capabilities, not a guarantee that every application renders at 60 frames per second.
Connectivity includes Gigabit Ethernet, dual-band 2.4/5 GHz 802.11ac Wi-Fi, Bluetooth 5.0, two USB 3.0 ports and one USB 2.0 port. A horizontal 40-pin GPIO header gives access to compatible electronics projects. The microSD slot provides operating-system and file storage. Current product information includes a 32 GB A2-class card, but check the seller's exact package and whether its installed software suits your project.
Cooling comes from an integrated aluminium heatsink. The standard product does not contain the active blower or vapor-chamber assembly sometimes assumed from other computers. Keep the enclosure uncovered and allow ventilation. Sustained performance still depends on workload and conditions; a particular temperature should come from an actual measurement, not the shape of the case.
Keep Pi 400, Pi 500 and Pi 500+ Separate
| Feature | Pi 400 | Pi 500 | Pi 500+ |
|---|---|---|---|
| CPU | Cortex-A72, 1.8 GHz | Cortex-A76, 2.4 GHz | Cortex-A76, 2.4 GHz |
| RAM | 4 GB | 8 GB | 16 GB |
| Keyboard | Membrane | Membrane | Mechanical, with RGB lighting |
| Internal storage provision | microSD slot | microSD slot | microSD slot and fitted M.2 SSD |
| Cooling | Integrated aluminium heatsink | Integrated aluminium heatsink | Integrated aluminium heatsink |
| Display capability | One 4Kp60 or two 4Kp30 outputs | Two 4Kp60 outputs with HDR support | Two 4Kp60 outputs with HDR support |
The 500+ is a separate later model. Raspberry Pi's launch explanation says the standard 500 left the M.2 socket and supporting circuitry unpopulated; the 500+ fits them and includes a 256 GB SSD. A footprint visible in a teardown is therefore not a usable storage connector on the standard product. Do not buy a Pi 5 NVMe HAT expecting to plug it directly into a Pi 500.
Compared with Pi 400, the newer CPU and extra RAM provide a stronger platform for multitasking and development. Both generations already have USB 3.0, networking and a horizontal GPIO header, so those are retained facilities rather than entirely new inventions. The outcome for a particular browser, build or game still depends on its workload.
Plan the Complete Setup
Check the regional keyboard layout before buying, especially if you frequently use programming symbols or need a particular language. A standalone unit and a desktop kit have different accessory contents. The official kit adds a mouse, suitable USB-C supply, a micro-HDMI-to-HDMI cable and a beginner's guide; a display is still a separate choice.
Use an appropriate power supply, with the official 27 W USB-C supply being the documented kit option. The keyboard-computer documentation specifies a 5 V, 5 A input for Pi 500 and a 600 mA peripheral limit. A supply's larger wattage rating should not be treated as permission for an unlimited number of bus-powered USB devices. Check a drive or hub's requirements and use a suitable separately powered arrangement where needed.
A micro-HDMI cable is needed rather than a mini-HDMI cable. Connect its full-size end to a compatible display and give that display its required power. Put a simple USB mouse on the USB 2.0 port if convenient, leaving the faster ports for storage or other peripherals that benefit from them.
Storage and Software Choices
The straightforward starting point is a supported Raspberry Pi OS image on the microSD card. If the supplied card is already prepared, follow its first-boot configuration. Otherwise use Raspberry Pi Imager, select the appropriate device and image, and carefully choose the storage target before writing it. Keep valuable files backed up before replacing an existing installation.
USB storage is an external expansion route, but a USB SSD enclosure is different from an internal PCIe NVMe installation. Check bootloader and image support if you want to boot from USB, as well as the enclosure and power budget. Judge a storage upgrade on responsiveness and your workload; do not assume advertised interface rates will become measured file-transfer speeds.
The system uses Arm software. Choose supported Linux applications or confirmed arm64 builds, and check specialist packages before planning the whole desktop around them. An x86-only application or Windows game does not become compatible simply because the hardware resembles a familiar keyboard computer. Browser-based tools may be useful alternatives, subject to their own performance and network needs.
GPIO Access Is Useful, but the Shape Matters
The rear 40-pin connector supports experimentation, but its horizontal position changes how a board or cable fits. Check orientation, mechanical clearance, pin assignments and driver support for an accessory. A GPIO extension cable or suitable adapter may be more practical than mounting a conventional board directly behind the keyboard.
Sharing the Pi 5 processor does not give the Pi 500 every connector on a standalone Pi 5. For a project centred on internal PCIe accessories, camera/display ribbon connections or a particular stacking arrangement, compare the actual exposed interfaces before choosing this enclosure. The keyboard computer suits a desk role; a separate board can be easier to mount inside a custom project.
Everyday Work and a Homelab Terminal
I regard education, programming, documents and general computing as the Pi 500's natural uses. The integrated keyboard and case make it approachable, while 8 GB leaves more room for applications than the Pi 400's 4 GB. Keep expectations proportionate for intensive rendering, modern games or heavy workloads; assess the actual software rather than treating any desktop task as automatic.
For a homelab, it can serve as a network administration terminal for SSH sessions, browser dashboards and editing configuration files. It does not become a server's local console by joining two HDMI outputs together. Direct serial access requires a suitable adapter, the right electrical interface and an available serial console. A remote administration session also needs a working network and the relevant credentials.
Dual displays can be useful for documentation beside an editor or a dashboard beside a terminal. Choose a comfortable supported resolution and scaling rather than using maximum output resolution just because it is available. A small desk computer can also host a focused service, but plan storage, backups and availability instead of leaving valuable data solely on a development card.
Final Verdict
My view remains that the Pi 500 offers an appealing balance of simplicity and capability for beginners, educators and enthusiasts. Its integrated format is convenient when you want a compact Linux desktop; its fixed memory, peripheral power budget and limited internal expansion deserve checking first. Compare the complete local package with Pi 400, Pi 500+ or a separately assembled Pi 5 setup according to your needs. Learn more about the Pi 500 on Raspberry Pi's official website.