ATX, Micro-ATX and Mini-ITX are useful starting points when choosing a computer case, but a form-factor name does not answer every compatibility question. It helps describe a motherboard's footprint and mounting arrangement. You still need to check the actual board, power supply, cooler, graphics card and storage that will occupy the case.
These choices remain useful: a compact build for limited space, Micro-ATX for a practical balance, or a larger ATX layout when expansion matters. Choose the complete arrangement for your work and budget rather than assuming the largest case is fastest or the smallest board is low-powered.
What ATX Means
ATX stands for Advanced Technology Extended. Introduced in 1995, it helped standardize mechanical layout and power interfaces for a particular desktop ecosystem. Matching supported components is easier when manufacturers use common mounting and interface conventions, but those conventions do not guarantee that every part sold under a similar label works together.
Separate the names you encounter. A motherboard form factor describes the board layout. A case lists the board sizes it accepts. An ATX or SFX power supply has its own physical format. An ATX 3.x power-supply specification concerns electrical requirements; it is not a claim that the motherboard has changed to a new footprint.
Common Motherboard Sizes
These are useful reference footprints. Check the exact board's drawing and the case's supported dimensions before buying.
| Format | Common reference dimensions | Practical buying consideration |
|---|---|---|
| ATX | 305 × 244 mm | Room for a wider choice of expansion layouts; actual slots vary. |
| Micro-ATX | 244 × 244 mm | Often a useful balance between a smaller footprint and expansion. |
| Mini-ITX | 170 × 170 mm | Compact layout, typically with one full-length expansion position. |
| Extended ATX / E-ATX | Width varies; 305 × 330 mm is one reference | Check the exact width, mounting and case limit rather than the label alone. |
Mini-ITX, Nano-ITX and Pico-ITX belong to the ITX terminology, rather than being interchangeable names for Mini-, Nano- or Pico-ATX. VIA's original Pico-ITX announcement lists Mini-ITX at 170 × 170 mm, Nano-ITX at 120 × 120 mm and Pico-ITX at 100 × 72 mm. The latter formats are associated with compact embedded designs and require their own suitable enclosure and interfaces.
E-ATX is especially worth checking carefully: manufacturers use the label for boards with differing widths. A case advertising E-ATX support may still specify a maximum width or lose cable-routing access with a larger board. It does not automatically mean every dual-socket server board or workstation board fits.
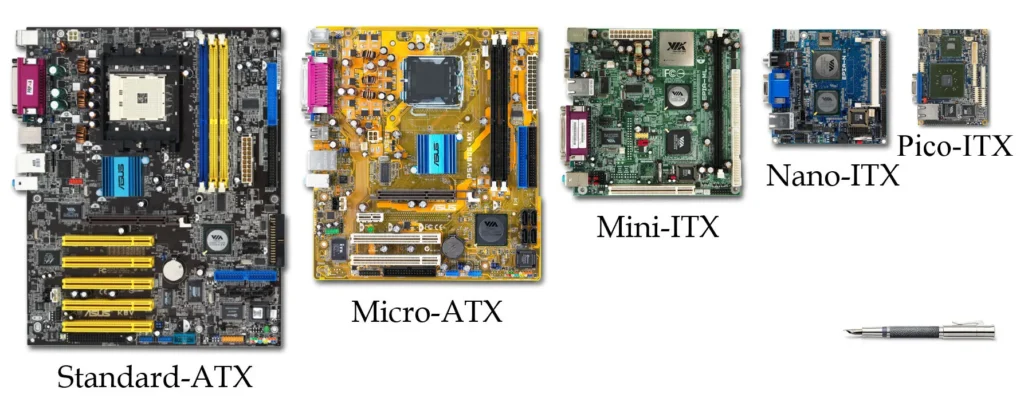
Case Names and Mounting Positions
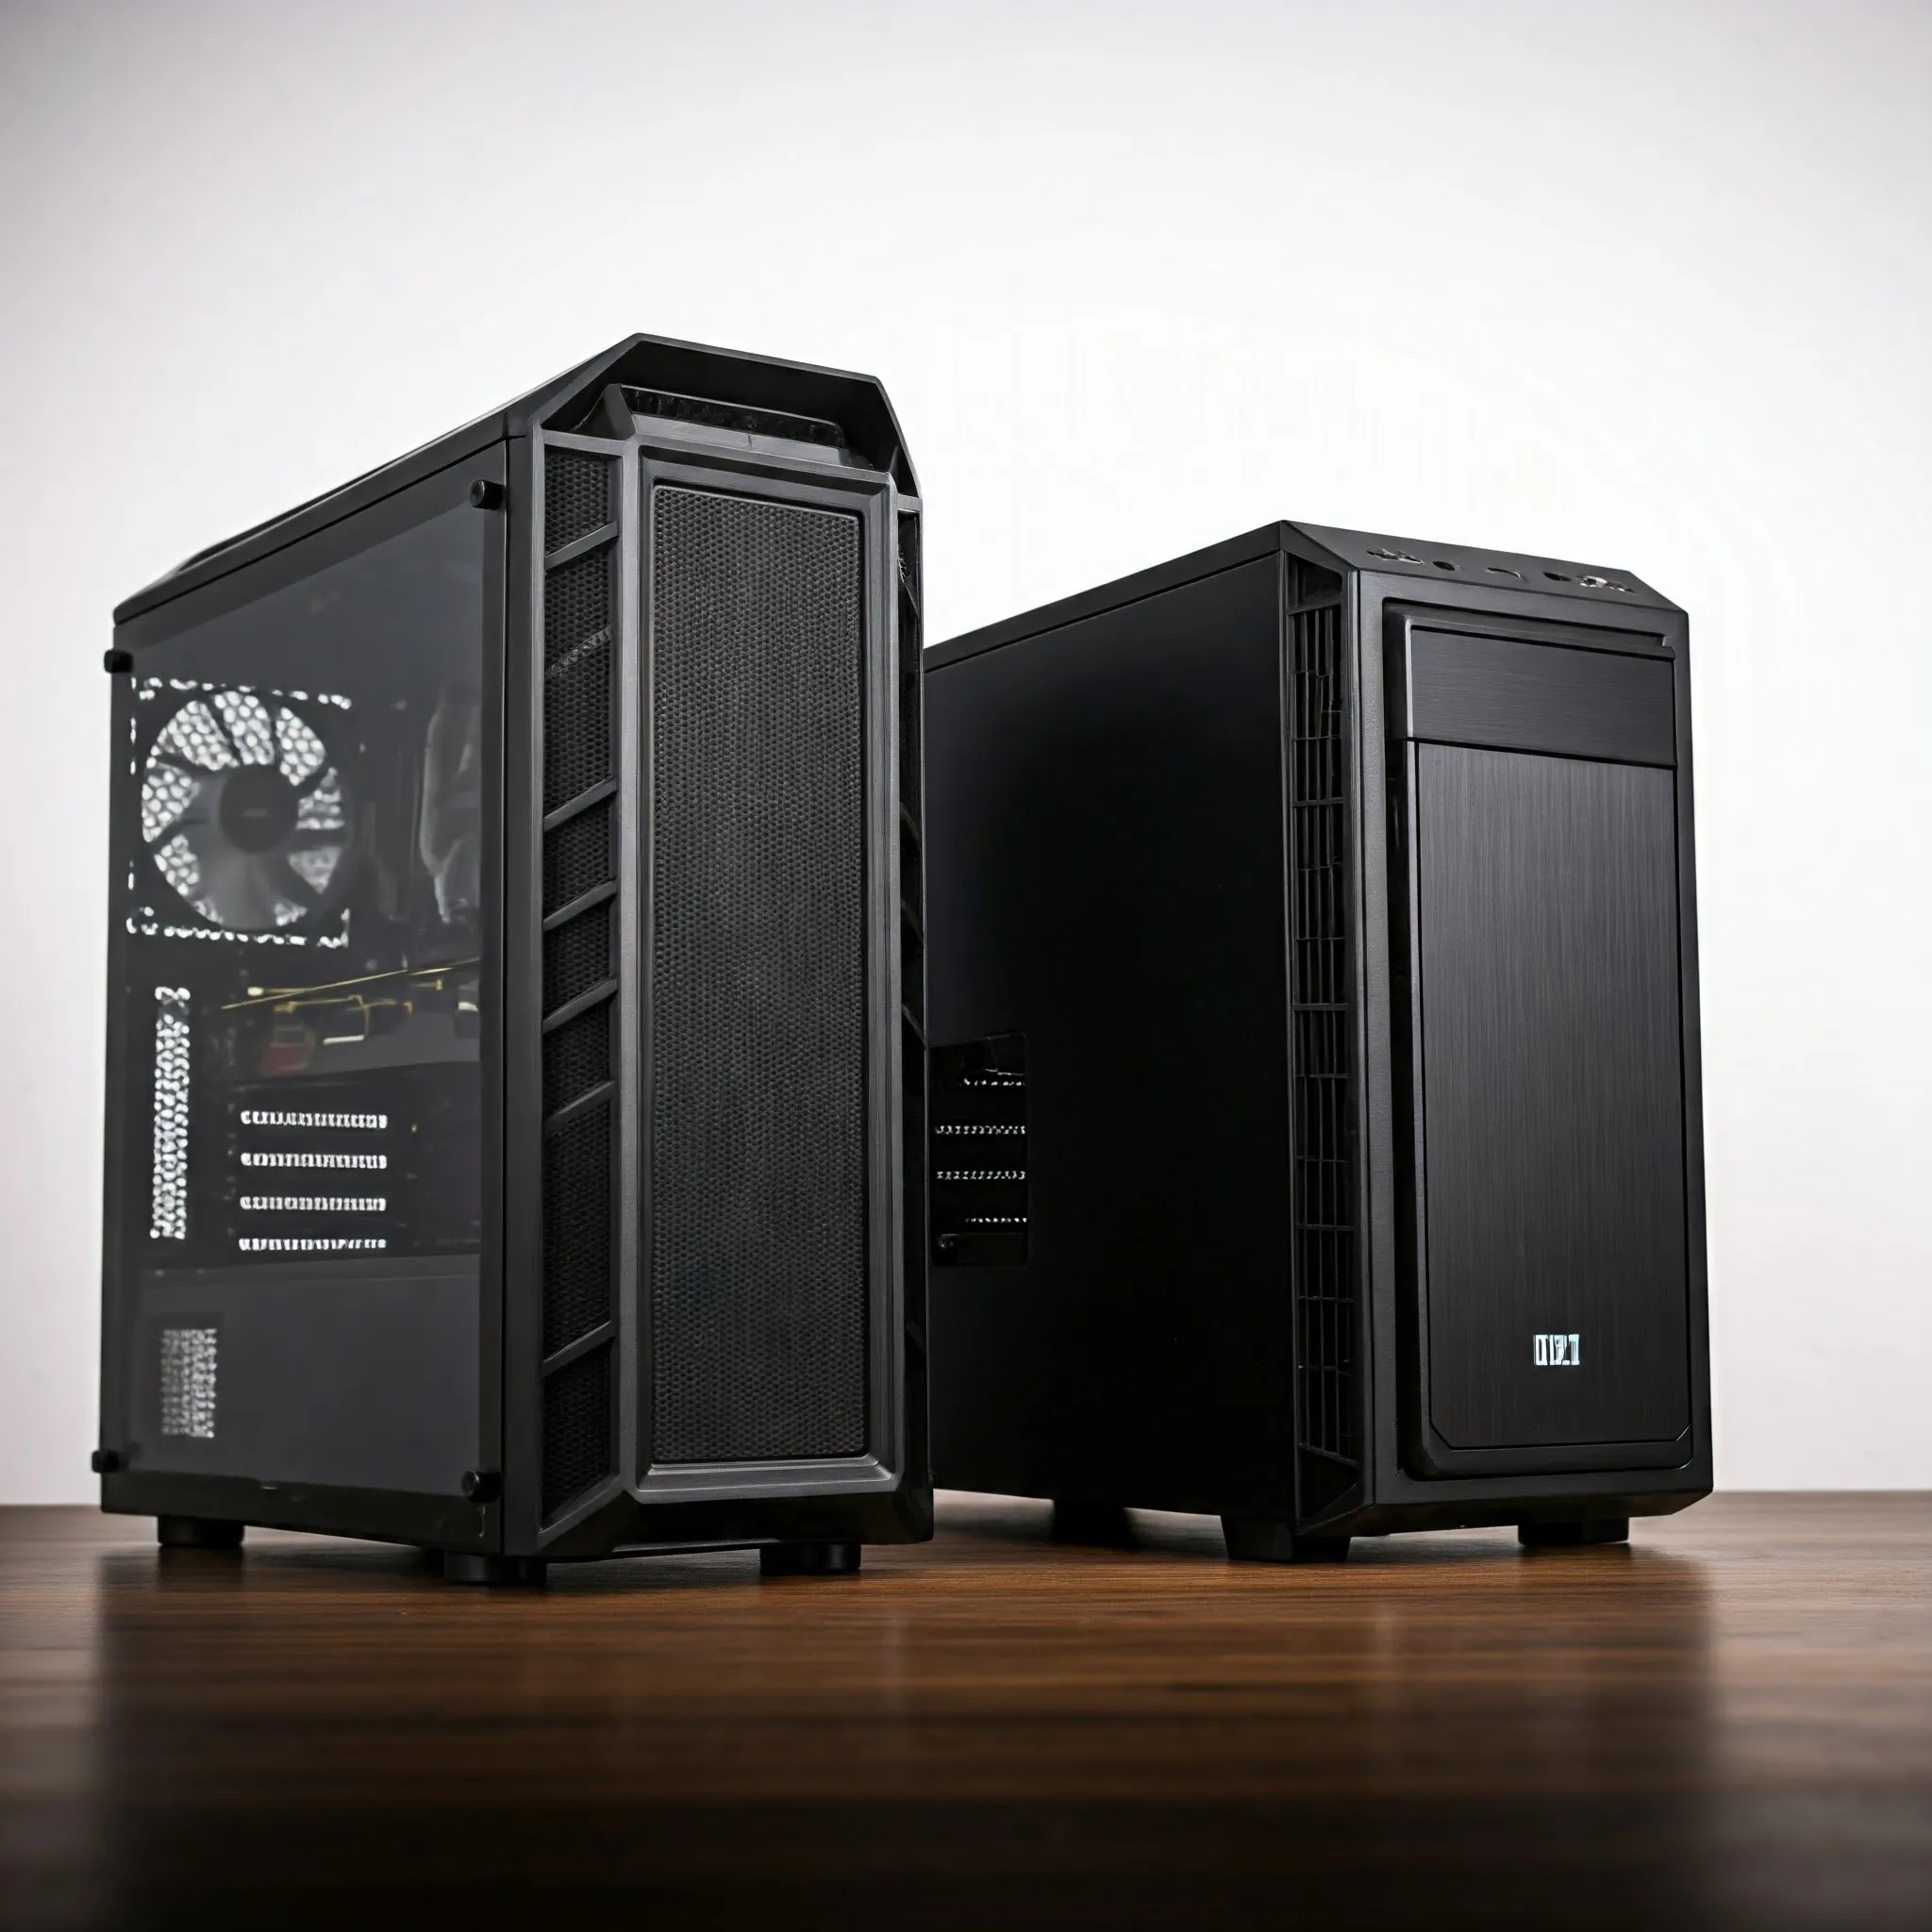
Mid-tower, full-tower and small-form-factor describe broad case categories, not one universal interior measurement. Many larger cases accept ATX, Micro-ATX and Mini-ITX, but read the supported-board list. A tiny case intended only for Mini-ITX will not grow to accommodate an ATX board, and a large exterior does not prove every required mount is present.
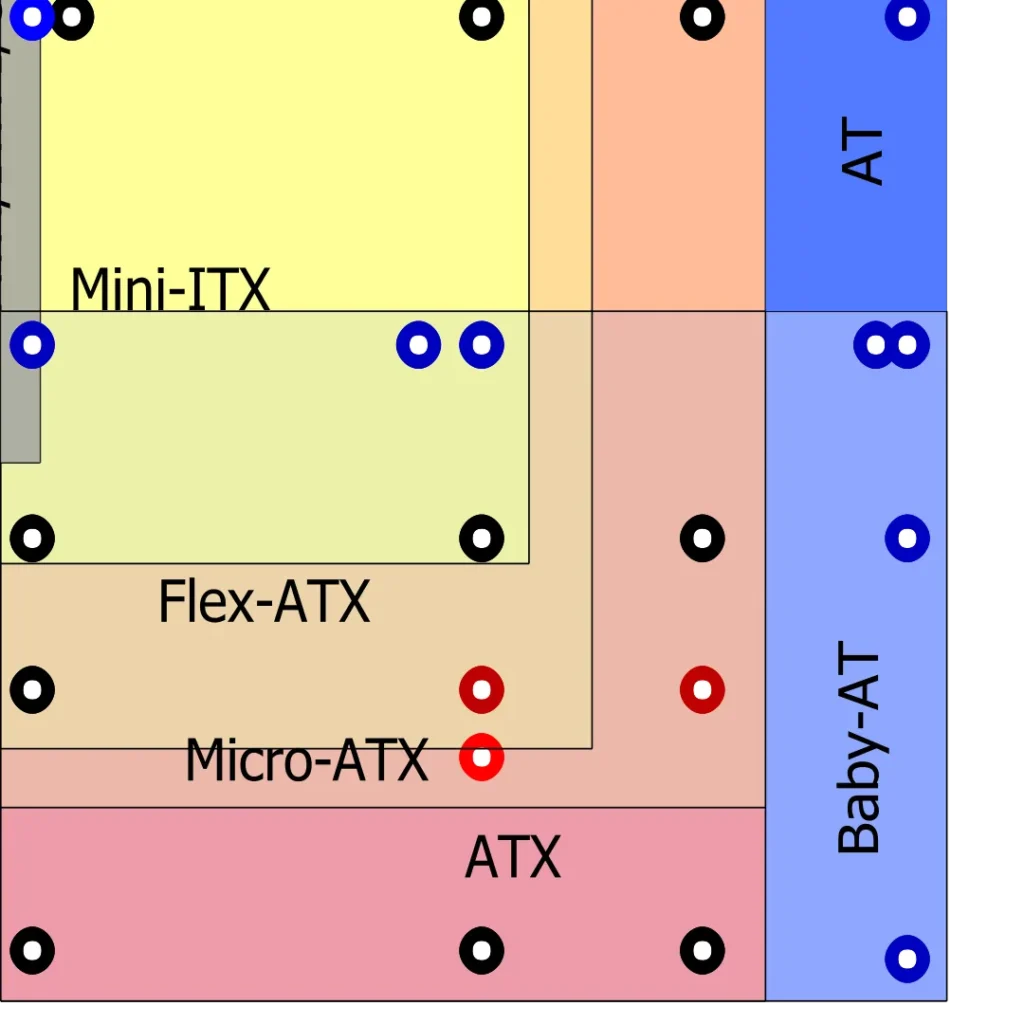
The board sits on standoffs aligned with its mounting holes. Use the positions specified by the case and motherboard manuals; an unused metal standoff beneath the board can create an unwanted electrical contact. Check rear I/O alignment and whether the board has an integrated shield. The historical illustration below helps explain shared patterns, but does not replace the actual manuals.
Allow working space as well as geometric fit. You should be able to connect headers, route cables and remove a drive or card without unreasonable disassembly. For a reused case, check included brackets, screws and standoffs instead of assuming an older enclosure contains all the fittings a new layout needs.
Physical Slots Are Only Half the Expansion Story
A larger board often offers more positions for add-in cards, memory and storage. The actual model decides the count and electrical connections. An ATX board is not guaranteed to have seven usable PCIe connectors or four memory slots, and its form factor does not determine dual-, quad- or other memory-channel operation. Check CPU support, memory type and the manual's slot rules.
A full-length PCIe slot may have fewer electrical lanes than its shape suggests. Installing an M.2 drive can also share resources with another port or slot on some boards. Read the relevant lane-sharing table before planning a graphics card, network card and storage controller together.
For example, ASUS's Hyper M.2 x16 Card V2 can hold up to four compatible drives, but ASUS says the number the system can use depends on the CPU, board and PCIe bifurcation settings. Simply placing it in a long slot does not guarantee four detected SSDs. Check the precise supported configuration rather than choosing a case by rear-slot count alone.
A thick GPU can cover neighbouring slots even when the motherboard provides connectors there. Budget the card's occupied slots and cable space. For a NAS, count drive mounts, power connections and data ports too; extra motherboard area does not supply missing drive cages or SATA connections.
Check Components Together
Compare graphics-card length, height and thickness, CPU-cooler height and radiator mounting details. Do not assume every listed maximum is simultaneously available. Front radiators, side-fan brackets, tall memory or drive cages can occupy space needed by another component.
Fractal Design's North GPU guidance gives a concrete example: its 355 mm baseline must be reduced by the installed front radiator's thickness. A 30 mm radiator therefore leaves 325 mm in that documented example. Different North variants and arrangements have their own limits, so apply the manual for the exact case, not this illustration to every tower.
A radiator's advertised fan size does not fully describe its outer dimensions, thickness or hose routing. Check end tanks and the clearance around motherboard components. Air coolers also need room for their fans and memory, not only the heatsink itself. Leave space to seat and route GPU power cables according to their manufacturer's instructions.
Power-Supply Fit and Cable Access
An ATX motherboard can be paired with an appropriately connected SFX supply in a case that supports that mounting arrangement. Conversely, some Mini-ITX cases use a normal ATX supply. The motherboard-size name alone does not select the PSU format or wattage.
Common ATX PSU width and height are 150 × 86 mm, while depth varies by model. SFX is typically 125 × 63.5 × 100 mm and SFX-L extends that depth to 130 mm. Read the case's PSU limit with its drive cages installed, and allow room for detachable cable plugs. Side-connected supplies need clearance in the correct direction.
Check that cables reach the motherboard's CPU and main power sockets without being stretched. Modular PSU leads need approval for the exact supply; they are not interchangeable simply because their plugs fit. Our power-supply guide explains capacity, compatible cables and electrical specifications in more detail.
Airflow, Dust and Noise
Plan a useful route for air through the installed components. Case openings, filters, radiators, fan positions and speed all affect it. Counting intake and exhaust fans alone is not a complete pressure calculation, particularly when they differ in size or face different restrictions.
Noctua's airflow guide explains positive, negative and neutral pressure as different balances between air entering and leaving, each with trade-offs. Filtered intake and slight positive pressure can help reduce dust entering through gaps, but do not make the case dust-proof or guarantee optimal temperatures. A larger enclosure or mesh front also cannot guarantee quiet operation with every workload.
Begin with the manufacturer's suggested arrangement, keep cable bundles clear of fans and assess temperatures, throttling and noise during representative work. Clean accessible filters periodically and keep ventilation space around the outside. Extra fans are useful when they solve a cooling need; filling every position is not automatically the best result.
Reverse Connectors and Homelab Planning
Back-connector boards, including ASUS BTF and MSI Project Zero designs, move many cable connections behind the motherboard. They still need compatible tray cutouts and rear clearance. Check the exact case/board combination rather than interpreting ordinary ATX support as reverse-connector support. Corsair's own compatibility guide includes revised restrictions for certain reverse Micro-ATX arrangements, demonstrating why the precise model list matters.
For a homelab, a tower may offer convenient drive access and component choices. A rack case can organize equipment differently, but its rack height does not establish motherboard fit, cooler height, PSU format or noise. Include rails, depth, ventilation, drive layout and maintenance access in the plan. A 4U label alone cannot promise a quiet build.
Choose the Complete Build
Compact ITX remains appealing when space and portability are priorities. Micro-ATX is worth considering for a balanced everyday or budget build, while ATX offers flexibility when useful expansion is available on the actual board. E-ATX makes sense when a particular workstation or expansion requirement justifies its larger footprint and compatible case.
Our recommendation remains to choose according to the components and work you need. Confirm board dimensions, electrical compatibility, simultaneous clearances, storage access and cooling before paying for aesthetics or size. The linked ATX Wikipedia Page remains available for background; manufacturer manuals provide the deciding fit and installation details.