Now that we have gone through the install of Immich on a separate LXC in our Proxmox environment as well as configured Immich for use, we are now set to save a bit of money on backing up our photos to our own homelab. But what if we want to back up a bit more than just photos and videos? And what if we also want to sync folders from our computer or MacBook? Checking the differences between Immich and Nextcloud for backups will show that Nextcloud can be used for a wider variety of tasks, although not as specialised for photos and videos.
Step-by-step: Installing a Nextcloud VM
Installing a Nextcloud VM is a bit more involved than normal as the install is one long process with specific do's and don'ts that need to happen in the correct order. So let's get started.
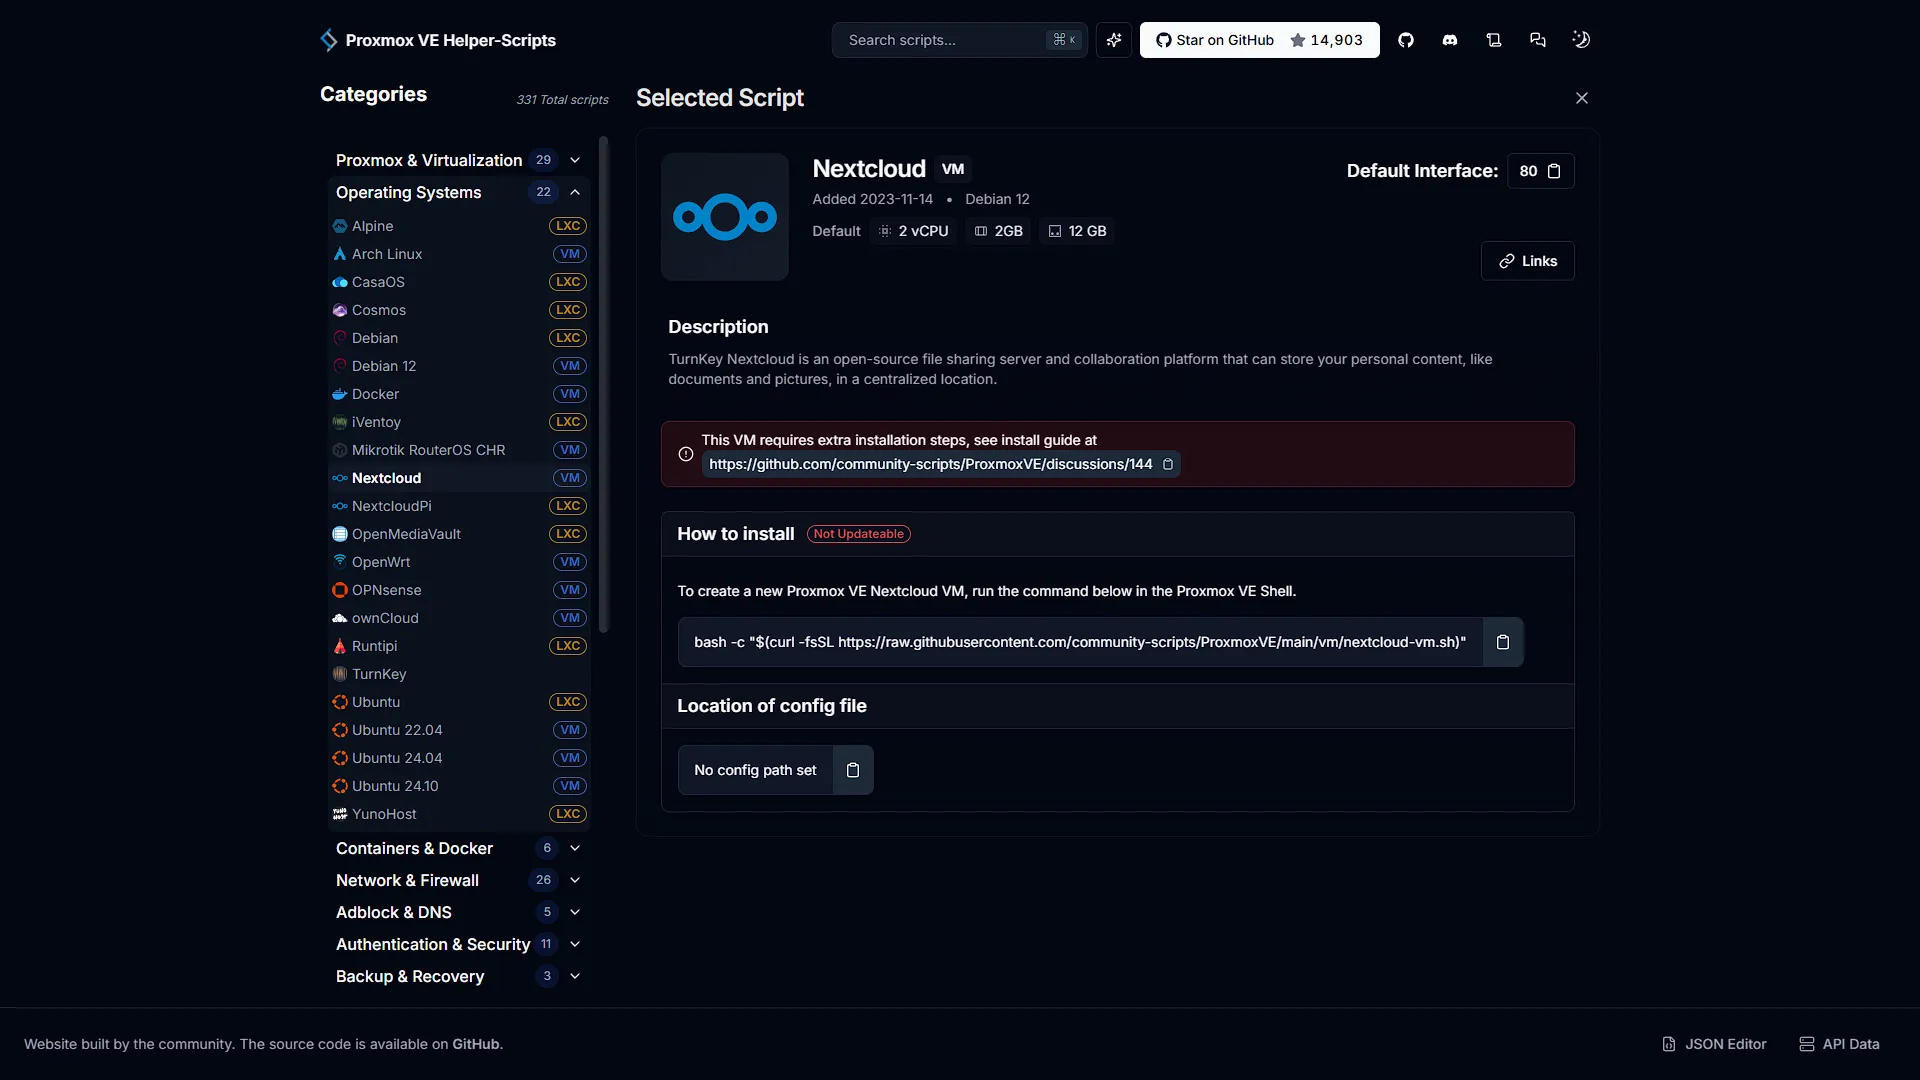
Firstly, we are going to use the amazing helper-scripts.com again to get the install script for Nextcloud. Search for Nextcloud and you should see two options. We are looking for the Nextcloud VM option (Not the NextcloudPi option). Get the install script:
bash -c "$(curl -fsSL https://raw.githubusercontent.com/community-scripts/ProxmoxVE/main/vm/nextcloud-vm.sh)"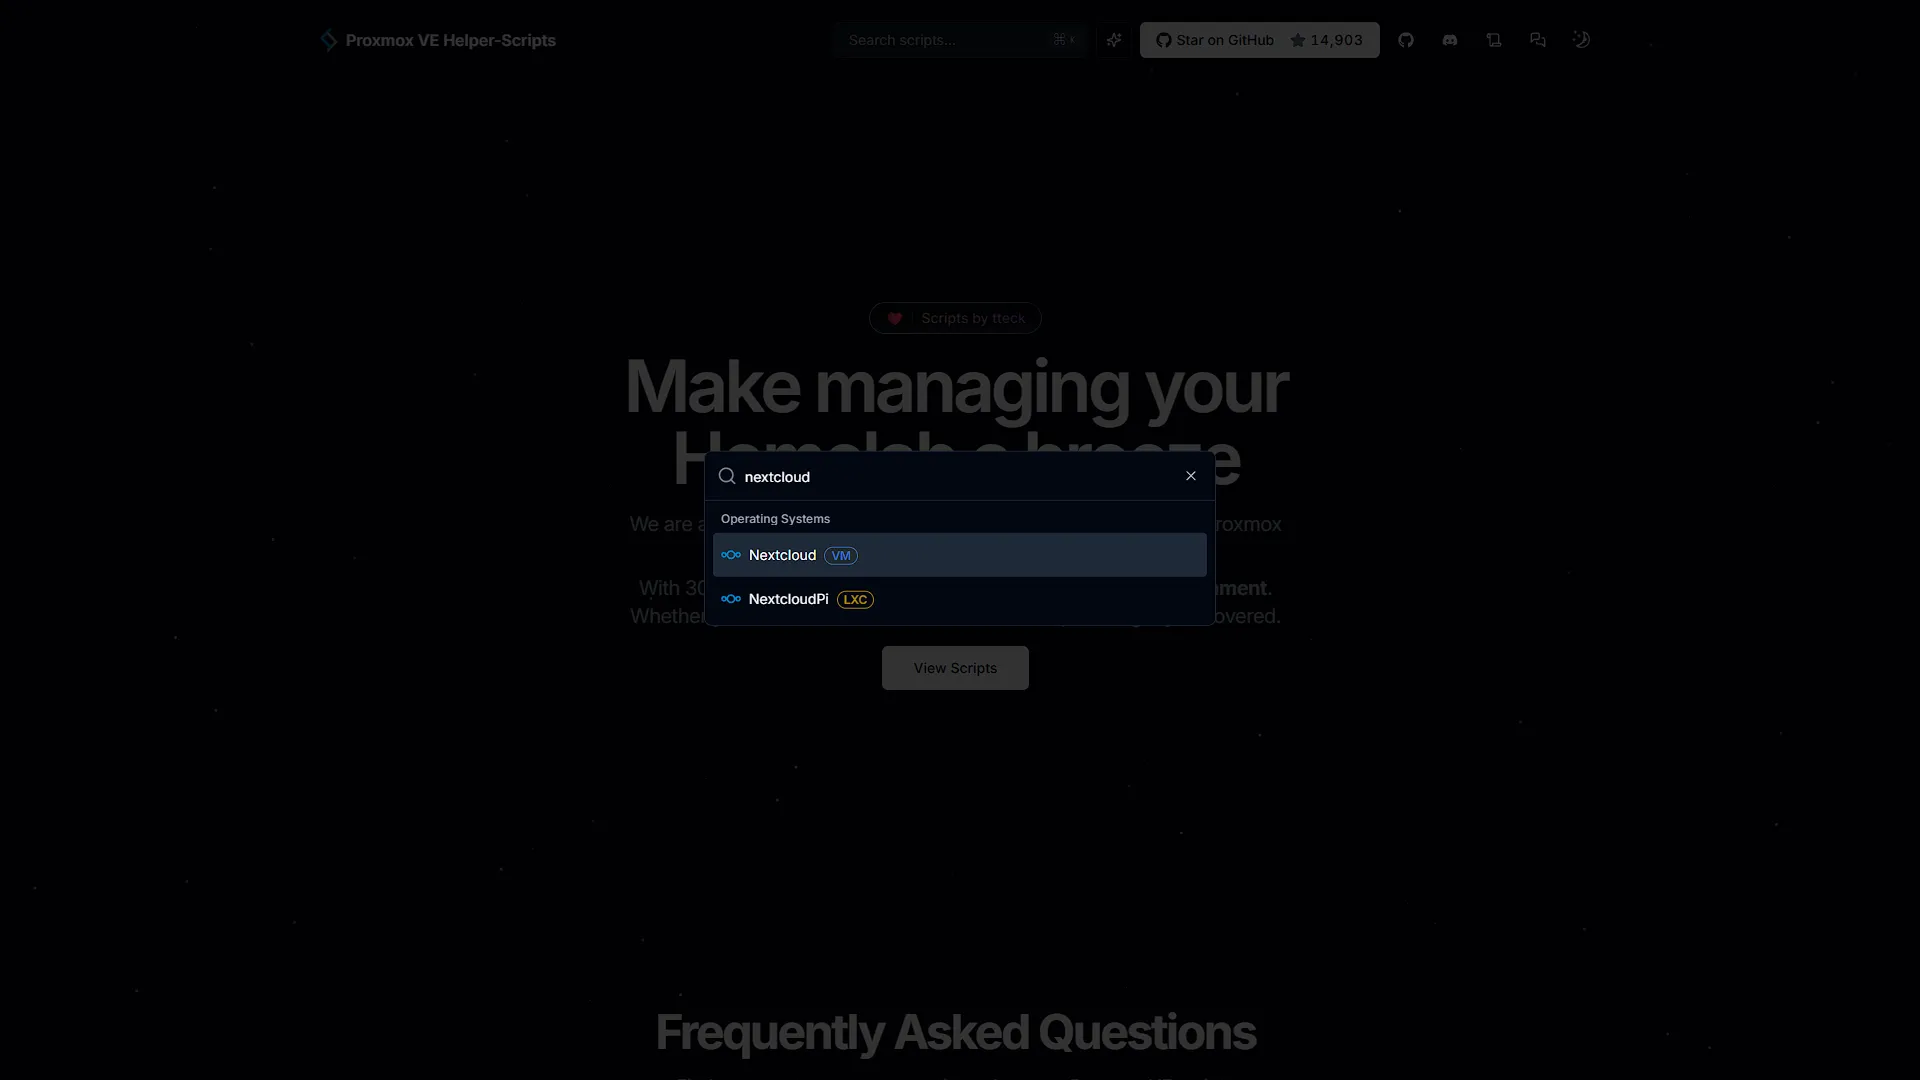
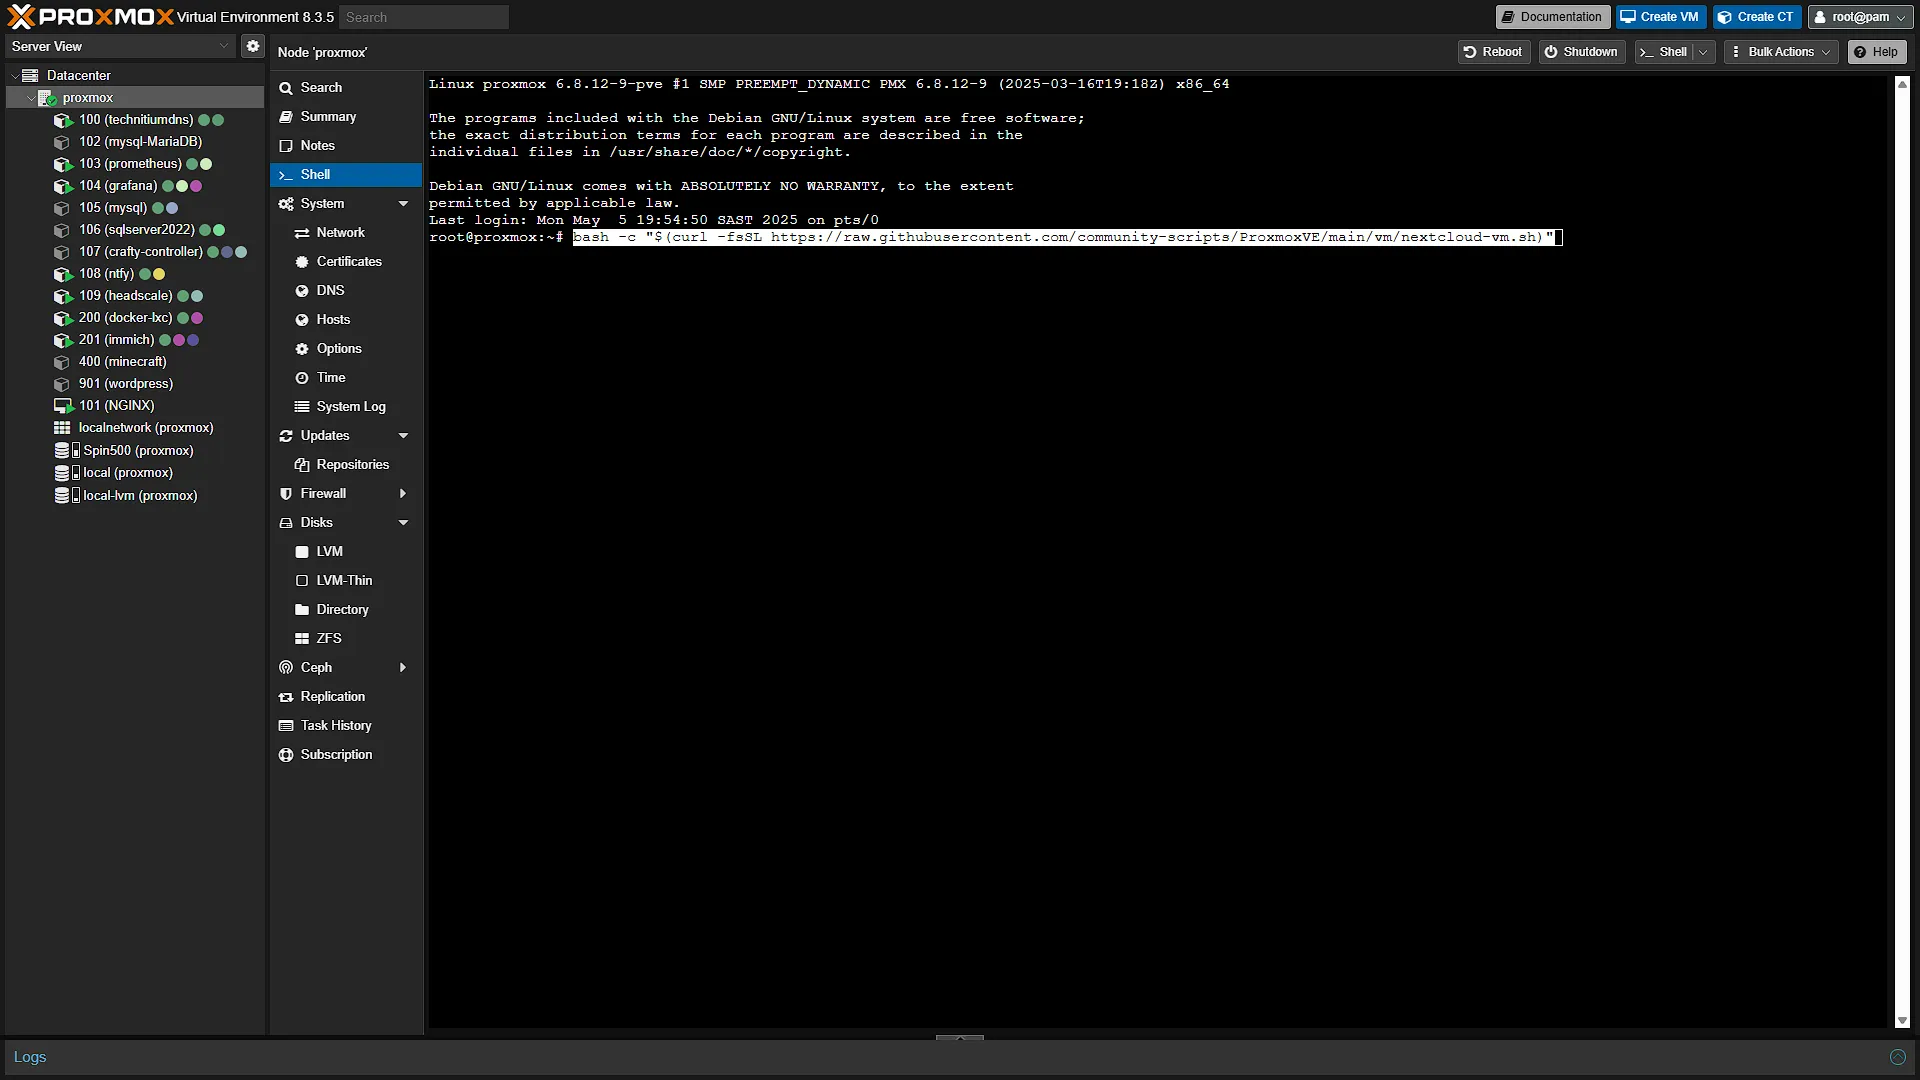
Open up Proxmox and log in. In the left navigation window expand Datacenter and select the Proxmox node you want to install Nextcloud on. In the middle navigation window click on  to open the integrated console. Paste the script and press enter to start the installation.
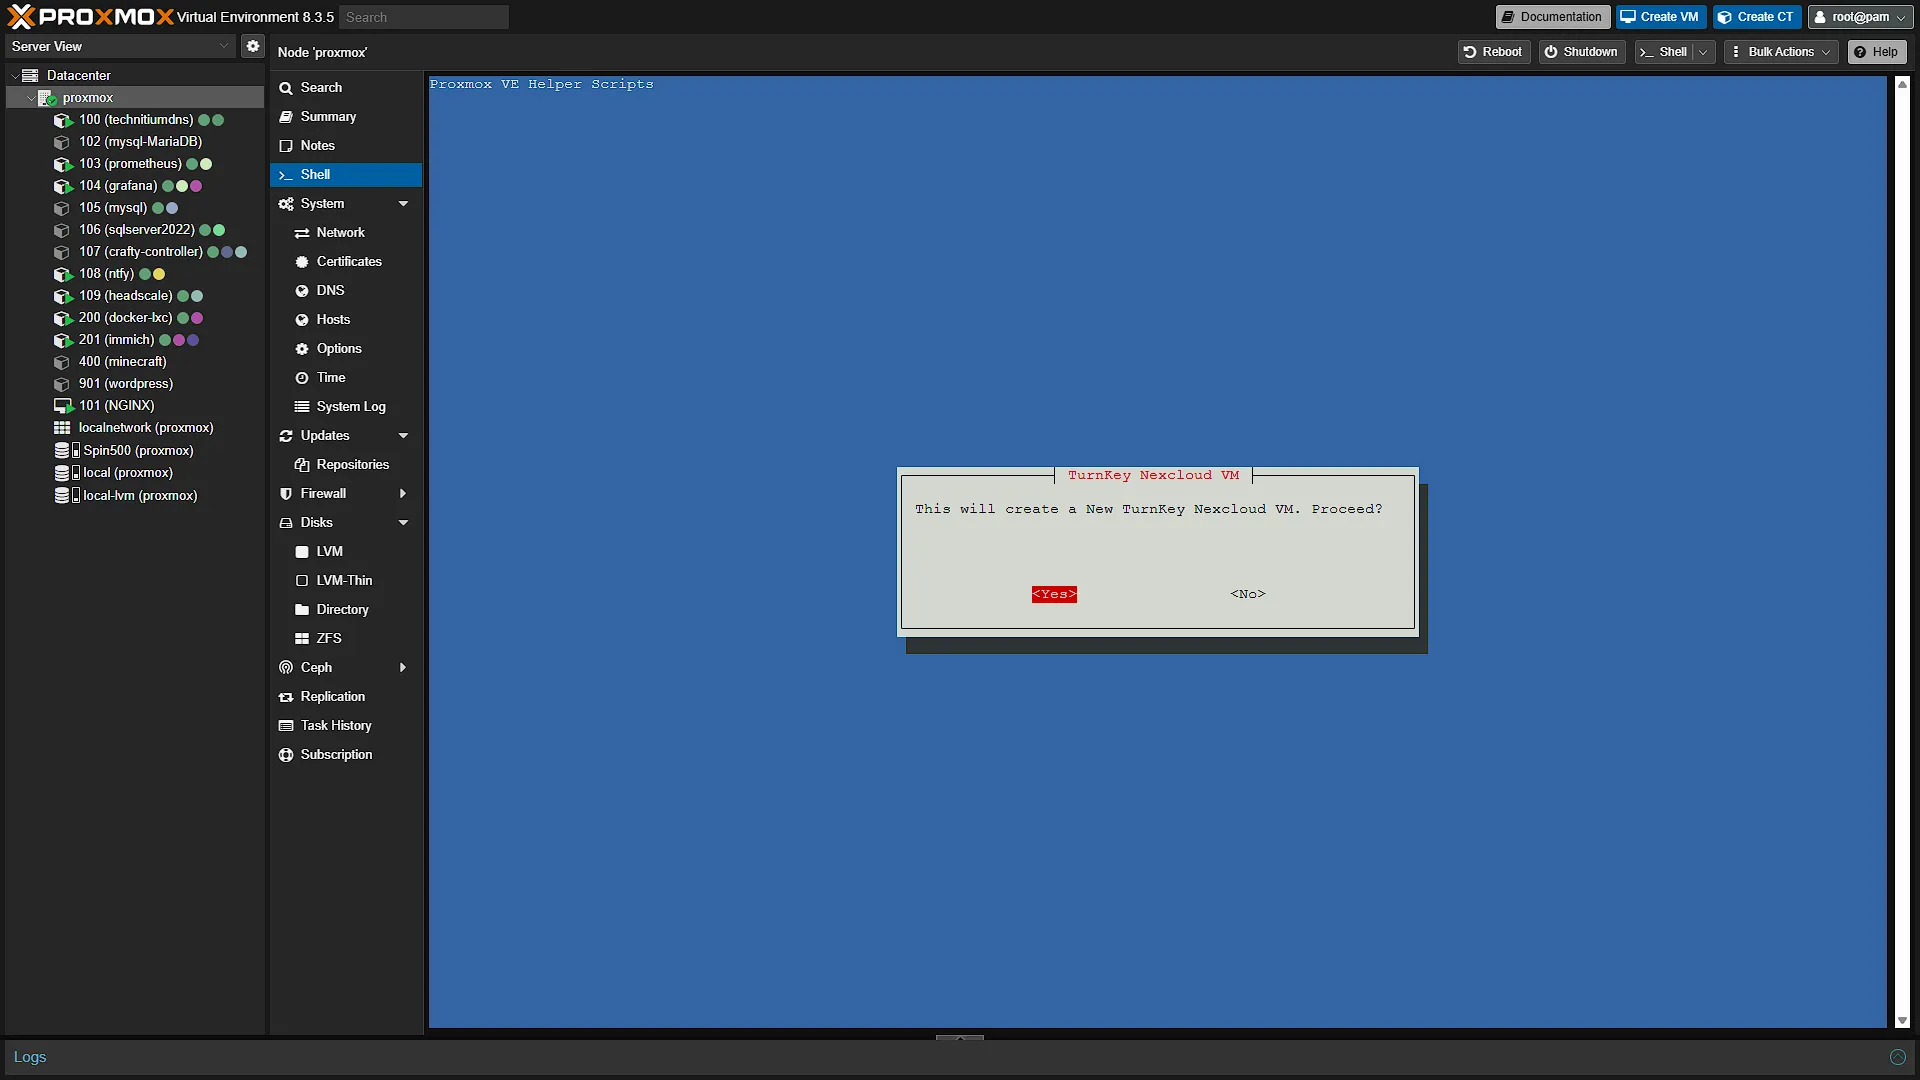
The first screen will have a confirmation that you want to install a Turnkey Nextcloud VM. Select Yes and continue.
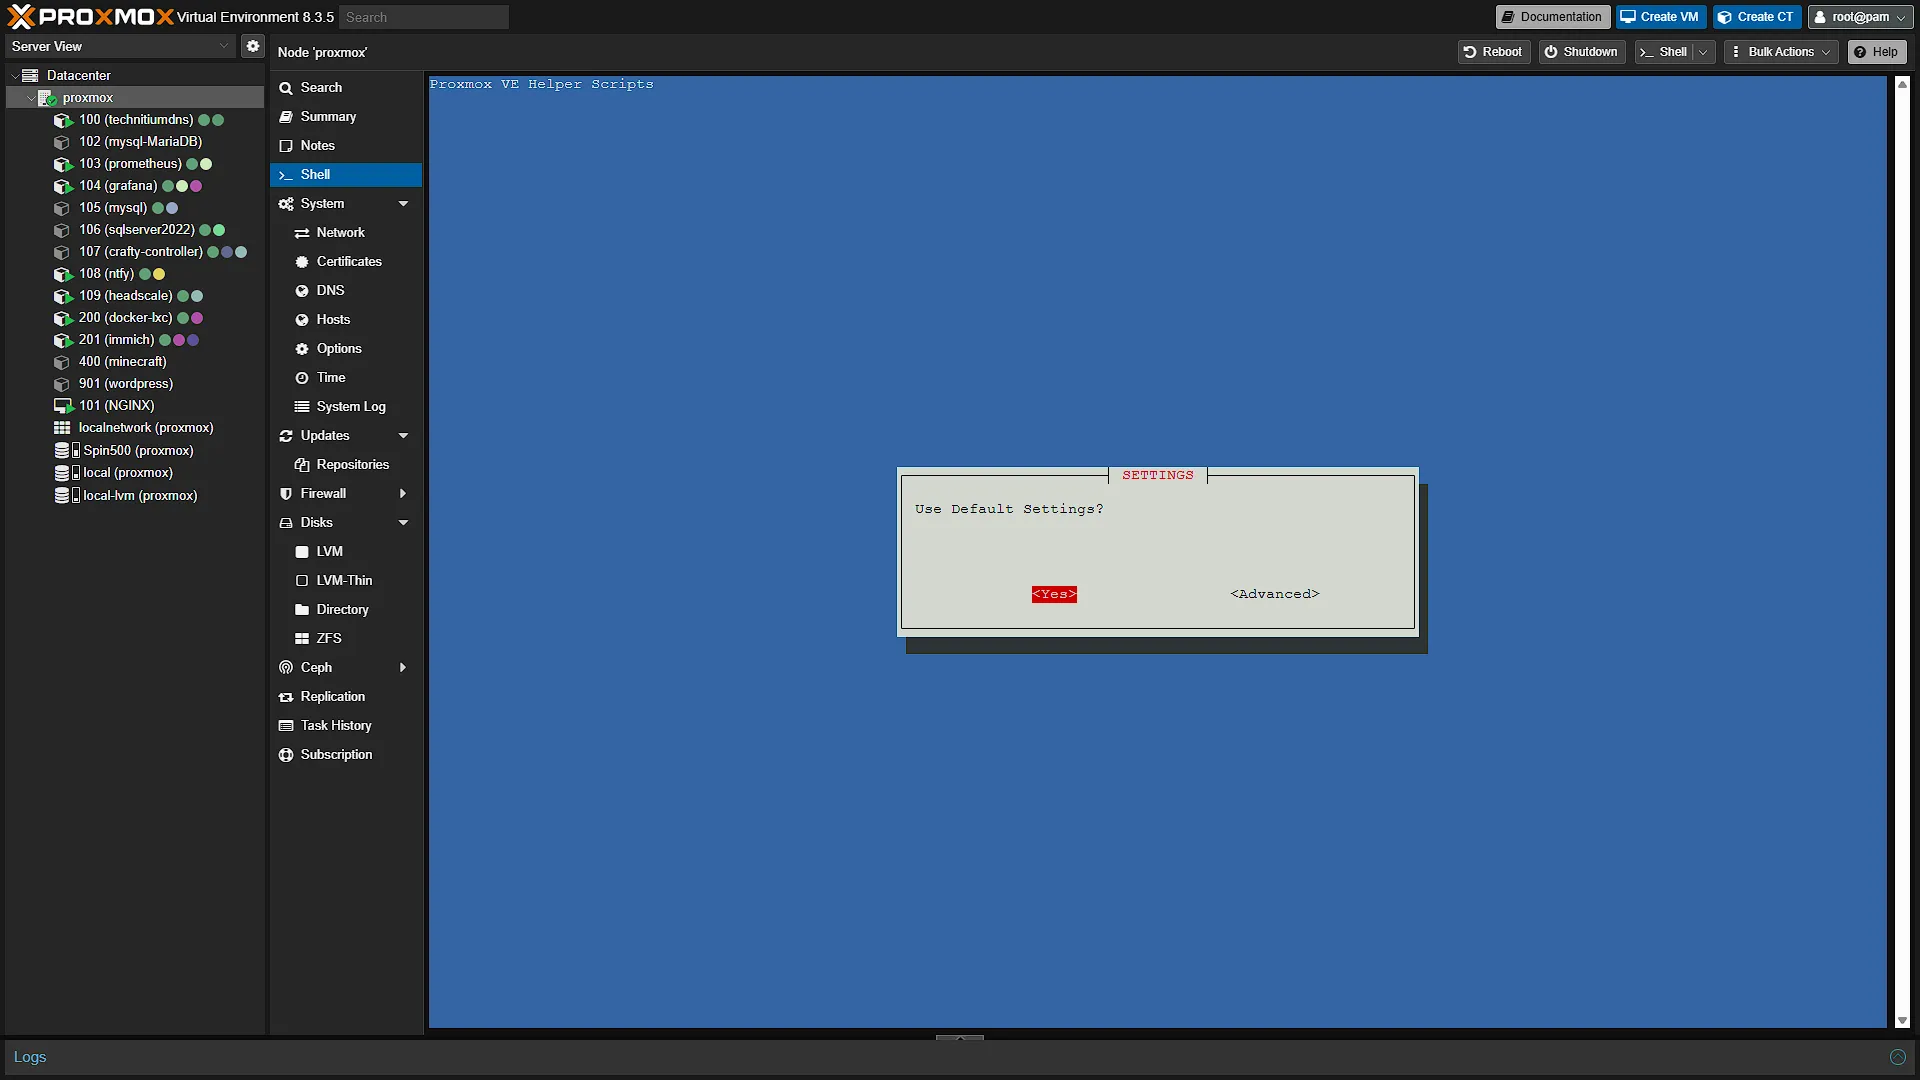
We can use the default settings (we will change what needs to be changed in a bit). Should you run advanced settings, please make sure NOT to start the VM once install is completed.
If you have multiple disks, select the disk where you want this VM to be installed.
The install will start and take a fair bit of time. It will download the Turnkey Linux Nextcloud image as well, so please be patient. Once done, DO NOT START THE VM YET. We need to follow a set of extra instructions as per the helper script page directing us to the steps: https://github.com/community-scripts/ProxmoxVE/discussions/144
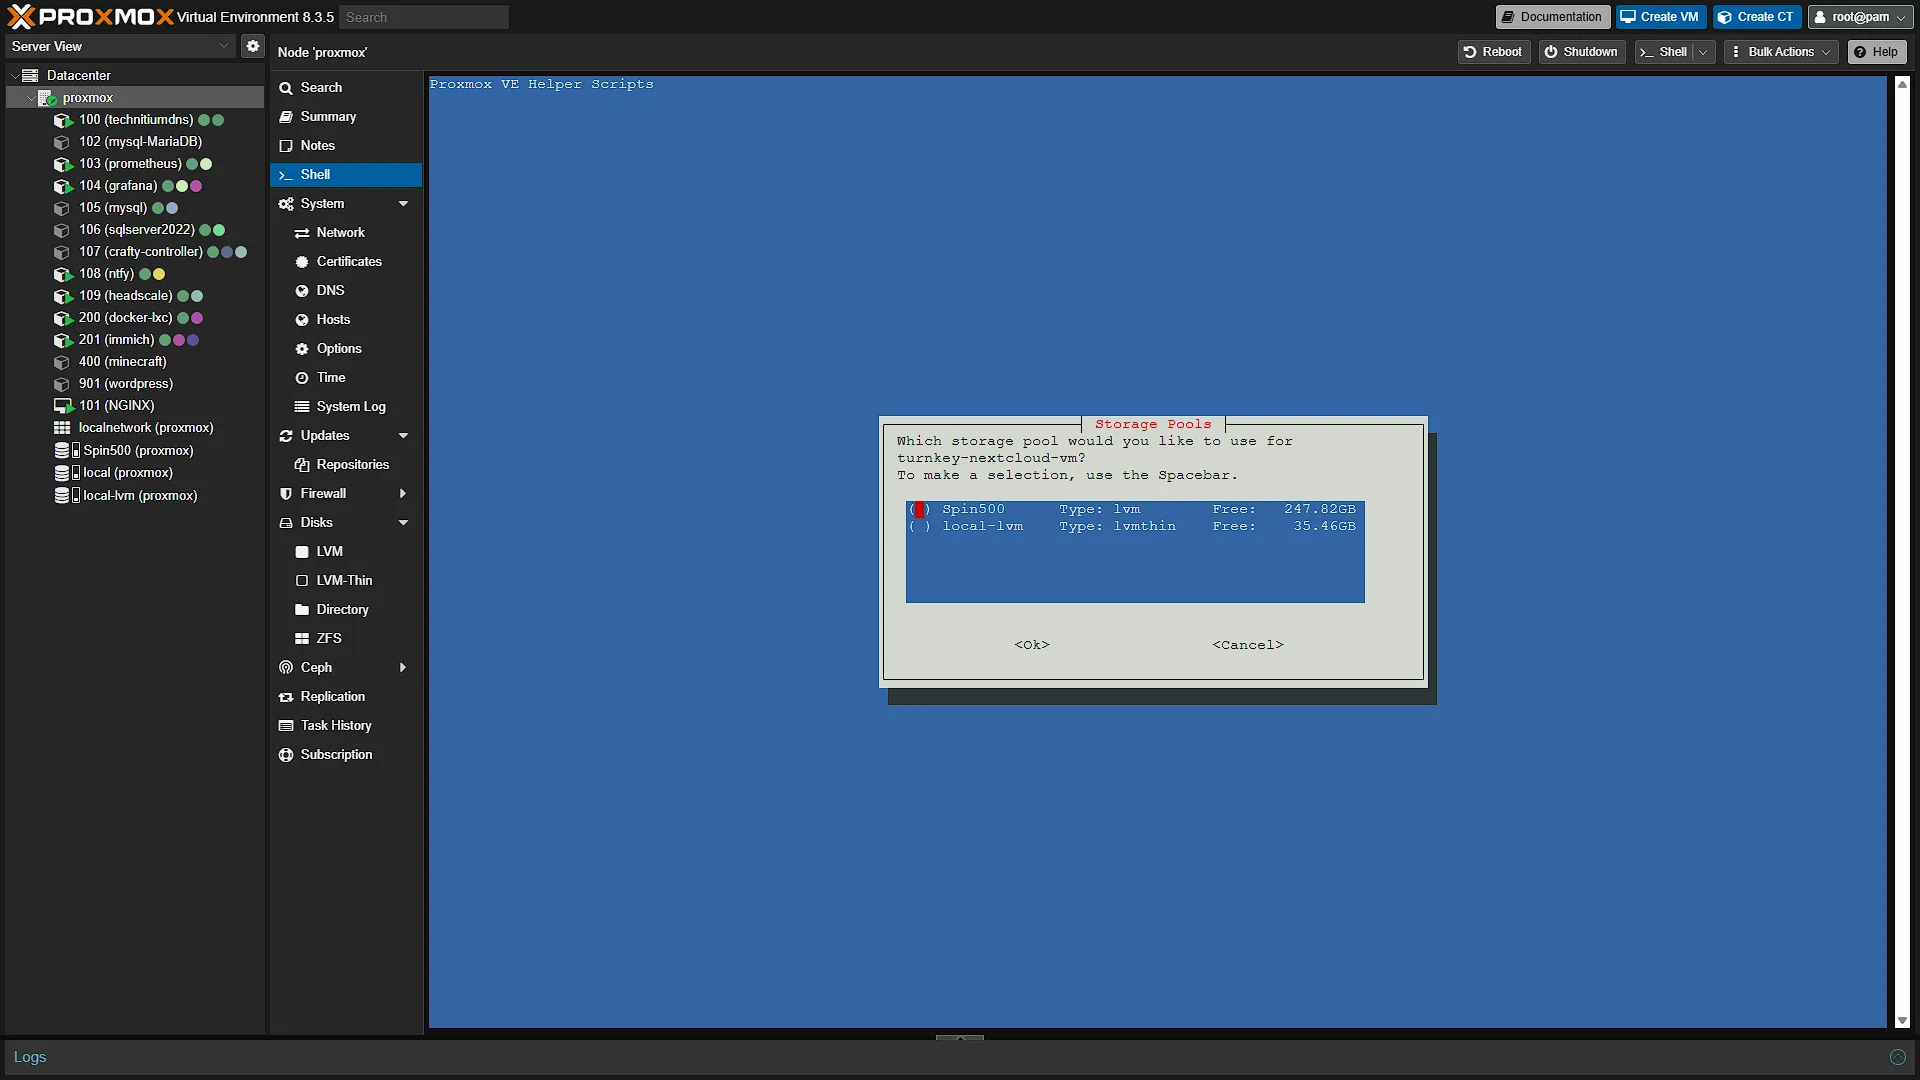
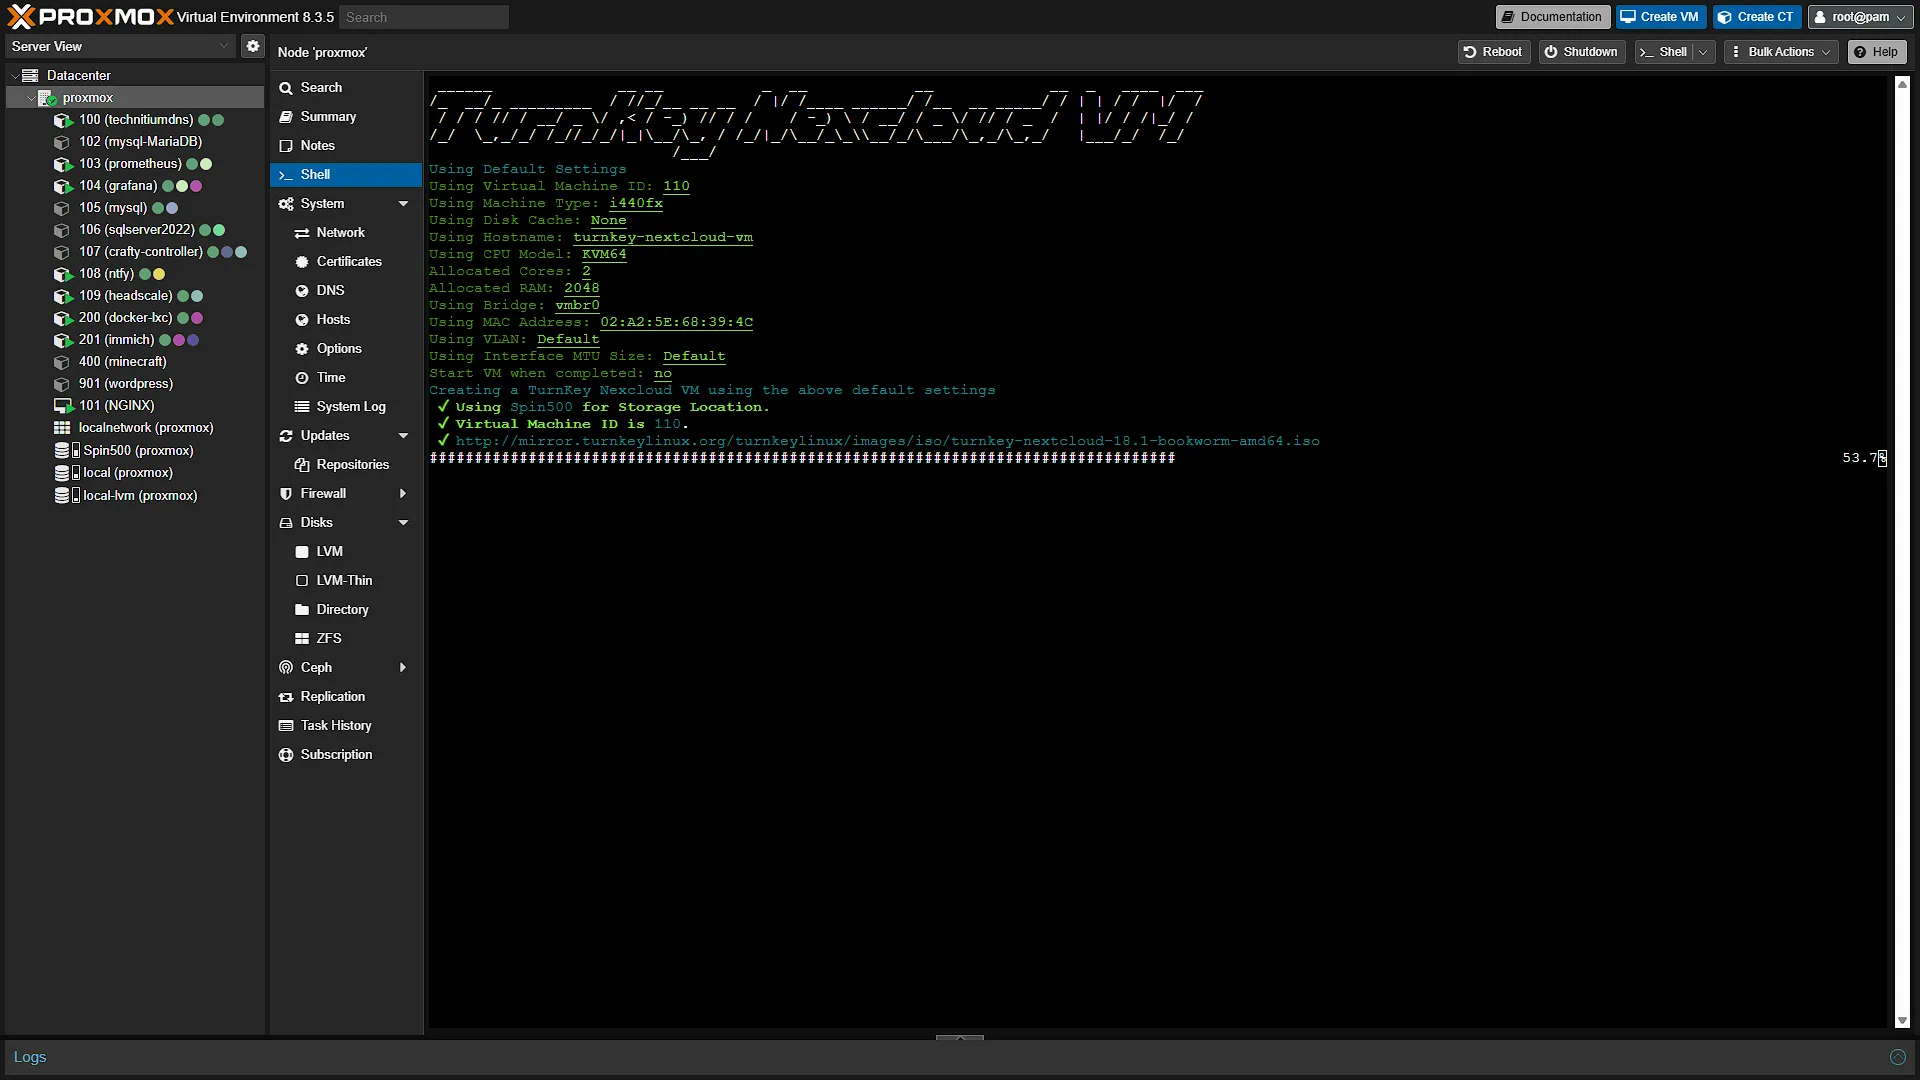
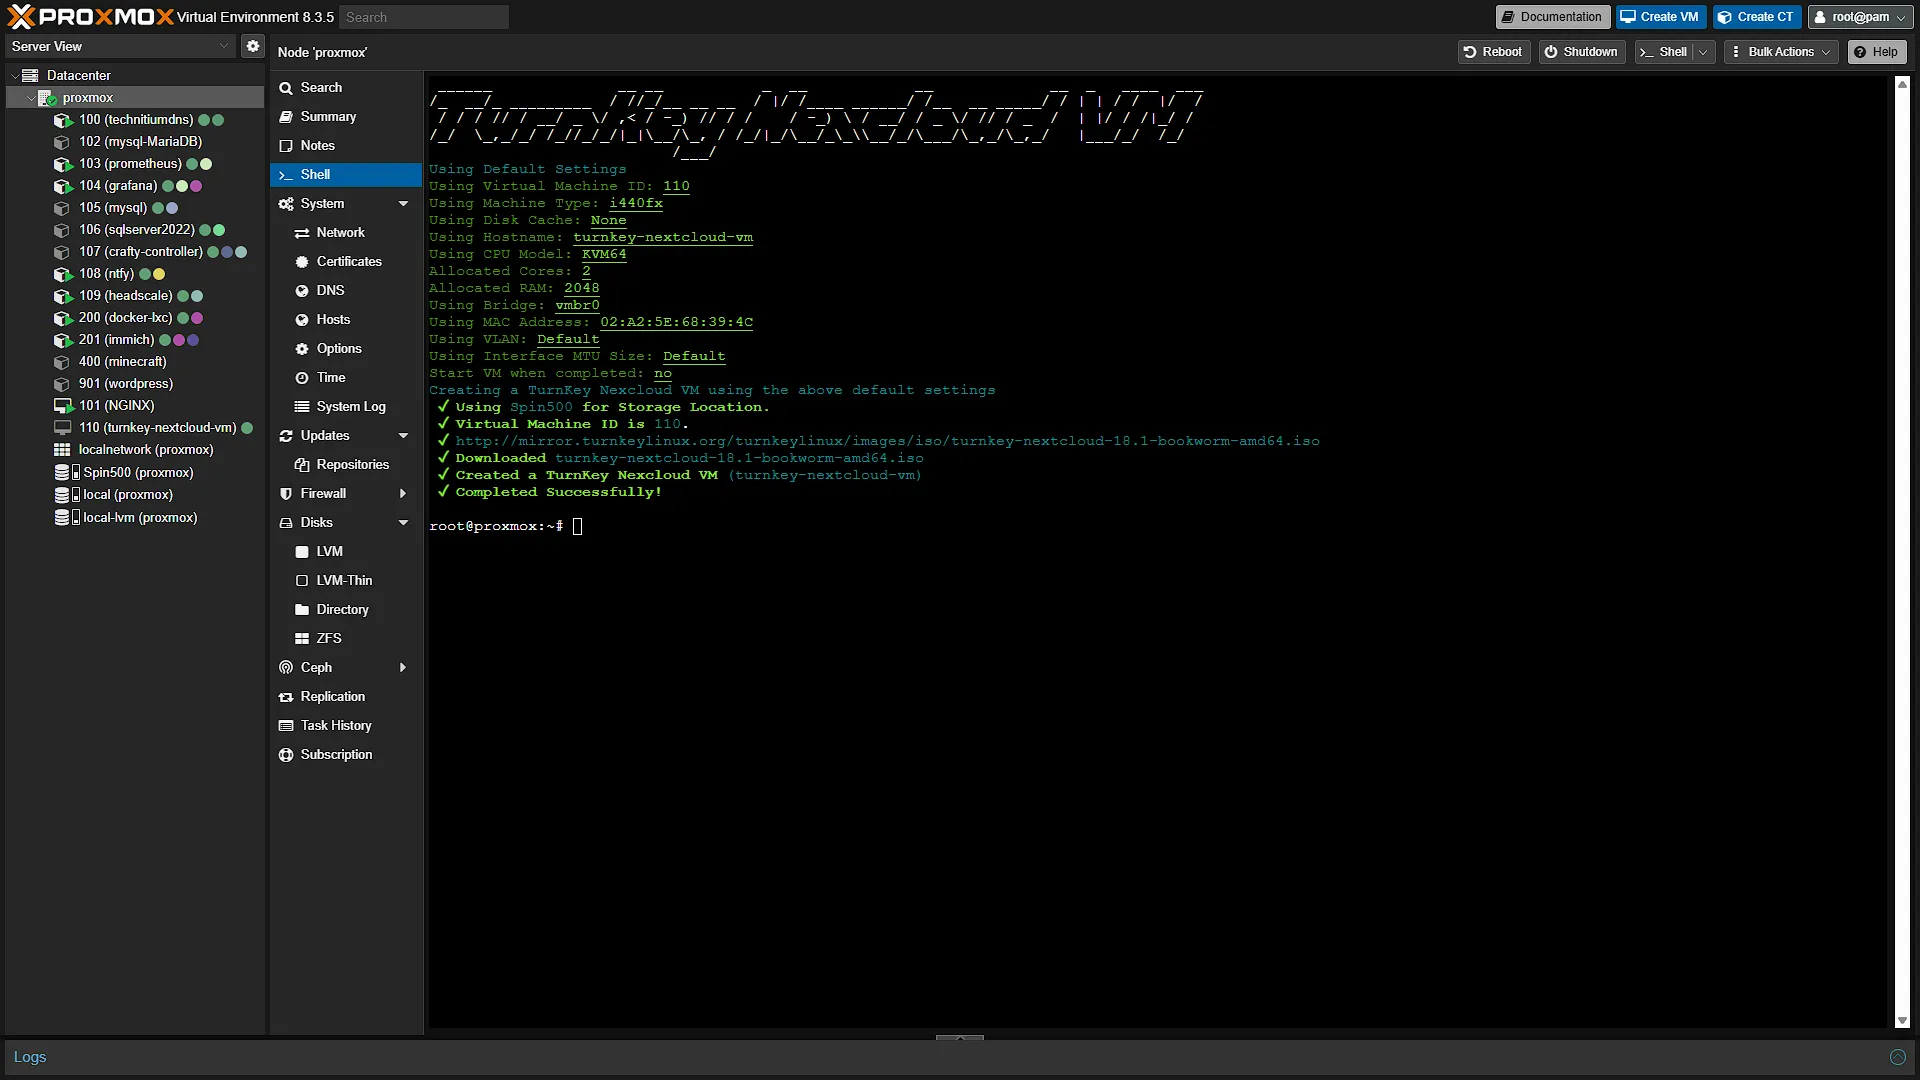
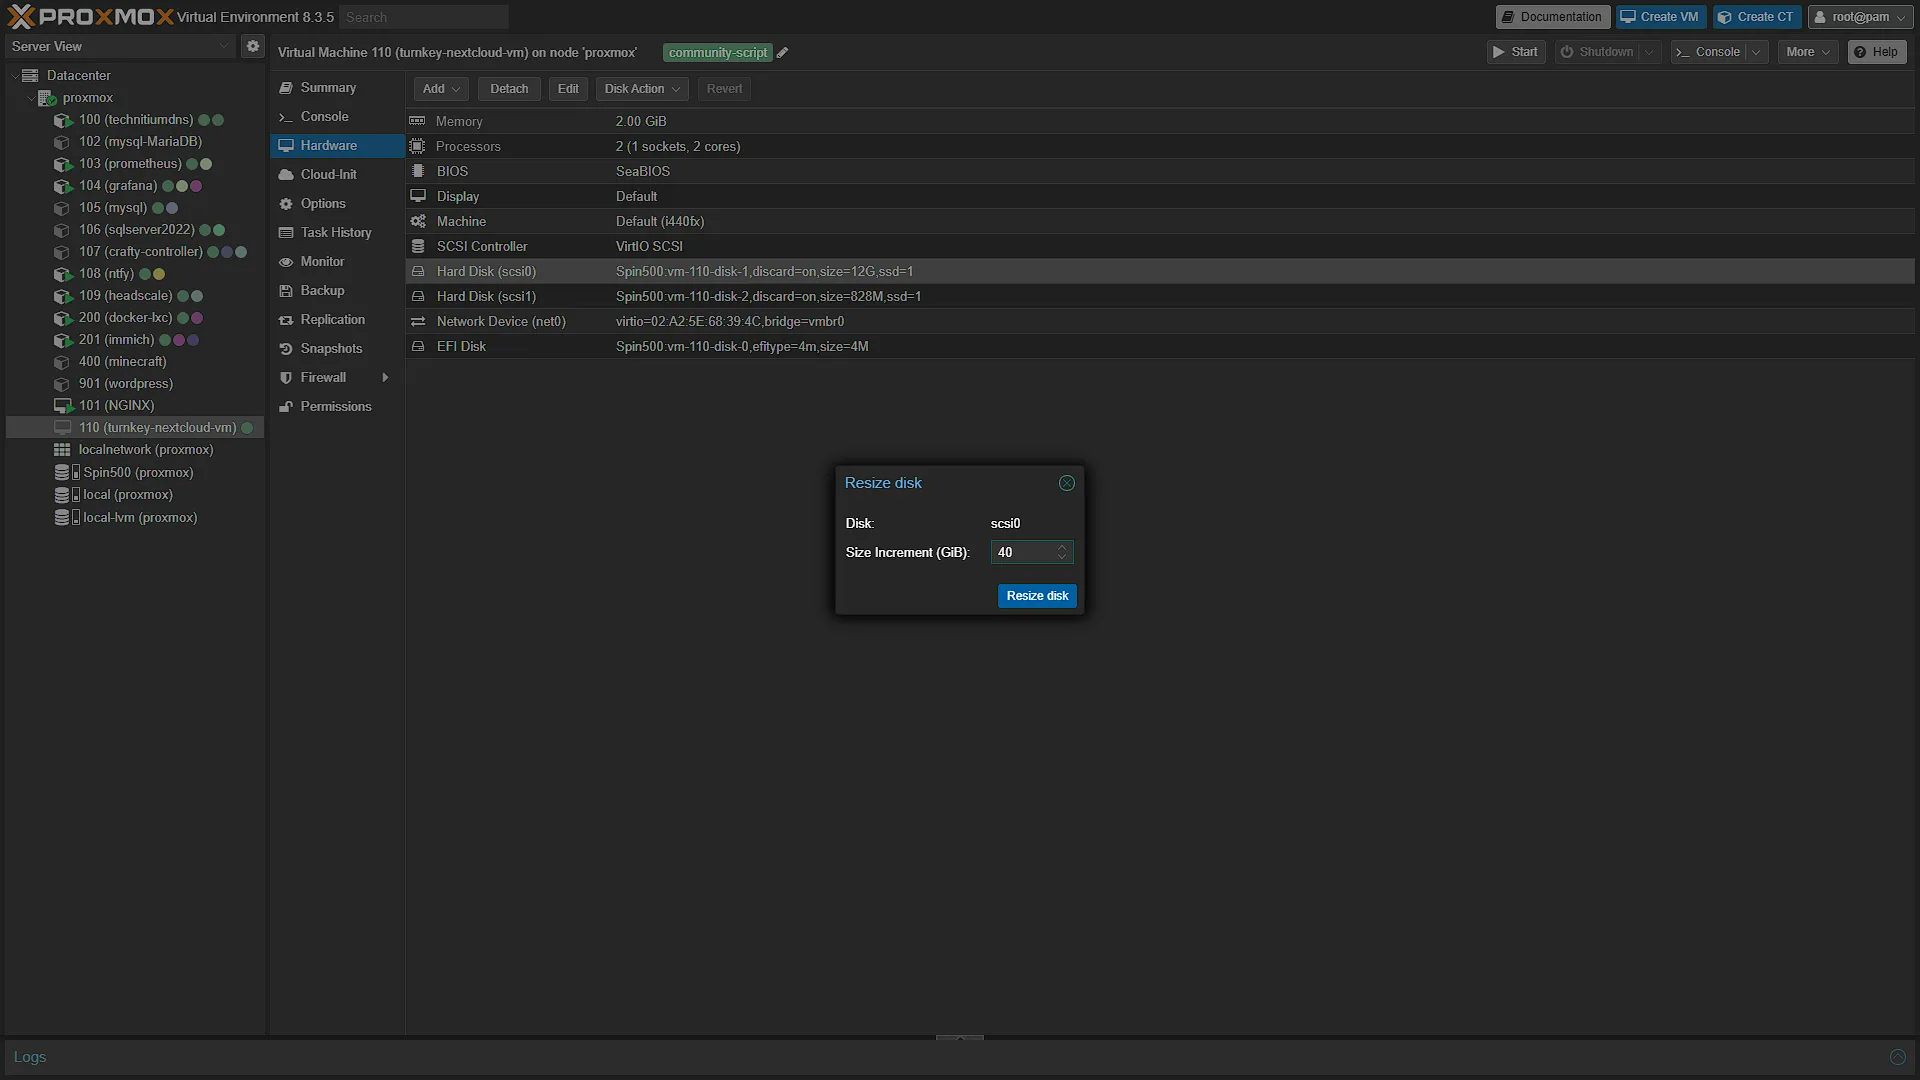
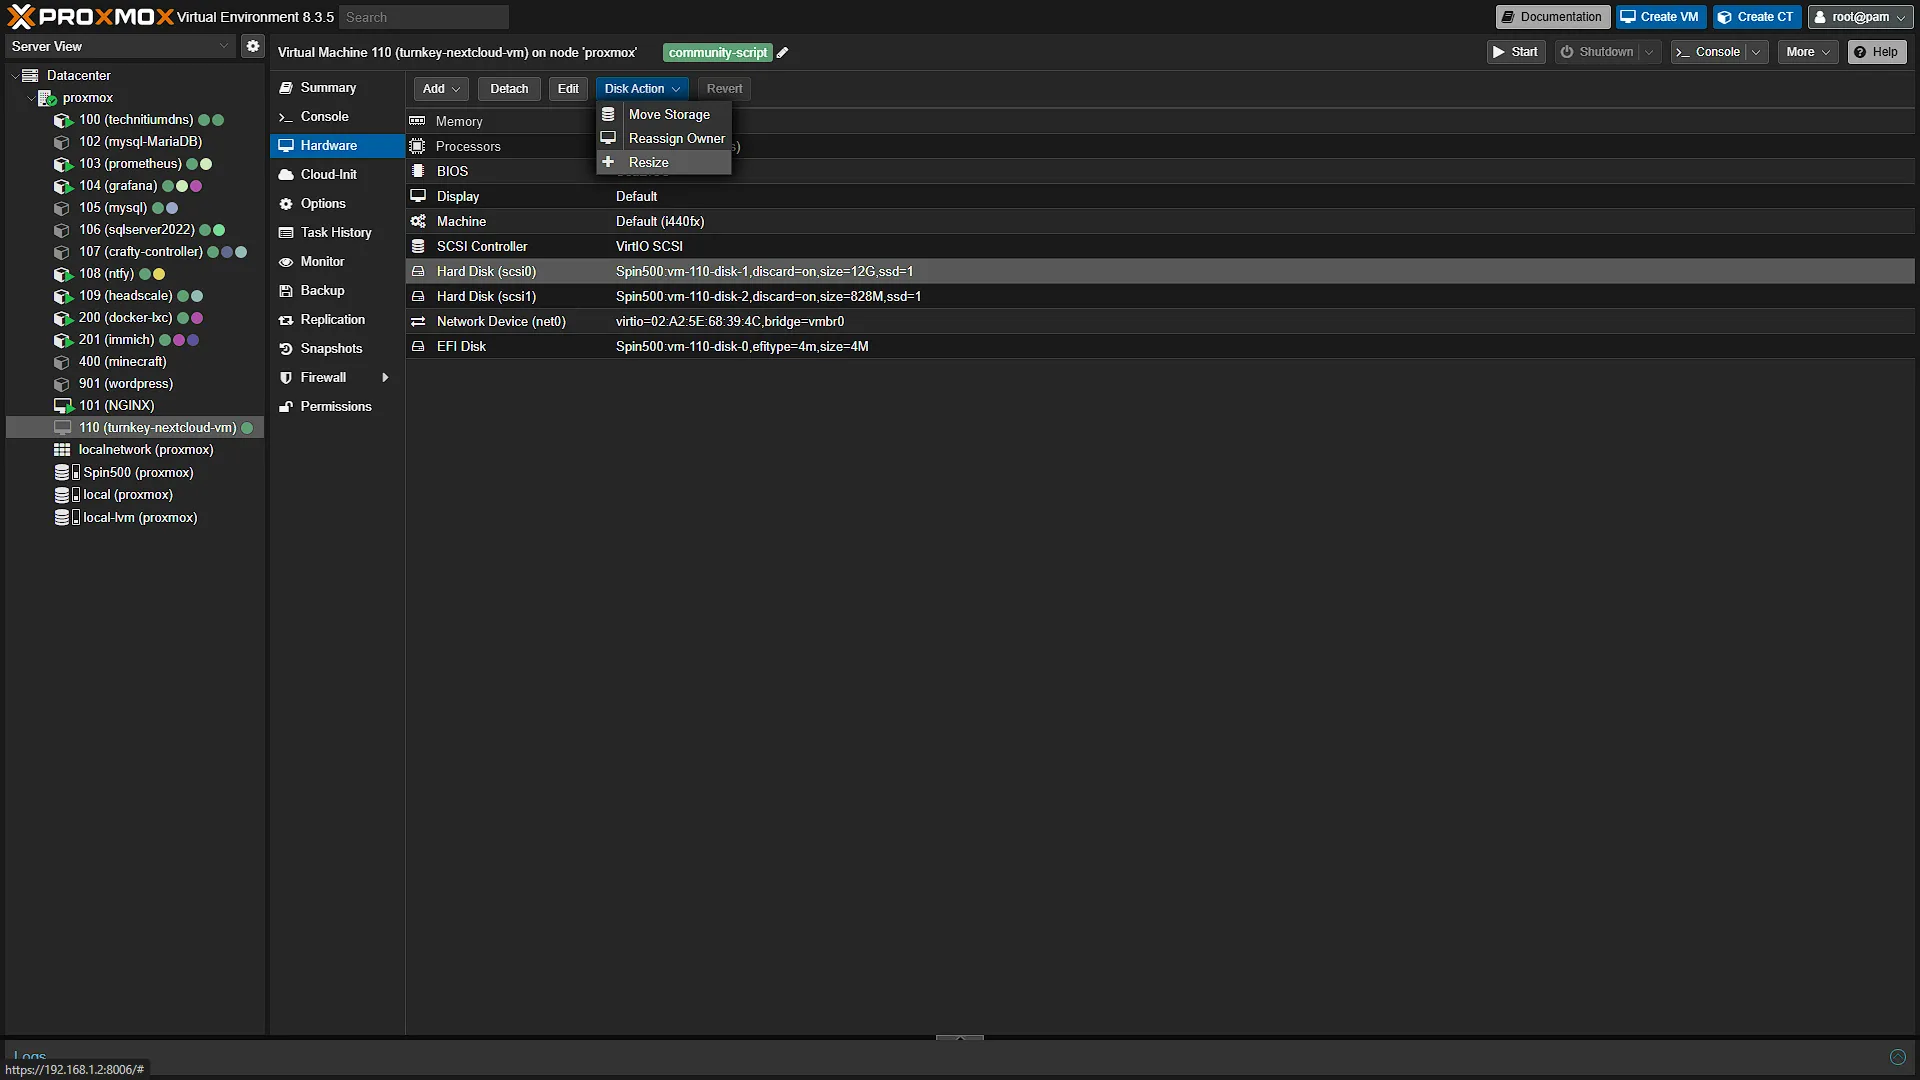
Before starting the VM, select it in the left navigation window. In the middle navigation window, select Hardware. You will see two drives. The first is scsi0 that will be fairly big (12GB by default). The second is scsi1 that is very small compared (828MB in our screenshot). This is used for the install ISO. Select the larger one of the two (scsi0) and click on Disk Action, then Resize to resize it to a size that is more appropriate to handle all our backups. Fill in the Size Increment, which is in GB. Click Resize Disk to resize it.
Once done, you can go ahead and start the VM. Our advice would be to go to  and then click the Start Now button:
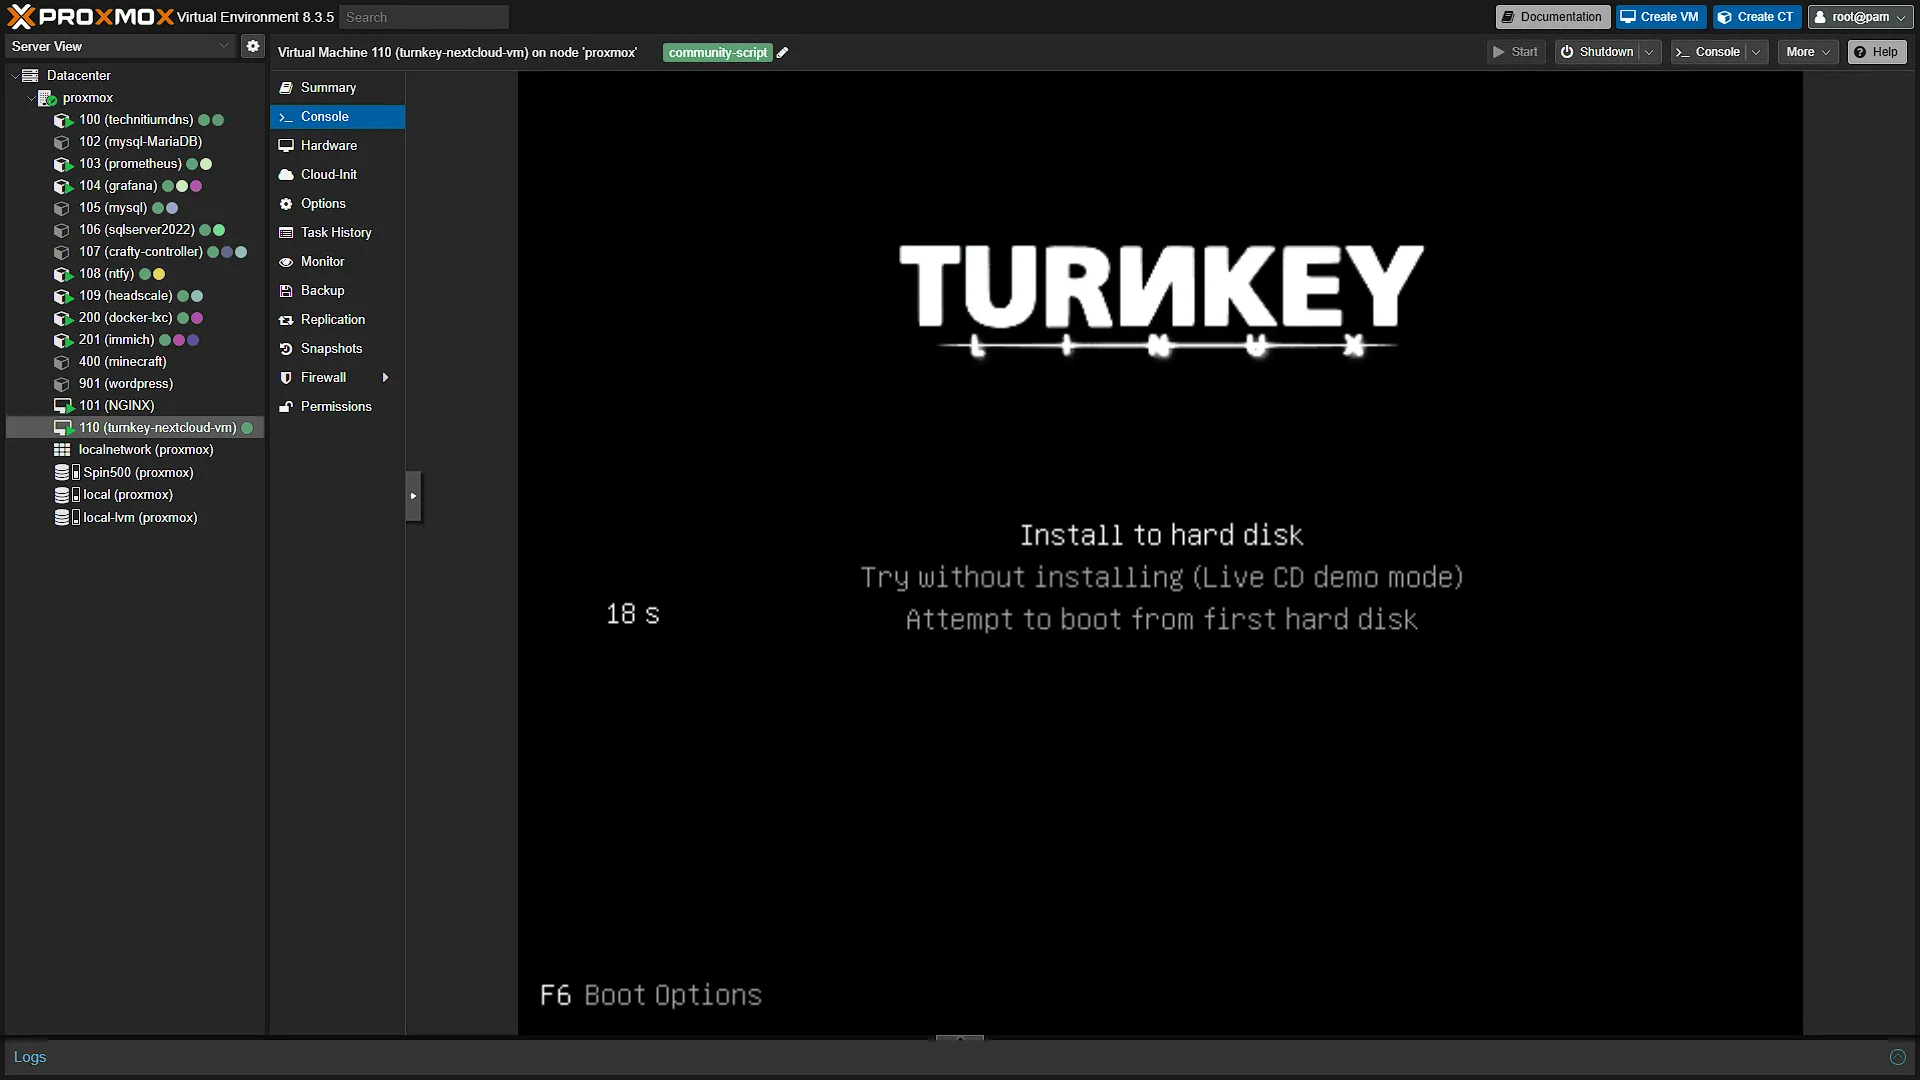
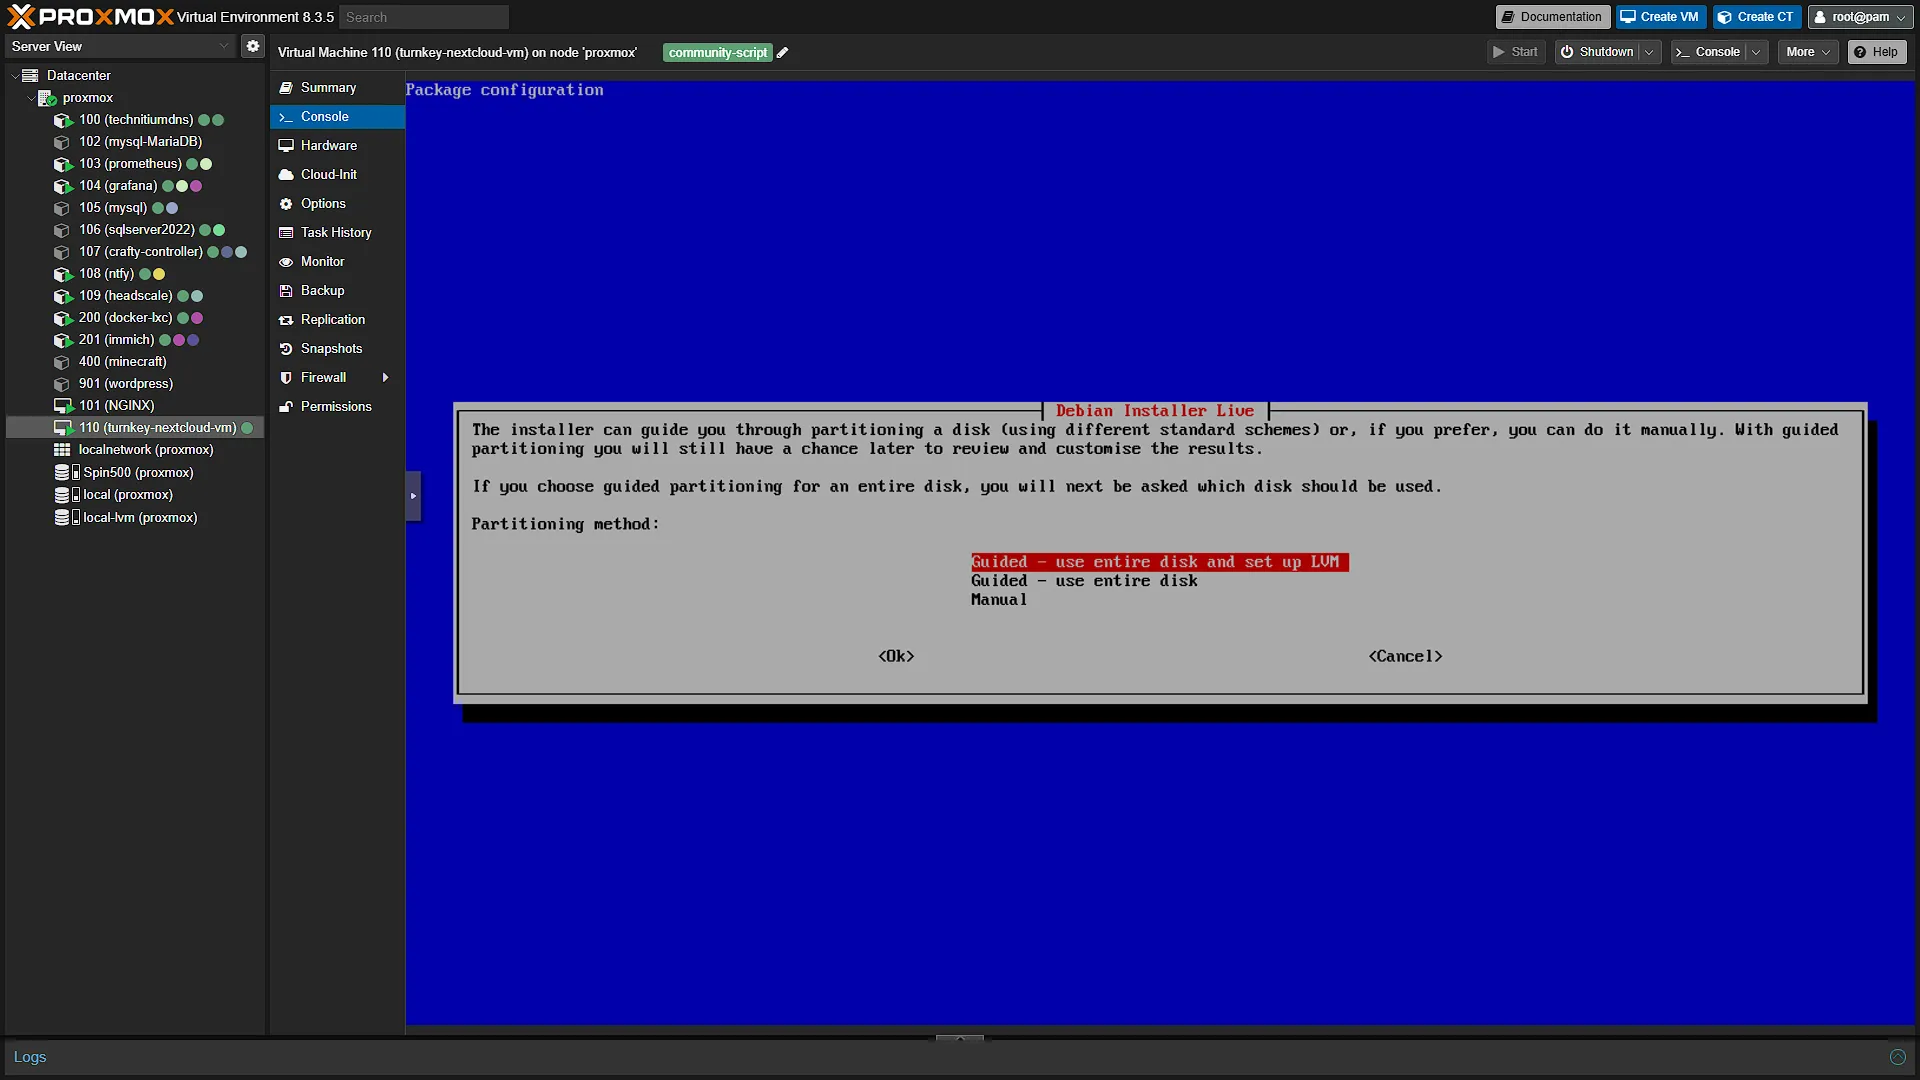
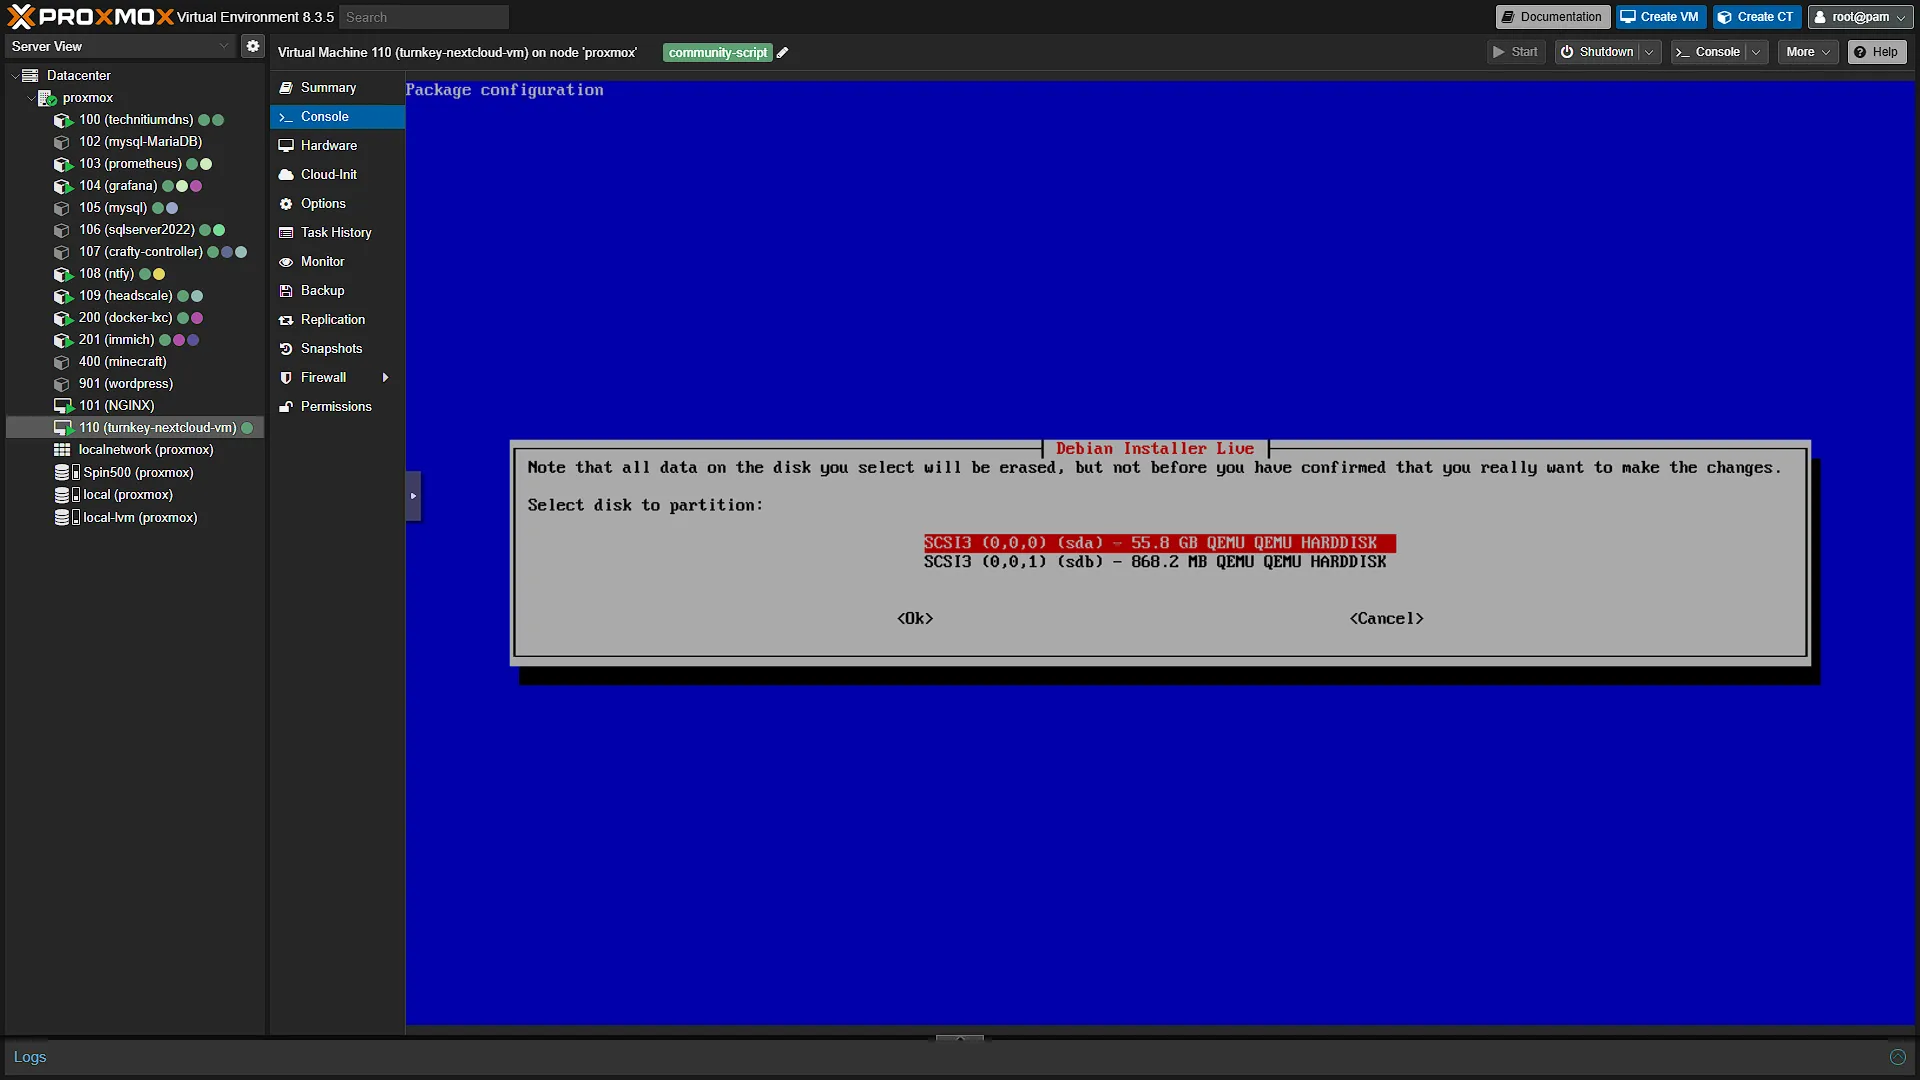
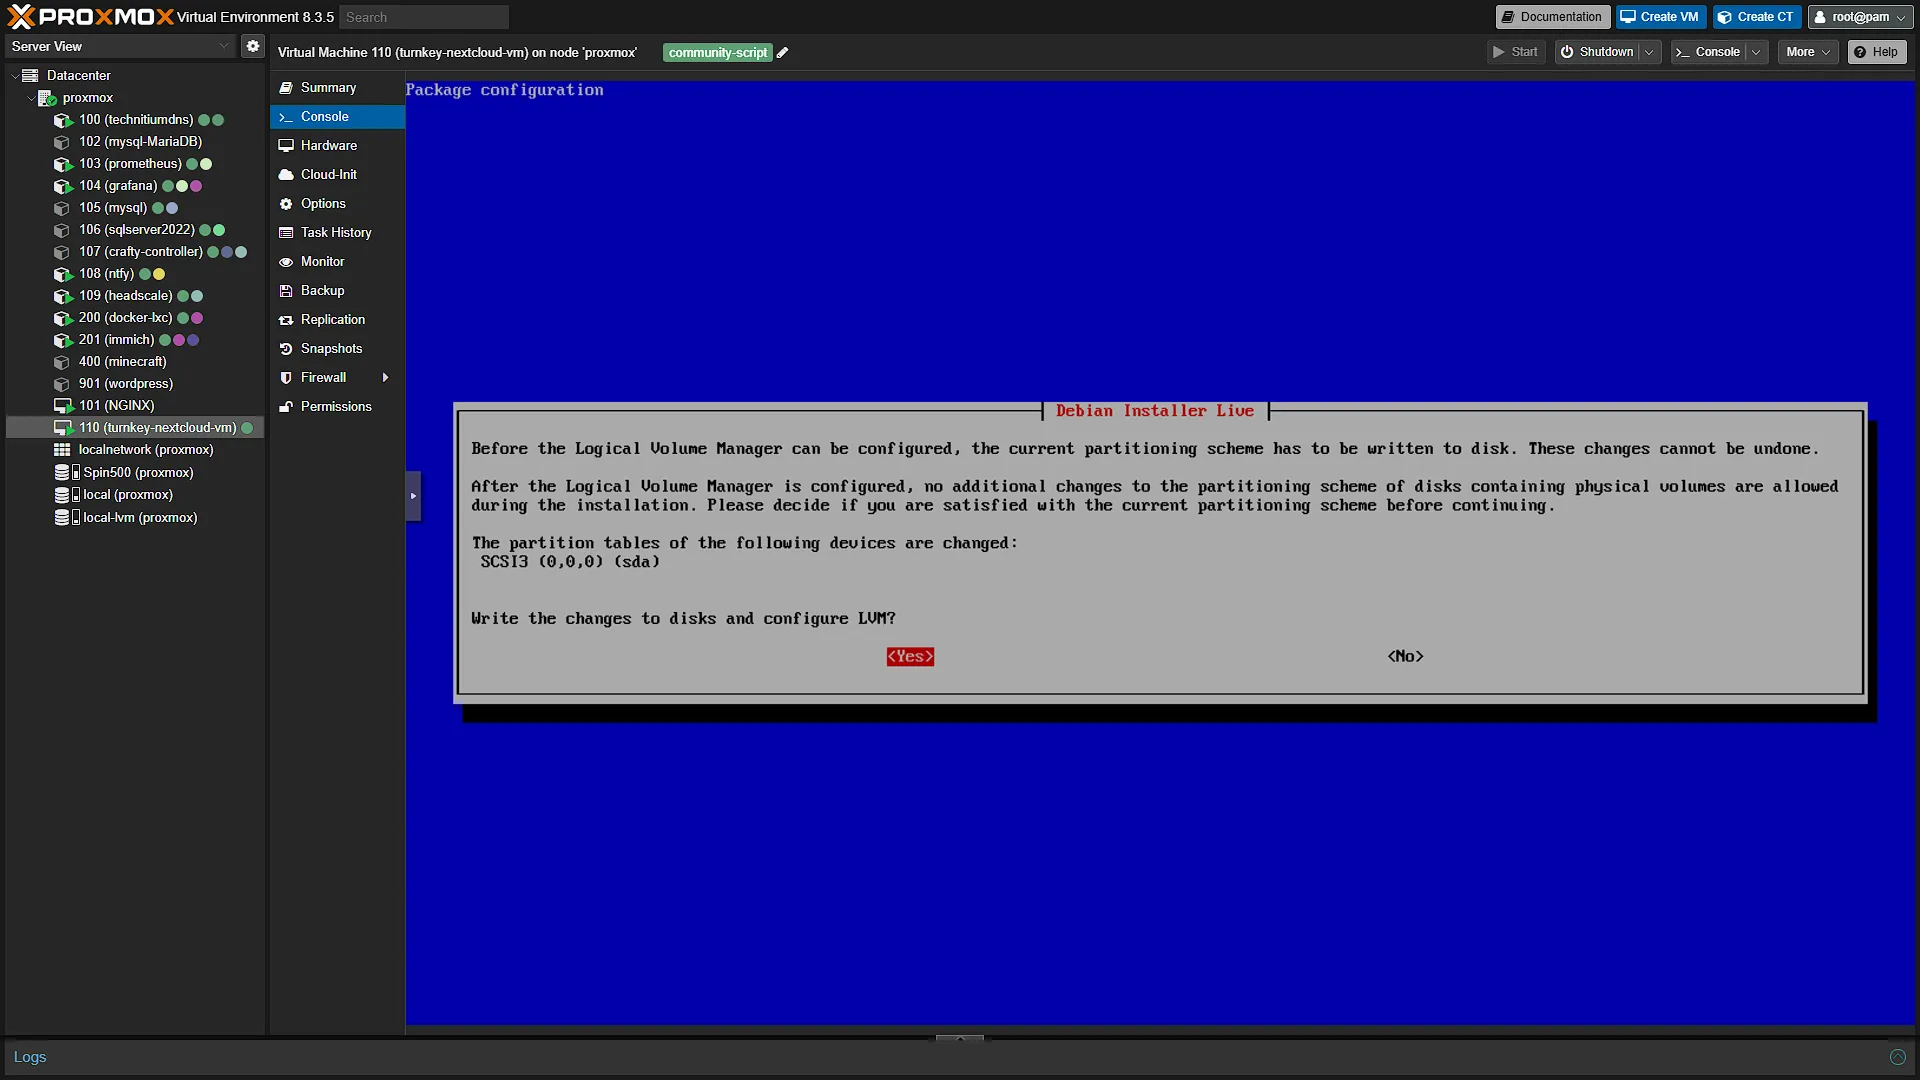
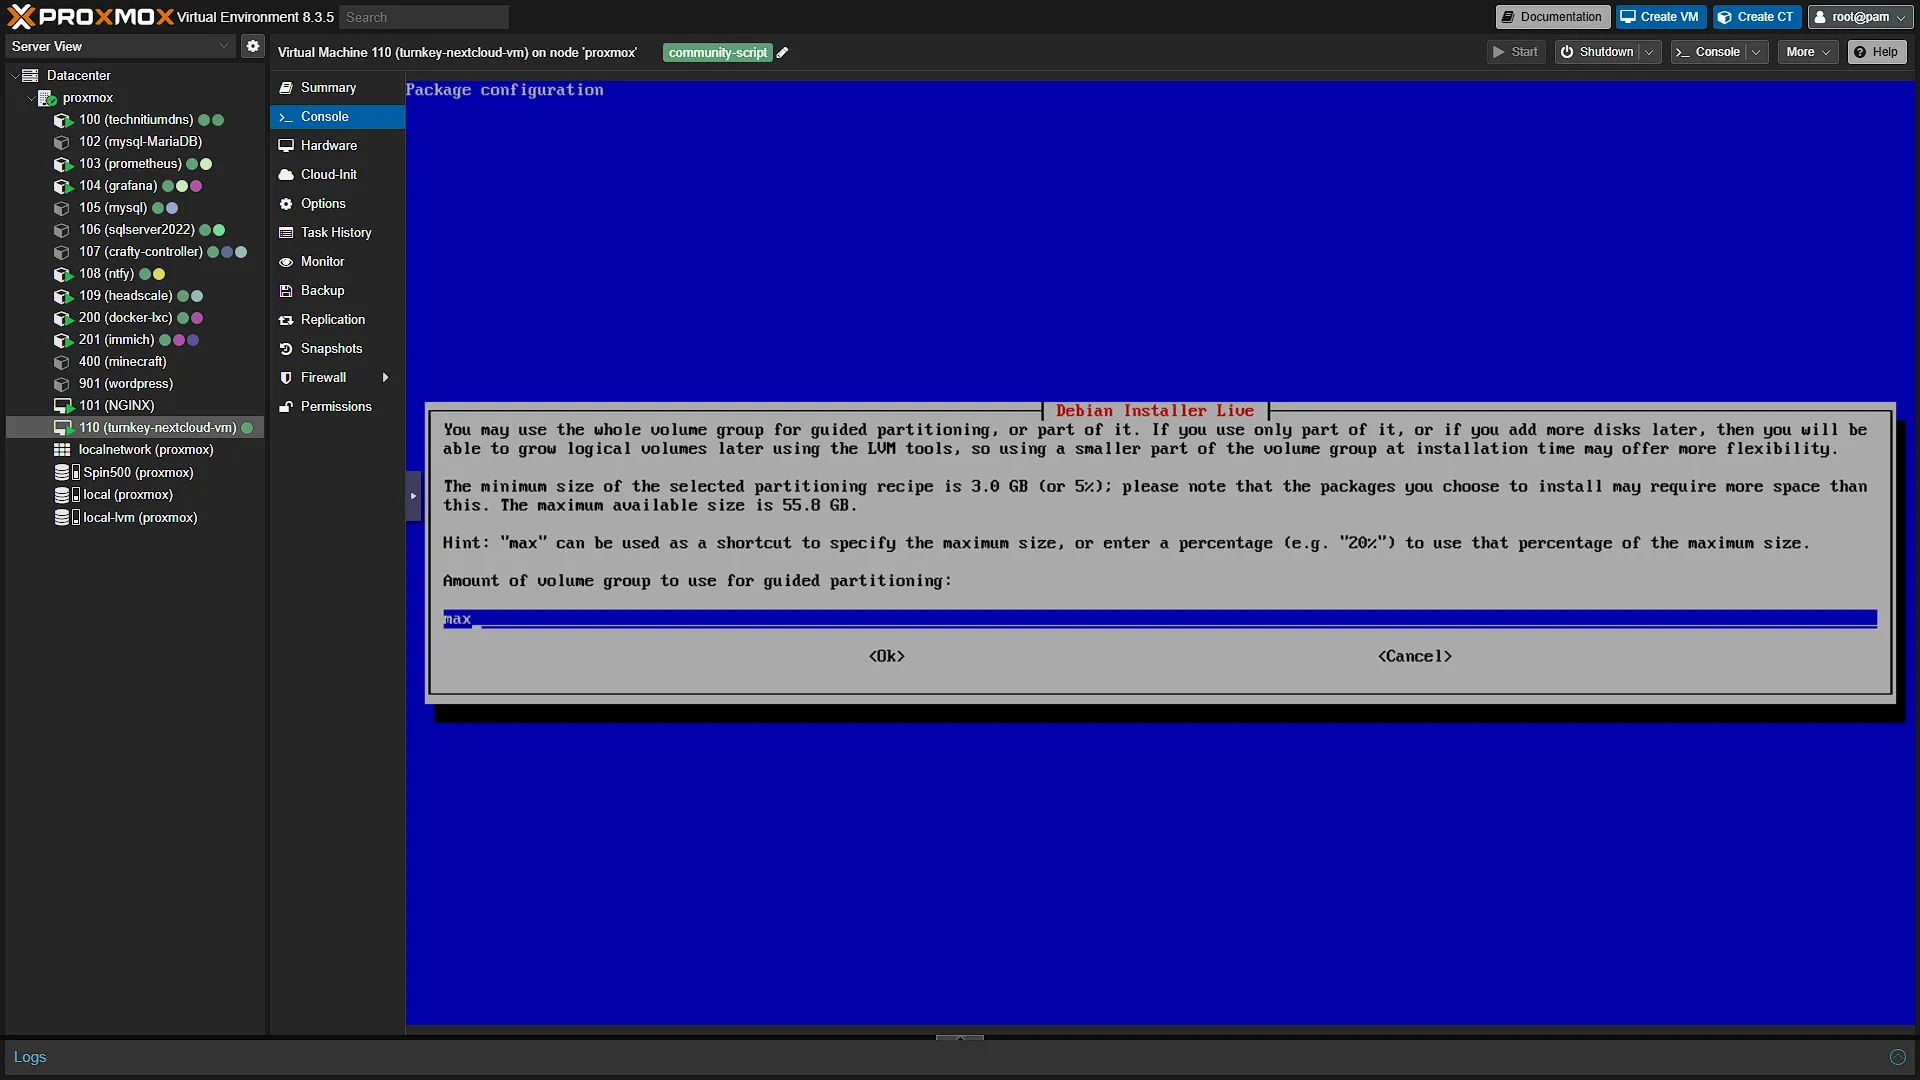
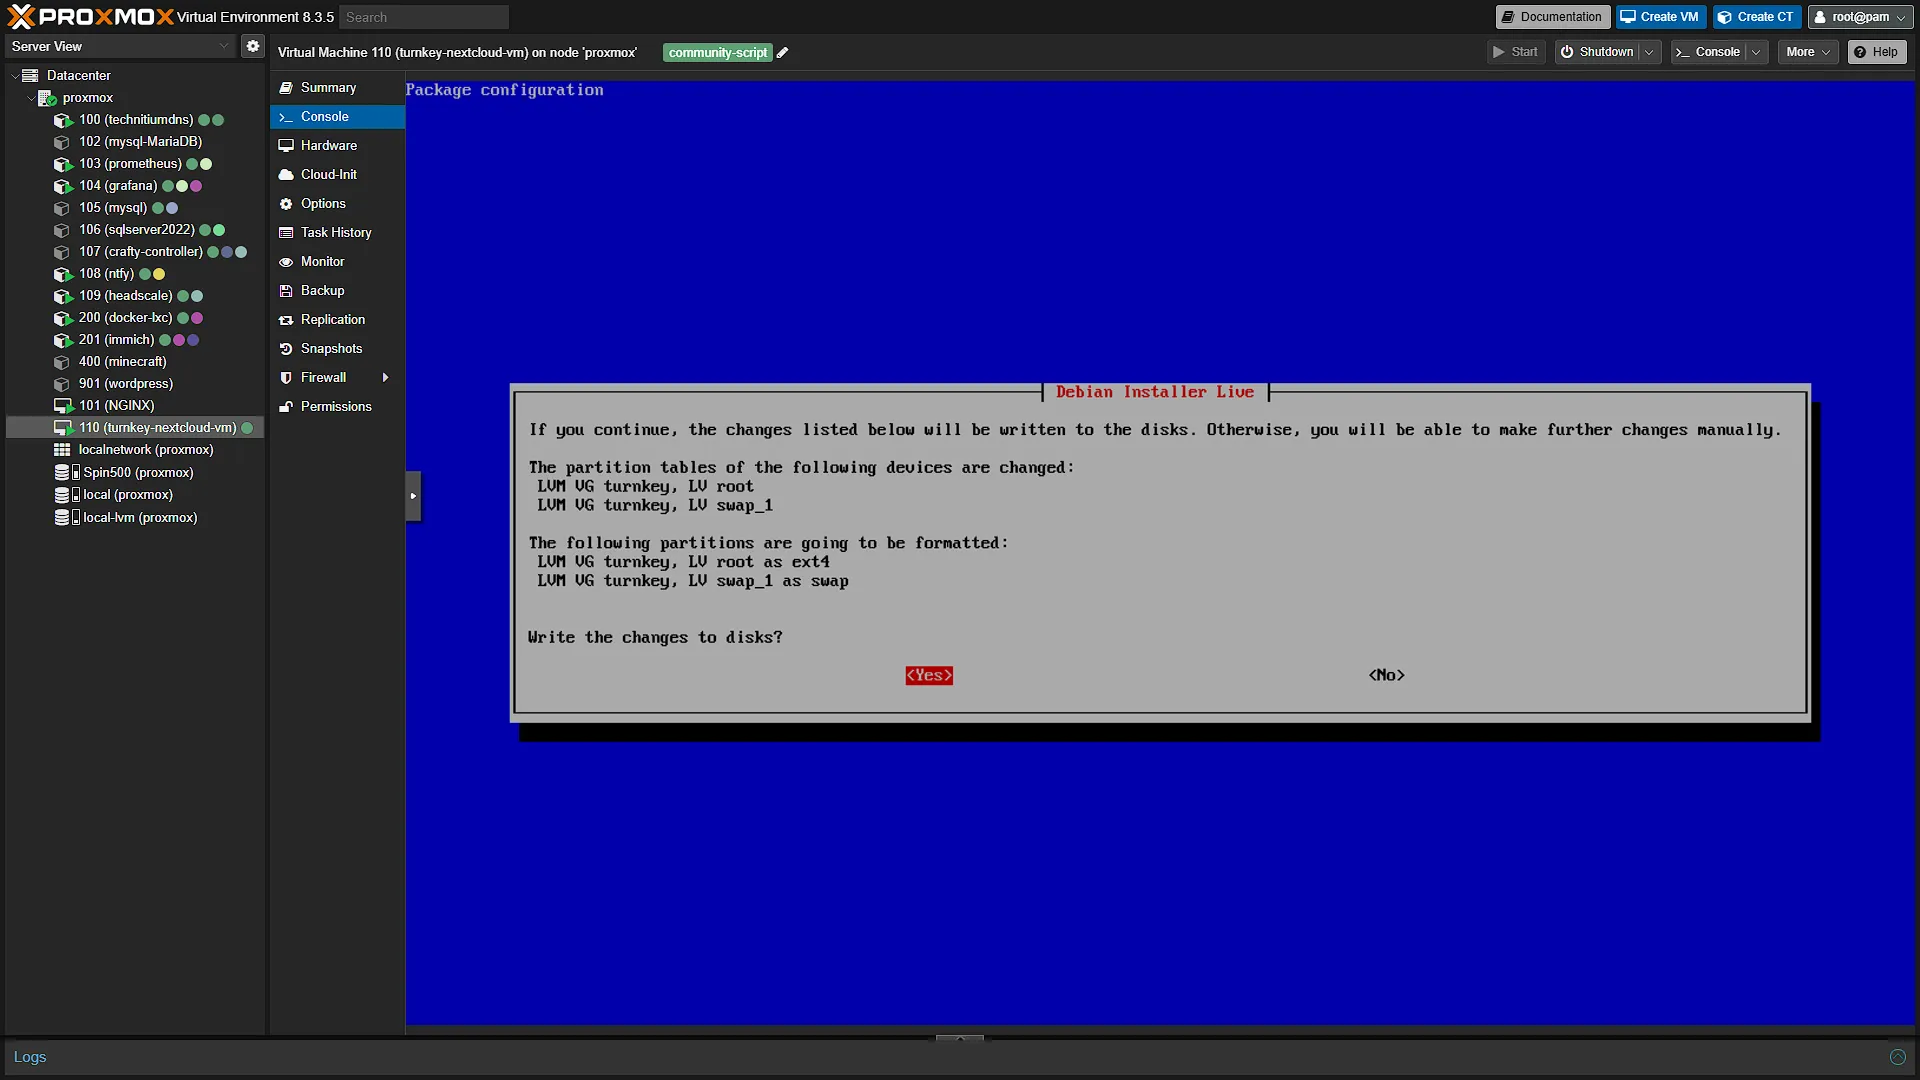
The VM will start and the installation of Nextcloud will now commence. Select the Install to hard disk option on the Turnkey screen. The install will start and the first confirmation will be to select the Partitioning Method. Because we have allocated and resized the virtual disk in Proxmox (the guest installer will partition it), we can select Guided - use entire disk and set up LVM. The next screen will confirm the disk, select the bigger one and continue. The next confirmation will confirm that we want to write the changes, select Yes and continue. When we get to the screen where we are prompted to select the size of the disk we want to use, type max and press enter. We will get one more confirmation box asking us if we want to write the changes to disk. Select Yes and continue.
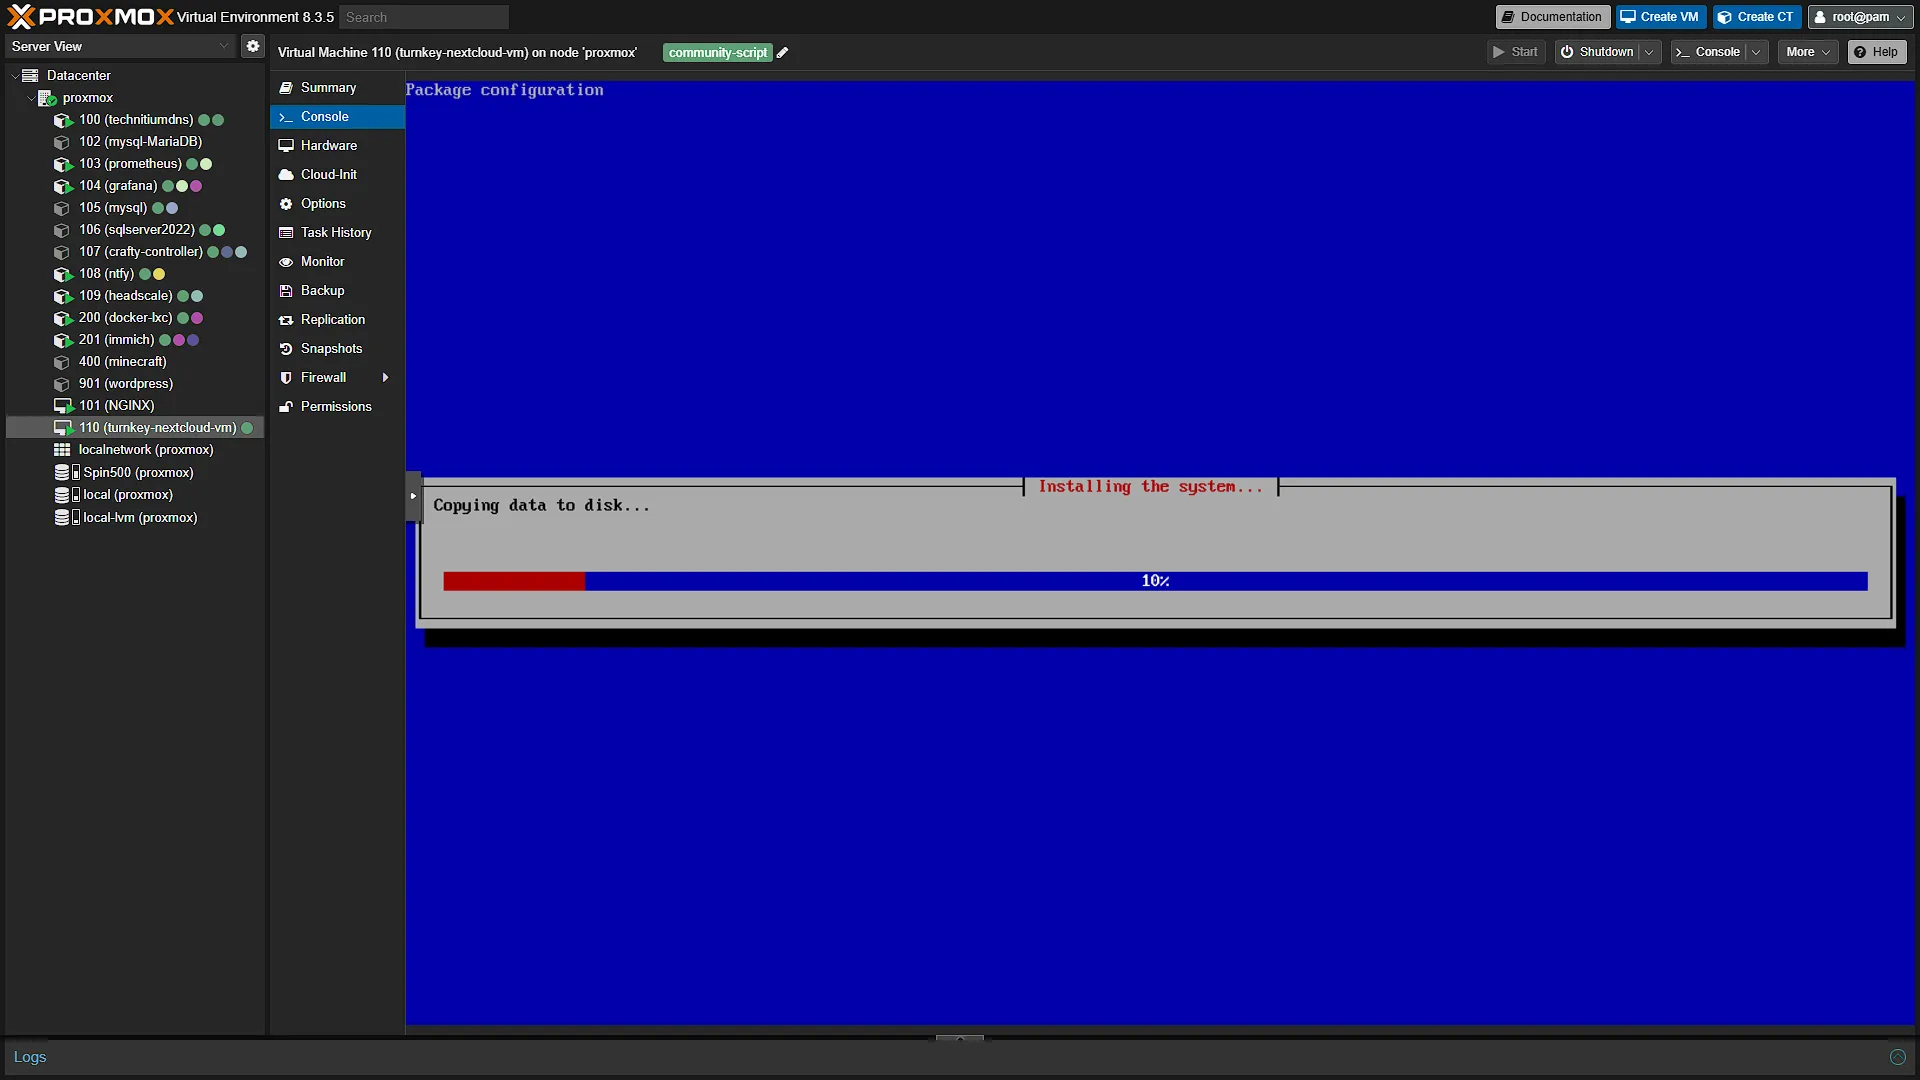
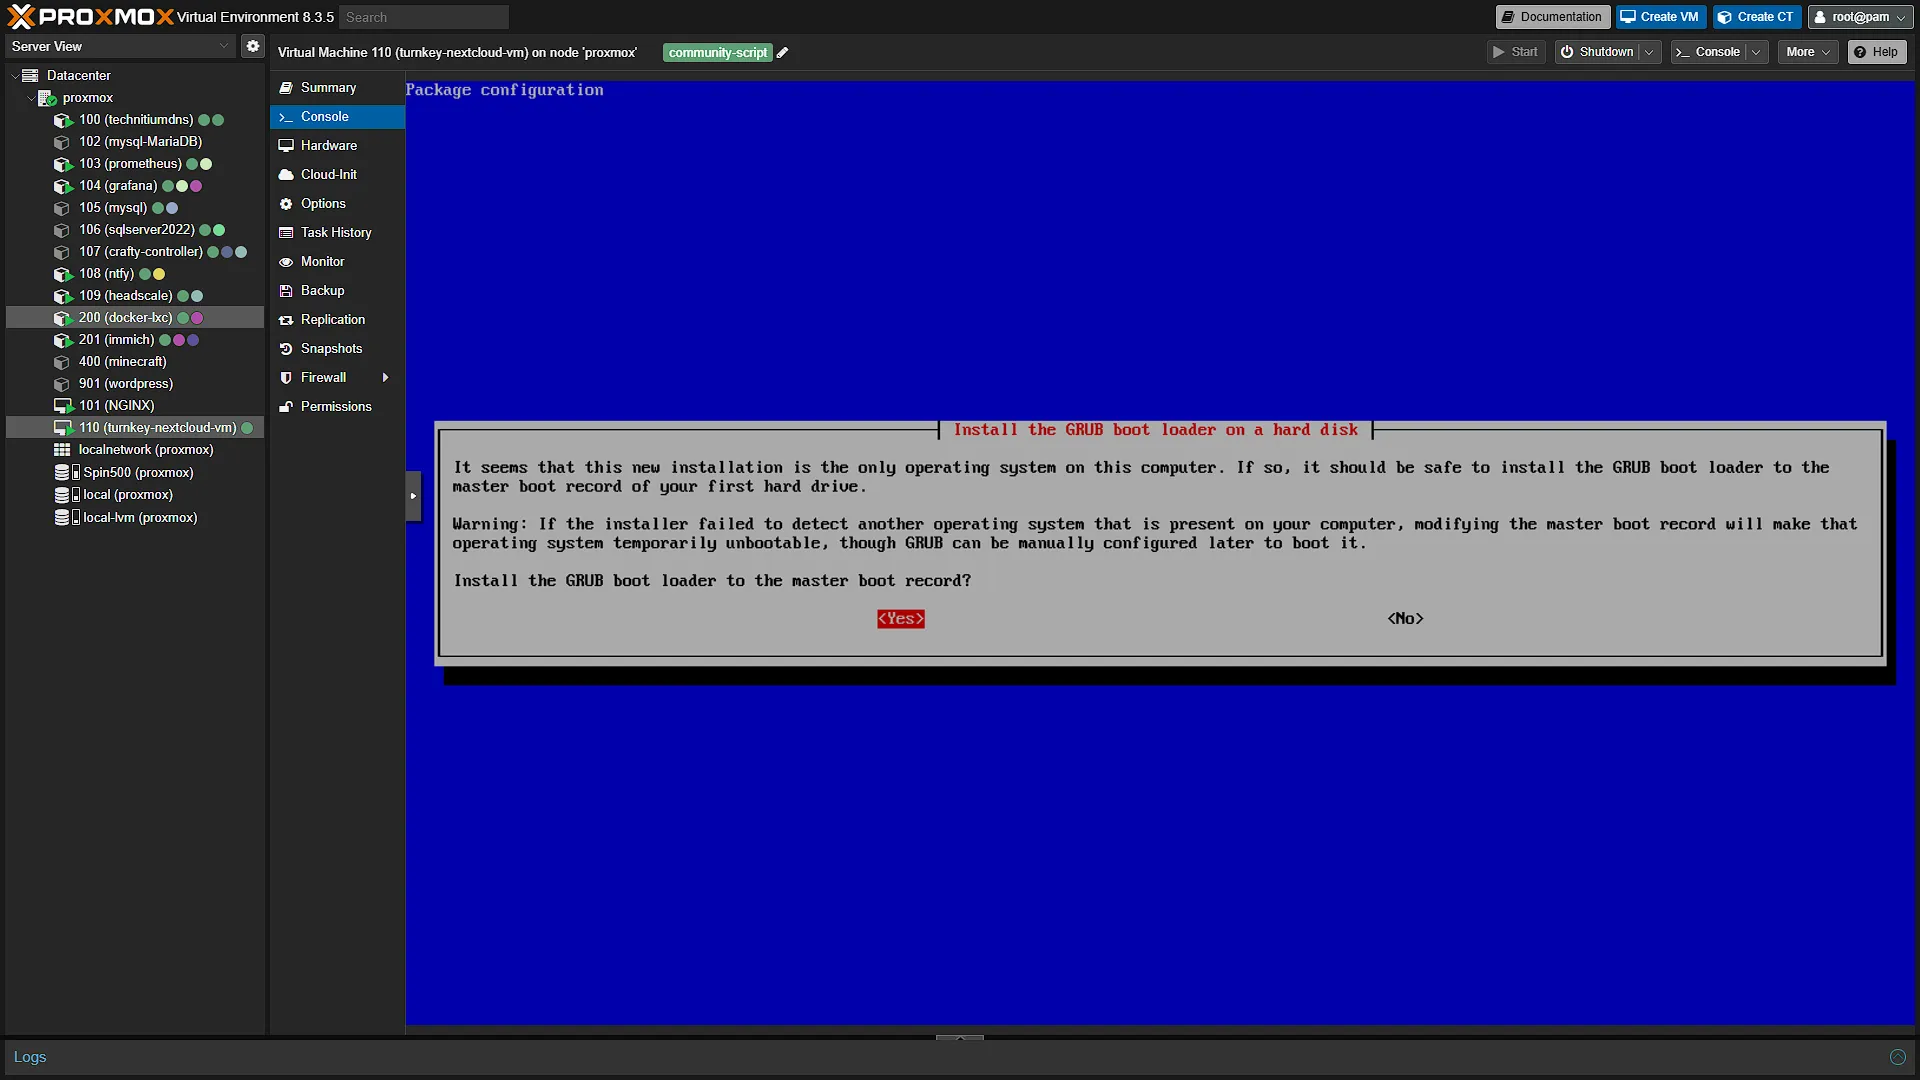
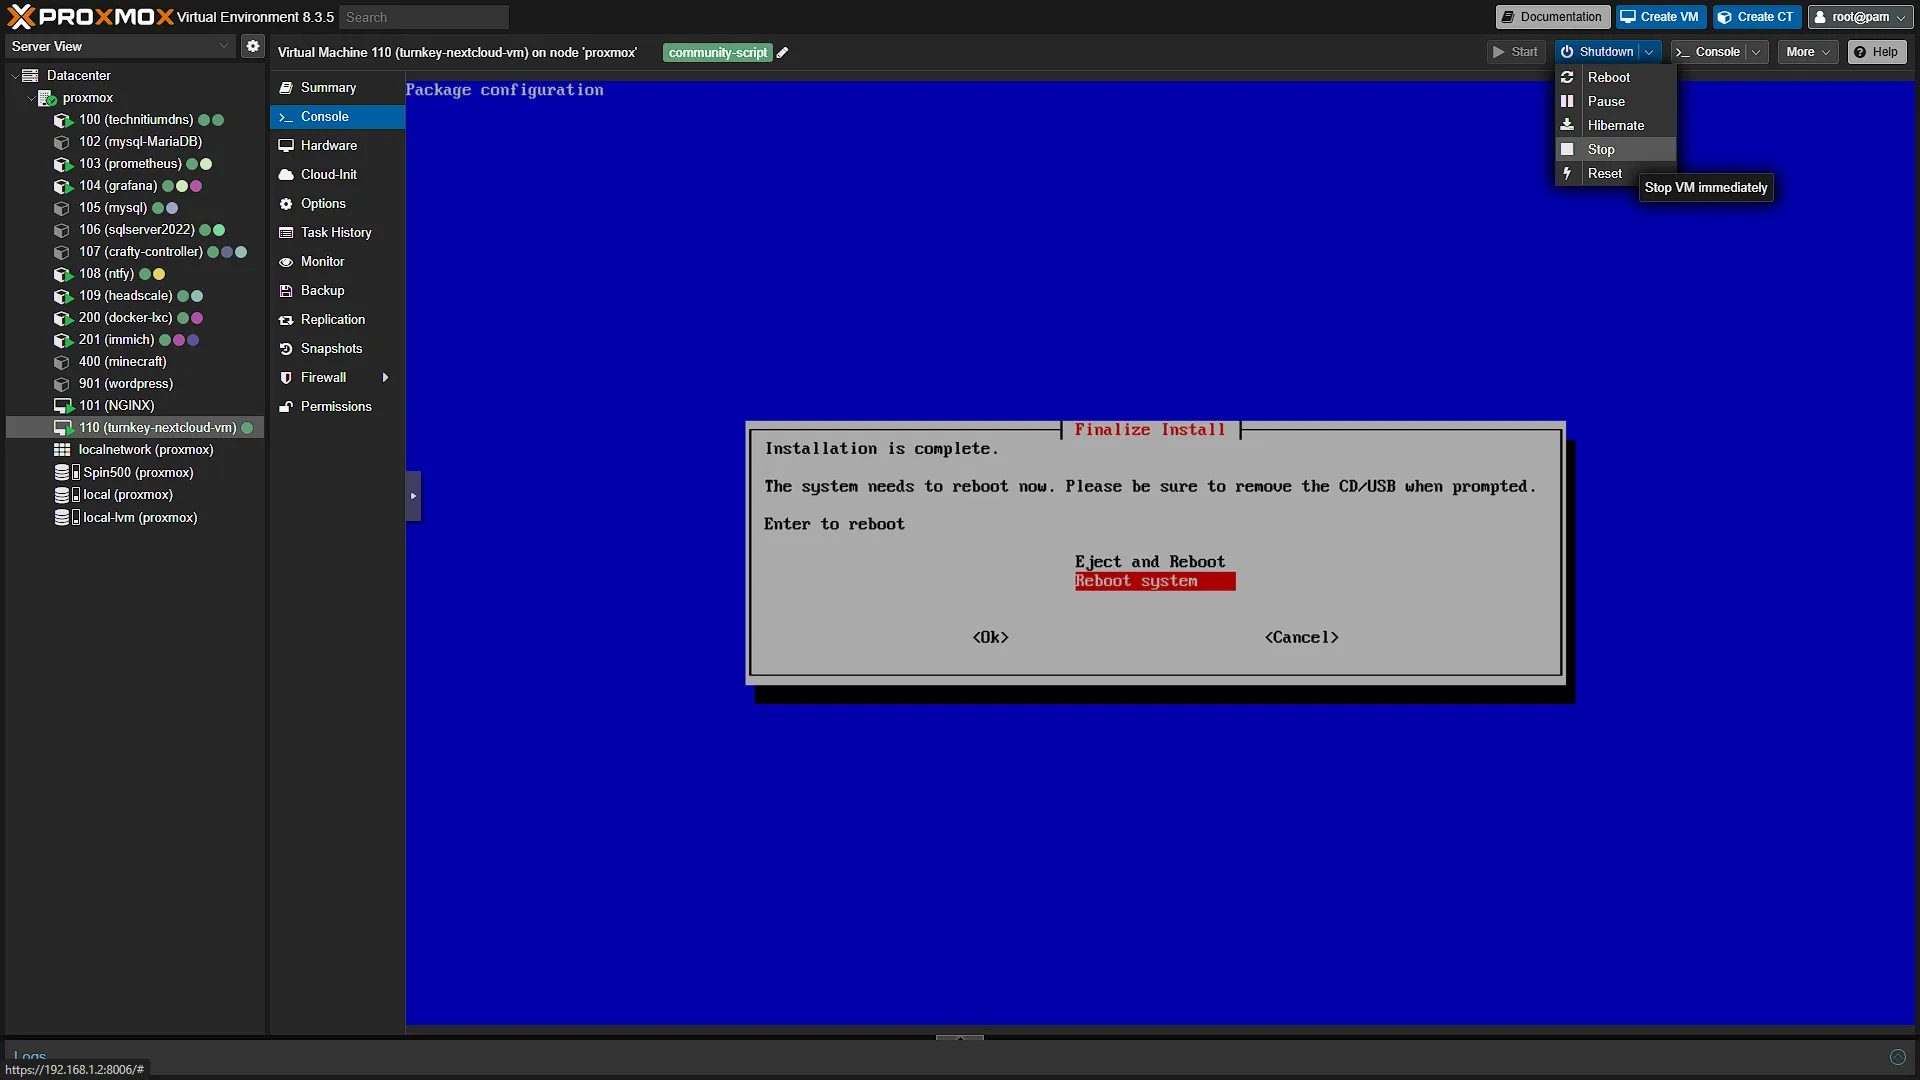
The installation will start. Once done, you will be prompted if you want to install GRUB boot loader. Select Yes and continue. Once the install completes, you will be prompted to Reboot the system. Do not reboot as this will start the entire installation process from scratch. Don't press anything and Stop (Shutdown) the VM.
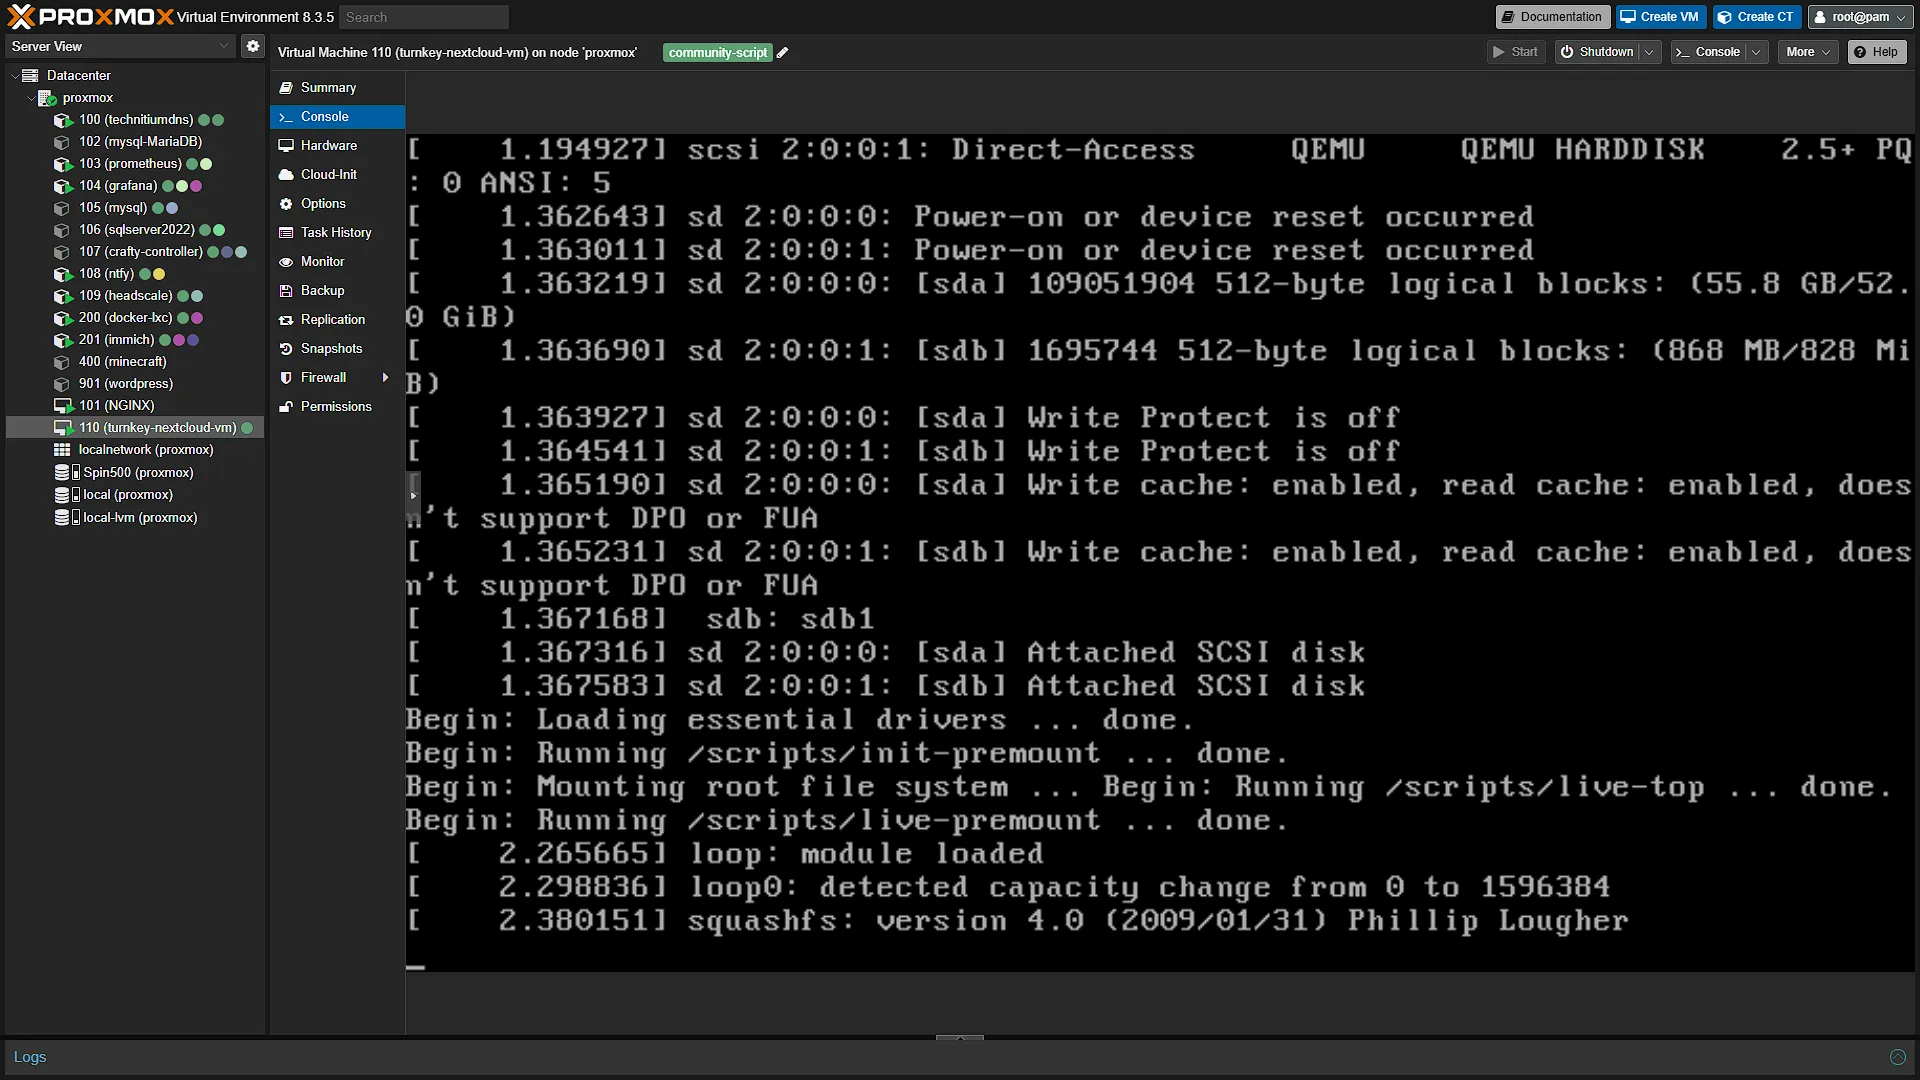
We now need to change the boot order of the hard drives to boot from the main drive instead of the install drive. For this, with the VM selected, click on Options this time in the middle navigation pane. There will be an option for Boot Order, set to scsi1, scsi0. Select boot order and click Edit. Change the boot order by dragging scsi0 to the top. This will make the VM boot from that drive first - this is the drive we have Nextcloud installed on.
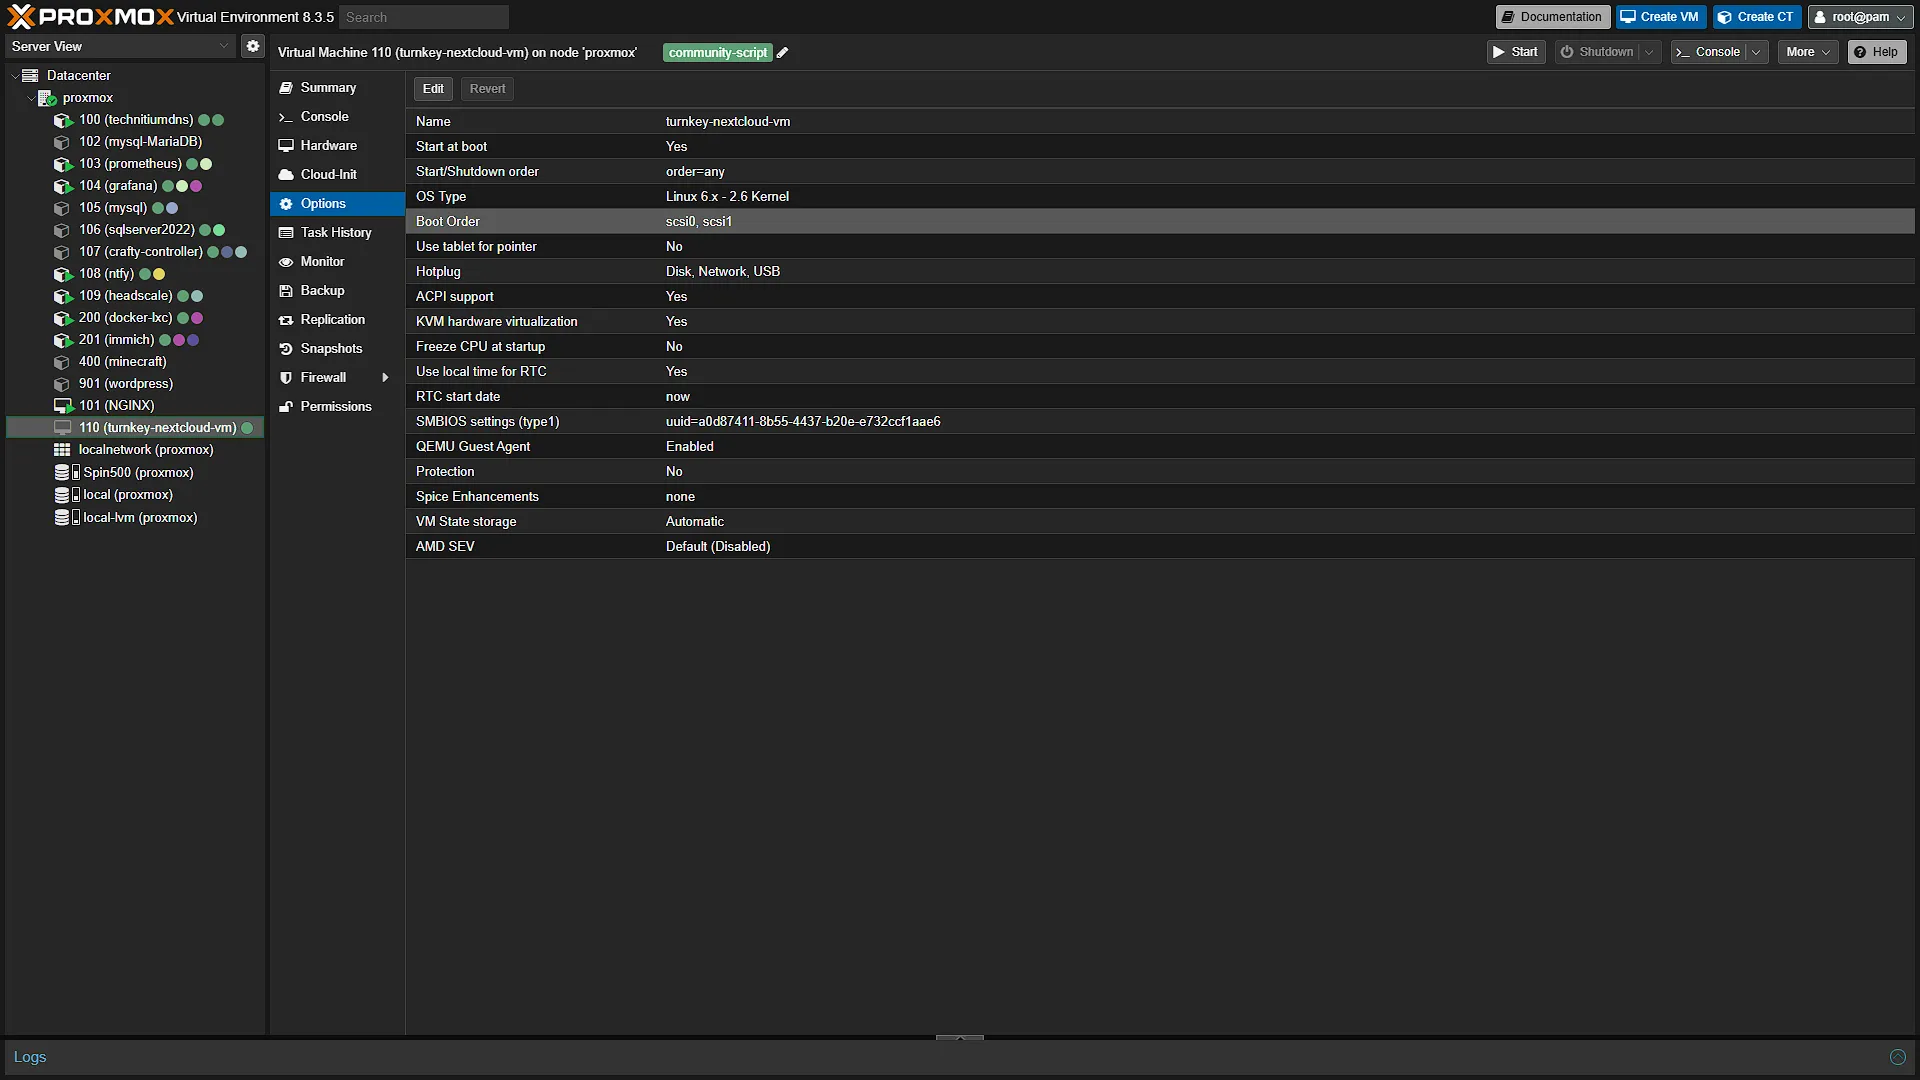
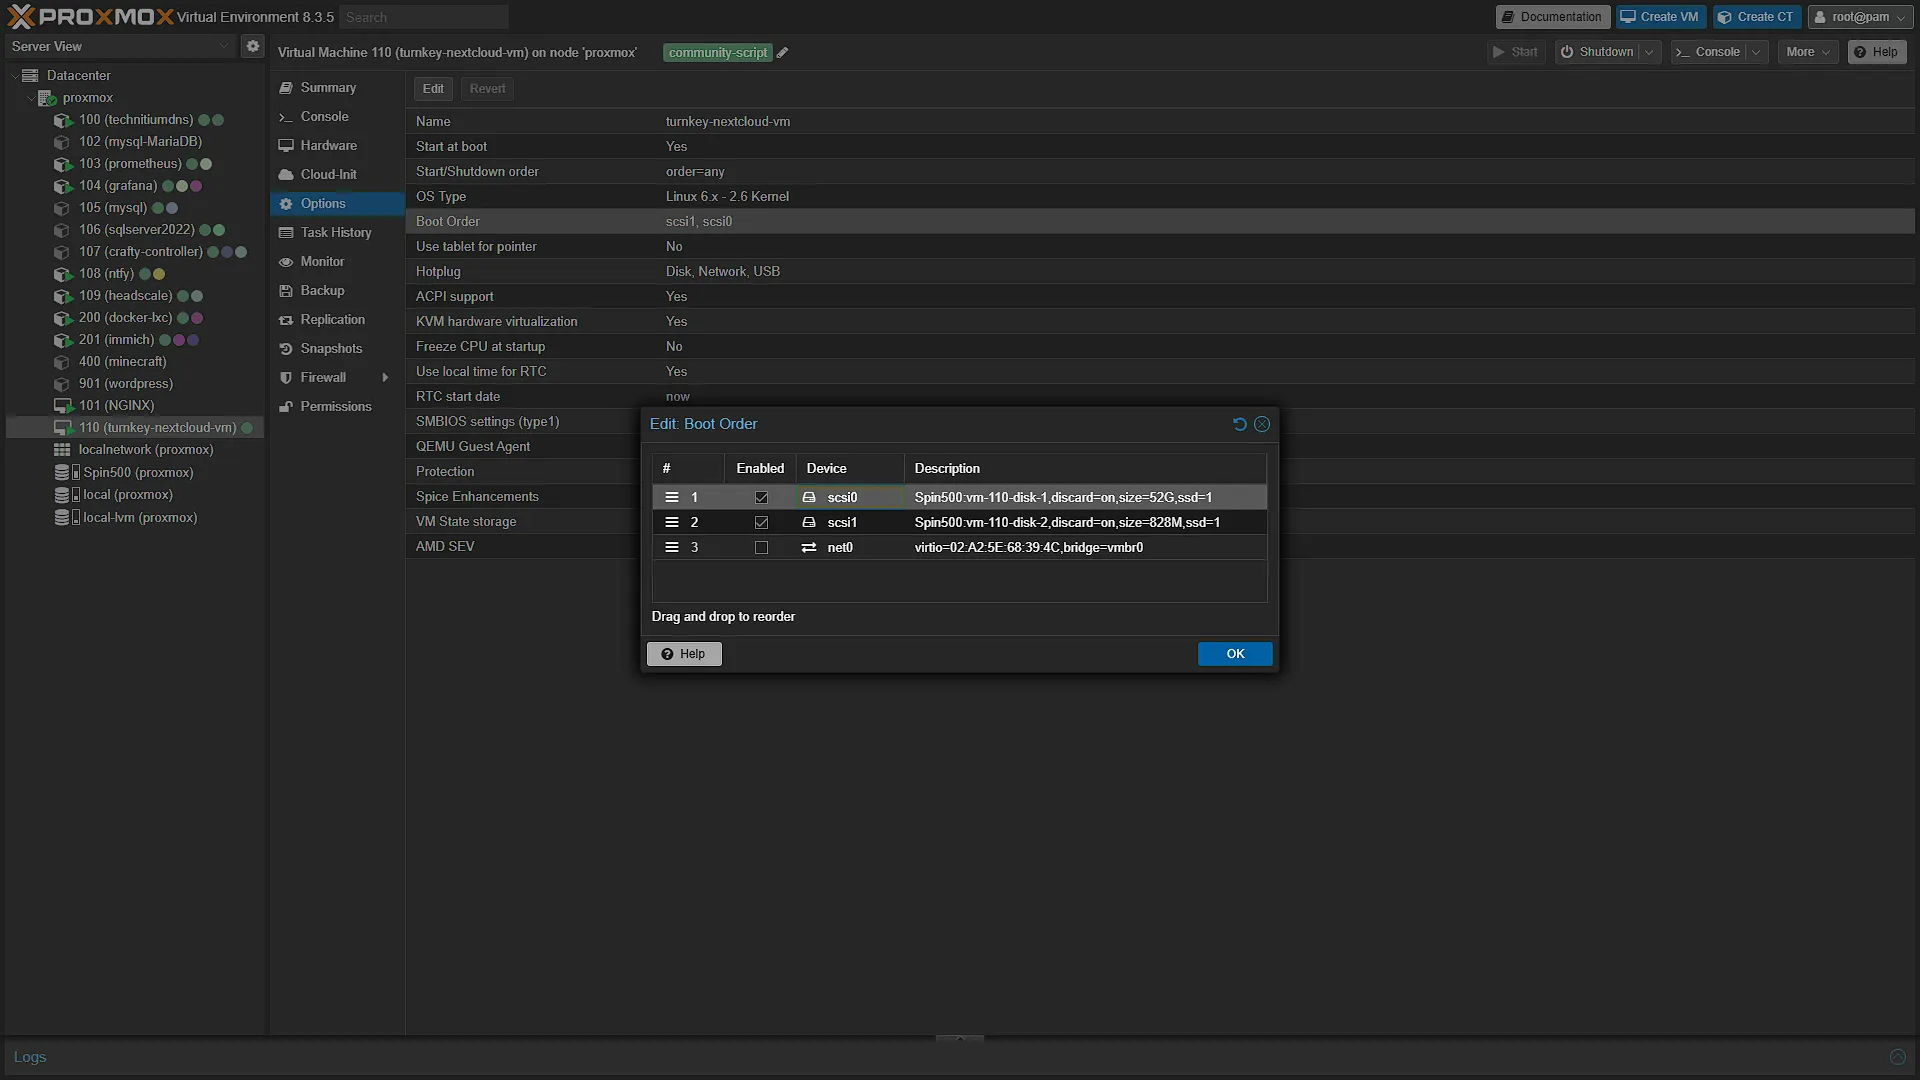
We now have Nextcloud installed as a separate VM. Should we start it now, we will start the configuration process. Configuring Nextcloud, as well as setting up the mobile app will be covered in our next article, so stay tuned.
Optional After the Walkthrough: Verify Boot Before Cleanup
Keep the demonstrated sequence: do not start the VM until the intended scsi0 disk is sized, install onto that disk, stop at the reboot stage, then move scsi0 ahead of scsi1 in boot order. The helper and TurnKey installer can change over time; these screenshots document this particular two-disk arrangement. Confirm device roles from your actual VM rather than identifying an installer solely by a fixed size.
Start the VM and verify that it boots the installed appliance from scsi0. Continue to Part 42 for configuration. Removing scsi1 is optional cleanup after successful boot, not a prerequisite for the first configuration. Verify the disk identity and retain a backup before any detach/remove operation. Removing an entry labelled Unused Disk deletes storage; it is not just hiding a menu item.
Guest-agent setup is also optional. Enable the QEMU guest-agent option for this VM in Proxmox, ensure the communication device is available after the appropriate VM restart, then install/start the guest package. Check its service status and host query results. Do not assume every distribution supports enabling the unit in the same way. Agent support can help coordinate operations, but it does not prove Nextcloud is healthy or that its database backup is consistent.
| Deployment choice | Boundary to consider |
|---|---|
| This TurnKey VM | Its own kernel and guest disk; guest/application backups still matter. |
| A Nextcloud LXC | Shares the host kernel; mount permissions and external data need separate planning. |
| Nextcloud AIO | A different supported container architecture with its own setup and recovery instructions. |
These are alternatives, not further steps to perform on this VM. Avoid selecting a different architecture solely from an unmeasured idle-RAM figure. First finish and test the current installation, record its disk layout and verify a restore; then compare alternatives against your actual storage and maintenance needs.
Further reading: Original helper discussion, Proxmox guest agent.