
Now that we have our Immich server up and running and working, it is time for us to set up Immich. Firstly, we would like to access it from a better URL address than an IP address, and in some cases, also be able to access it from outside our home network. We also need to set up the smartphone app and users. Let's get to it!
Step 1: Configure nginx
If you are following along with our Build your own homelab series, or if you are building your own custom setup, we are using nginx as our reverse proxy. It can run in either an nginx LXC or as a separate nginx VM (Virtual Machine). Take note that installing a Let's Encrypt SSL Certificate becomes a bit more involved if you go the LXC route. We also need to decide if we want to only backup (sync) photos when we are on our local home network, or if we want to also sync from the outside web. The Immich app has a setting to ensure that backup will only happen on Wi-Fi, if that helps, and we also have the option of a VPN server if we are on a Wi-Fi network that will give us access to local only resources from a different internet connection.
Anyway, access your nginx install via Proxmox or via SSH and log in. Before starting, it might be best to change over to an Administrator with the command sudo su. You might need to provide your password again.
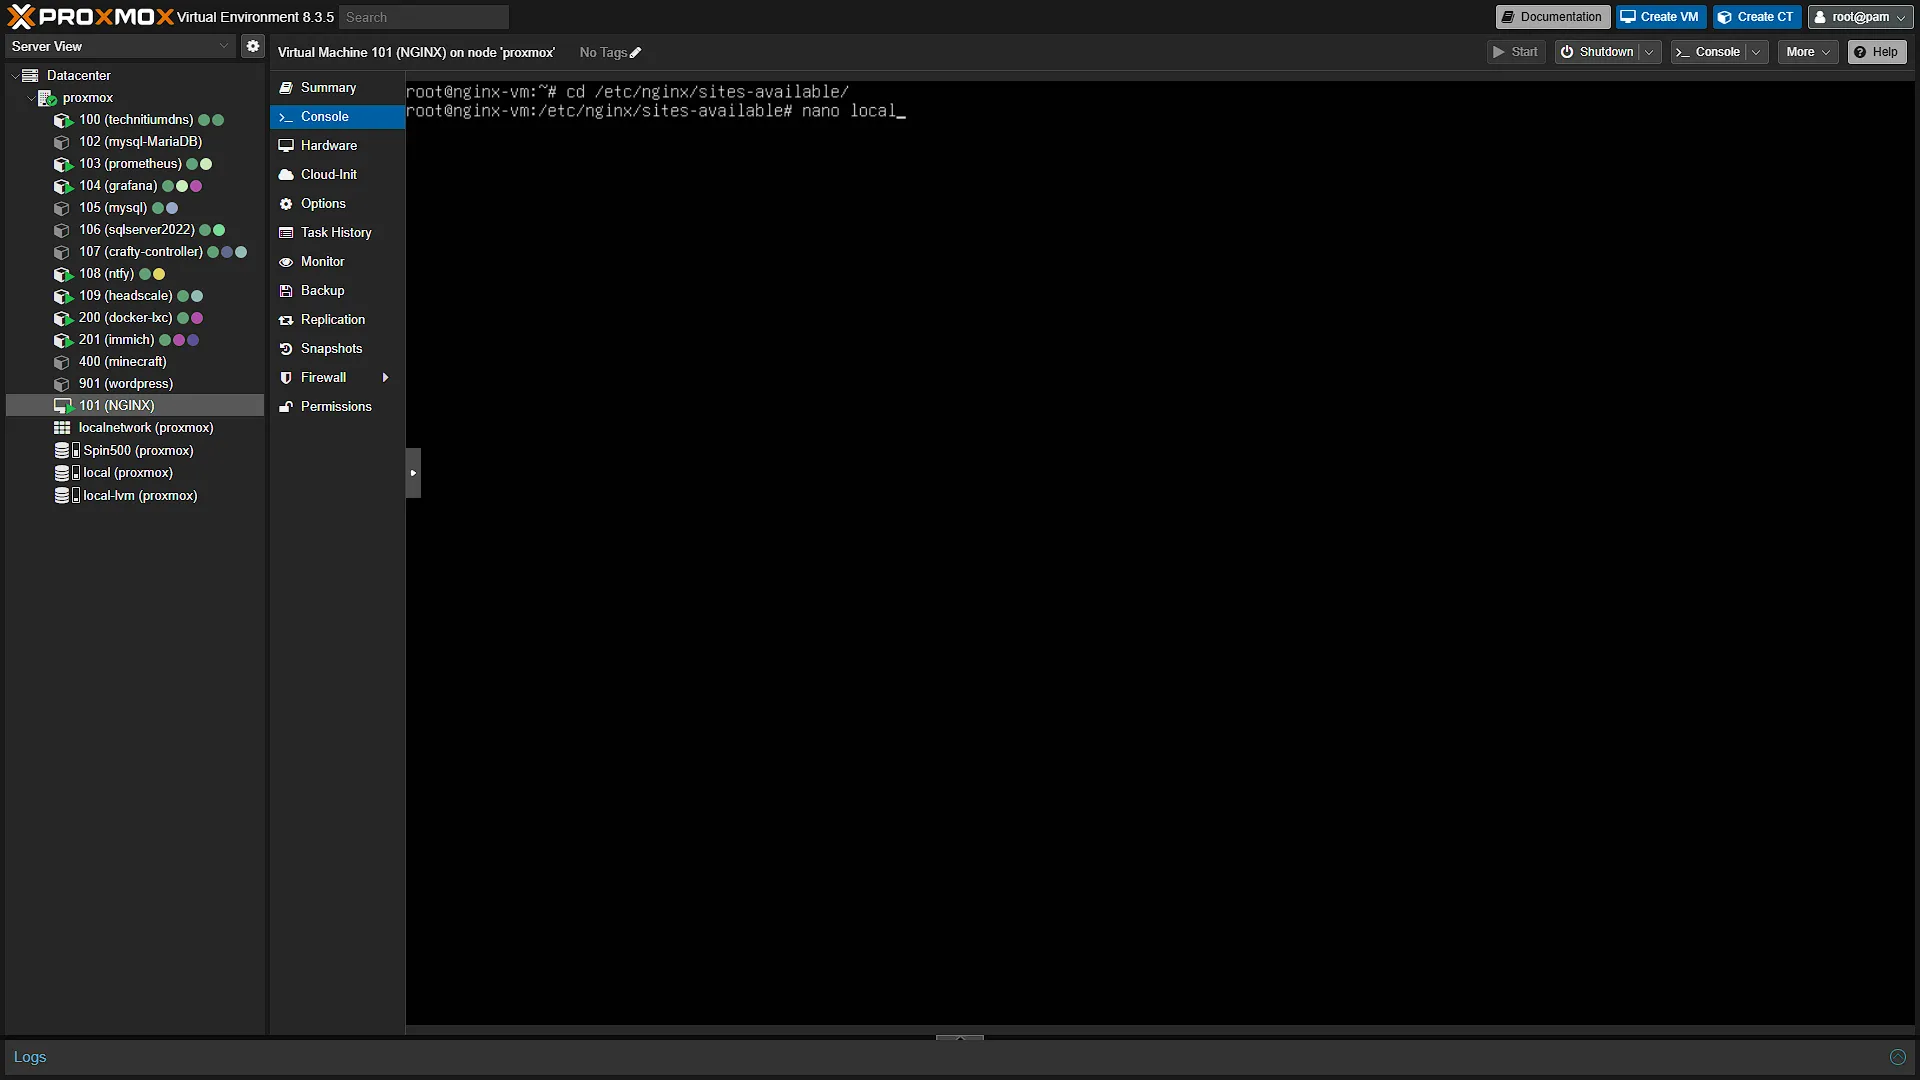
Go to the location for nginx configuration files:
cd /etc/nginx/sites-availableOpen the configuration file for the local setup if you have one already or create a new file:
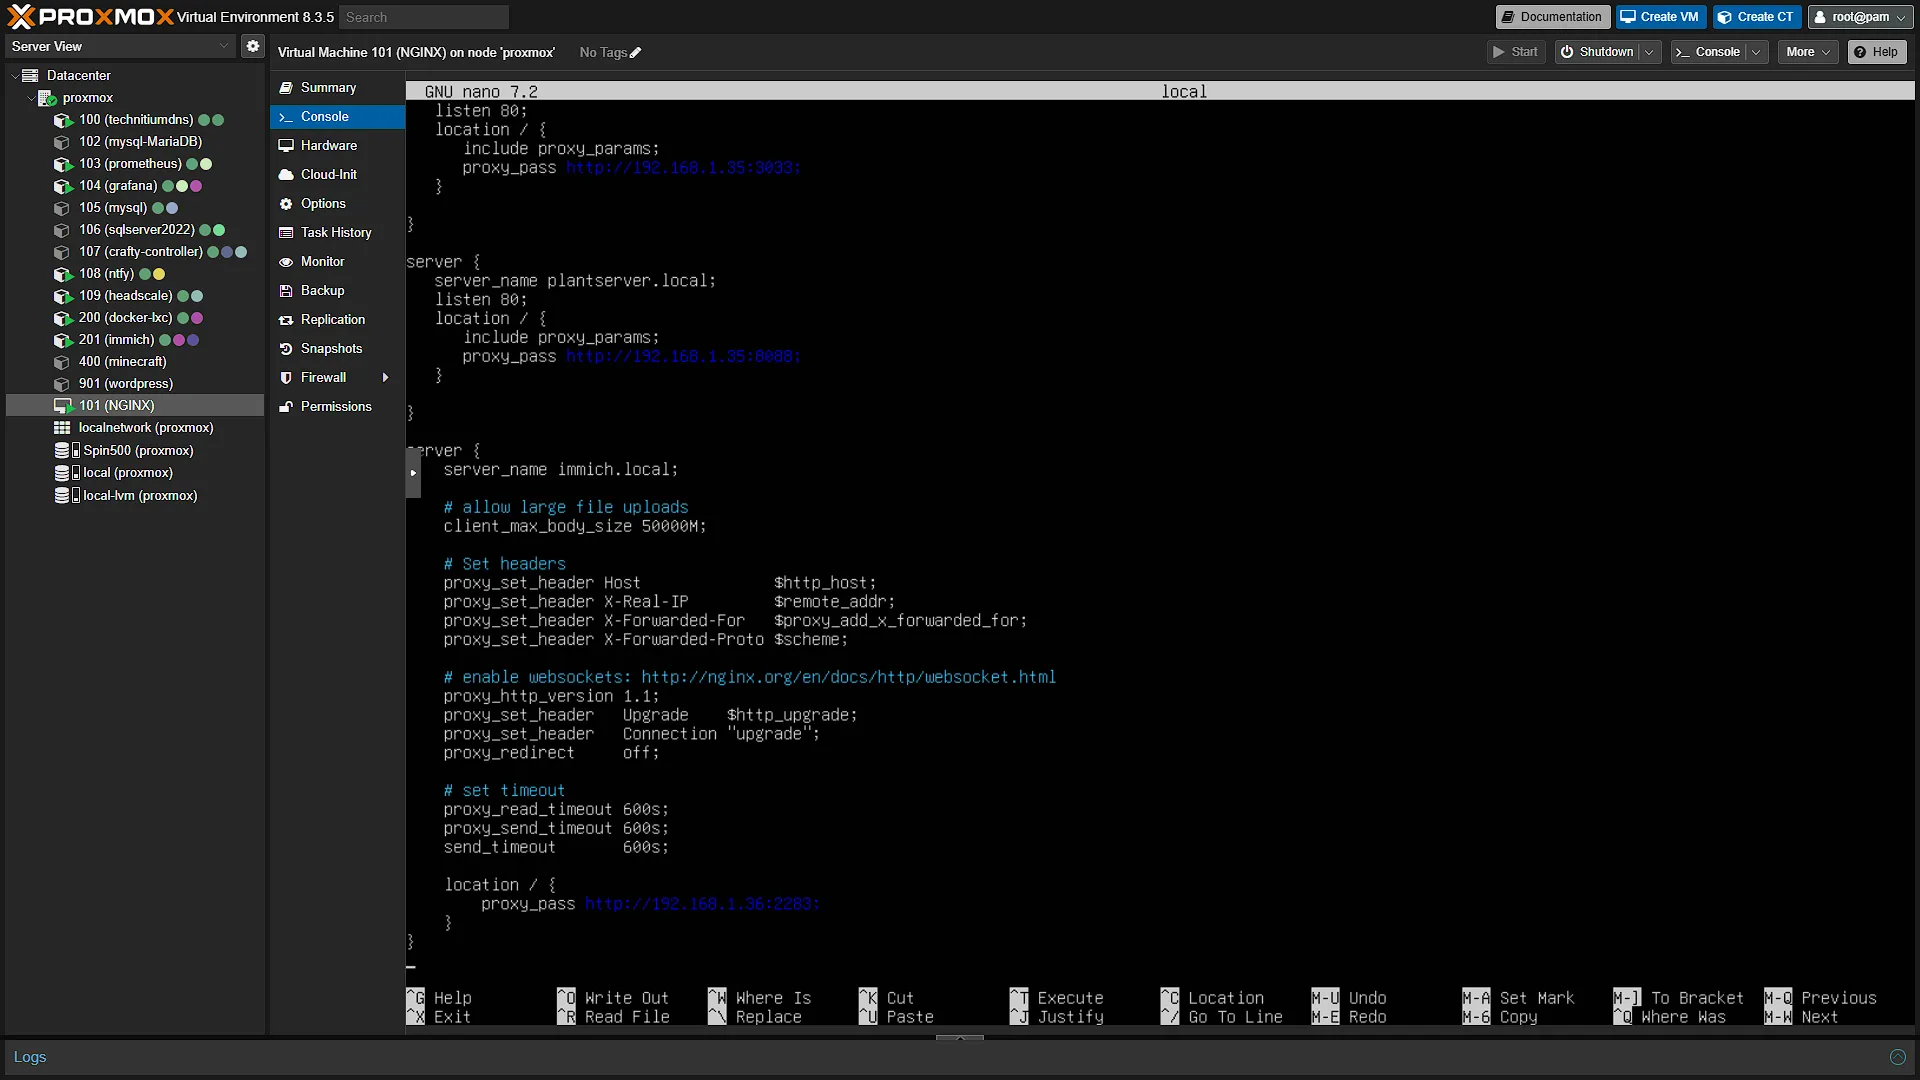
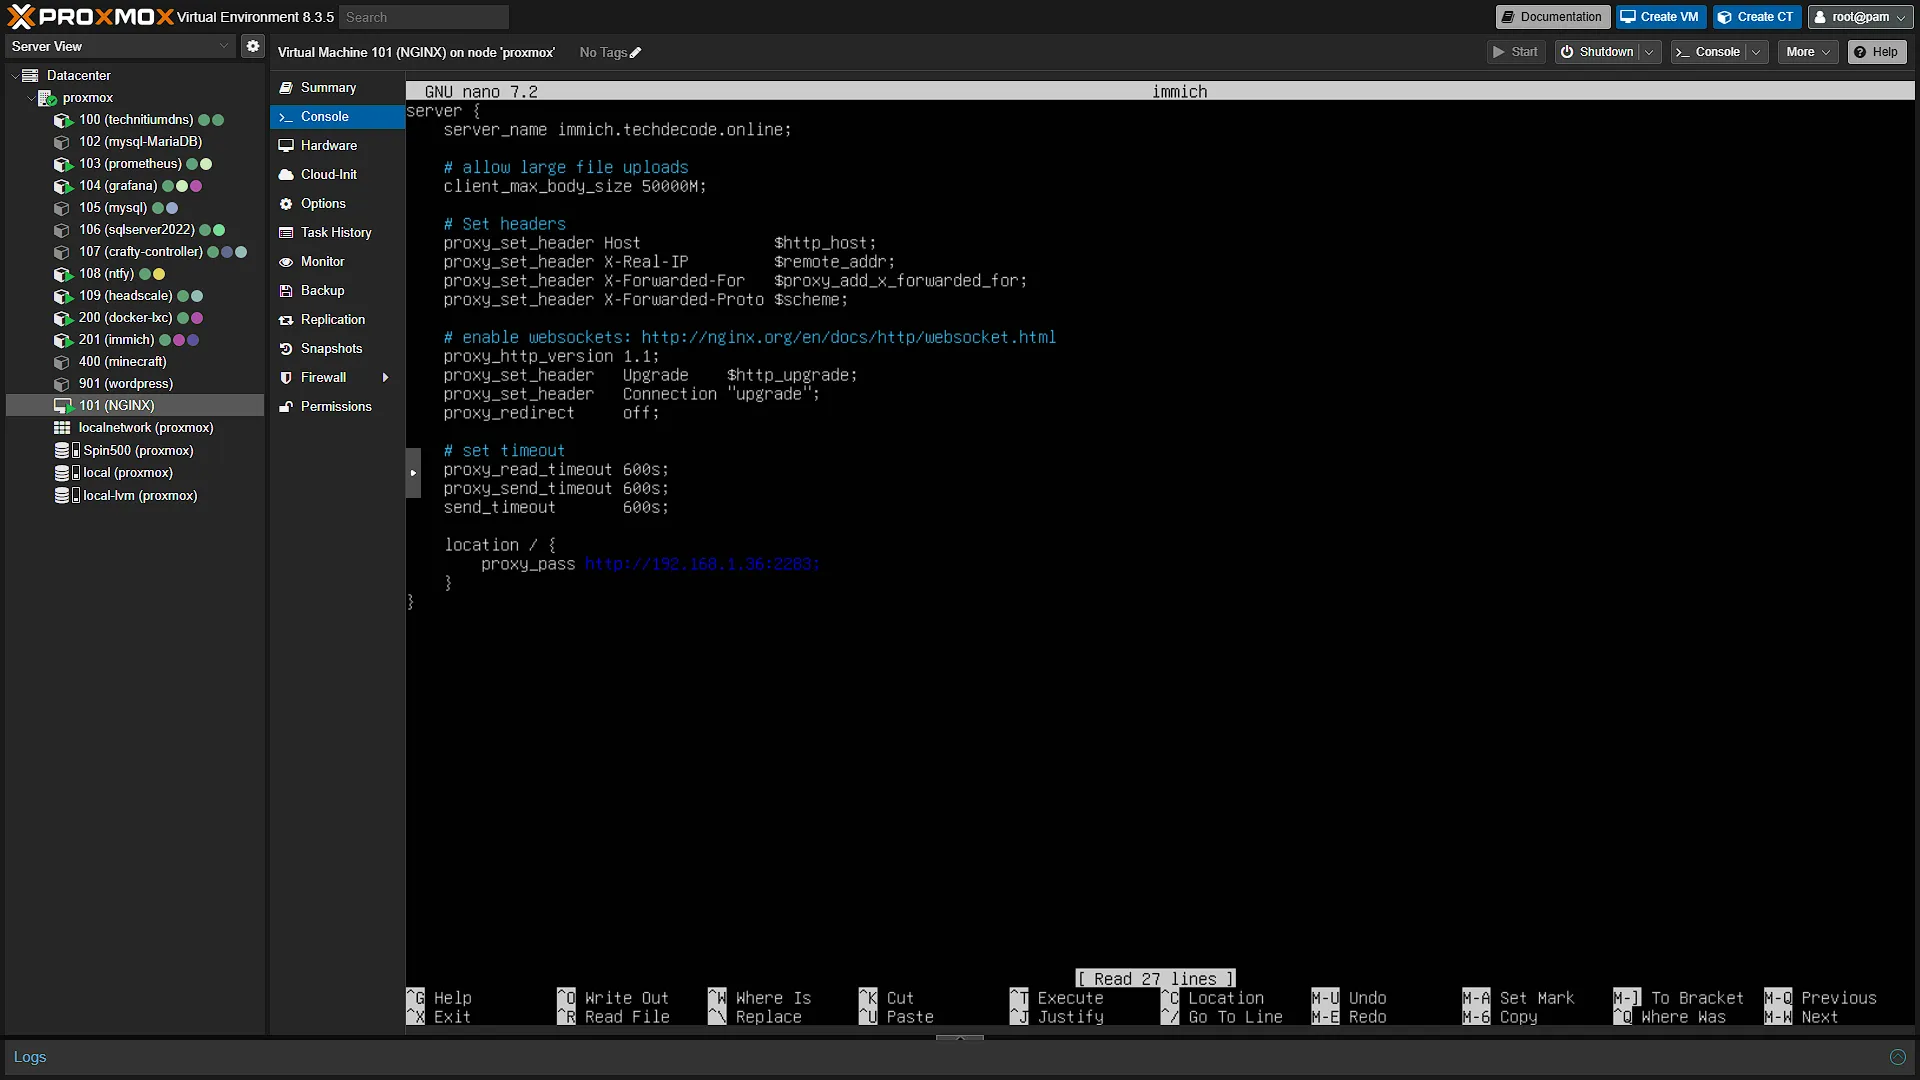
nano localAdd the following in the configuration file to enable Immich to run on http://immich.local. Please just make sure to have the IP address correct for your network install, we are running Immich on 192.168.1.36.
server {
    server_name immich.local;

    # allow large file uploads
    client_max_body_size 50000M;

    # Set headers
    proxy_set_header Host              $http_host;
    proxy_set_header X-Real-IP         $remote_addr;
    proxy_set_header X-Forwarded-For   $proxy_add_x_forwarded_for;
    proxy_set_header X-Forwarded-Proto $scheme;

    # enable websockets: http://nginx.org/en/docs/http/websocket.html
    proxy_http_version 1.1;
    proxy_set_header   Upgrade    $http_upgrade;
    proxy_set_header   Connection "upgrade";
    proxy_redirect     off;

    # set timeout
    proxy_read_timeout 600s;
    proxy_send_timeout 600s;
    send_timeout       600s;

    location / {
        proxy_pass http://192.168.1.36:2283;
    }
}
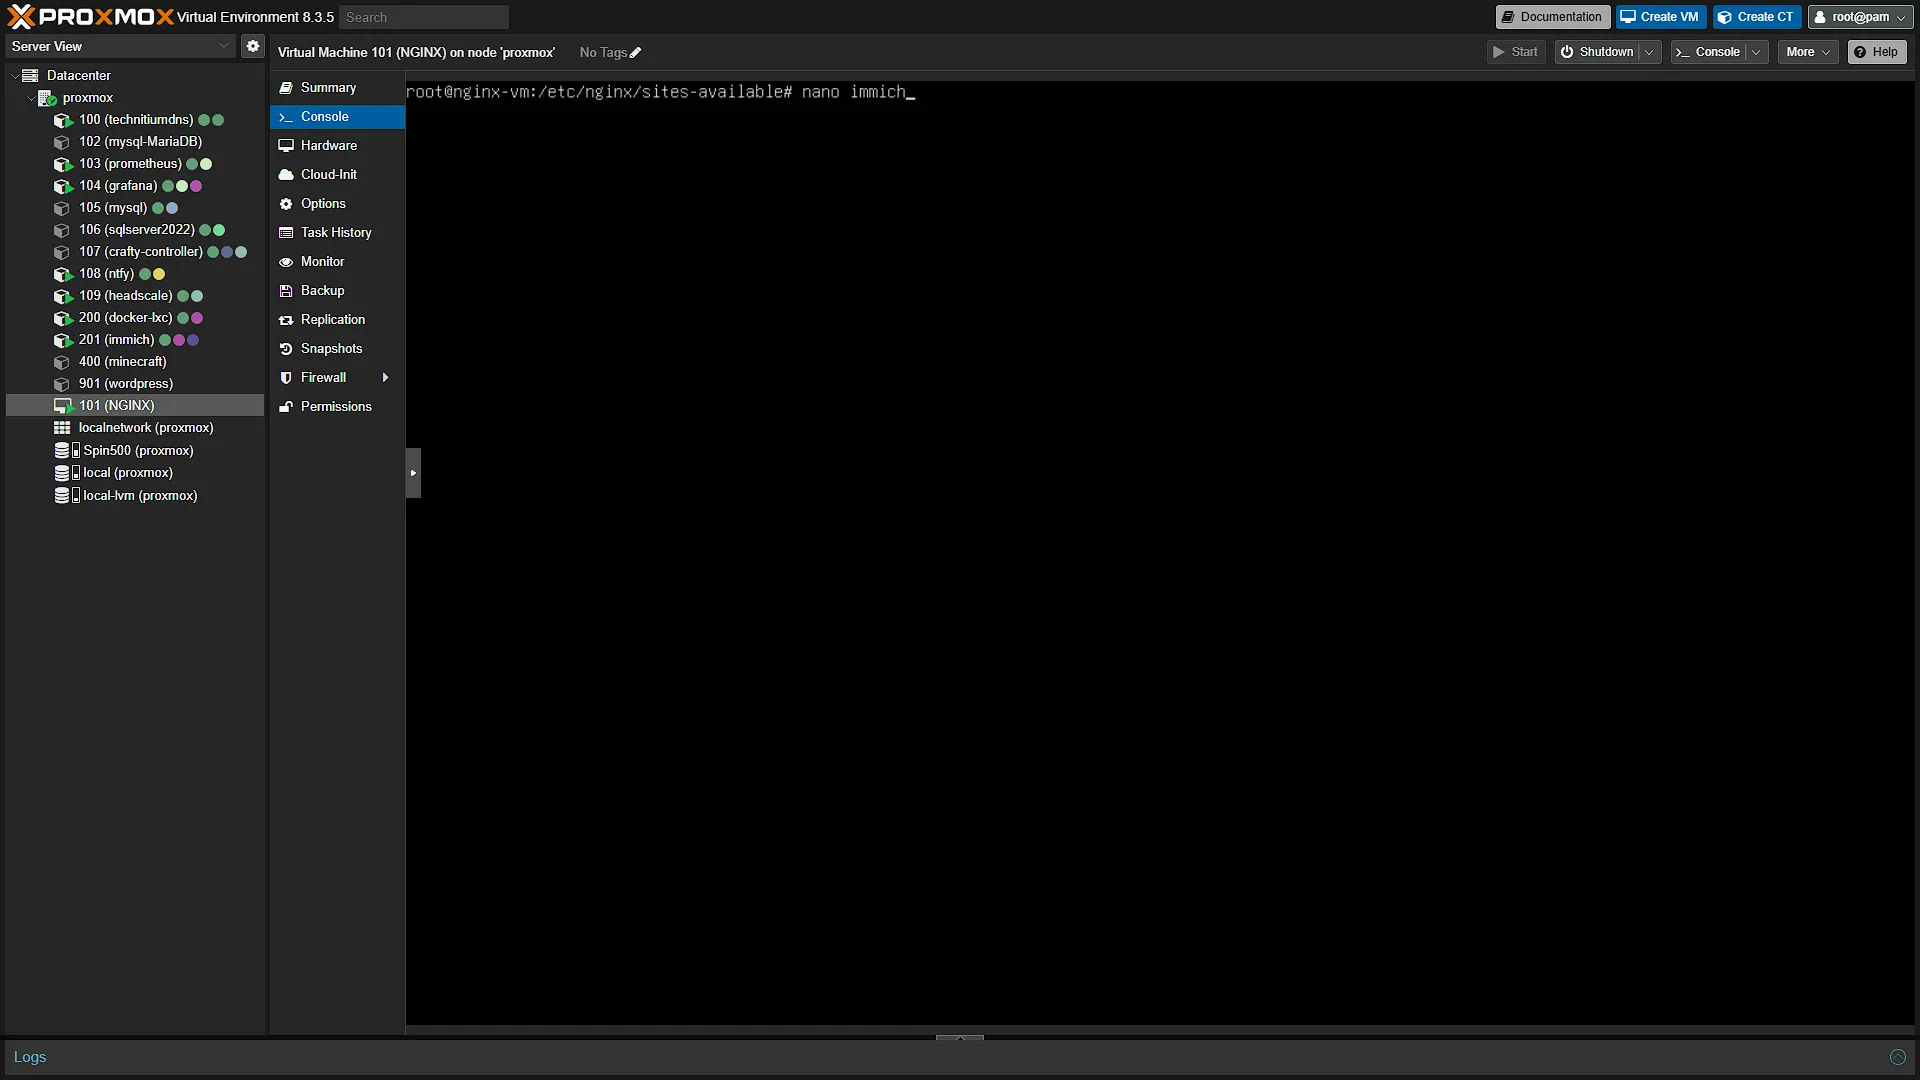
Save with Ctrl+S and exit with Ctrl+X. Should you wish to also access Immich from outside your network, also set up a separate file for the outside connection:
nano immichAdd the exact same configuration again, but this time change the server_name to the URL that will access it from outside, in our case immich.techdecode.online.
If you created a new local file, or if it was not active before, activate it with:
sudo ln -s /etc/nginx/sites-available/local /etc/nginx/sites-enabled/If you also created a file for outside access, remember to also create the shortcut for it:
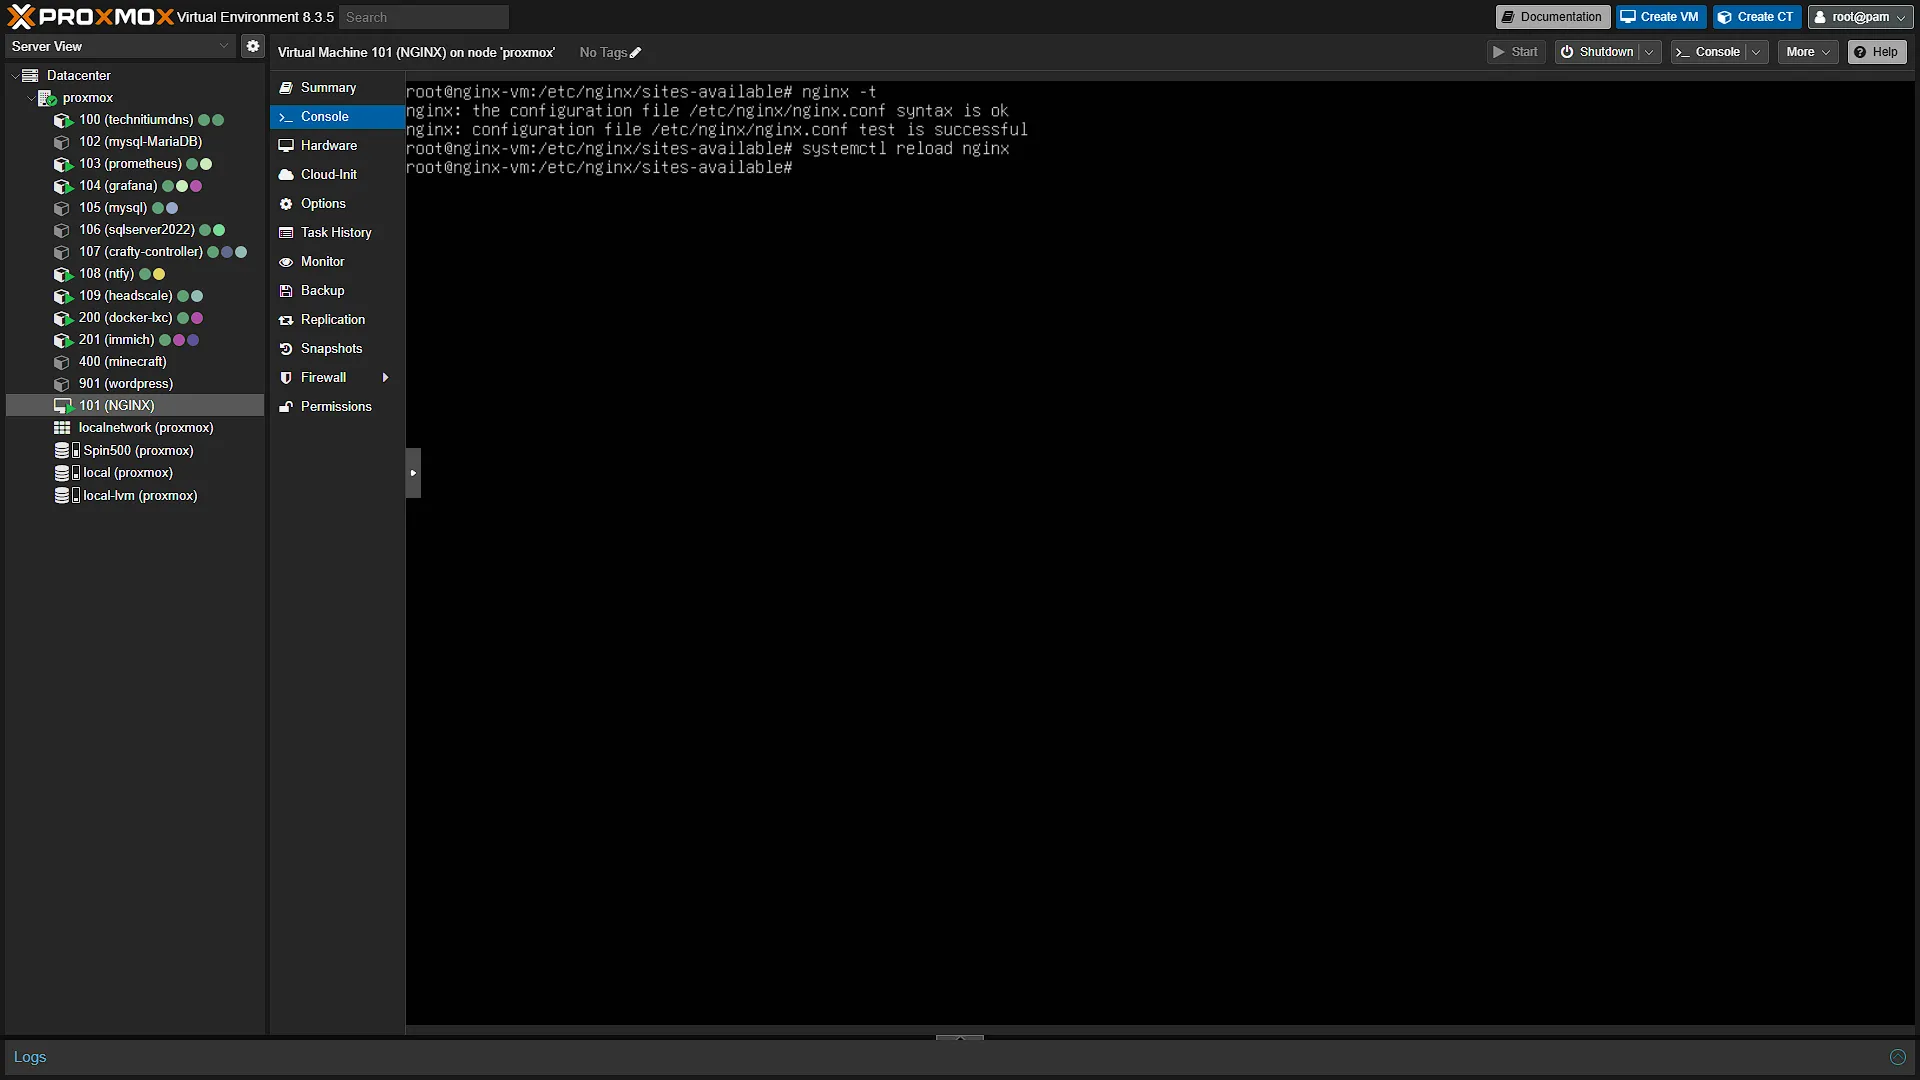
sudo ln -s /etc/nginx/sites-available/immich /etc/nginx/sites-enabled/Test the nginx configuration with nginx -t and if successful, reload the config with systemctl reload nginx.
Step 2: Configure DNS
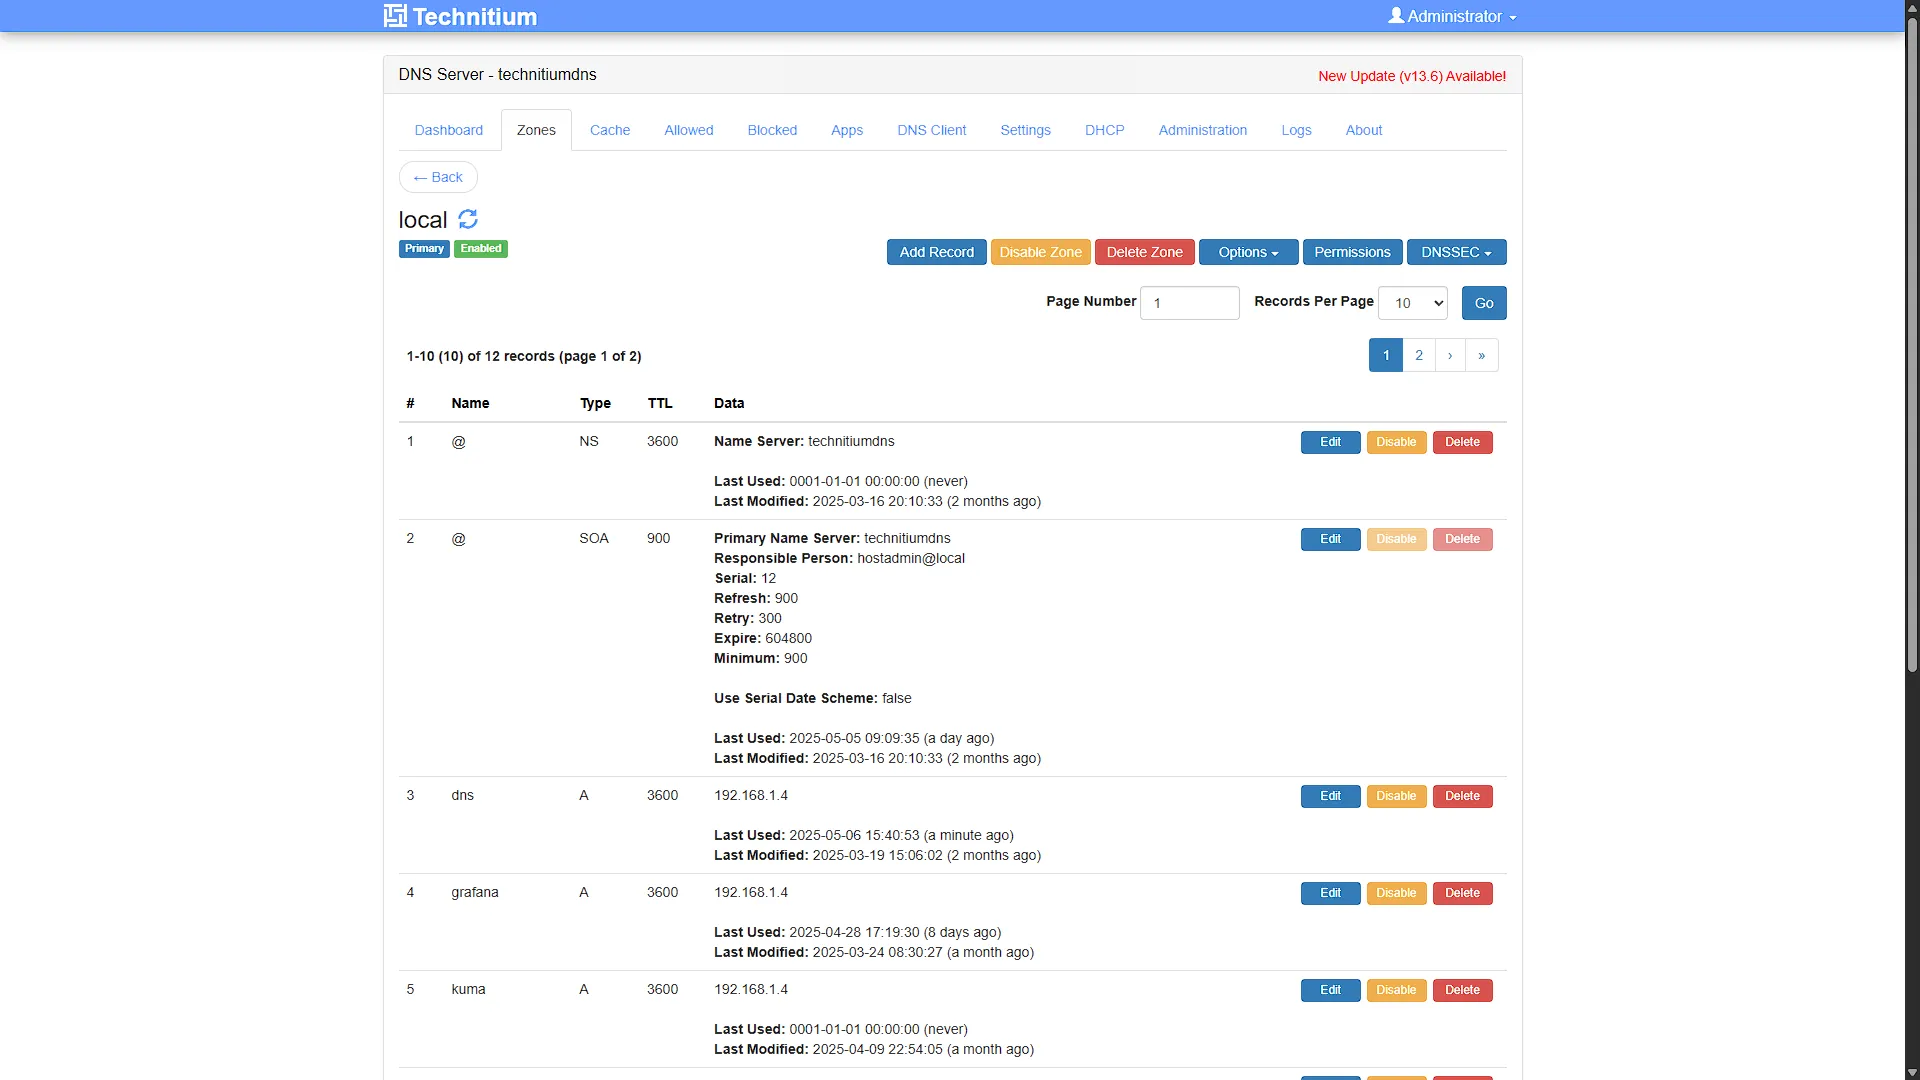
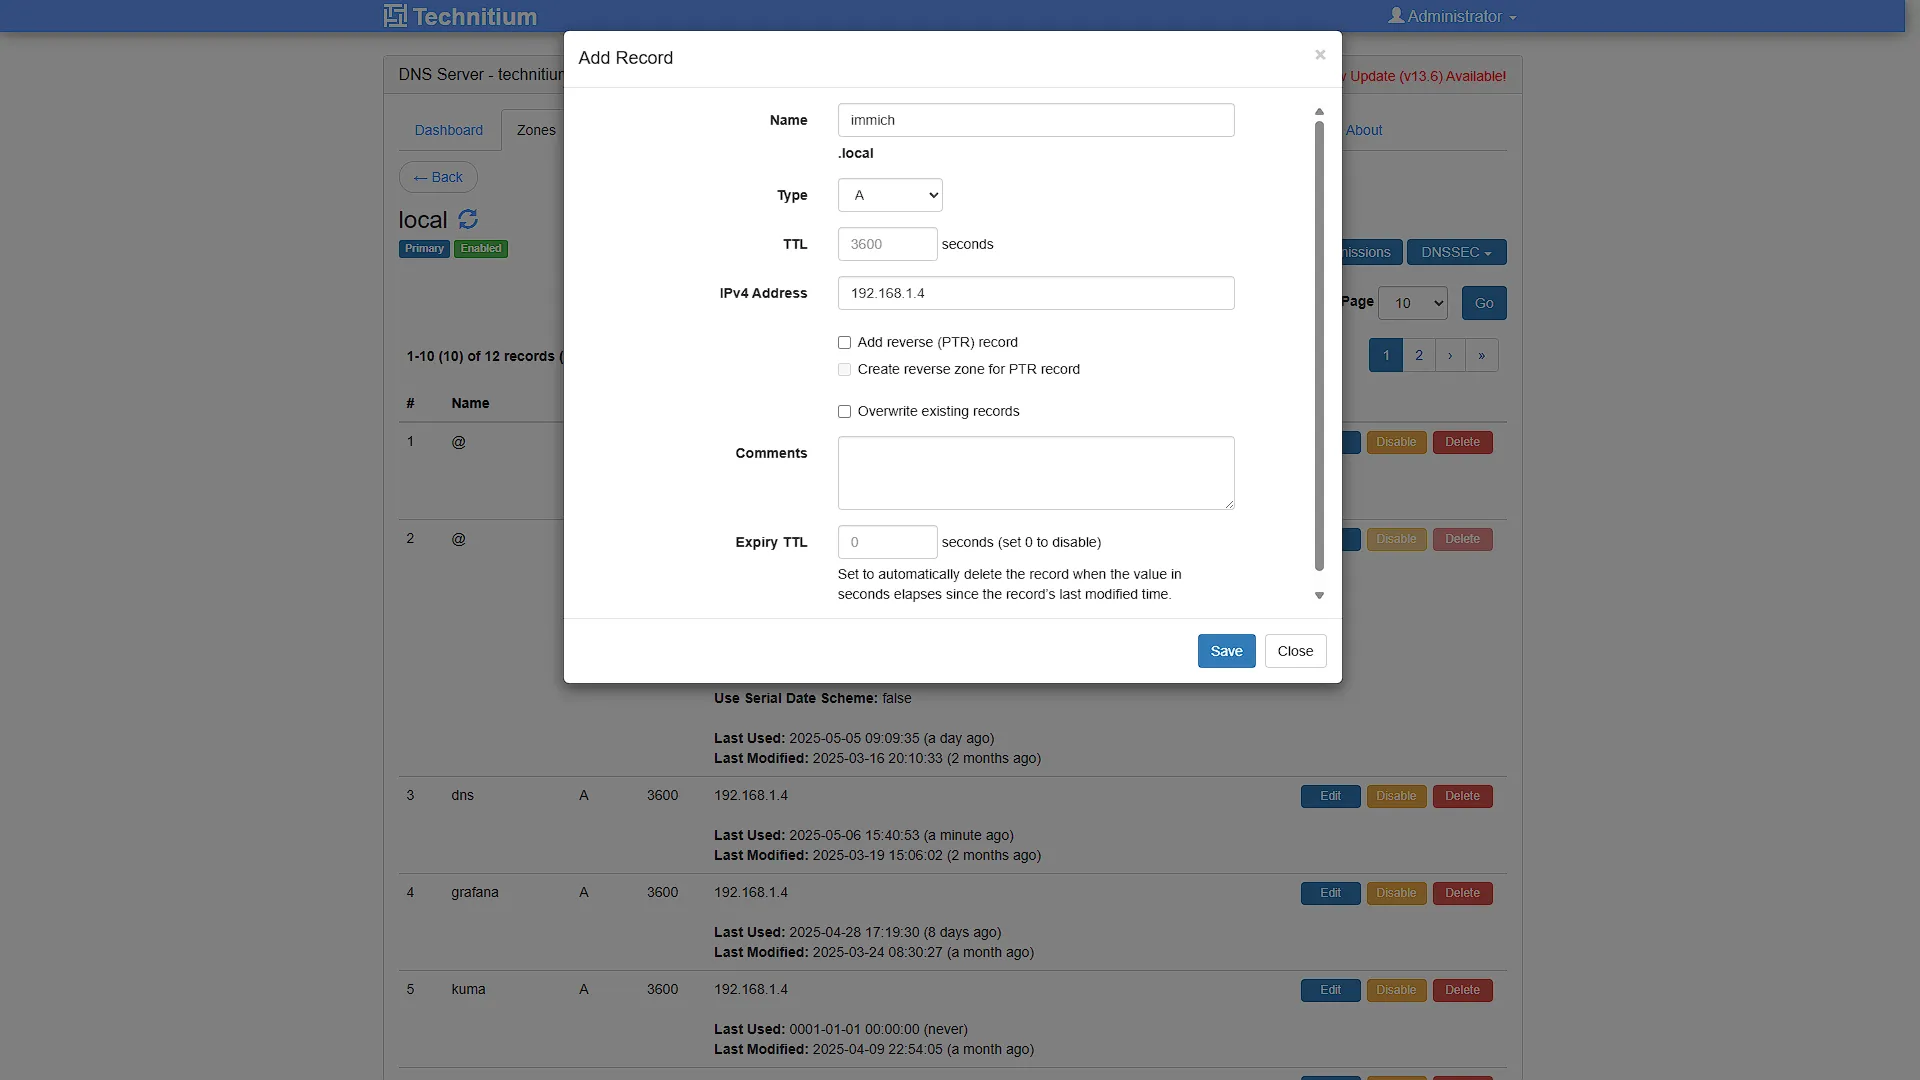
We have to configure our .local DNS entry so that we can use it. Access your local DNS server, as we installed and configured our Technitium DNS. After logging in, go to zones and select local (or create a new zone called local if it does not exist yet). Once in the zone, we need to add a new record, so click on  . In the NAME field, add
 immich so that this record is for immich.local. The type needs to be A. The IPv4 address is that of our nginx server, not the IP of the LXC running Immich.
If you also created an external nginx config, please make sure to purchase a custom domain if you haven't already done so, and also check out how to use a Dynamic DNS service for updates. Remember to also set up the subdomain, in our case immich.techdecode.online on your DNS server where your domain is purchased.
Step 3: SSL Certificate
Although this step is probably optional if you don't have an external DNS and nginx set up, if you are planning on accessing Immich from outside of your home network, this is no longer optional.
From your nginx server, ensure that Certbot is installed and run the command:
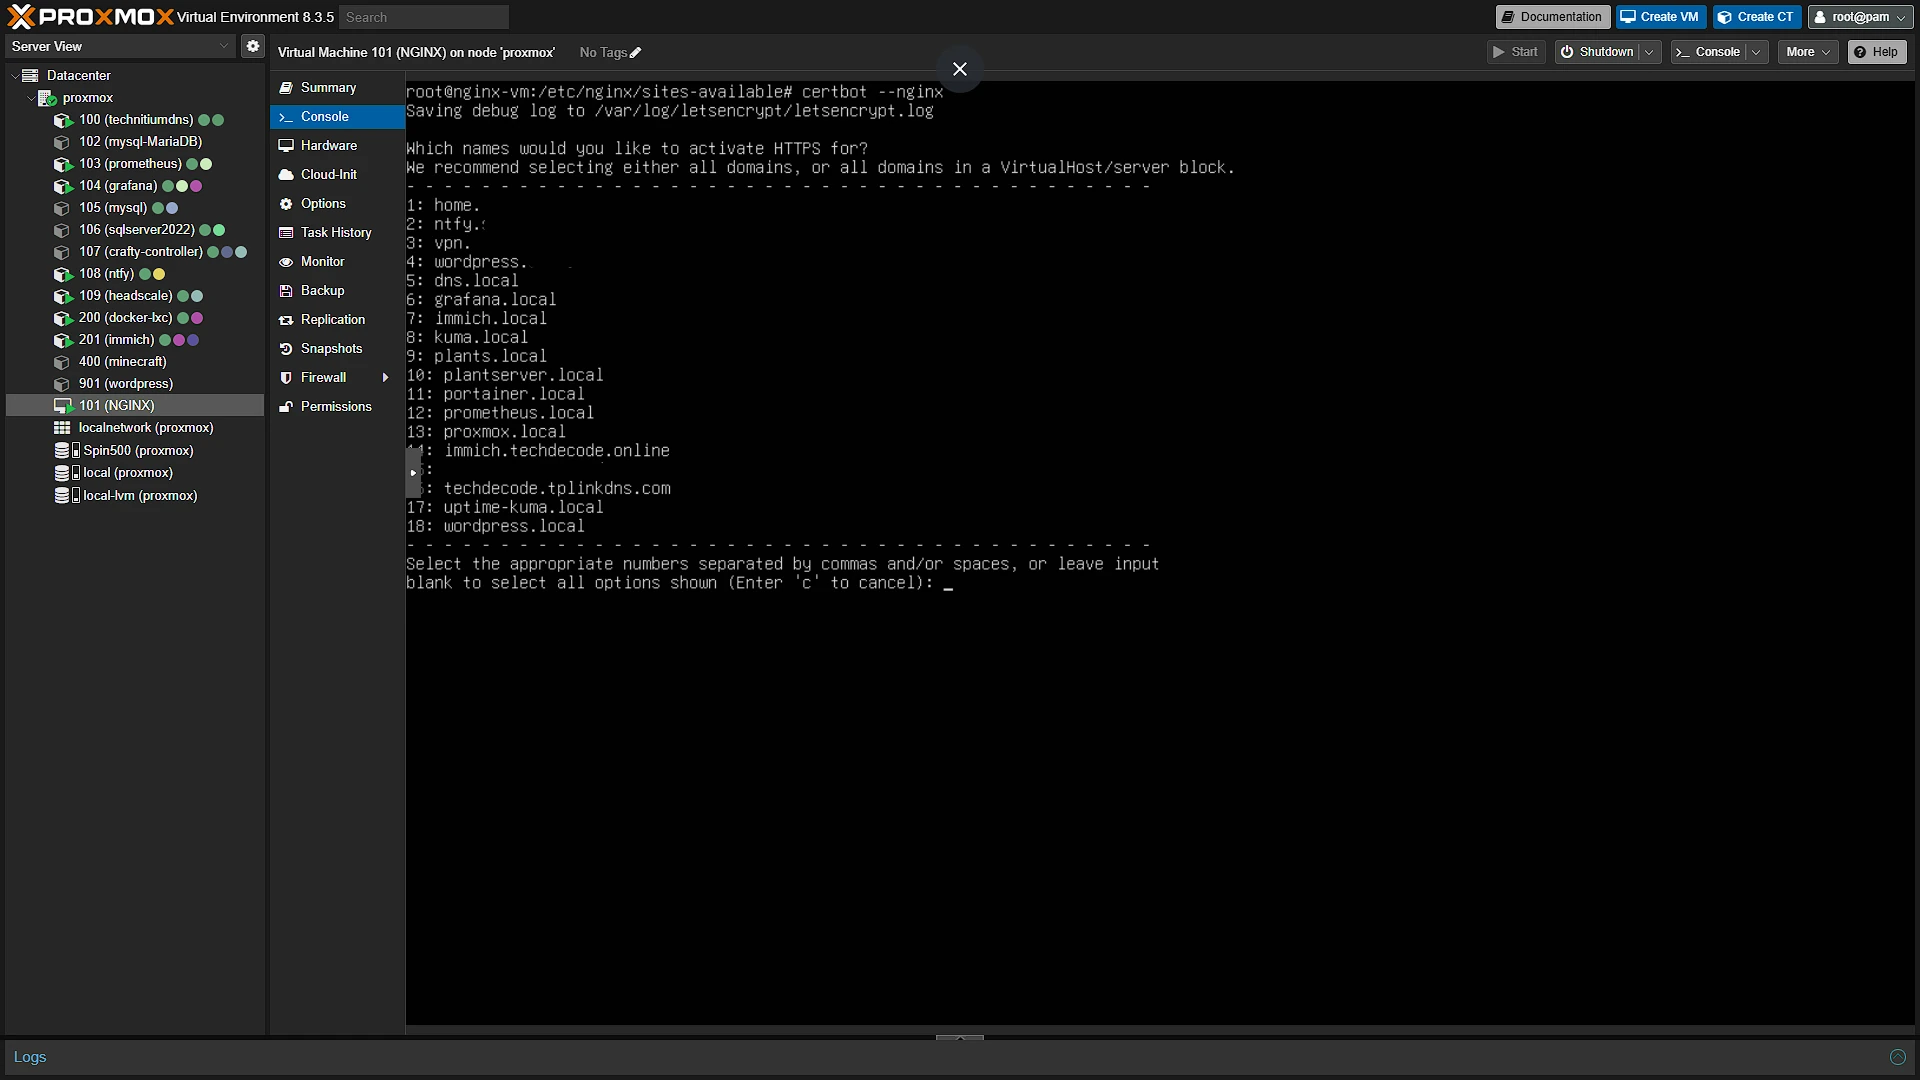
certbot --nginxSelect the option for your Immich URL, in our case it is immich.techdecode.online. The certificate will automatically be installed.
Step 4: Configure Immich
You can now access Immich either from the local address, like http://immich.local or from the outside URL which in our case is https://immich.techdecode.online. You can also install the mobile app:


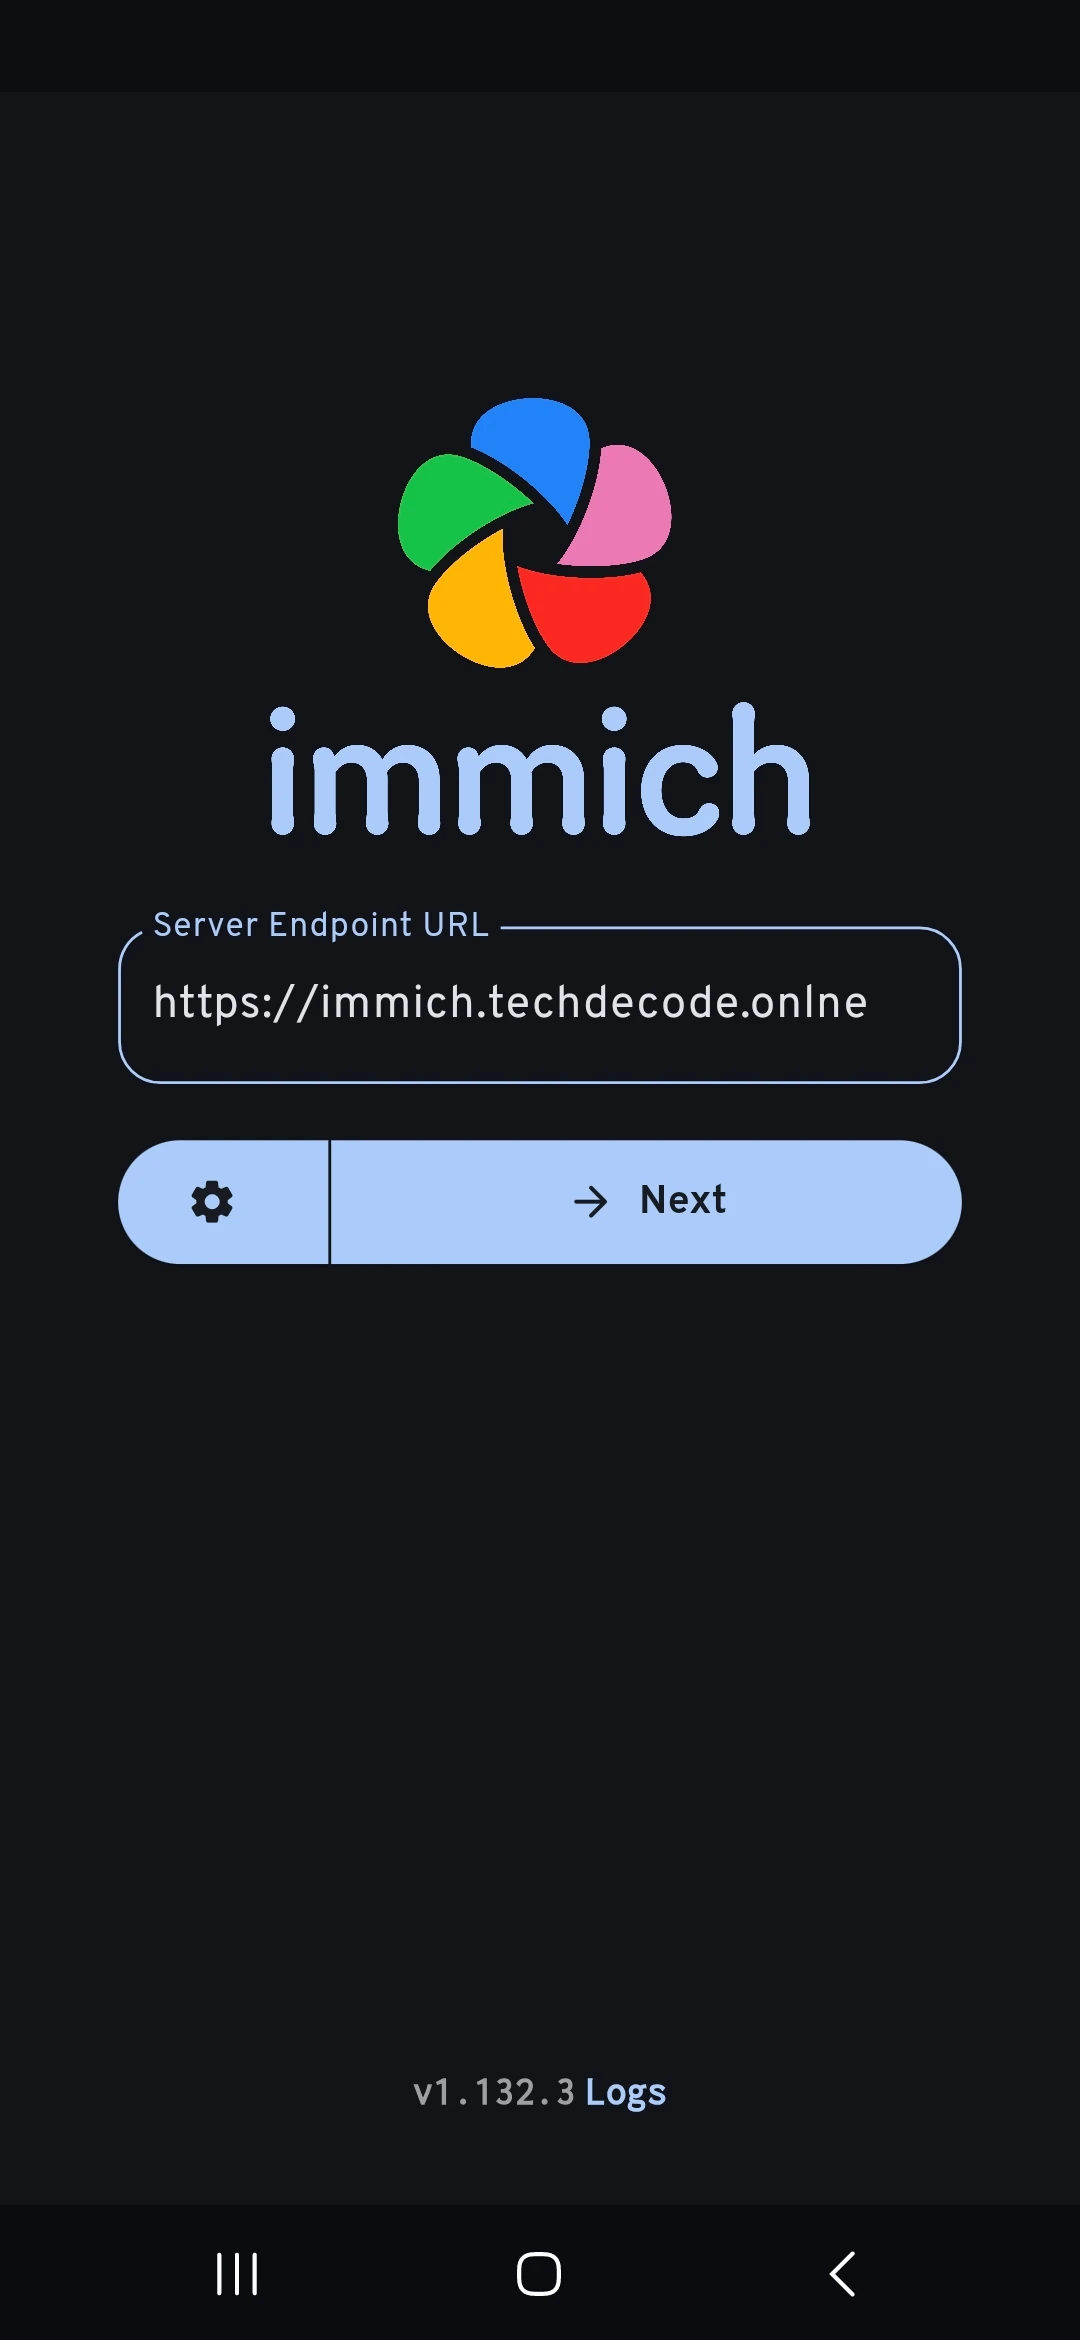
Just add the server URL and you are good to go.
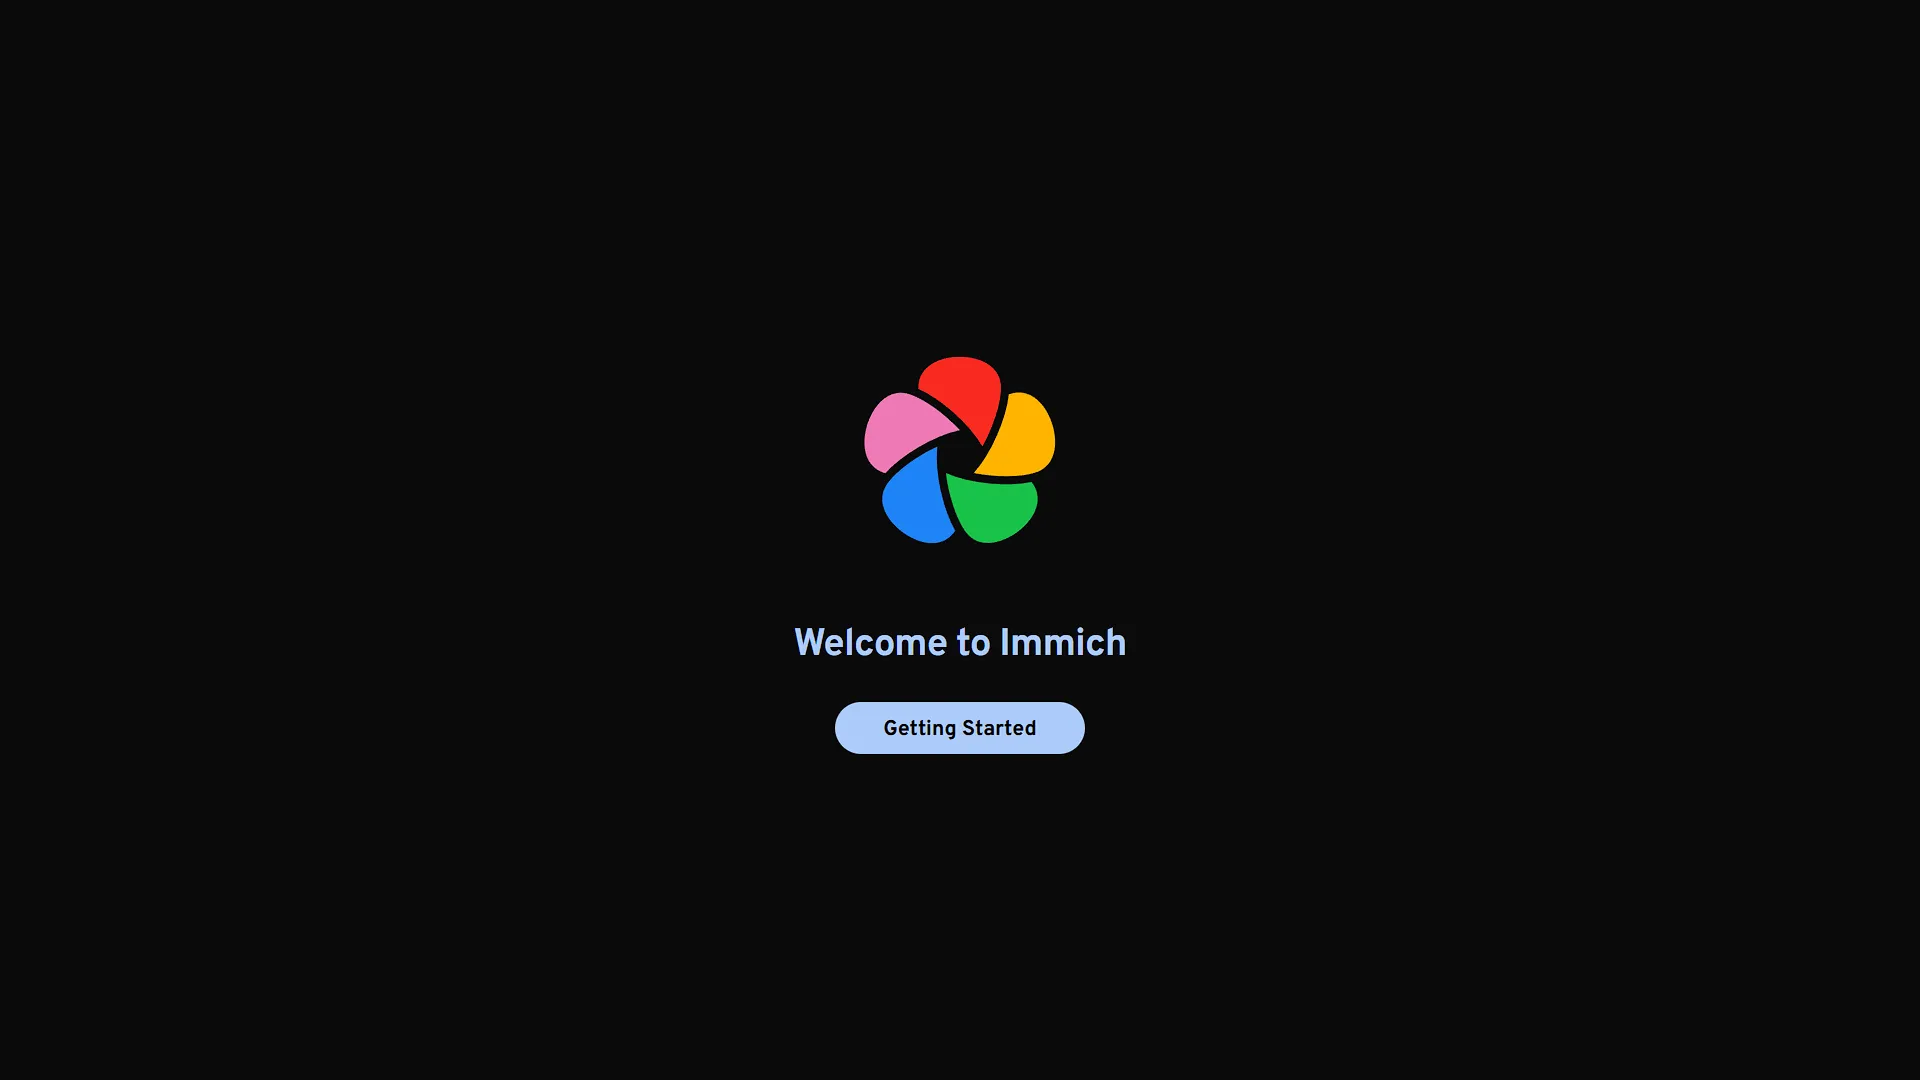
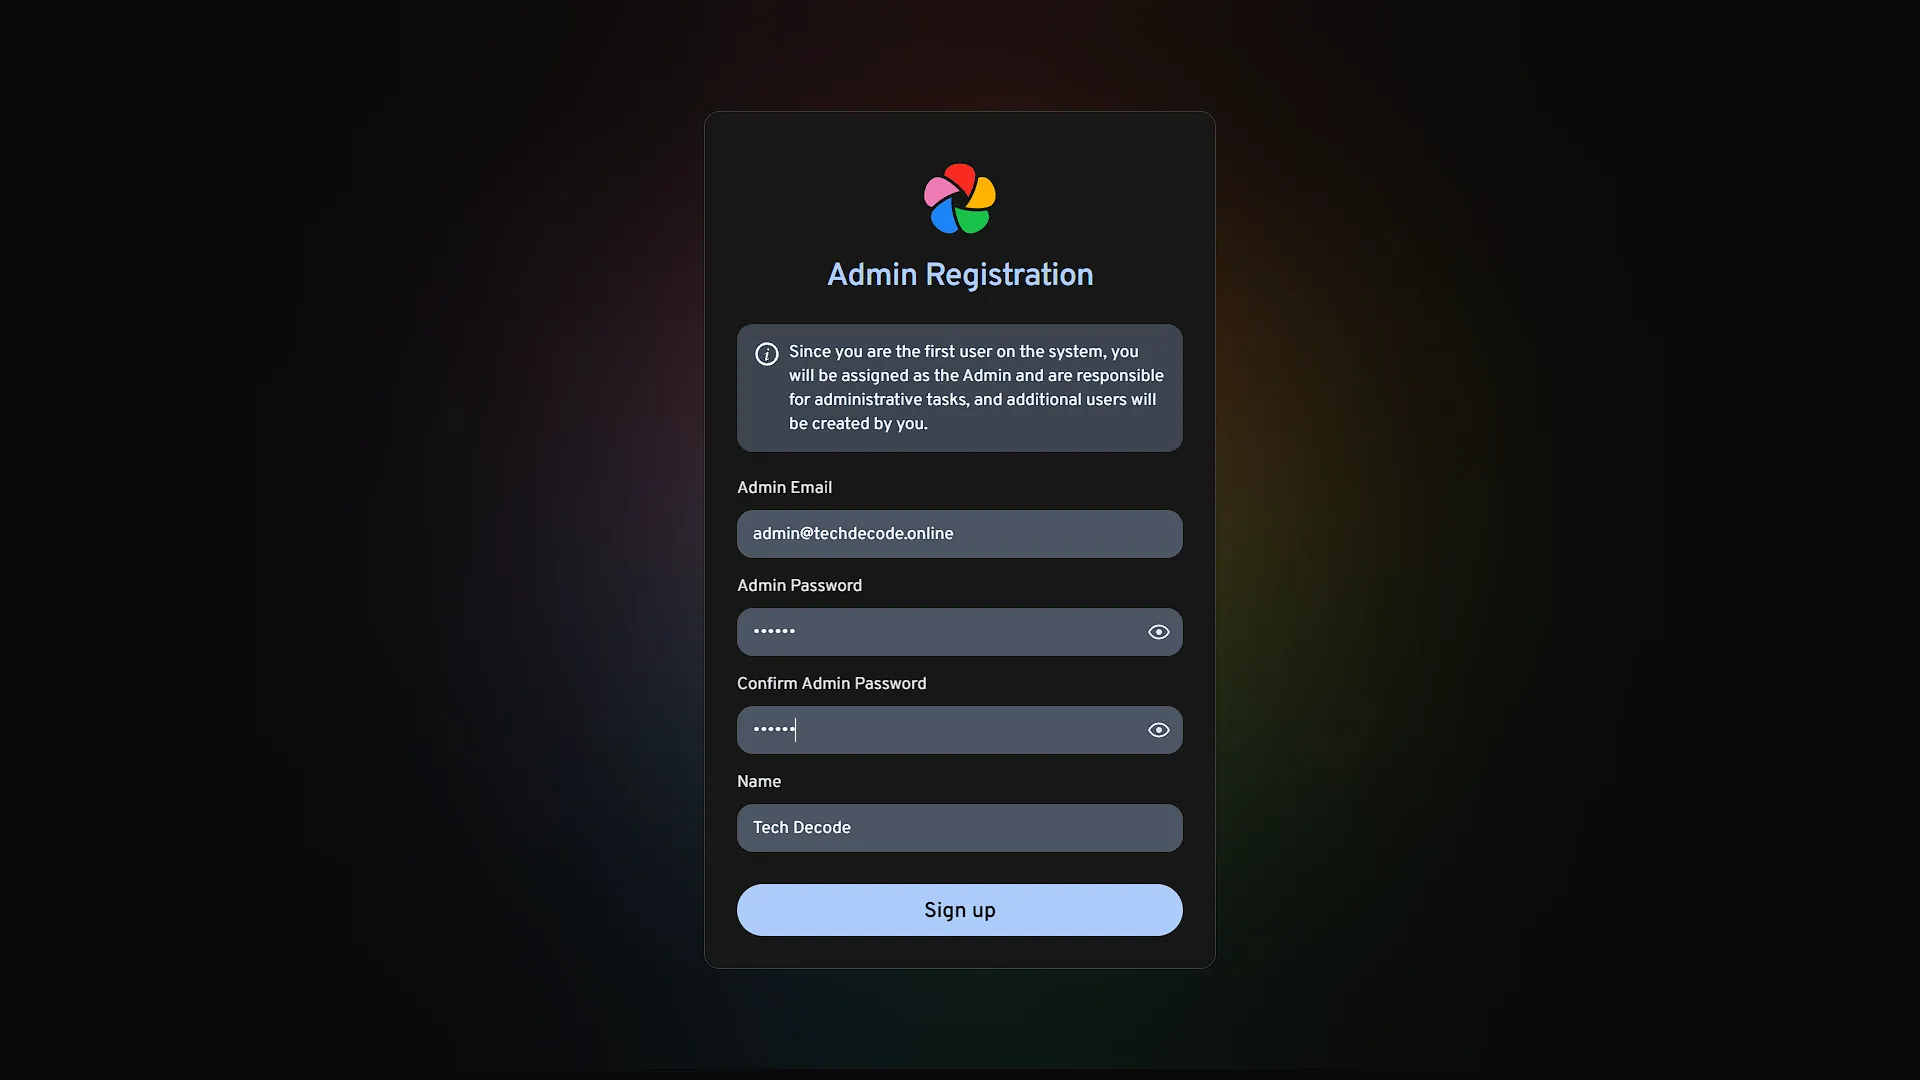
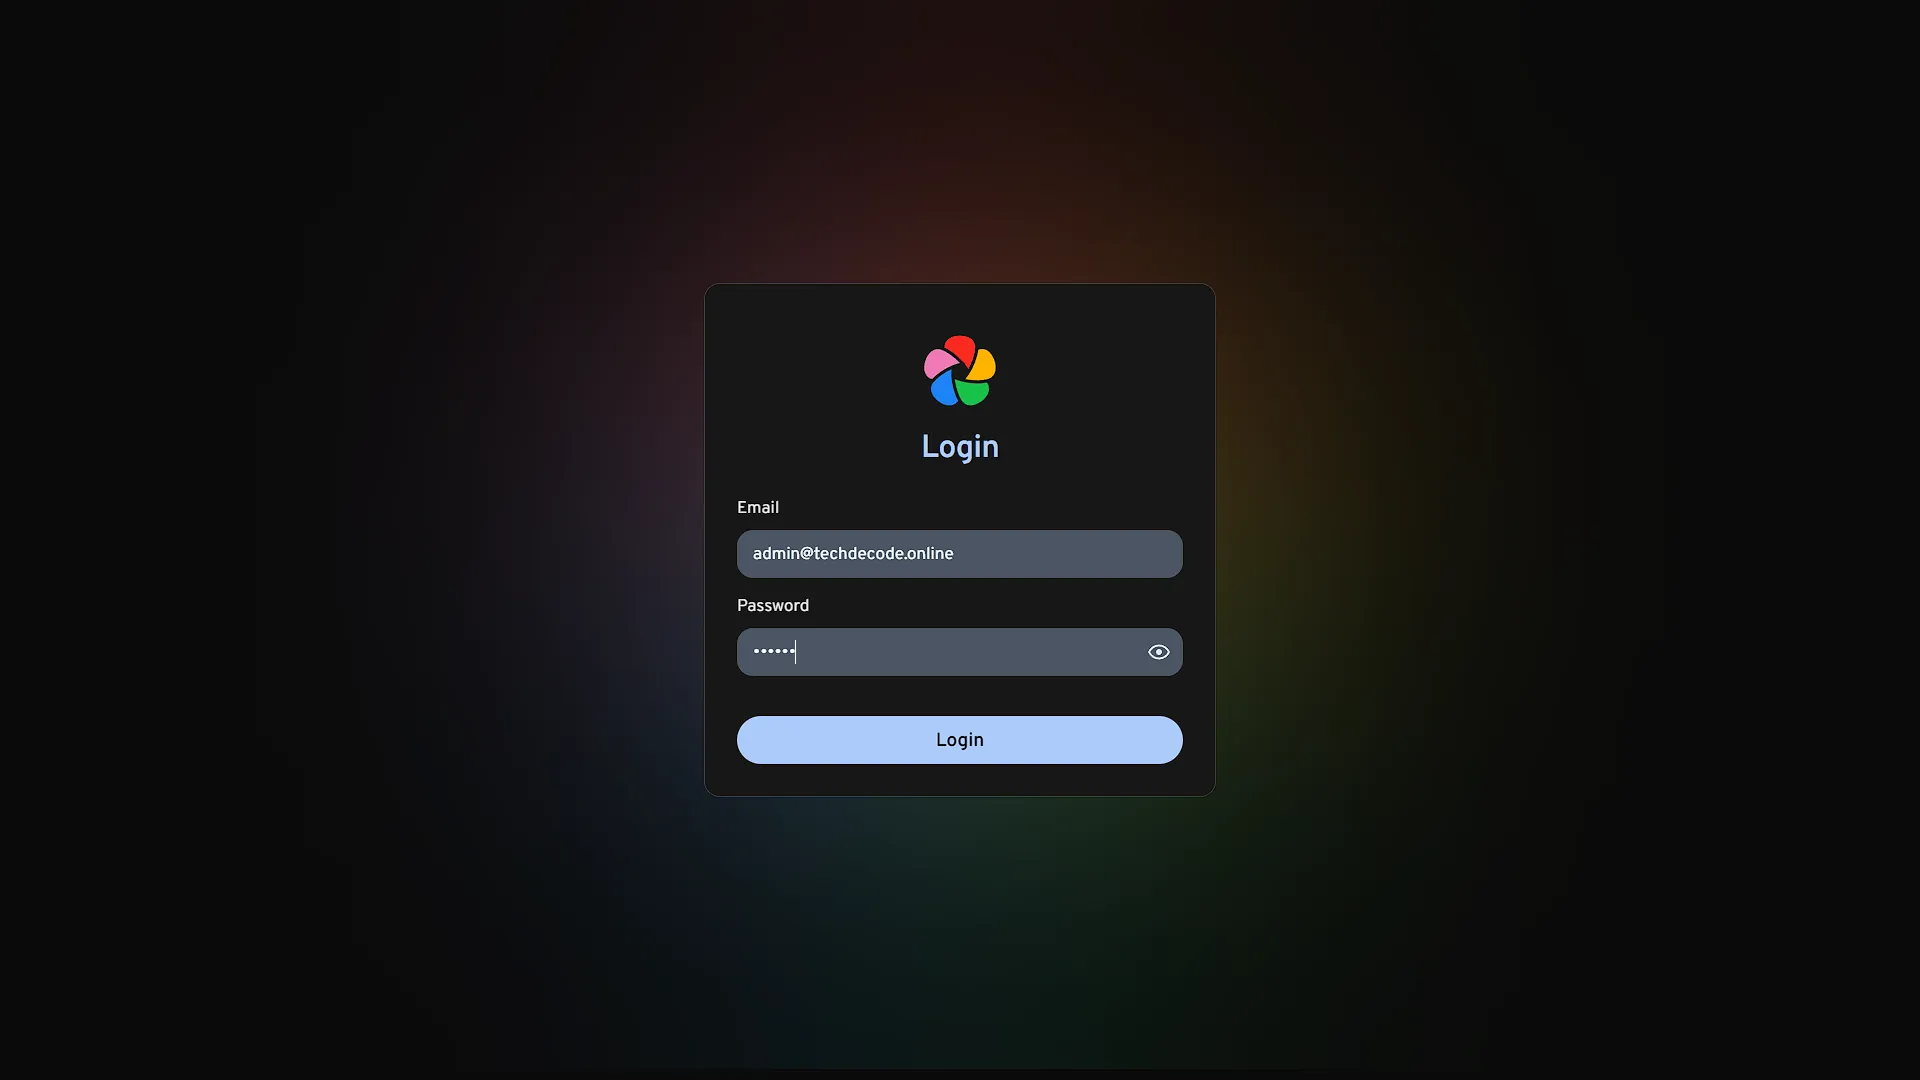
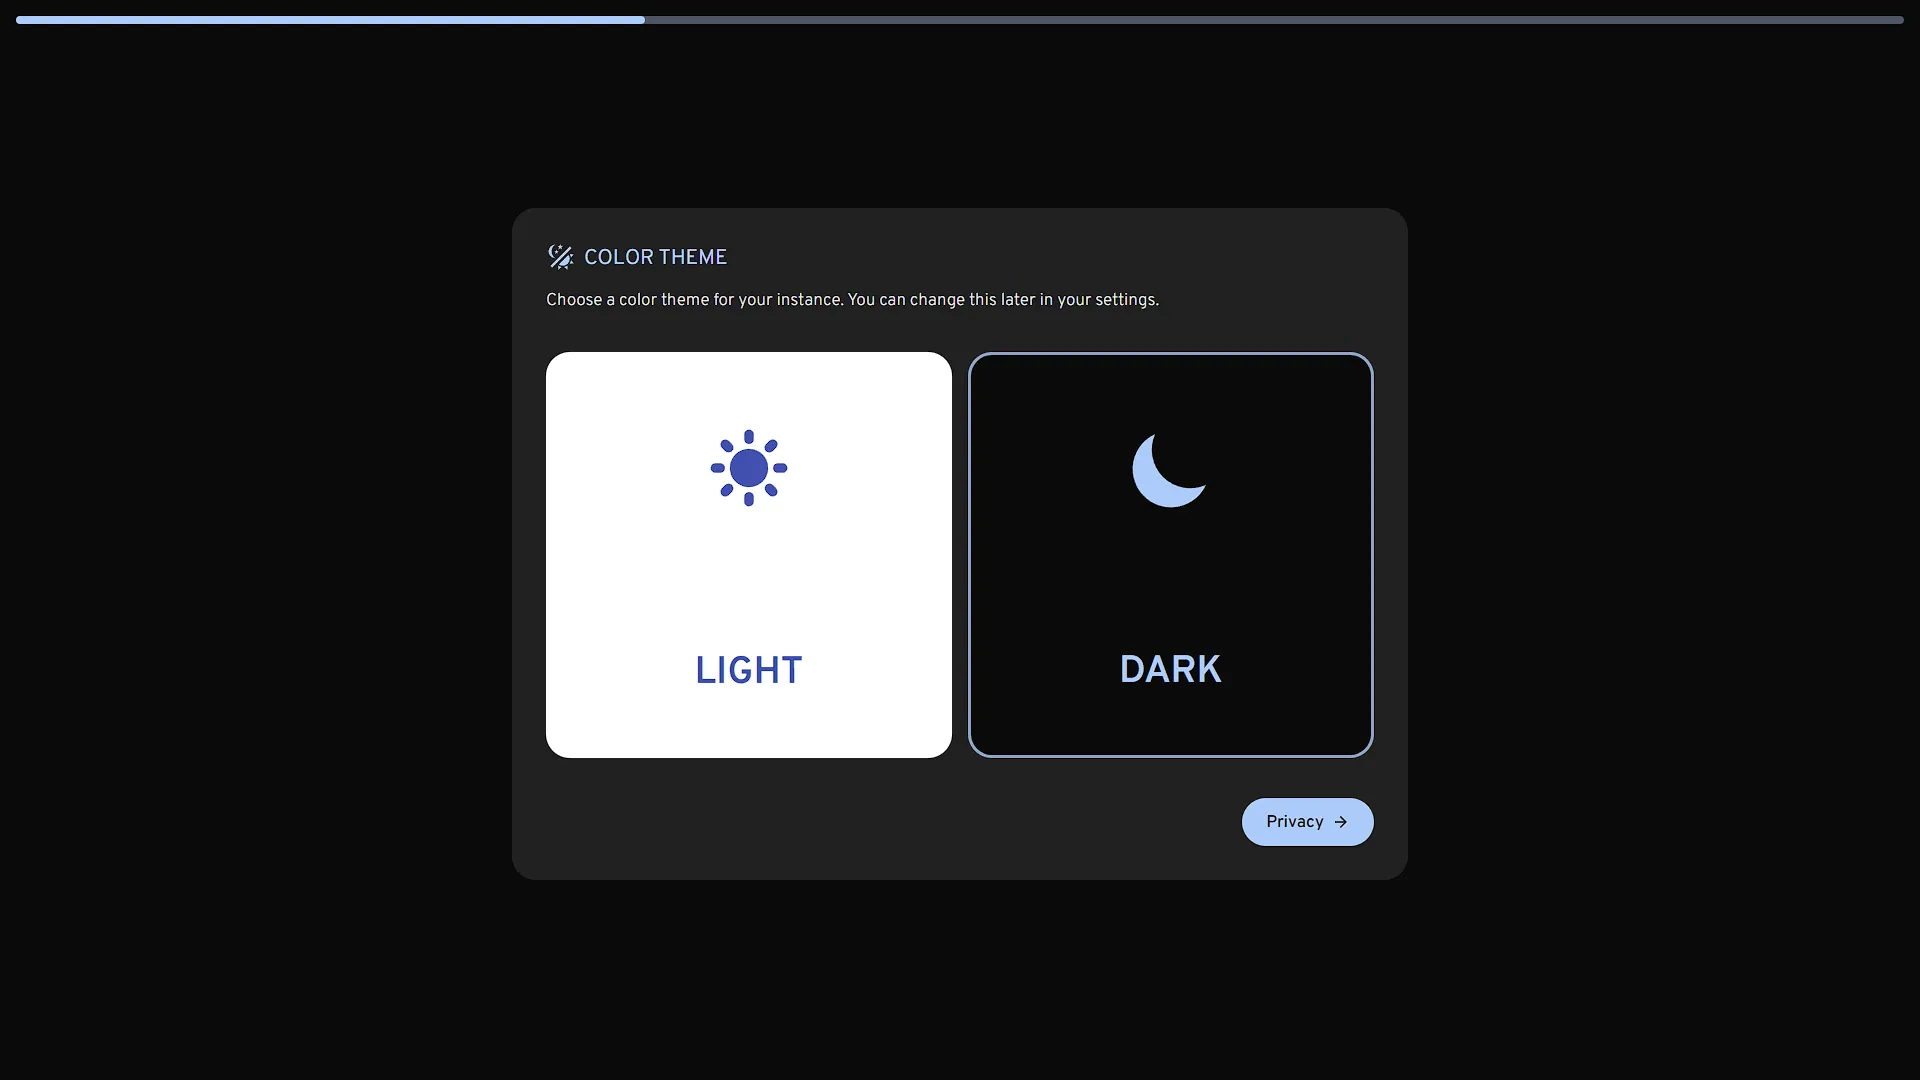
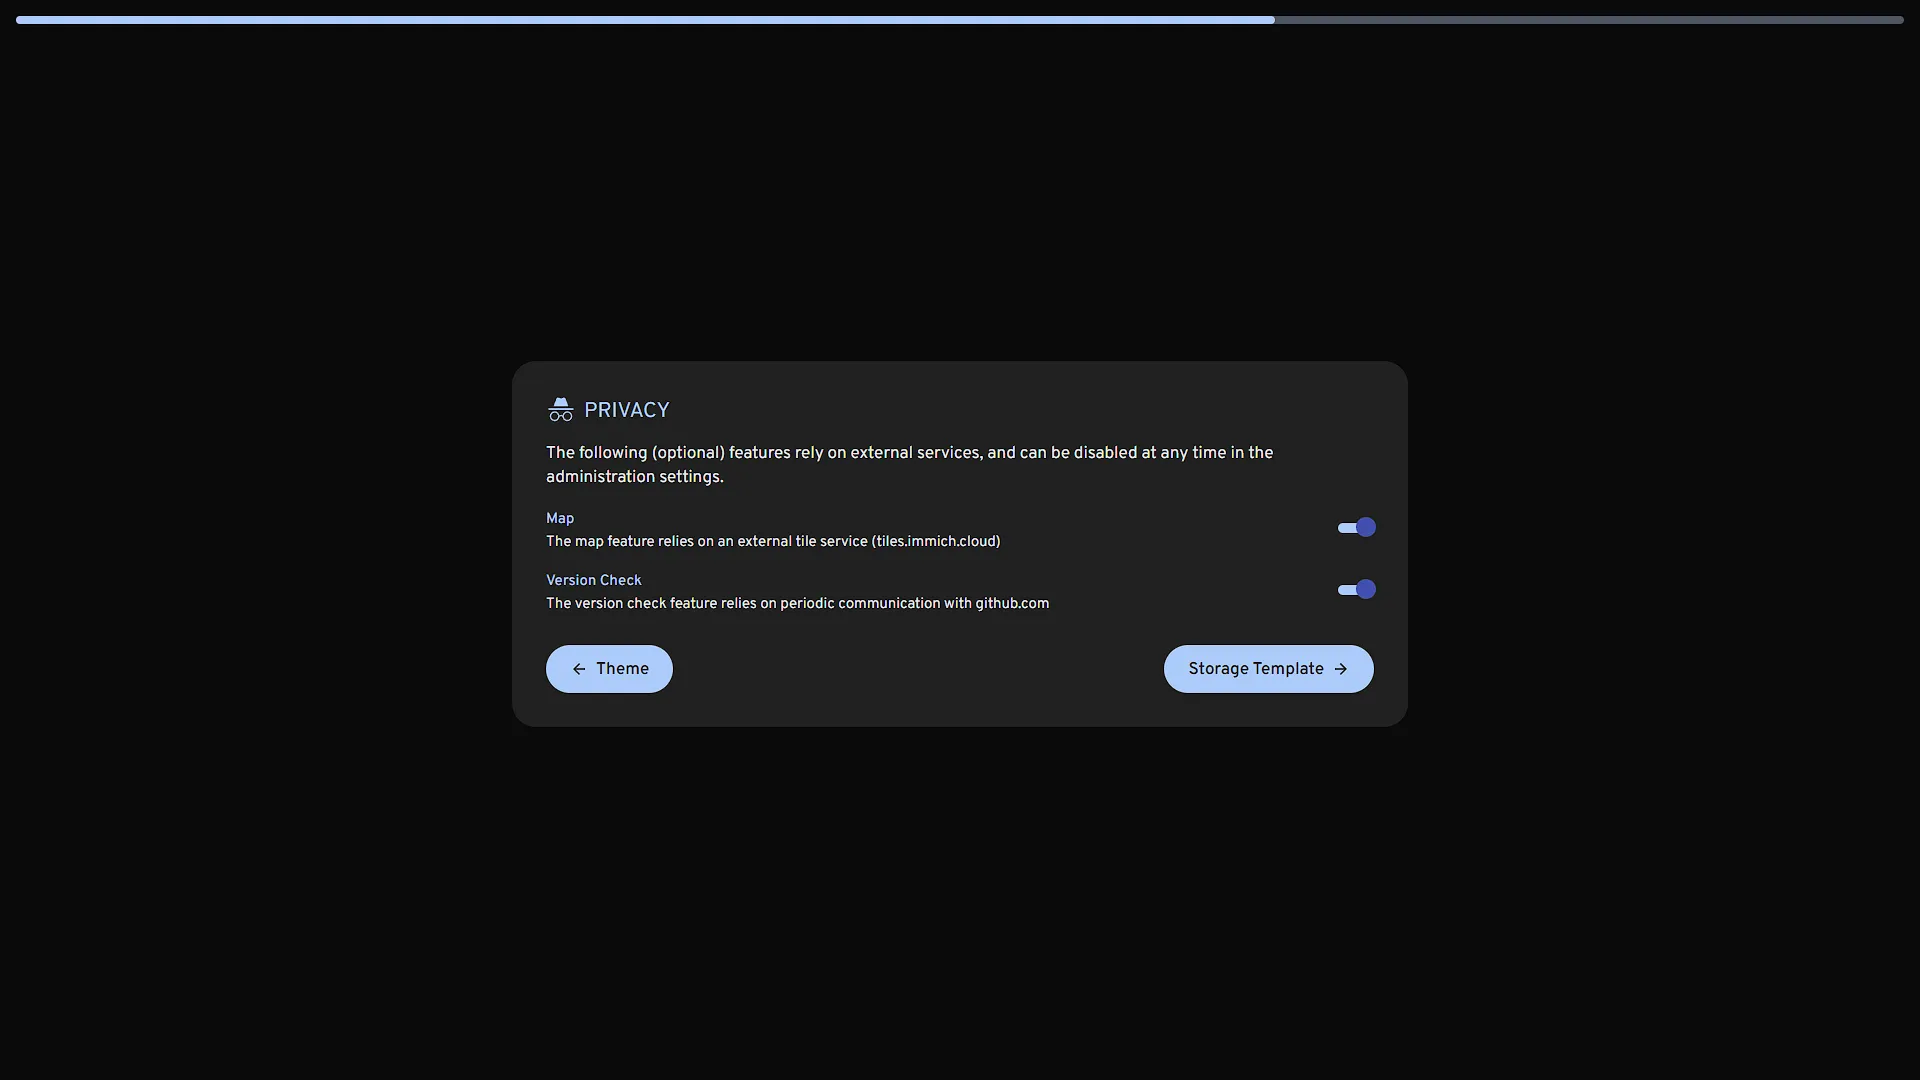
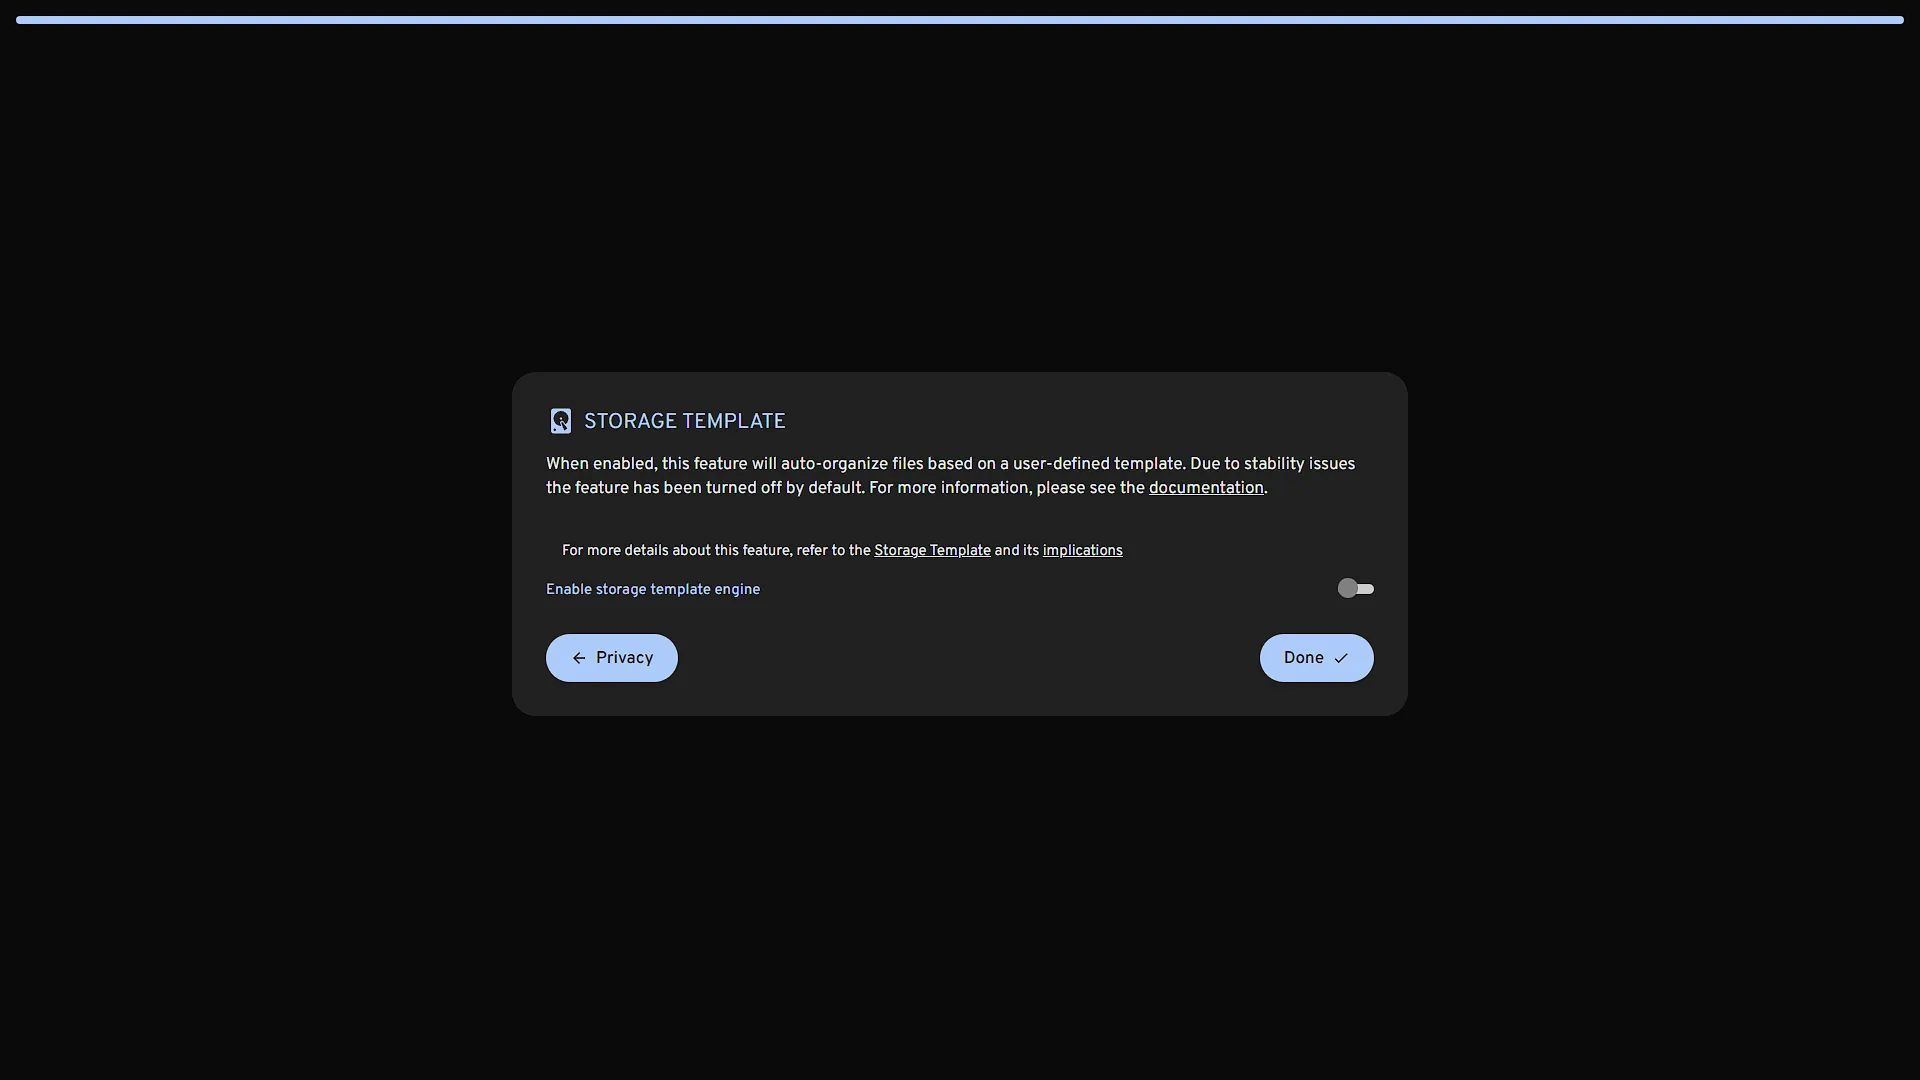
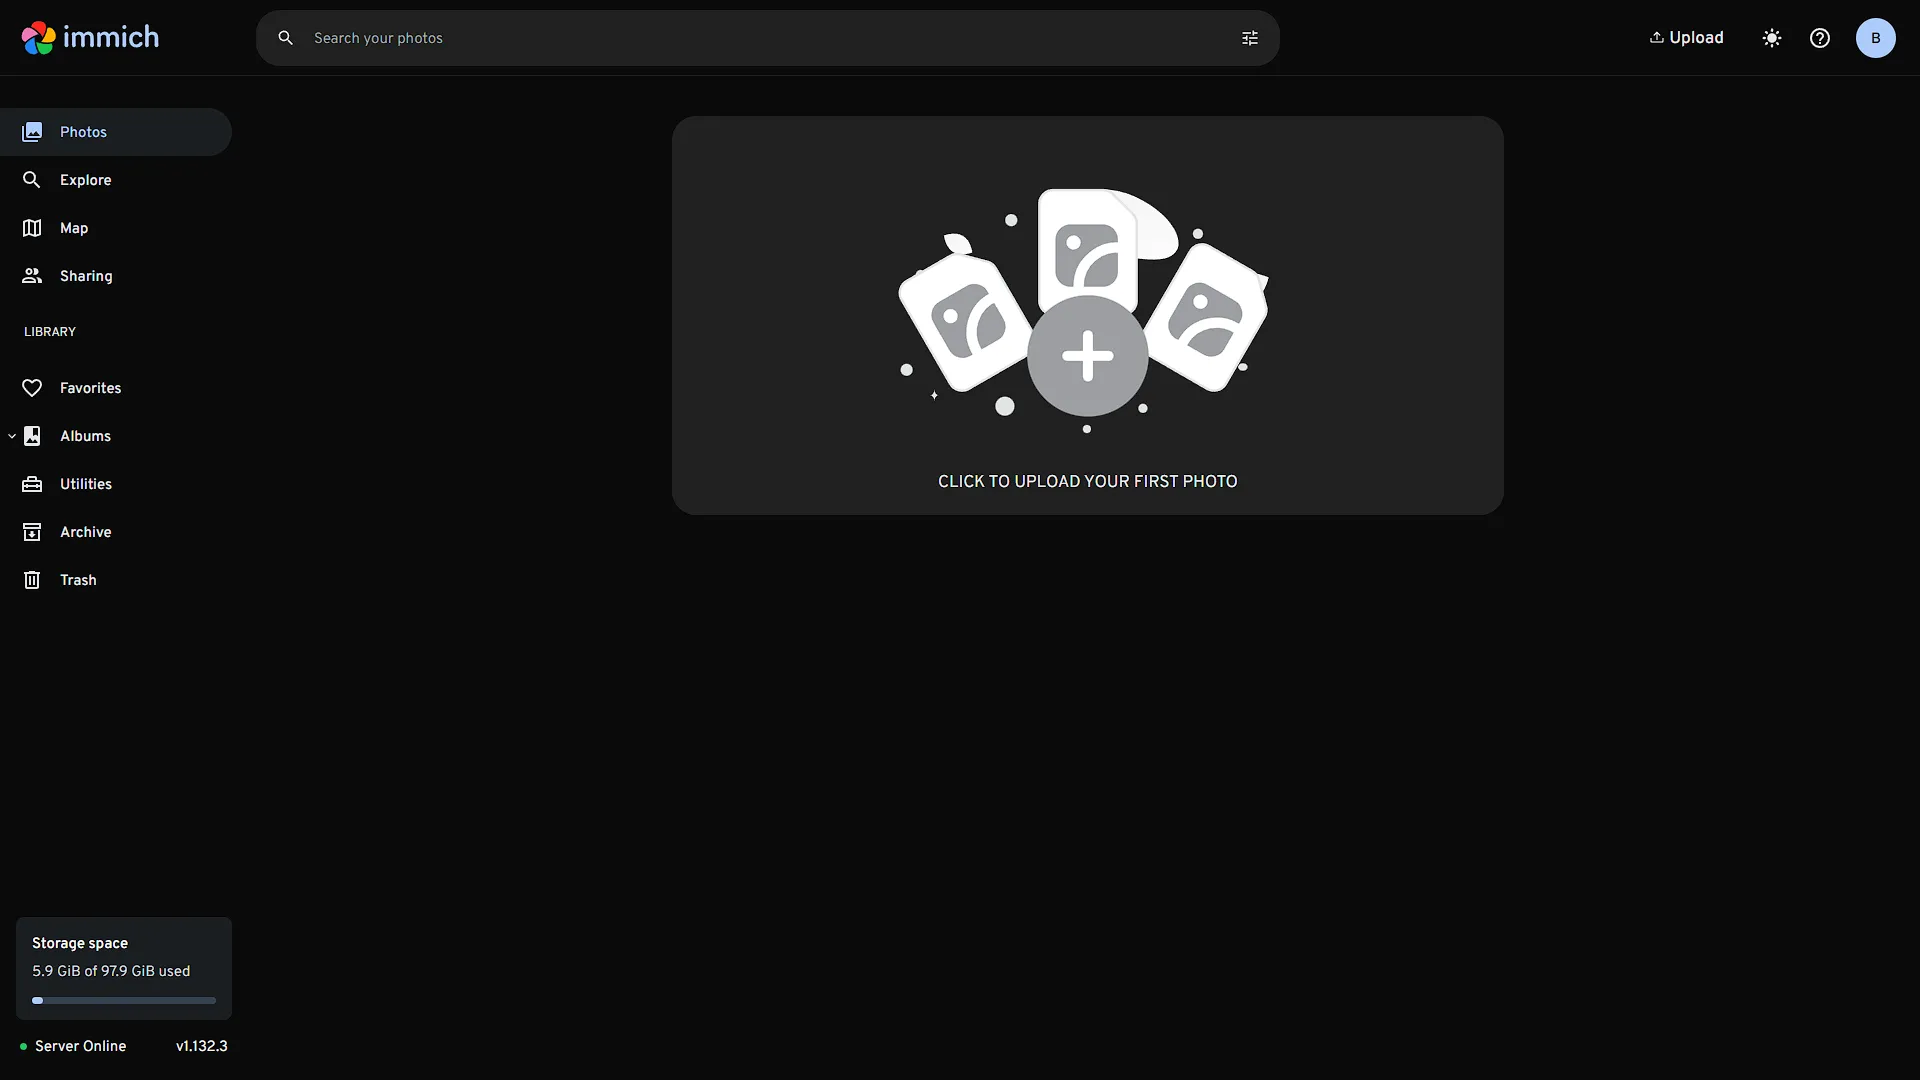
Whichever way you decide to access Immich, seeing as you are the first user, you will be asked to sign up as the main Admin user. Enter the details of your new account. Once signed up, you will be required to log in again. A quick setup, this time for your user only will commence and you will be ready to start using Immich.
Create a Second User
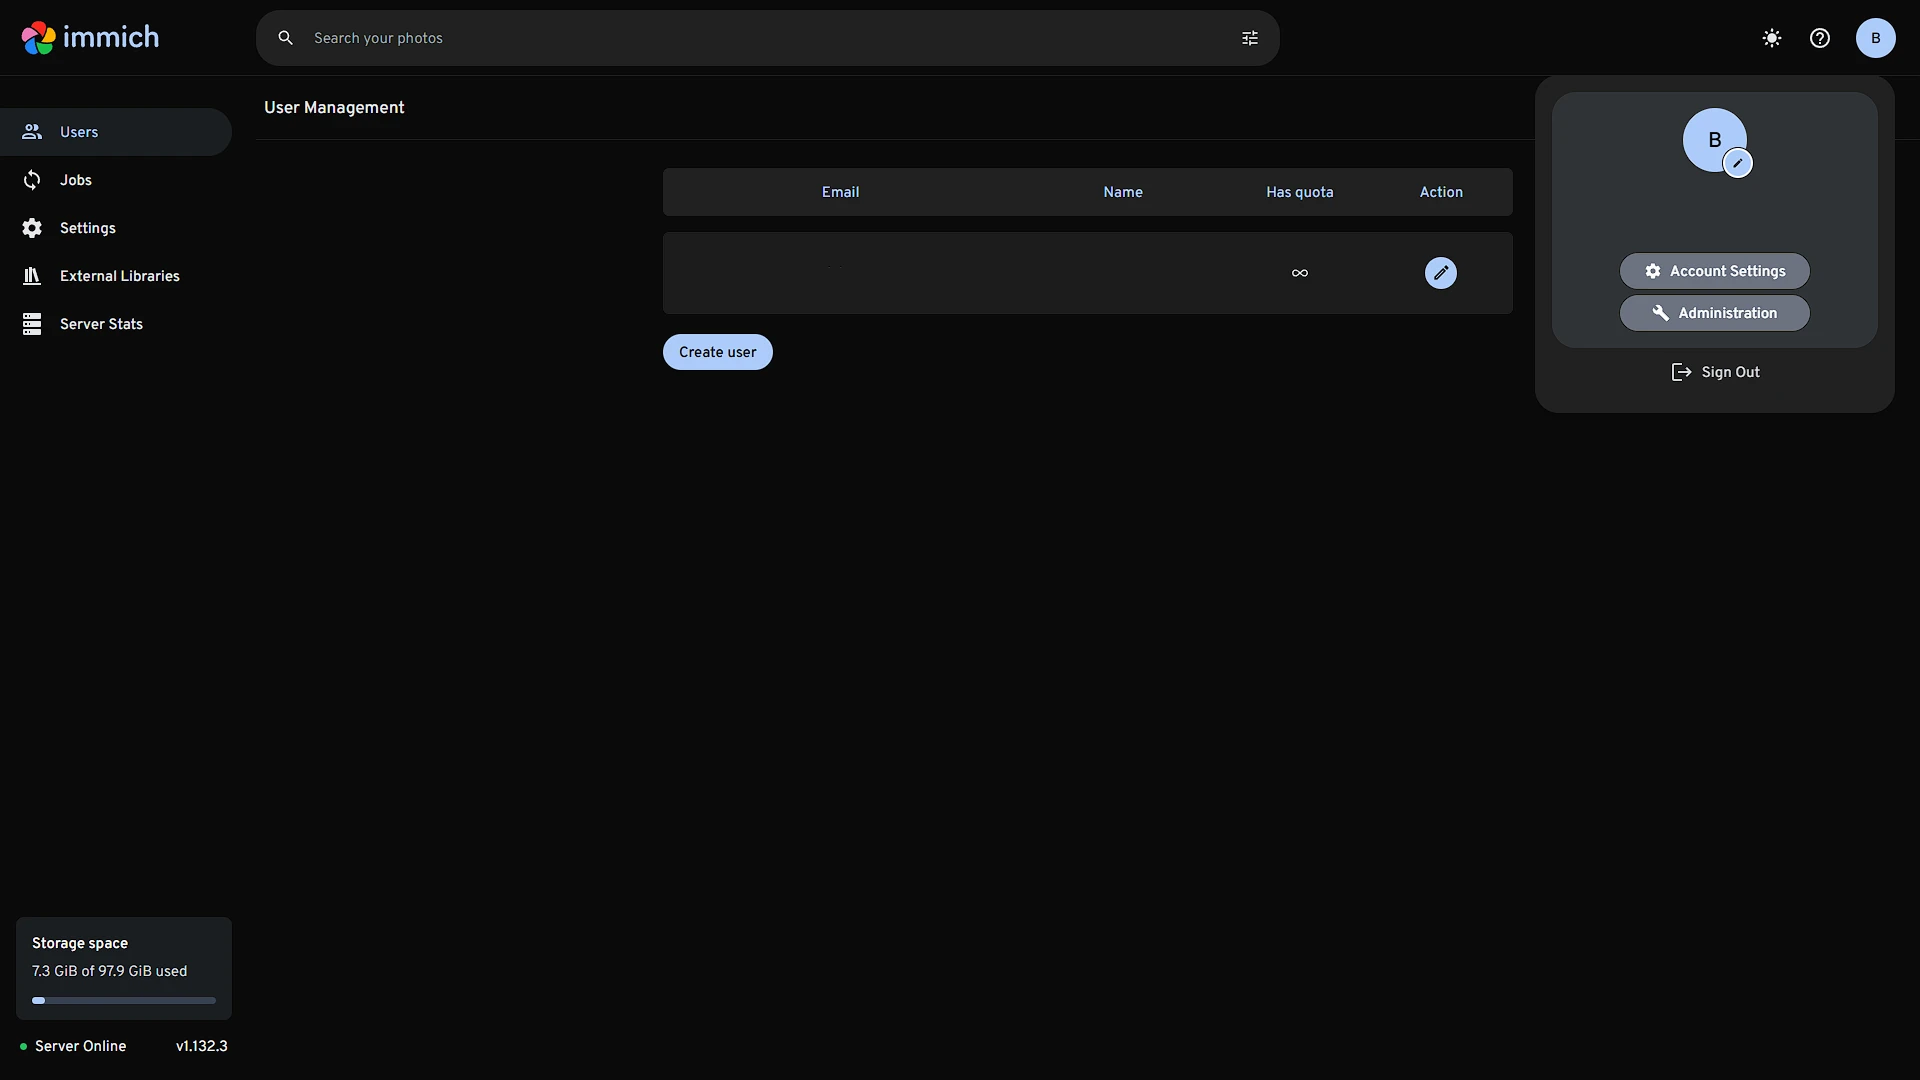
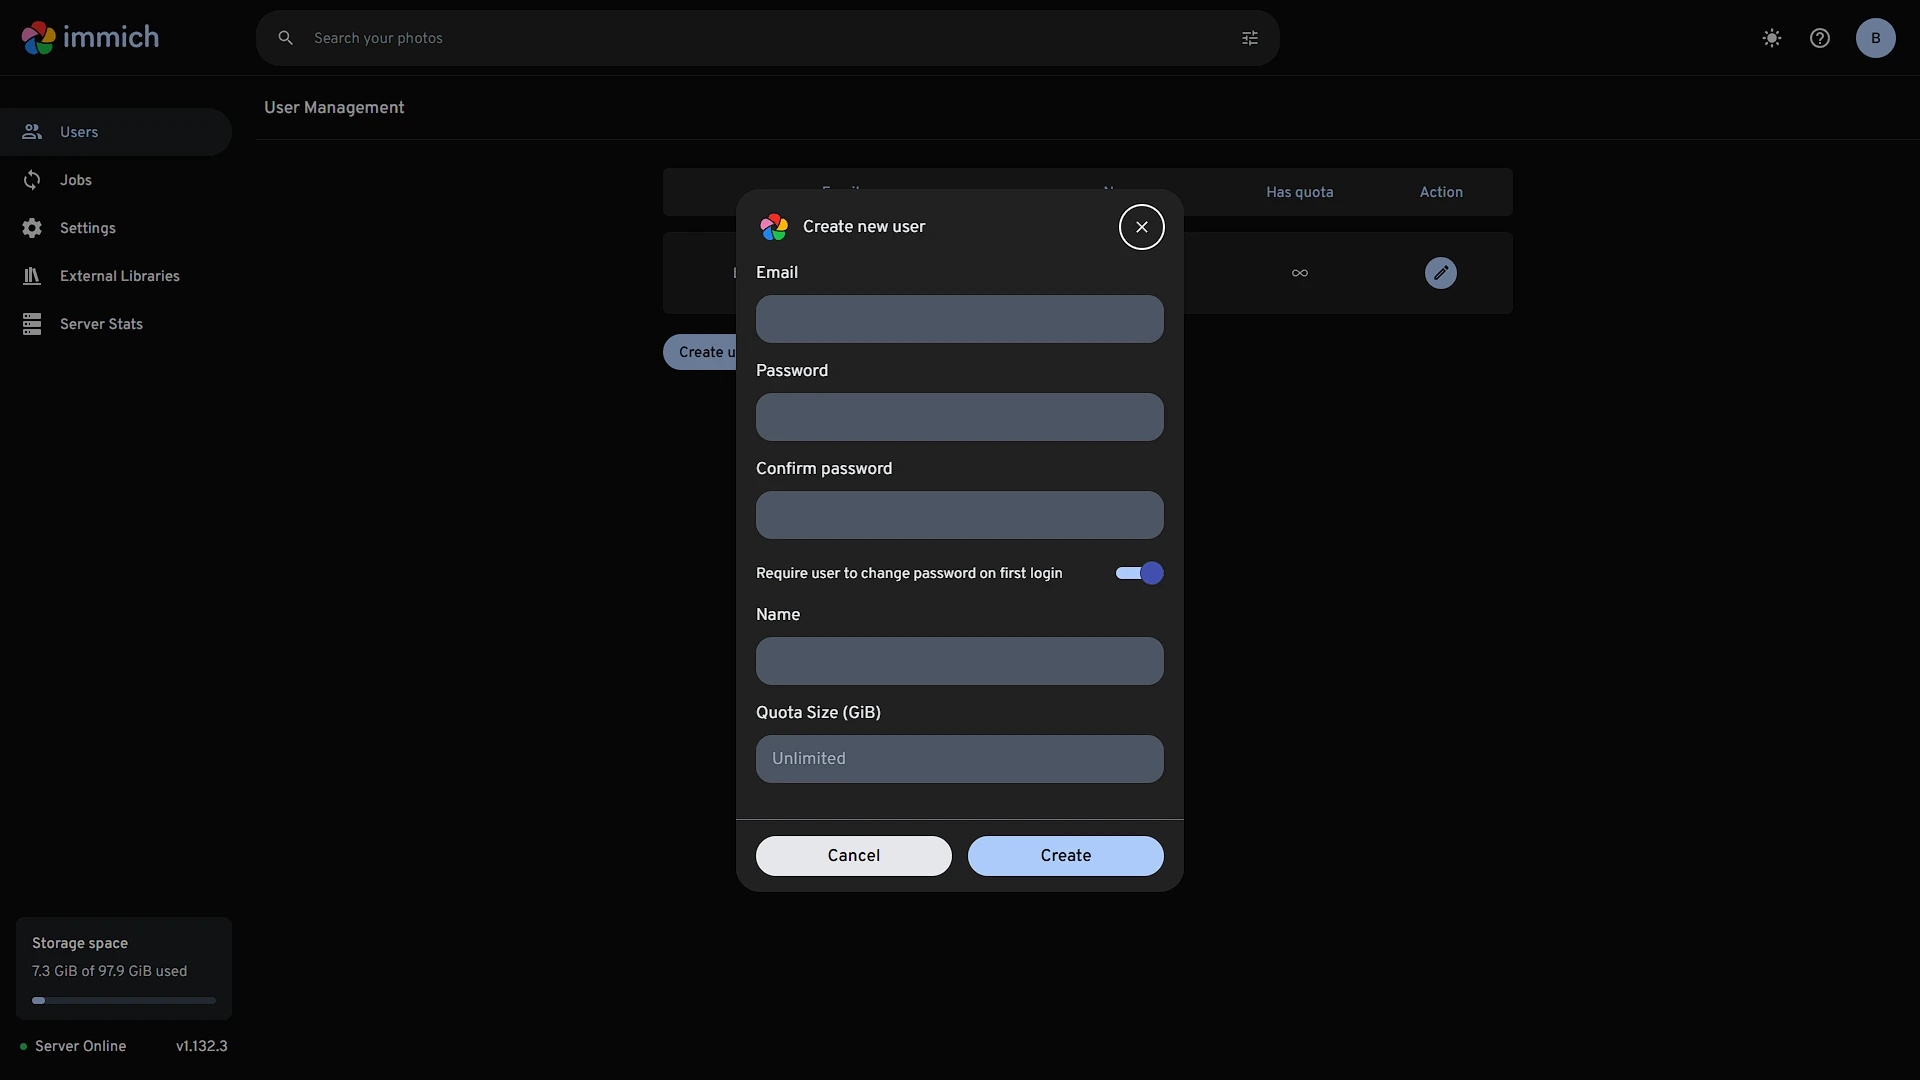
Some consider it good, others consider it bad, but only the Admin can create new users. This means we don't need to "lock down" user creation like we did with ntfy. To create a new user, click on the circle in the top right (your profile button) and select Administration. Here you will be able to create a new user (among other settings).
Optional After the Walkthrough: Upload, Storage and Client Checks
The original NGINX block uses 192.168.1.36:2283 and already sets client_max_body_size 50000M. Keep that upstream and the certificate configuration produced by Certbot. A competing TLS example with another hostname, .33 backend and no certificate paths would not be a correction to this demonstrated setup.
If an upload fails, inspect the effective configuration and error source. Another proxy may have a smaller limit, or the application may reject the request after NGINX accepts it. Do not assume the default NGINX 1 MB limit still applies to the explicit block above. A different finite limit is optional: choose it deliberately, preserve the required headers/timeouts and test normal photo and larger video uploads.
Storage templates are optional and depend on the installed Immich release. Use Immich's supported migration/job mechanism when changing existing asset organisation. Do not manually rearrange uploaded files in the managed storage tree: the database tracks their locations. Back up both media and database before running a job that moves existing files, and verify a sample download and album afterwards.
Phone connection options have changed across releases. If your compatible mobile app offers local/public URL switching, configure the actual local http://192.168.1.36:2283 address and the public HTTPS hostname, then test on Wi-Fi and on mobile data. This option is not present identically in every app version and is not a guarantee of faster uploads. A consistently reachable public hostname with internal DNS is another topology choice.
Keep separate user accounts as demonstrated, then test that each sees the intended assets. A working web login is not the same as a completed mobile backup. Select the intended albums, upload a small test item, confirm it appears server-side and check the app's reported backup state before removing any original copy.
Further reading: Immich reverse proxy, Immich storage template.
Conclusion
That is all there is to it. We can now use Immich to back up all our mobile phone's photos and videos to our Homelab. We have secured the connection for outside connections and can use it from our phone anywhere we want.