Now that we have successfully installed a VM with Turnkey Linux's Nextcloud, we can get it set up. While the helper scripts simplified the process, the installation itself presented a workflow notably different from the stock-standard VM (or LXC) deployments we typically handle in our Proxmox environment. However, Nextcloud is a fantastic solution to back up our photos from our mobile phone, but also to back up a lot more and also provide extra functionalities. When comparing Nextcloud directly with specialized photo backup solutions like Immich for mobile photos alone, Nextcloud might initially seem to have fewer dedicated features. However, this perception changes as we begin to explore the broader range of functionalities Nextcloud offers.
Step 1: Server side configuration
Once the boot order has been updated in Proxmox, we can start the VM again. If Proxmox is not already open in a new window, open it and log in. From the left navigation pane, expand Datacenter and then expand the Proxmox node that contains Nextcloud. Select the Nextcloud VM and select  . If the VM has not been started, do so now. You will go through password screens asking you for a password, and then to confirm the password for
 root (which is the server's administrator account), then adminer (the helper service that gets installed with all Turnkey installs) and lastly a password for the Nextcloud admin user. Following the password setups, you'll be prompted for the server address. Use its local network IP address. In our example, this is
192.168.1.37You'll then be prompted for a Turnkey services API key; we'll skip this for now as it's not essential for basic functionality. Similarly, when asked about receiving notifications, we'll also skip this step to streamline the initial setup, though you can configure these options later. The next important screen will prompt if we want to install security updates. It is always a good idea to do so, so we are going to continue installing it.
Once the updates are installed, a reboot is necessary. After rebooting, the system will display details of the server's services, crucially showing the web access addresses for Nextcloud under the 'web' section:
http://192.168.1.37
https://192.168.1.37
Step 2: Access Nextcloud
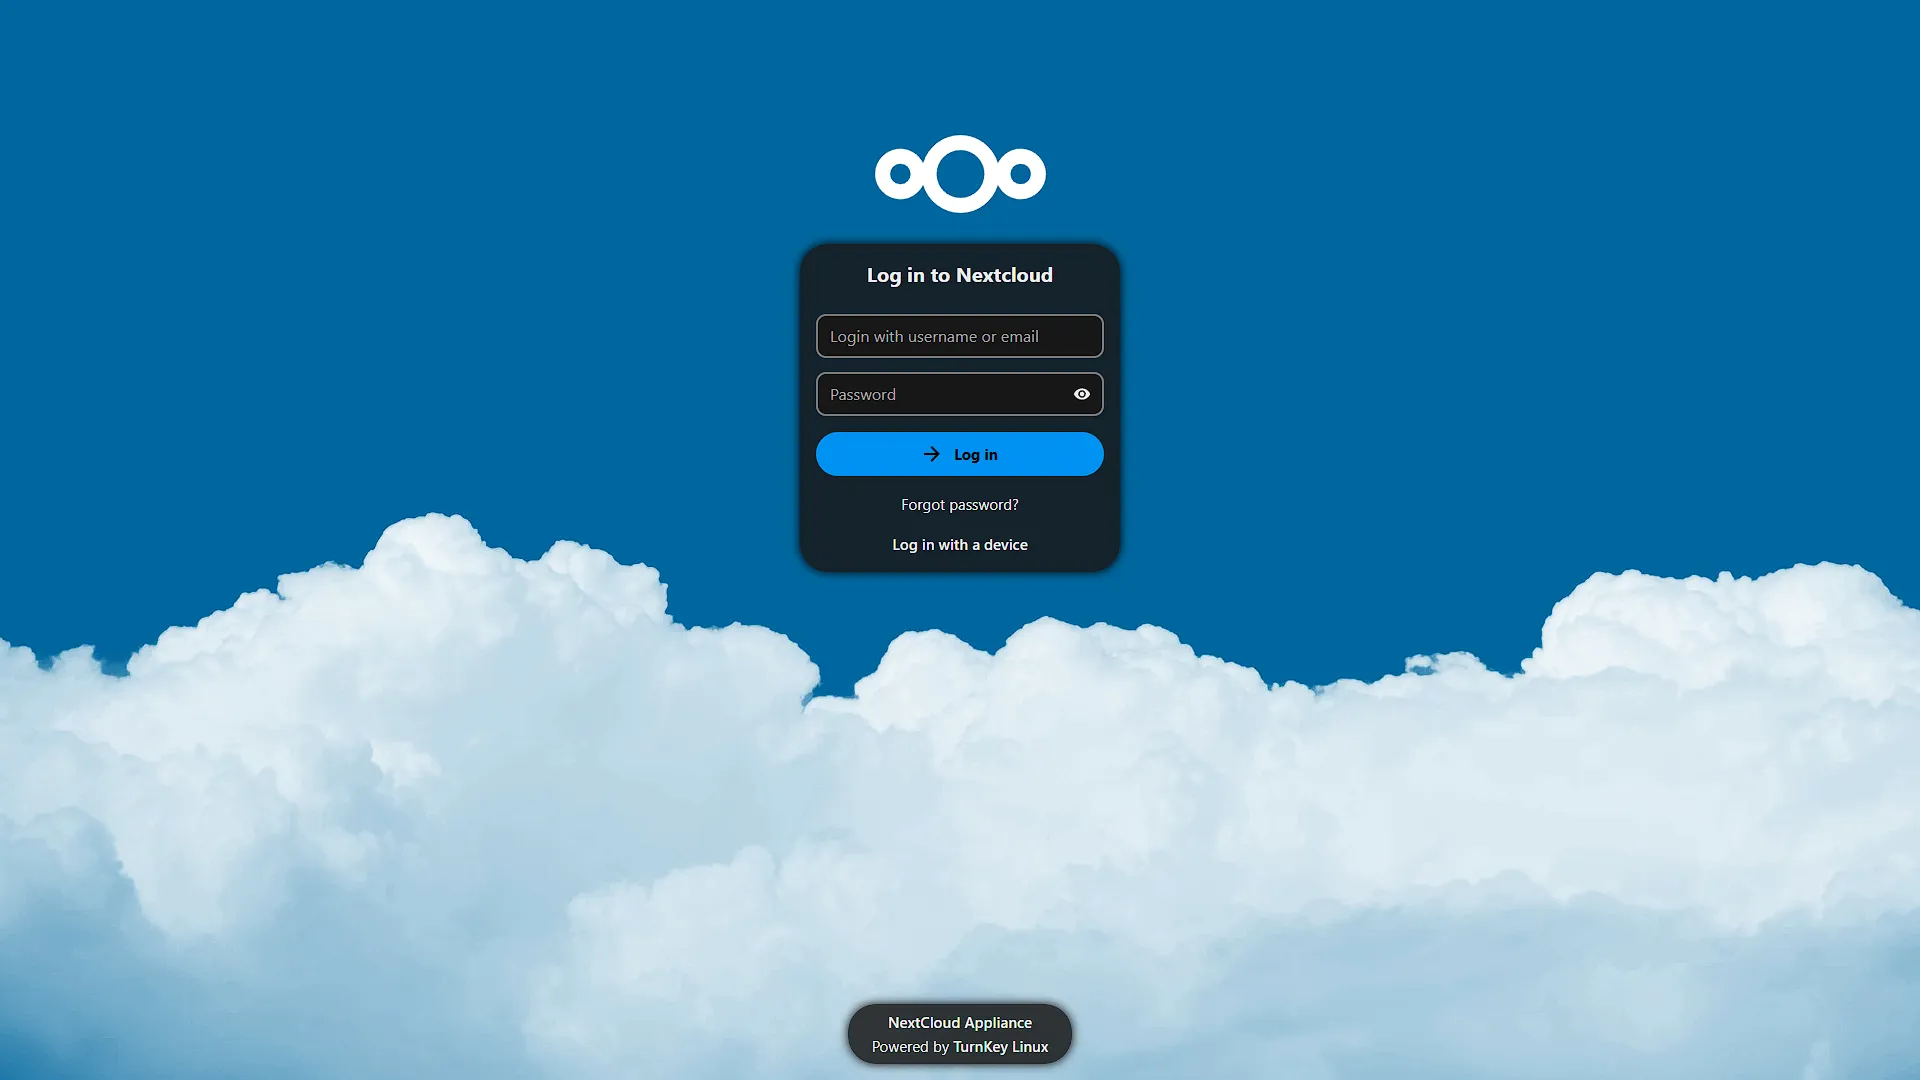
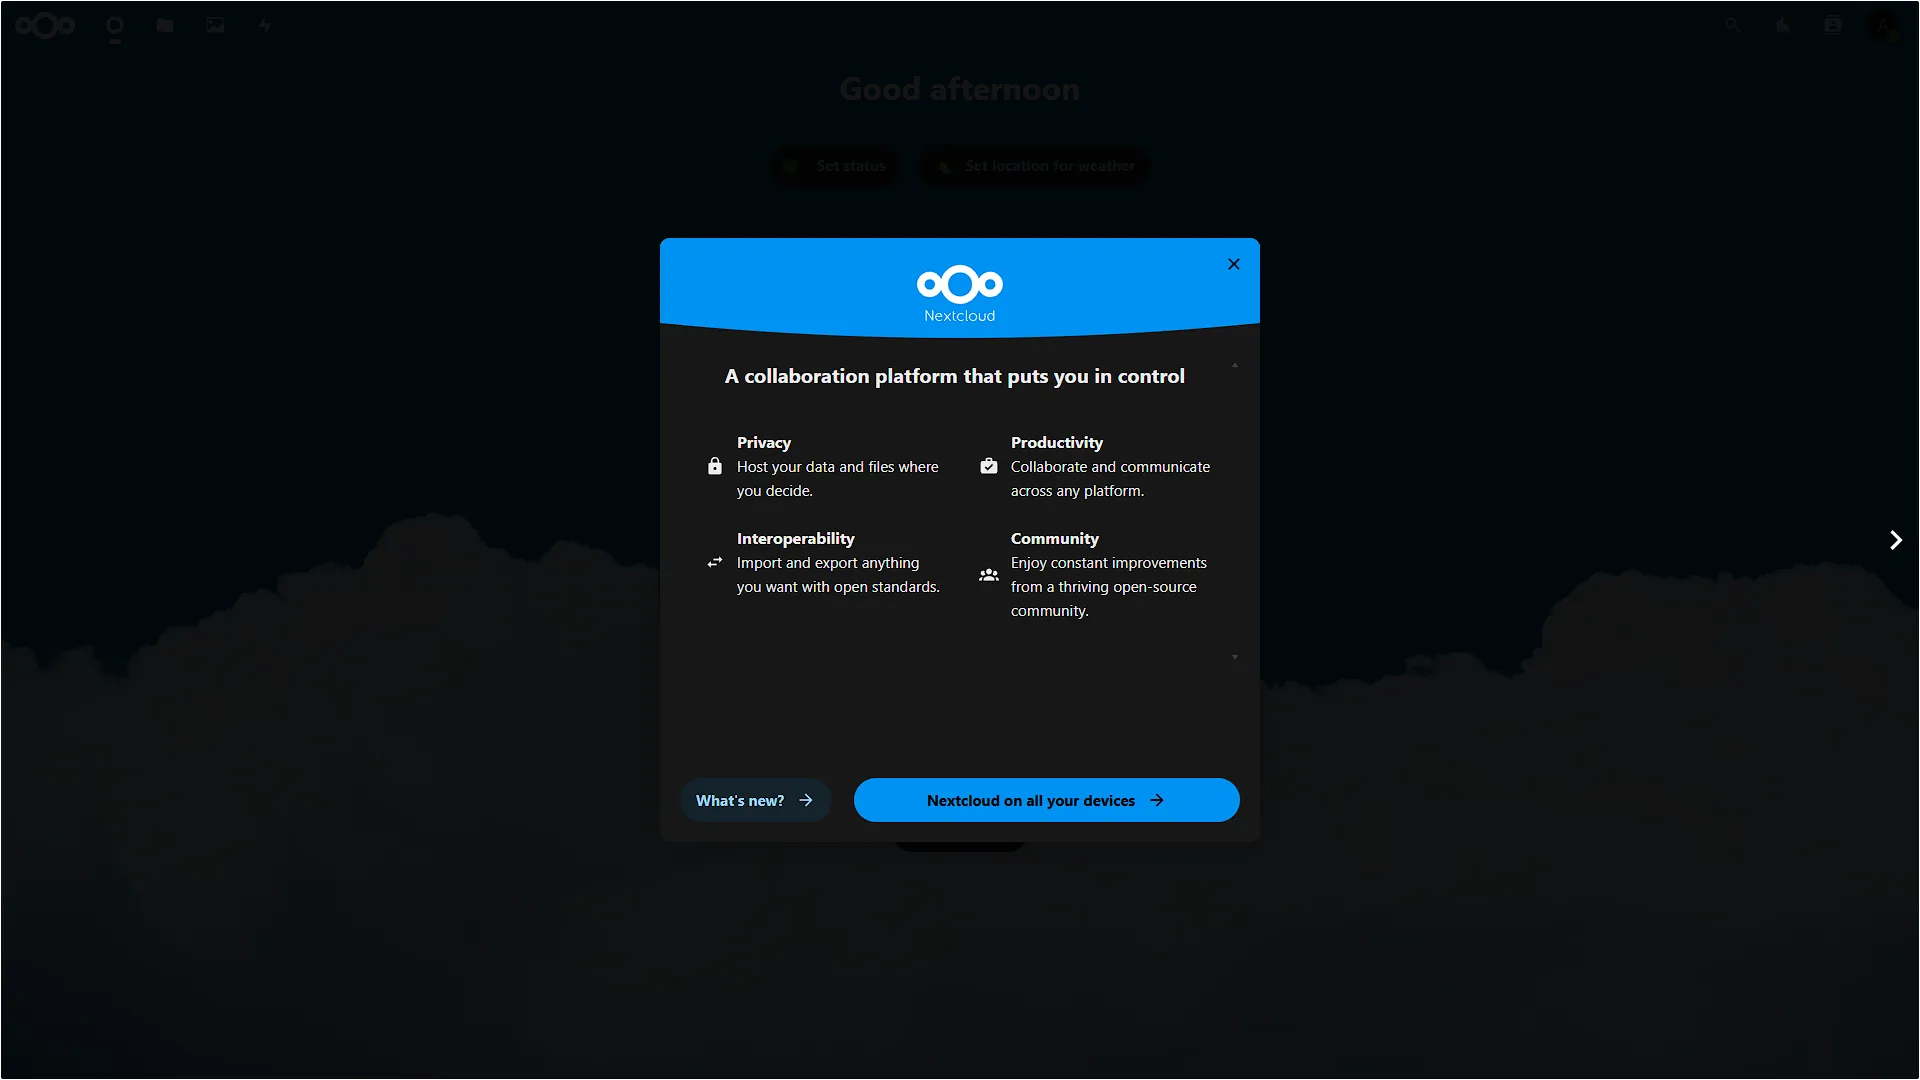
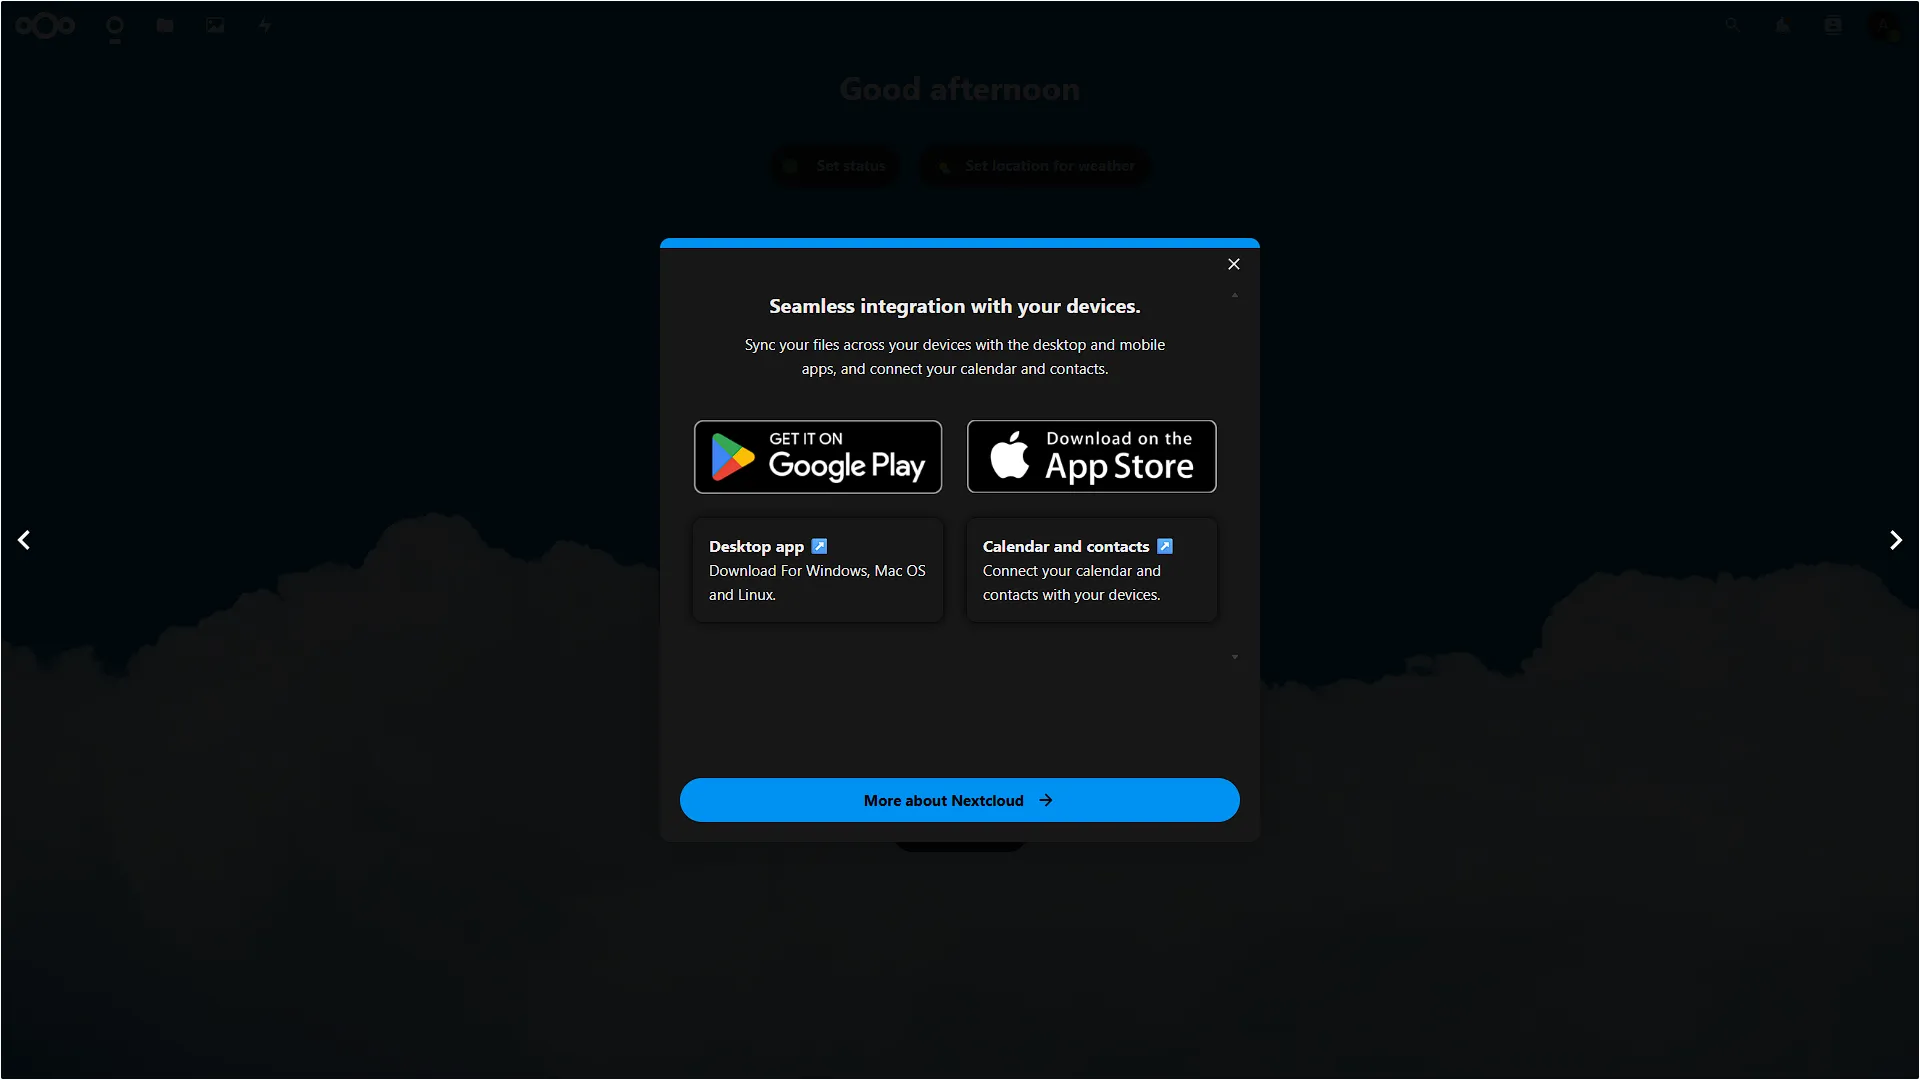
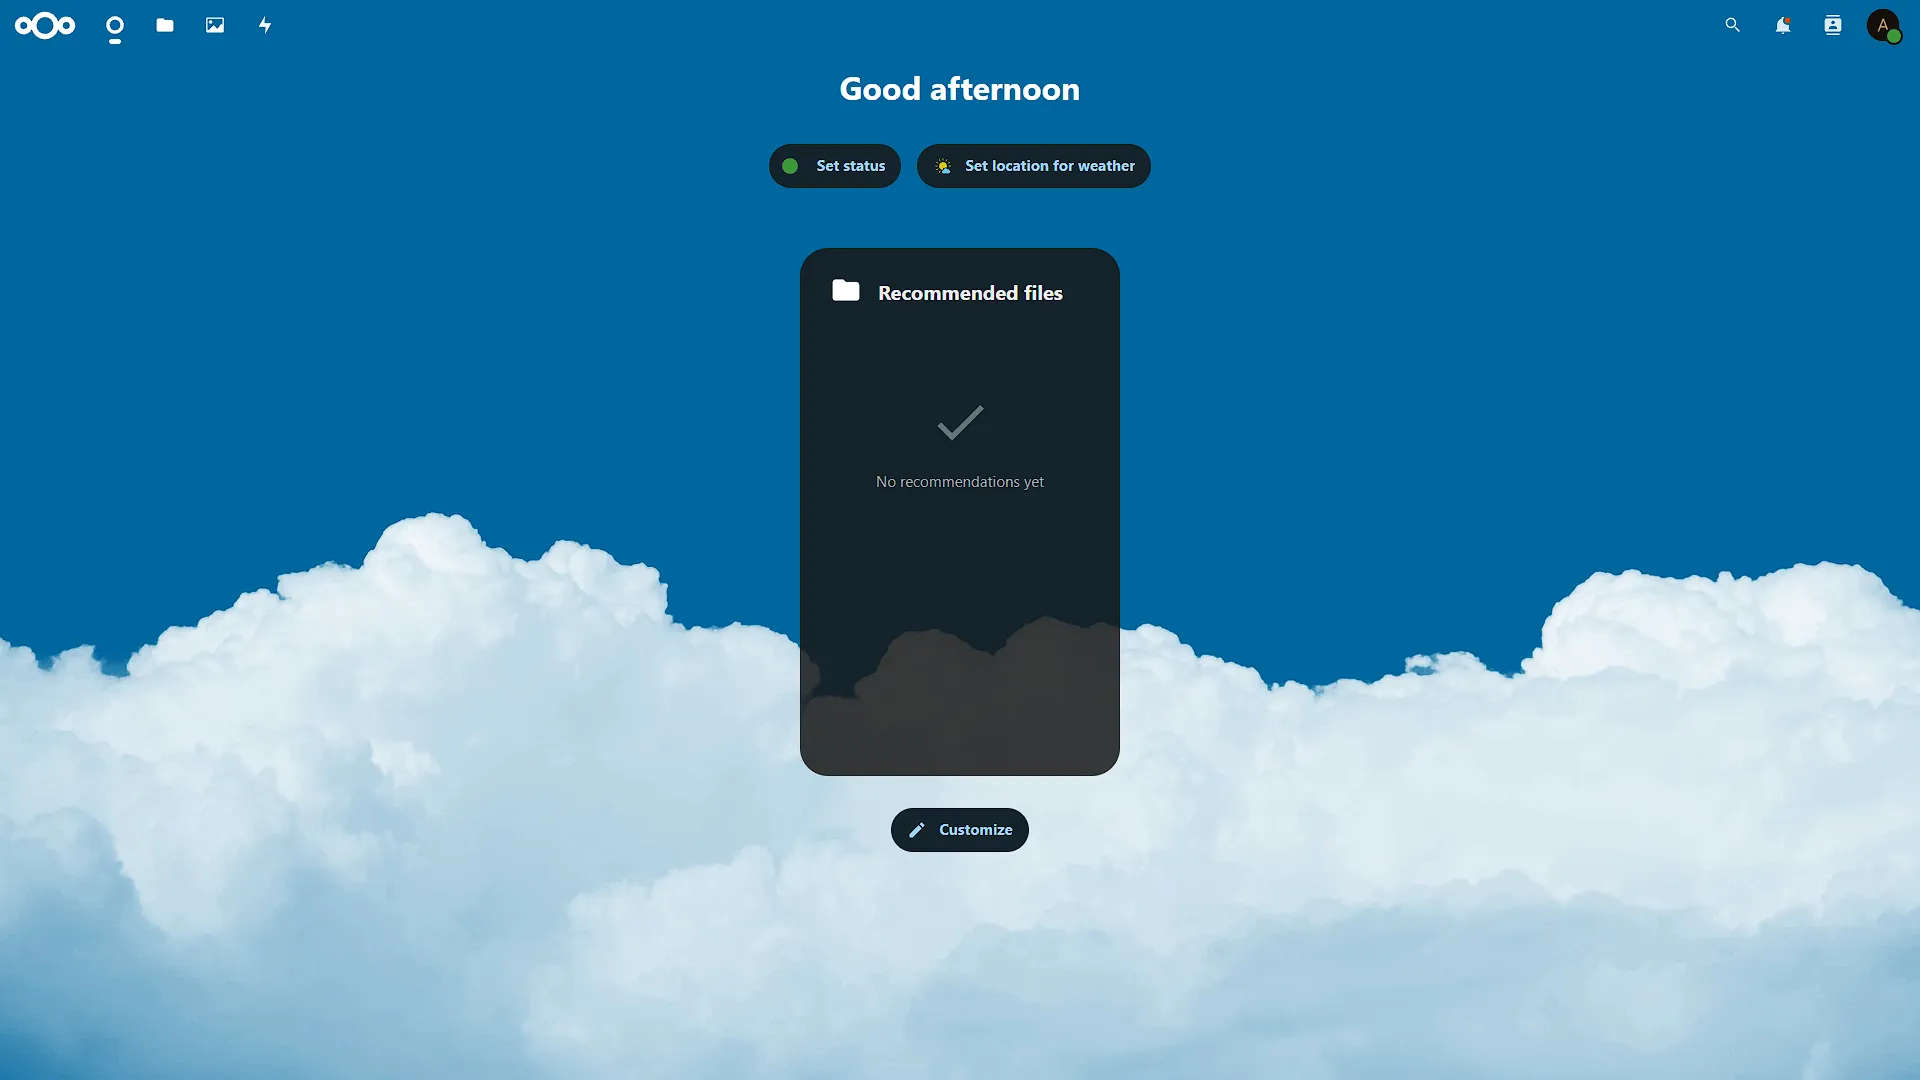
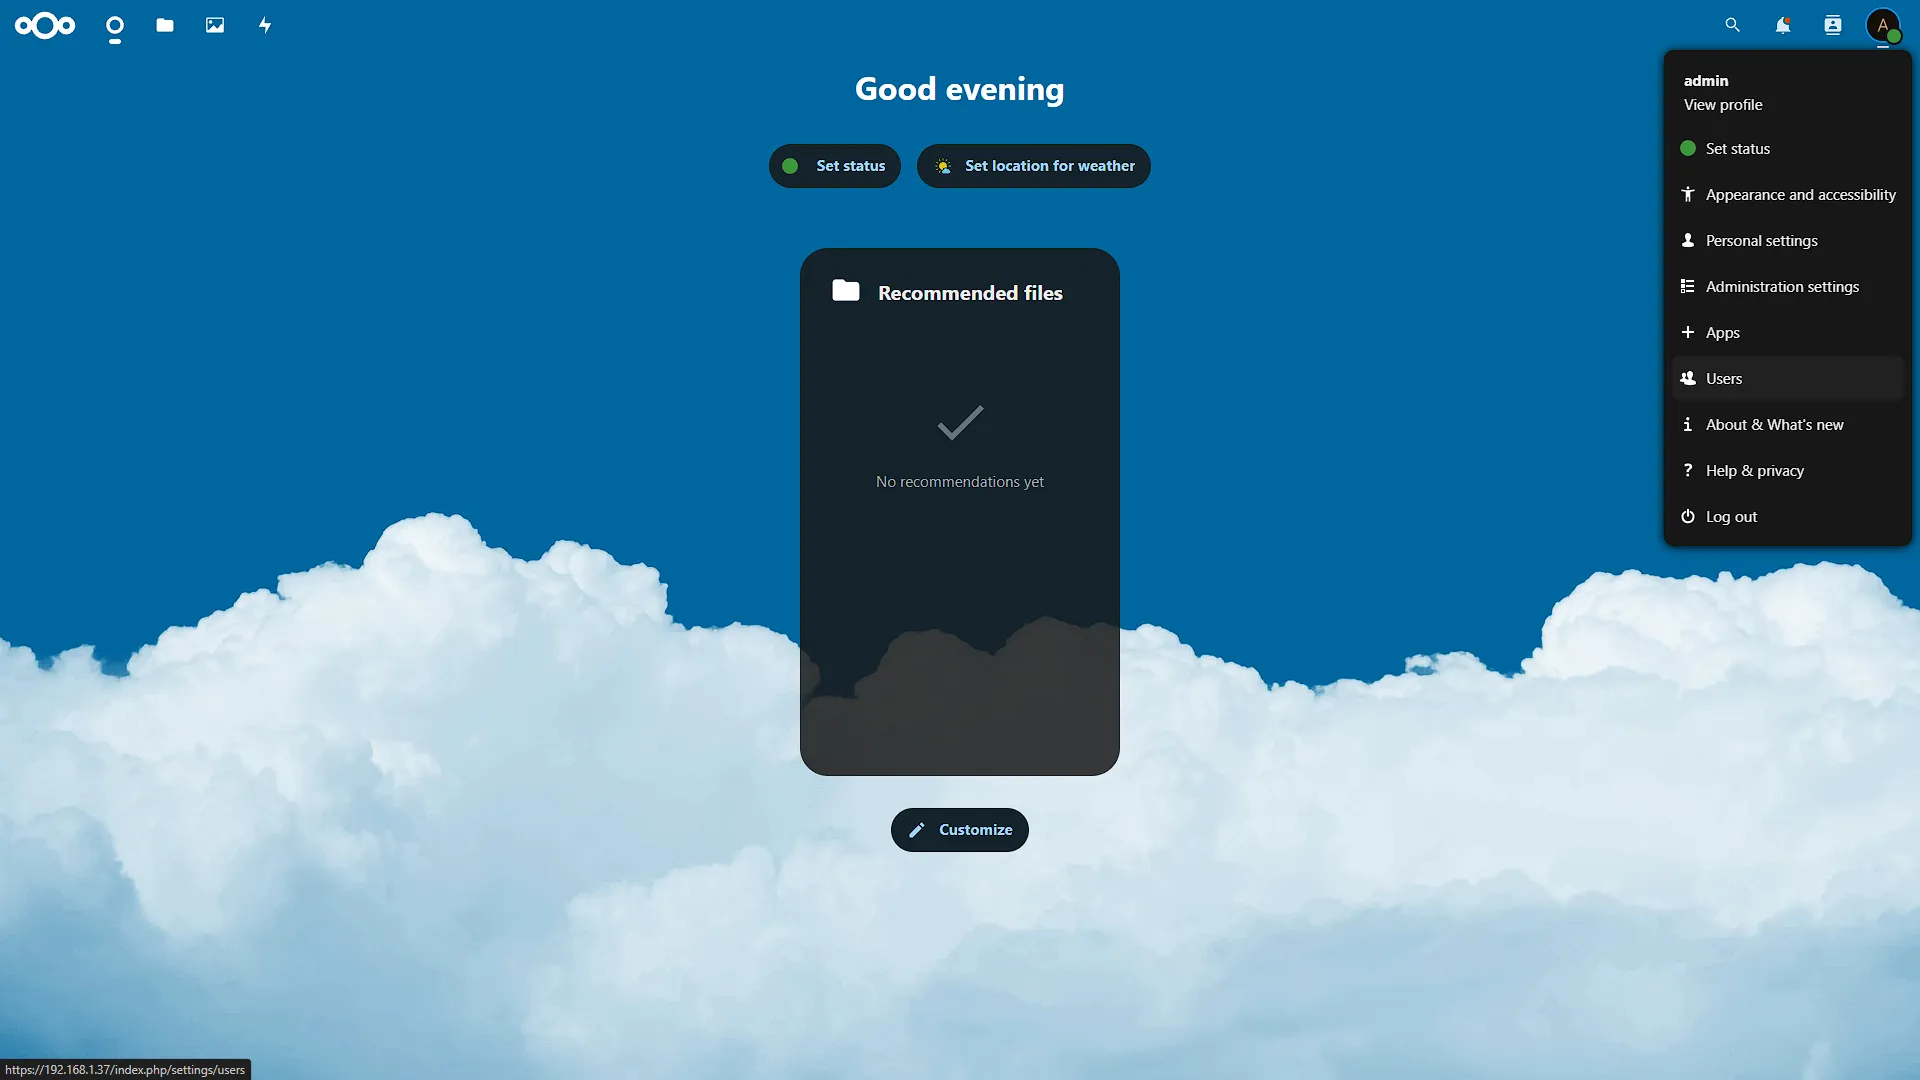
From a computer connected to your home network, open a new browser window and navigate to one of the addresses (HTTP or HTTPS) provided in the 'web' section during the server setup. You will get to a login screen for Nextcloud. Log in with the username admin and the password you provided in step 1. Once logged in, you will see a welcome screen giving you a quick overview of Nextcloud. Click Nextcloud on all your devices. You will now see all the different apps that can be installed that can sync with the Nextcloud cloud: Android, iOS and Desktop App, as well as an option to sync Calendar and contacts.
Feel free to explore and install any apps that catch your eye. It's important to remember that the server address you're currently using (https://192.168.1.37 in our example) is for your local network. To access your Nextcloud instance from outside your home (e.g., when you're on the go), you will need to set up a VPN connection, such as one managed by Headscale, on both your mobile device/computer and within your home network.
Optional After the Walkthrough: Trusted Names, PHP and Background Jobs
The main steps configure the local appliance at 192.168.1.37. Keep that local/VPN path working. Do not force overwriteprotocol=https or set a sample public URL on a local HTTP installation; that can redirect clients to an endpoint you have not configured.
If adding a friendly name produces an untrusted-domain error, back up the actual Nextcloud configuration and add the deliberate hostname to its existing trusted_domains list. Preserve current entries and verify the new name resolves to the intended service. For a later reverse proxy, configure only its actual trusted address and the overwrite settings required by that topology. A sample proxy IP or public domain is not a safe universal default.
PHP tuning should use the handler serving the appliance and the Nextcloud release's requirements. CLI PHP can load a different configuration from Apache/PHP-FPM. Inspect the active version and web configuration, back up the relevant file and edit only needed limits. Do not apply a wildcard sed command across installed PHP versions or set a 16 GB upload allowance as an automatic performance fix. Verify actual uploads and available resources afterwards.
Selecting Cron in the administration UI chooses a background-job mode; it does not create the operating-system schedule. Check whether TurnKey has already configured a job. If it has not, follow Nextcloud's cron instructions using the actual web-service user, installed PHP and Nextcloud path. Avoid duplicate schedules, then check that the administration page reports recent successful runs.
Test a small upload/download and a client sync before relying on the installation. Directly copying files into managed storage is not the ordinary sync workflow; use supported external-storage or scan procedures only when appropriate, with permissions and backups understood. Keep data, database and configuration recoverable together.
Further reading: Nextcloud reverse proxy configuration, Nextcloud background jobs.
Conclusion
In summary, your Turnkey Linux Nextcloud VM is now fully installed and primed for use within your Proxmox setup. We've walked through the initial server-side configurations, including setting up user credentials and ensuring essential security updates are in place. You can now log in and see the potential Nextcloud offers, starting with a platform to sync files across your devices.
As we've discussed, while its photo backup capabilities are just one facet, the real journey begins as we explore the additional functionalities that elevate Nextcloud. With your local access established (and a mental note to use a VPN like Headscale for remote connections), you're perfectly positioned to start customizing your instance with various apps. The possibilities are extensive, and we will be exploring it further in a future article, including setting up access without a VPN from the outside web.