We have looked at getting Plant-it installed as a separate LXC in our Proxmox installation with the help of some helper scripts, but today we are looking at another alternative to install Plant-it. Today we will install Plant-it in our Docker environment (be it our Docker as an LXC Container or Docker in a separate VM) with the help of our previously installed Portainer service in our Docker environment.
Step 1: Get the Docker-compose file
Thus far in our Build your own homelab series, we have only installed Uptime Kuma in our Docker environment. As to use Portainer was fairly easy seeing as the install of Uptime Kuma is just one service and only one container. For Plant-it, however, we have multiple services that are going to be running, notably Plant-it, MySQL and Redis. This makes it a bit more intricate to use the same approach with Portainer as previously because setting up each service individually would be very cumbersome. Luckily there is an easy way for us to set everything up.
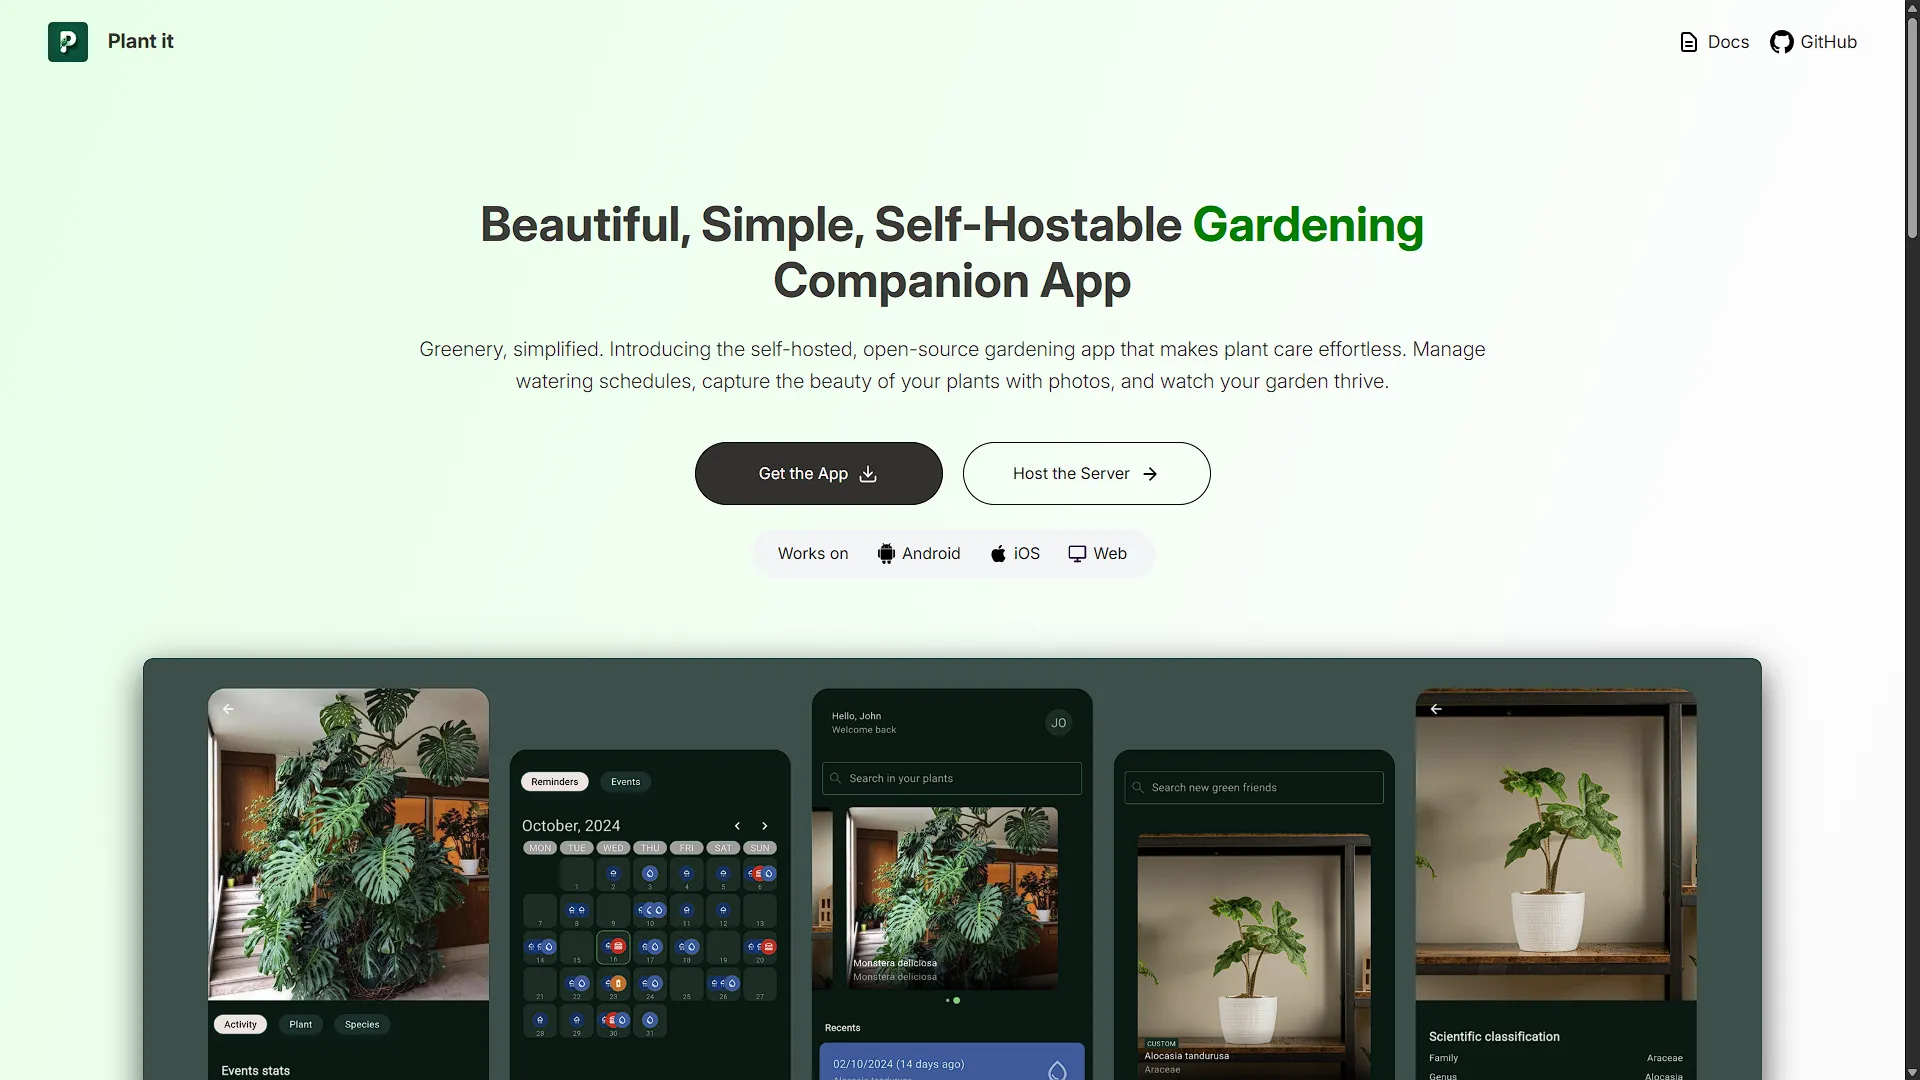
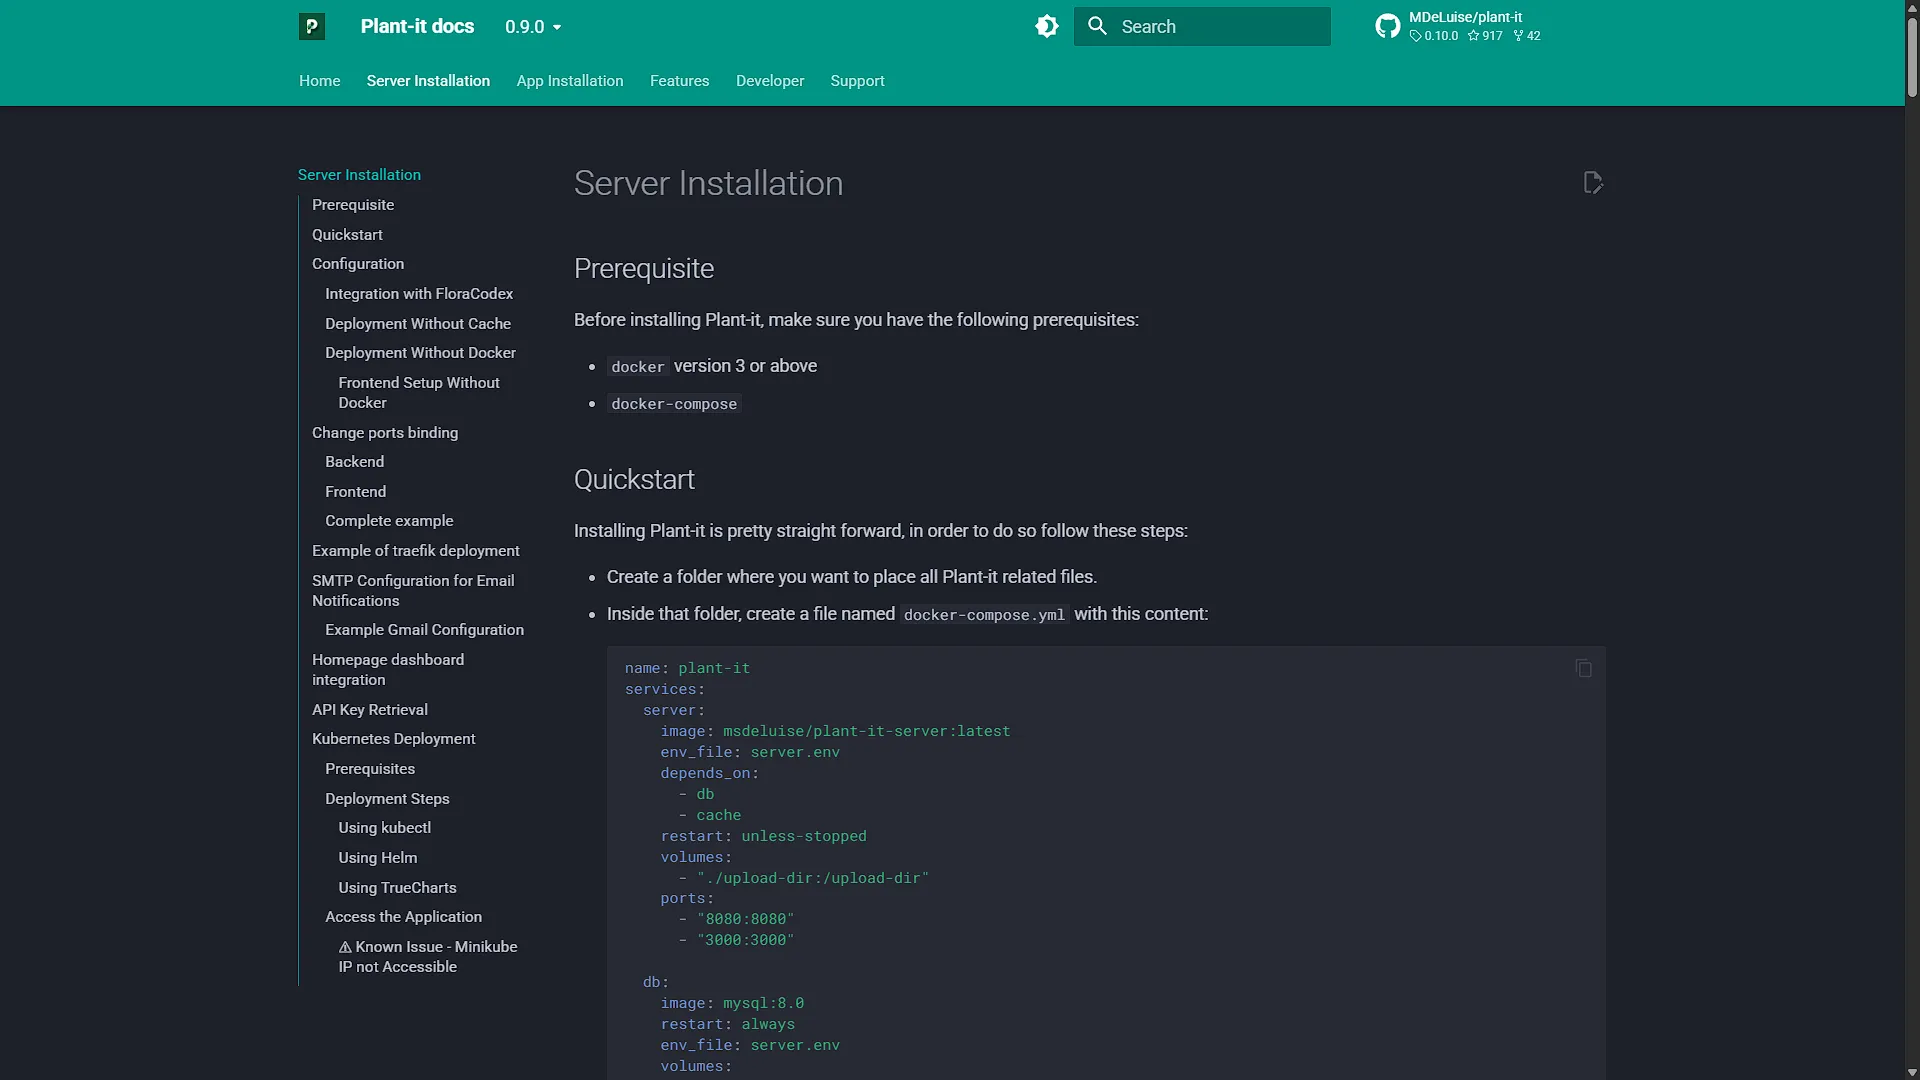
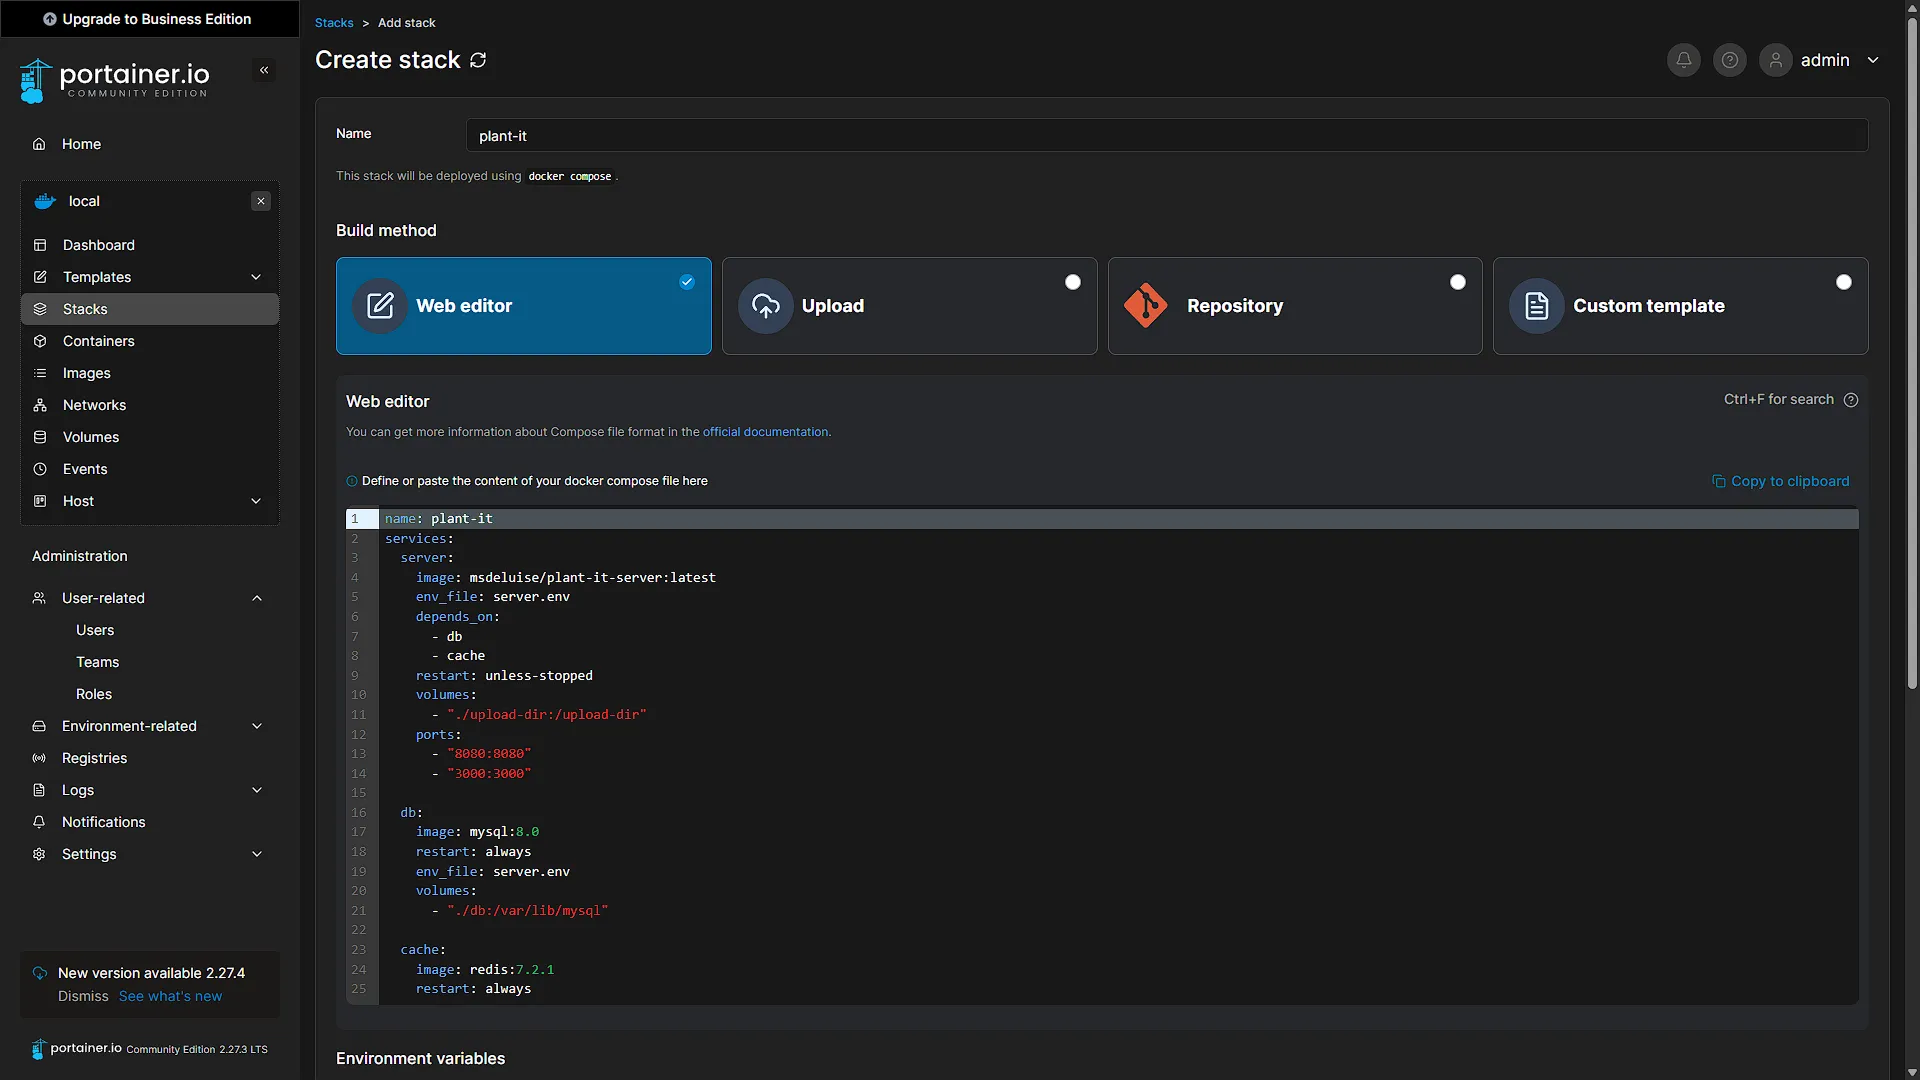
We need to go to the official Plant-it website: https://plant-it.org/ On the website, click the big Host the Server button which will take us to the documentation that contains the file we need. You will see the contents of the docker-compose.yaml file:
name: plant-it
services:
  server:
    image: msdeluise/plant-it-server:latest
    env_file: server.env
    depends_on:
      - db
      - cache
    restart: unless-stopped
    volumes:
      - "./upload-dir:/upload-dir"
    ports:
      - "8080:8080"
      - "3000:3000"

  db:
    image: mysql:8.0
    restart: always
    env_file: server.env
    volumes:
      - "./db:/var/lib/mysql"

  cache:
    image: redis:7.2.1
    restart: always
As well as the contents of the server.env file, which contains our settings:
#
# DB
#
MYSQL_HOST=db
MYSQL_PORT=3306
MYSQL_USERNAME=root
MYSQL_PSW=root
MYSQL_DATABASE=bootdb
MYSQL_ROOT_PASSWORD=root

#
# JWT
#
JWT_SECRET=putTheSecretHere
JWT_EXP=1

#
# Server config
#
USERS_LIMIT=-1
UPLOAD_DIR=/upload-dir
API_PORT=8080
FLORACODEX_KEY=
LOG_LEVEL=DEBUG
ALLOWED_ORIGINS=*

#
# Cache
#
CACHE_TTL=86400
CACHE_HOST=cache
CACHE_PORT=6379
With both of these files ready to go, we can use Portainer to install Plant-it.
Step 2: Configure Portainer
Last time round, we "manually" created the images, volumes and networks for Docker to Uptime Kuma. This time, with the two files from step 1, the process is a lot simpler. First access your Portainer instance from the URL where you have it hosted. This can be the IP address of your Docker Machine on port 9443 by default, running on https. In our environment, the address is https://192.168.1.35:9443/
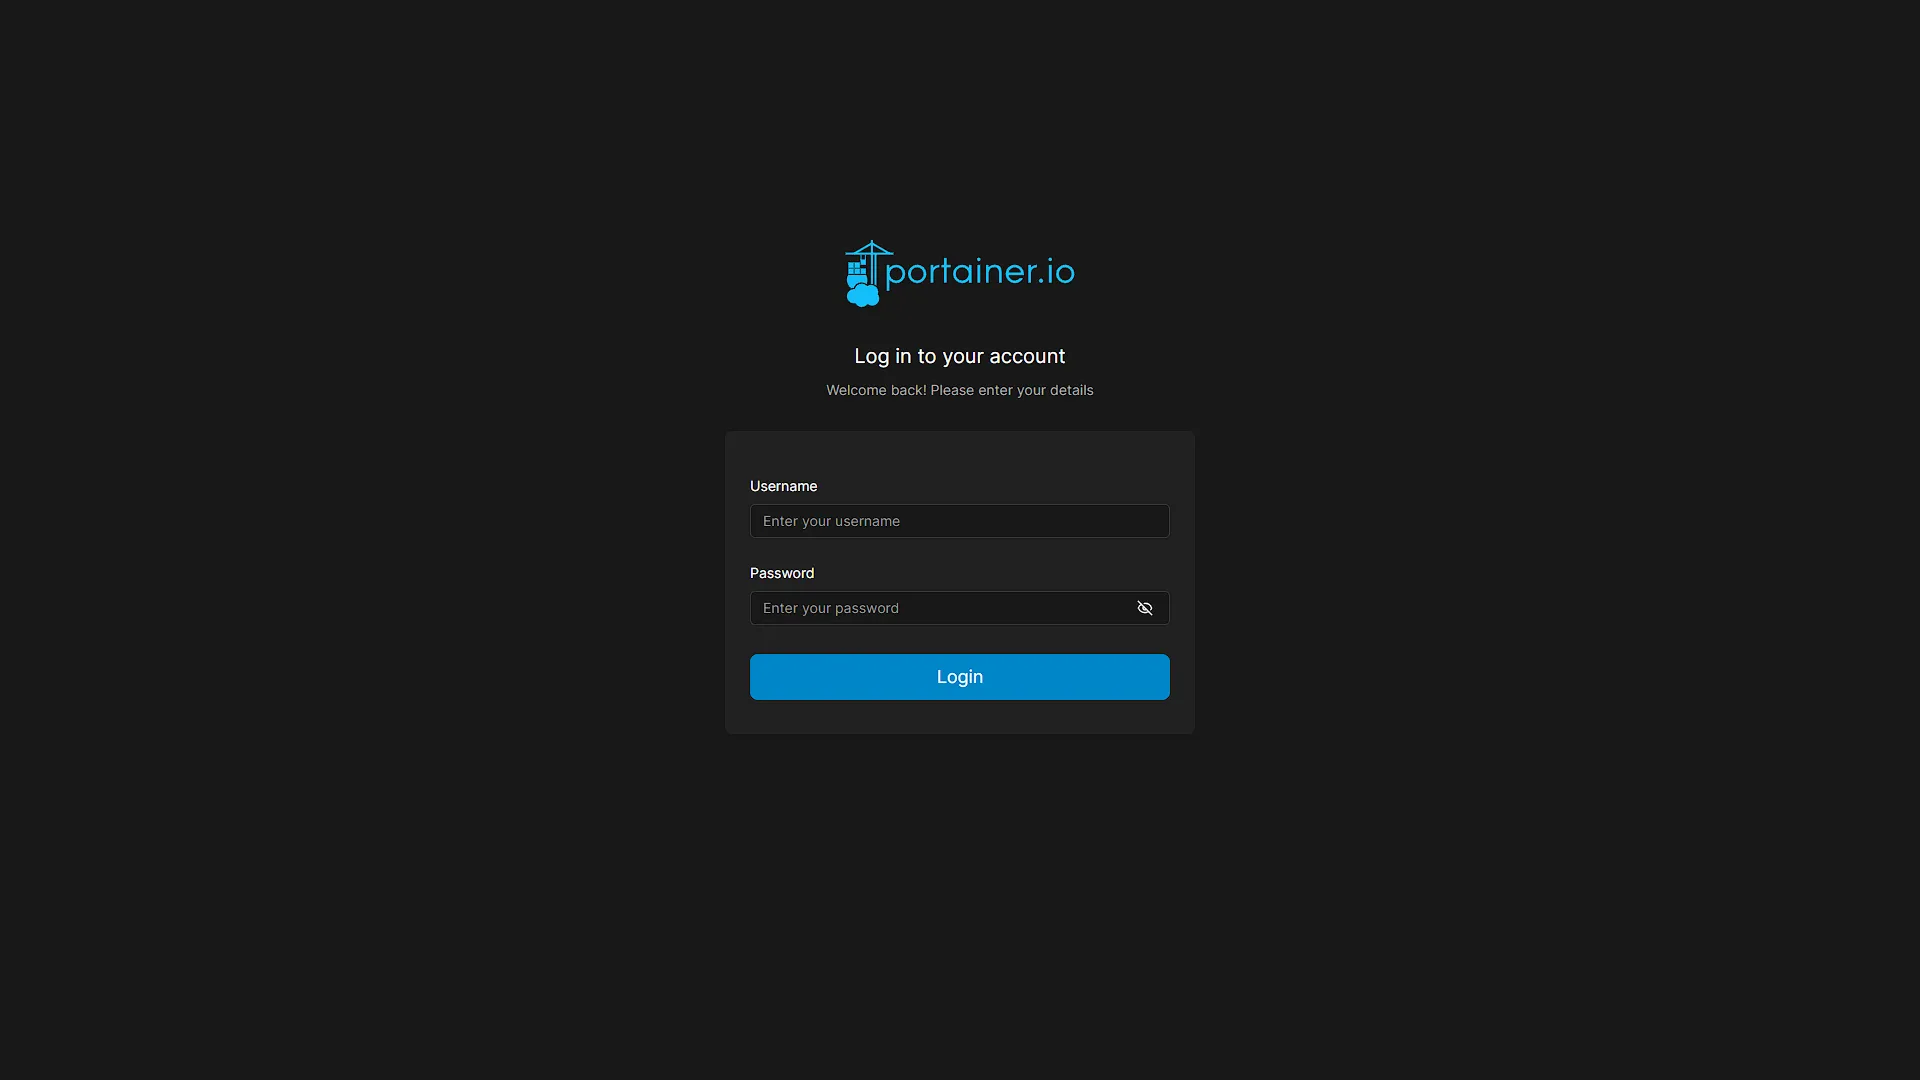
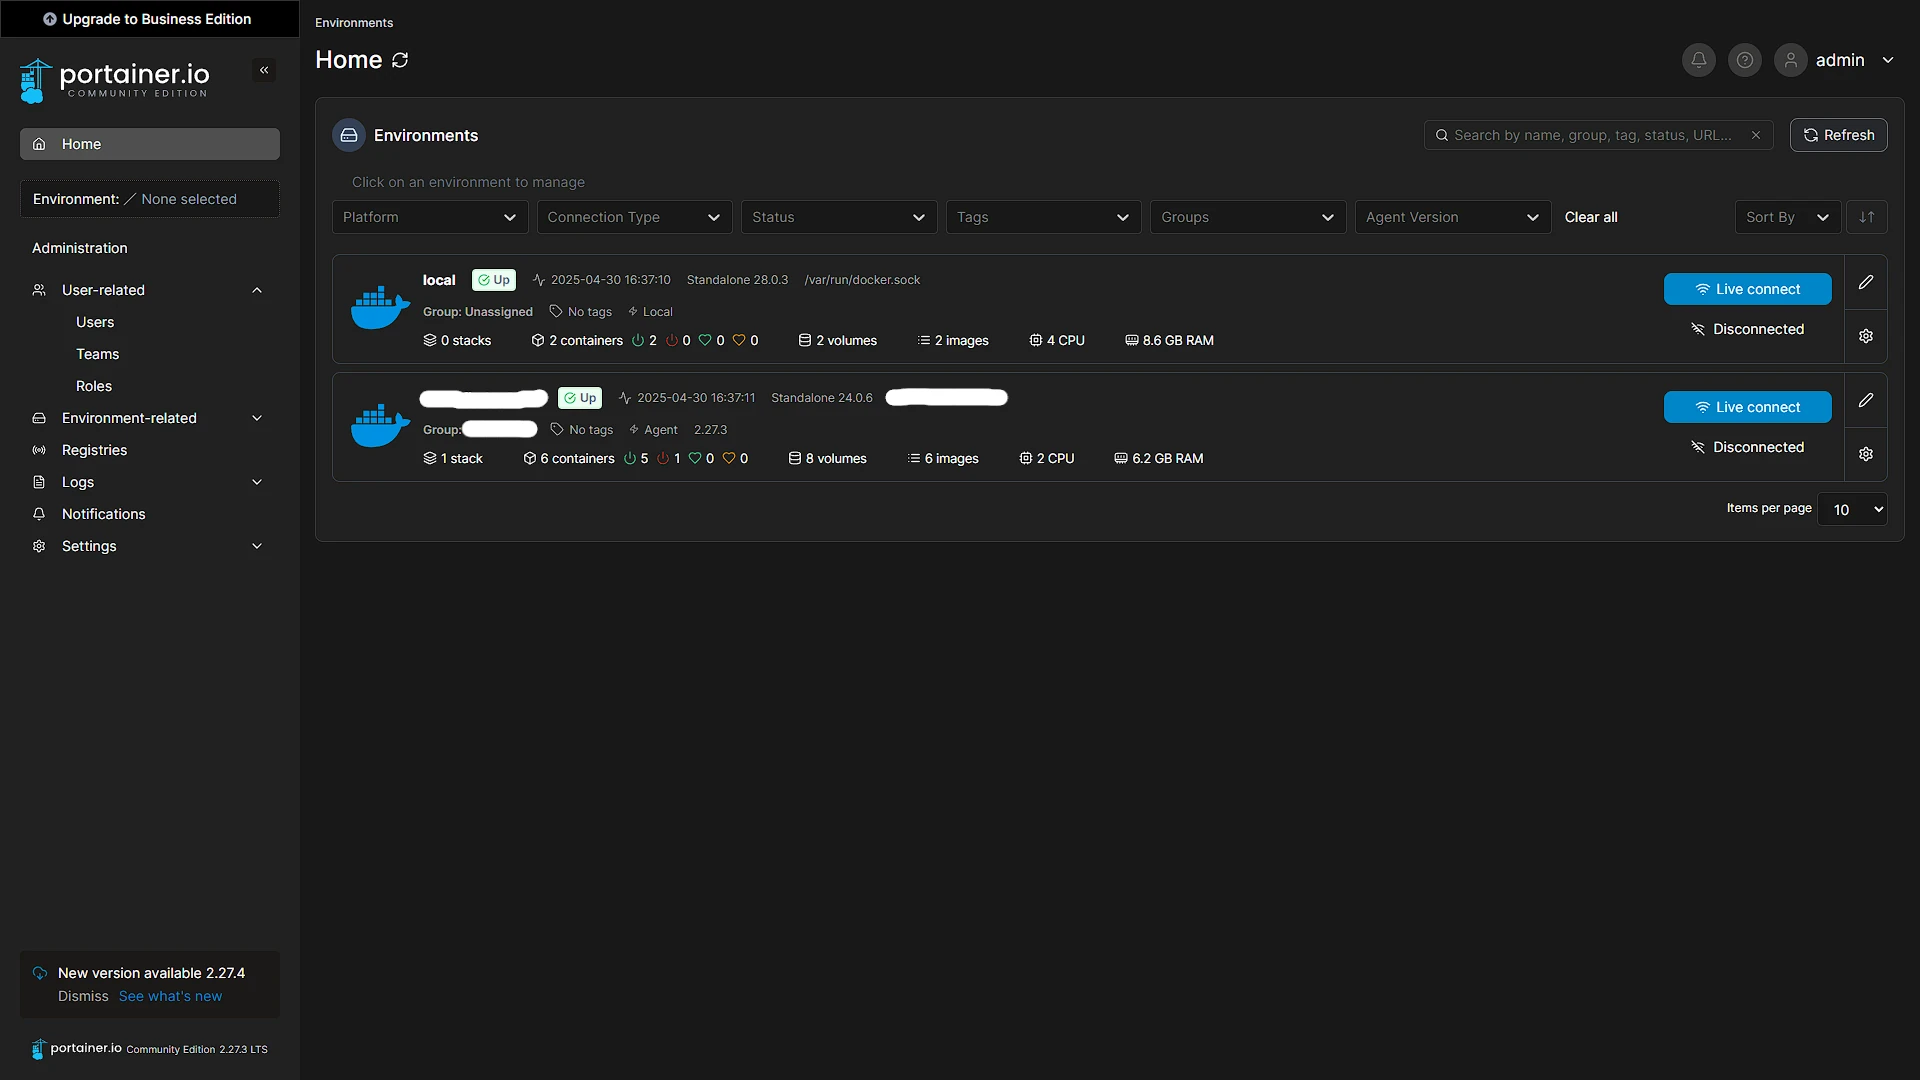
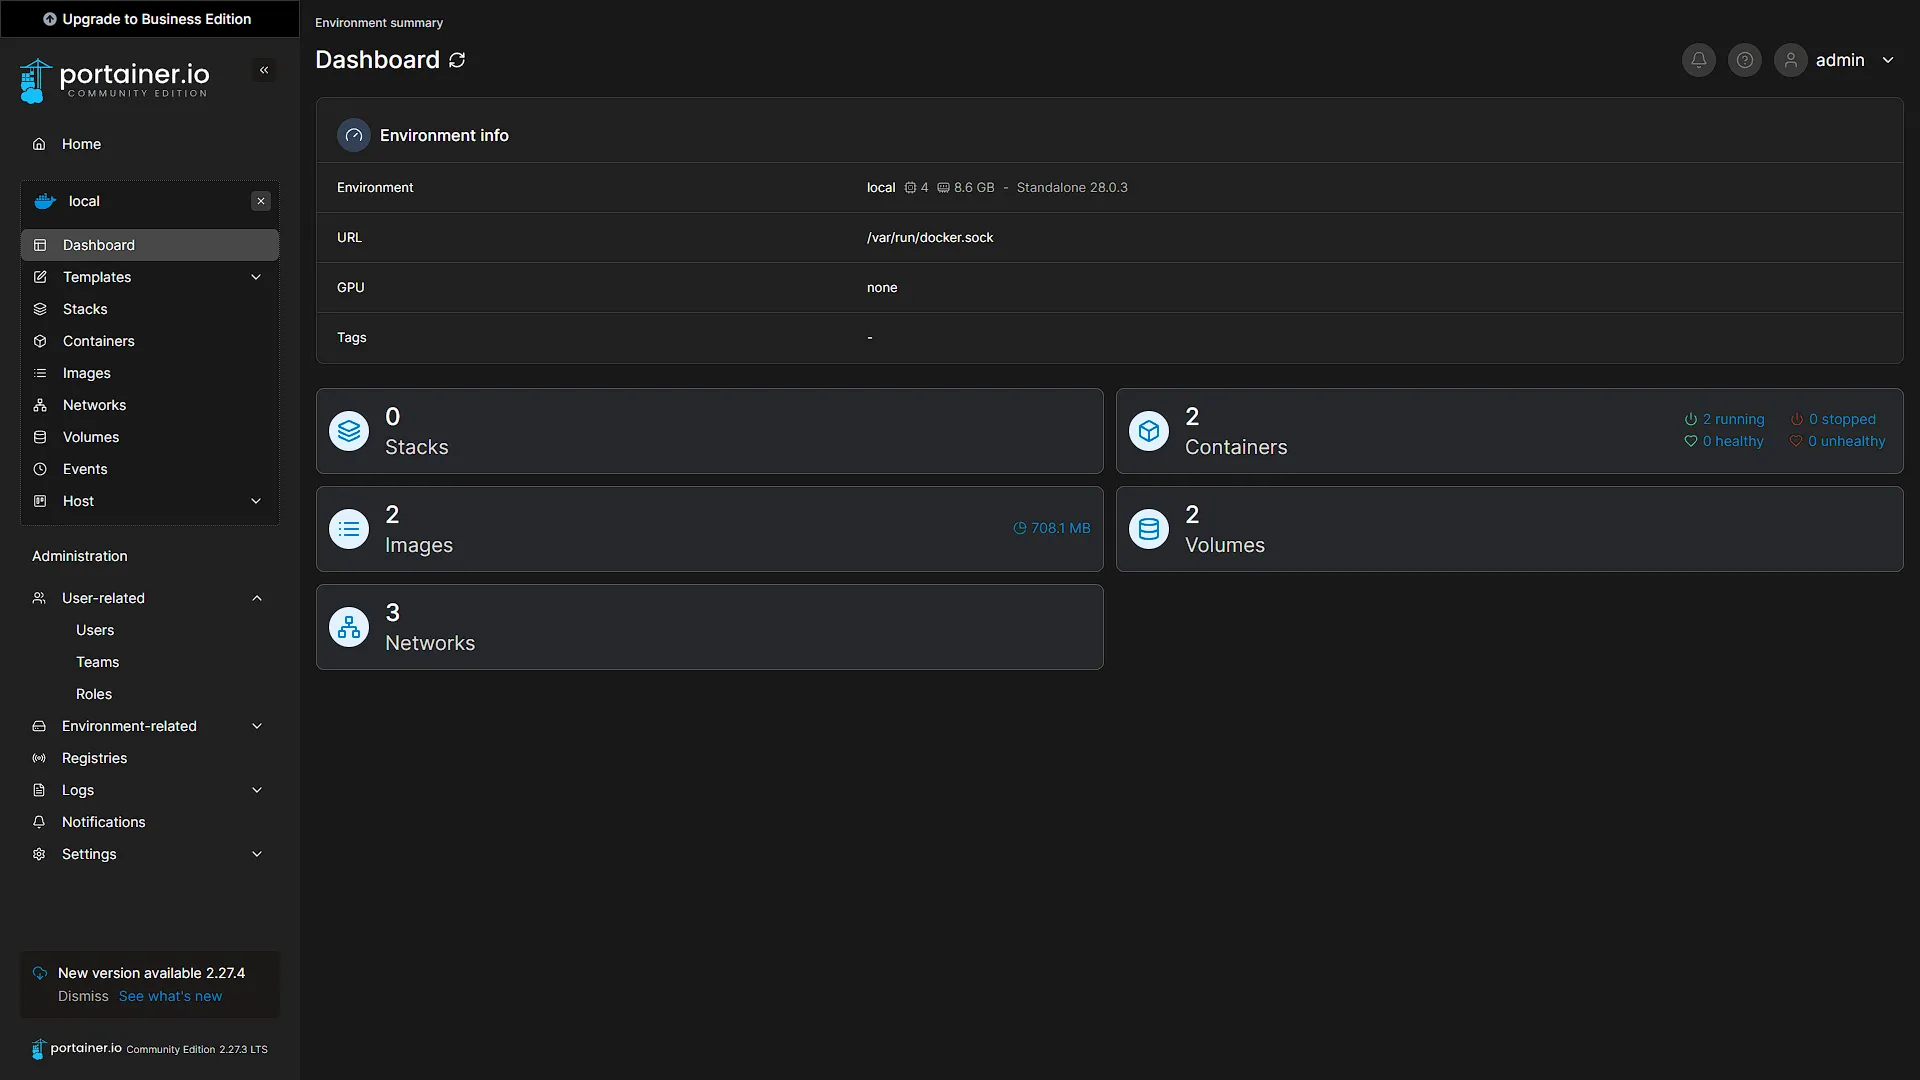
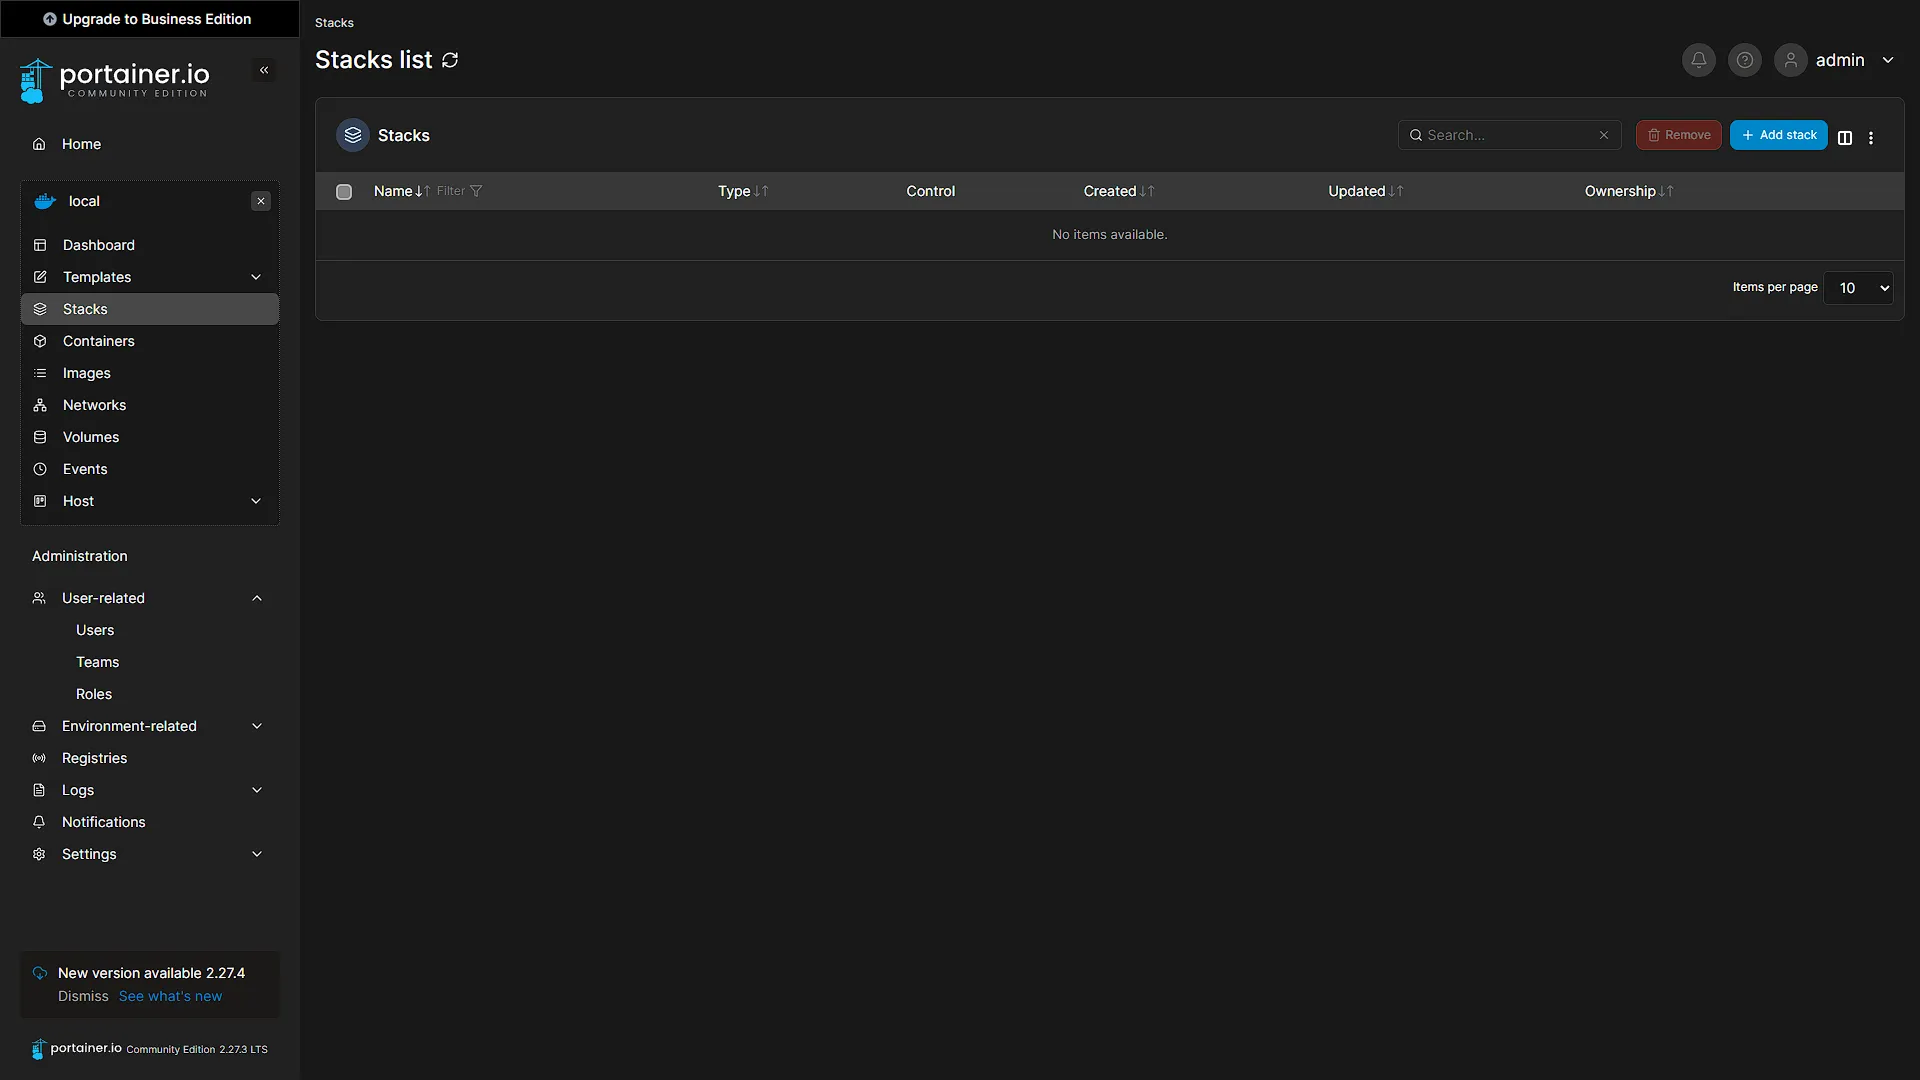
Log in to view your environments. In the screenshots below you will see that we have two environments: local and a second one managing another server. Select the environment you want to install Plant-it in. From the left navigation menu, select Stacks. In the main window, click the  button to add a new stack. A stack is a collection of containers running as a single service. This is where we can use our Docker Compose file to set up all the containers as one.
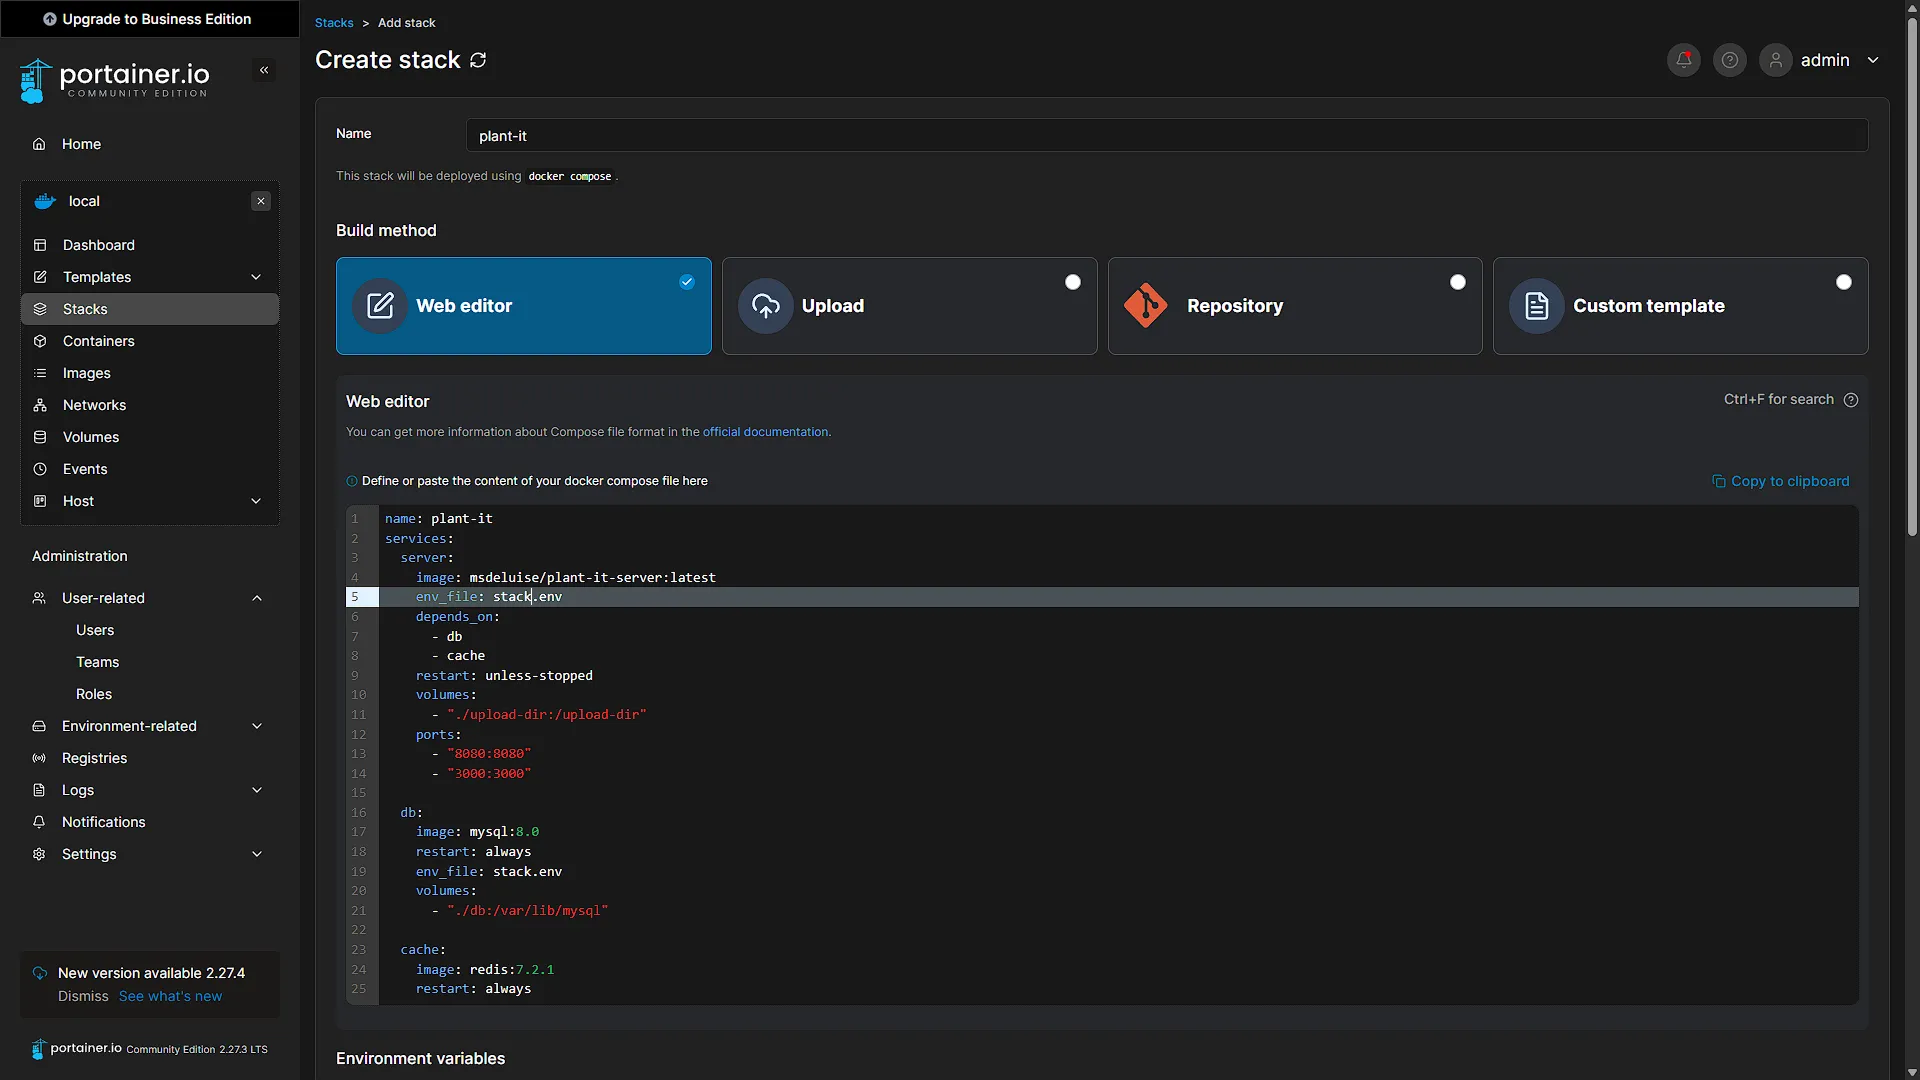
From the previous step, take the docker-compose.yaml file contents and add it to the web editor section. We need to make some changes though. Firstly, the official website mentions the server.env file for settings, which we obviously cannot create. However, if you look at the Environment Variables section in the Portainer Create Stack screen, you will see that Portainer will create a stack.env file for us. So, in the web editor containing the copied docker-compose.yaml file contents, change the server.env to stack.env in both the server and db section's env_file variable.
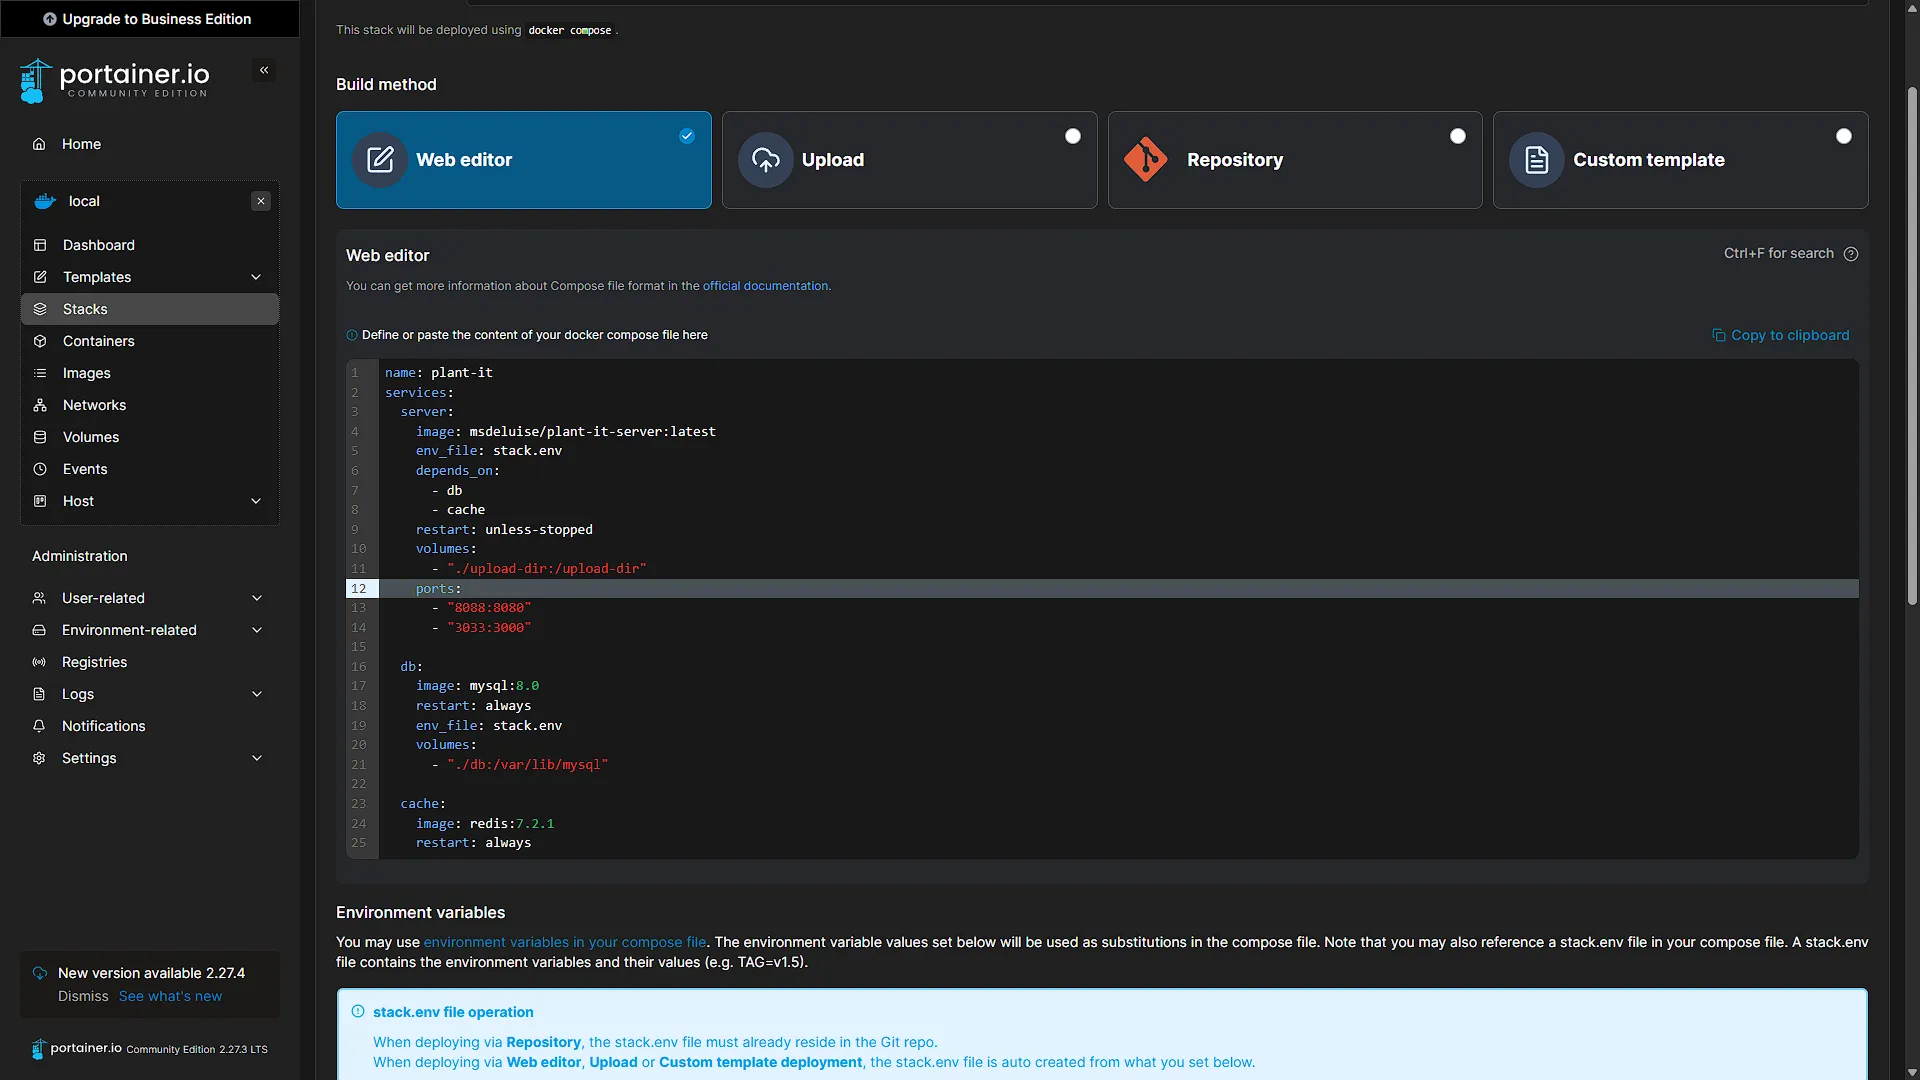
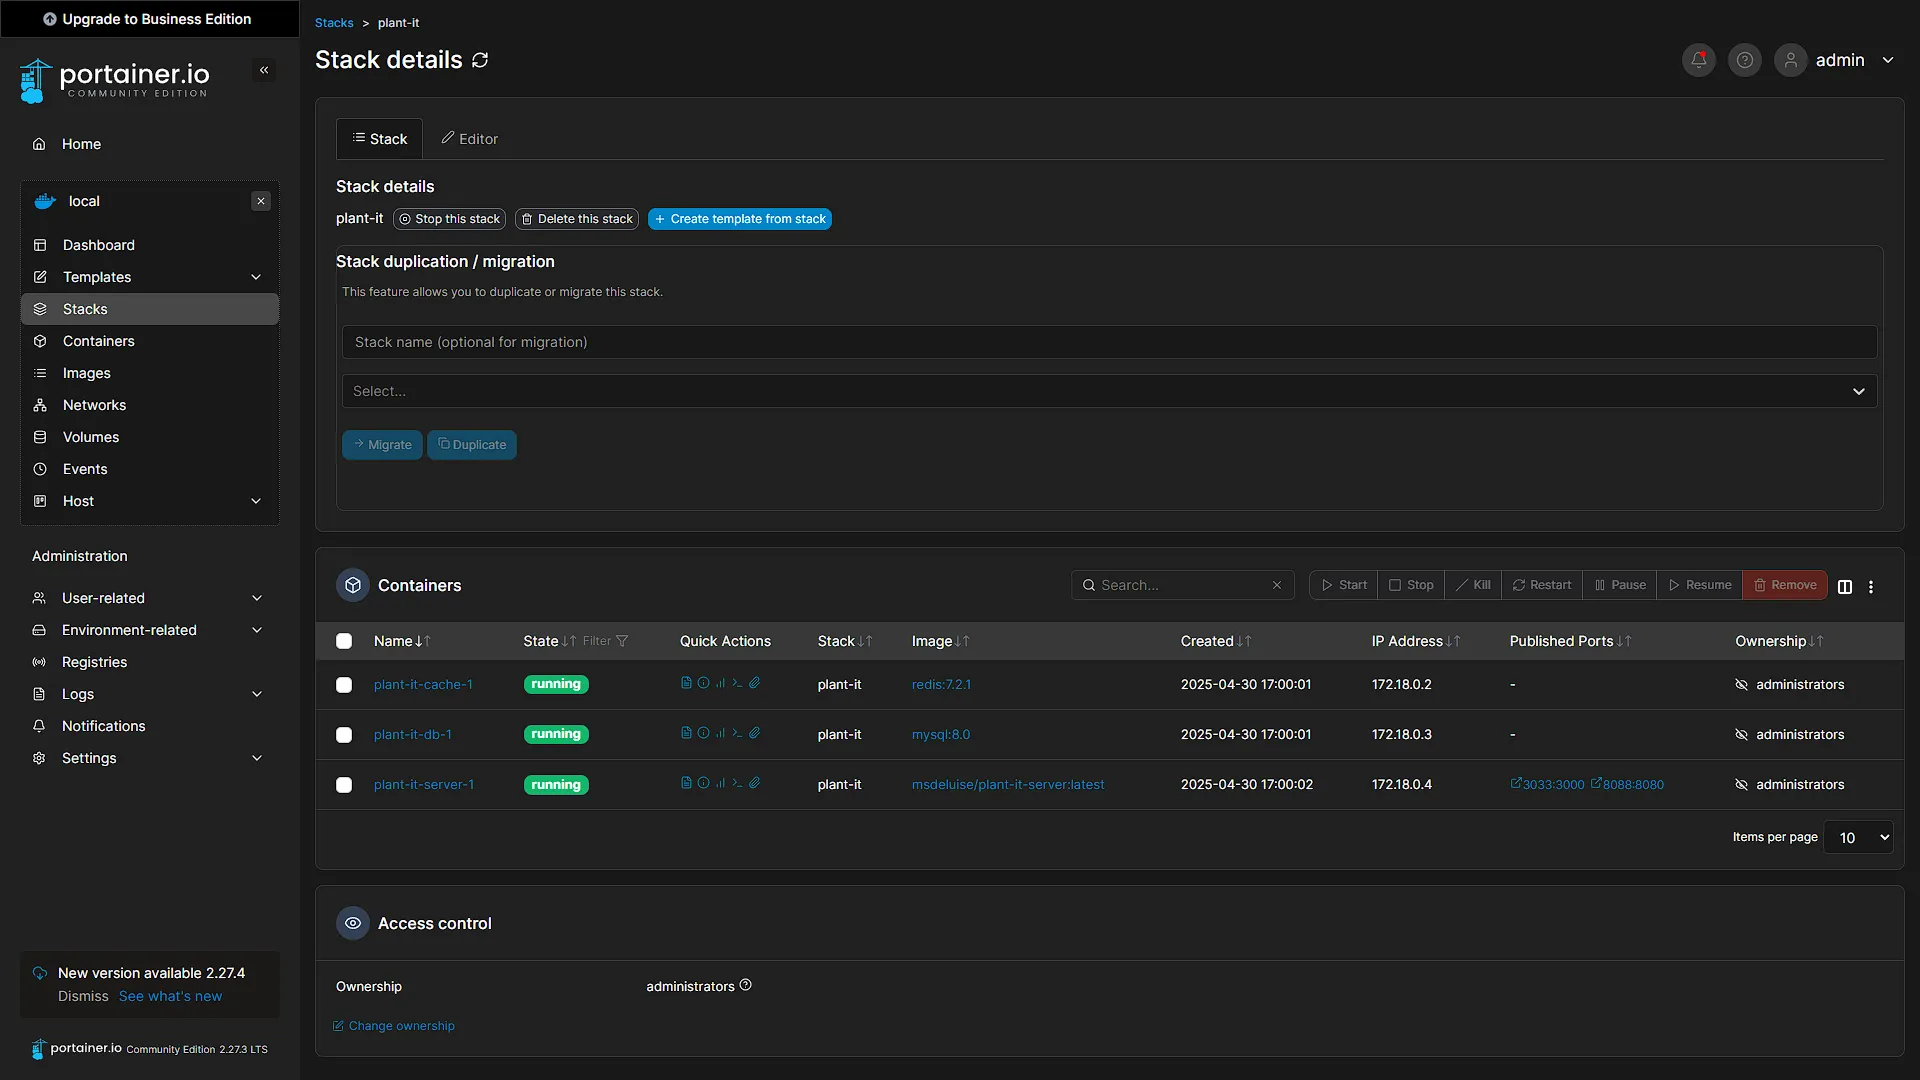
Secondly, and optionally, if you don't want Plant-it to use the default ports (8080 and 3000) we can change that as well in the ports section. We want to use port 8088 and port 3033 on our Docker machine (host) so we will change the ports to 8088:8080 and 3033:3000 respectively. What this means is that the Container's port 8080 will be "mapped" to port 8088 on the Docker Machine, and port 3000 from the container will be mapped to port 3033 on the Docker Machine.
The completed Docker Compose section is:
name: plant-it
services:
  server:
    image: msdeluise/plant-it-server:latest
    env_file: stack.env
    depends_on:
      - db
      - cache
    restart: unless-stopped
    volumes:
      - "./upload-dir:/upload-dir"
    ports:
      - "8088:8080"
      - "3033:3000"

  db:
    image: mysql:8.0
    restart: always
    env_file: stack.env
    volumes:
      - "./db:/var/lib/mysql"

  cache:
    image: redis:7.2.1
    restart: always
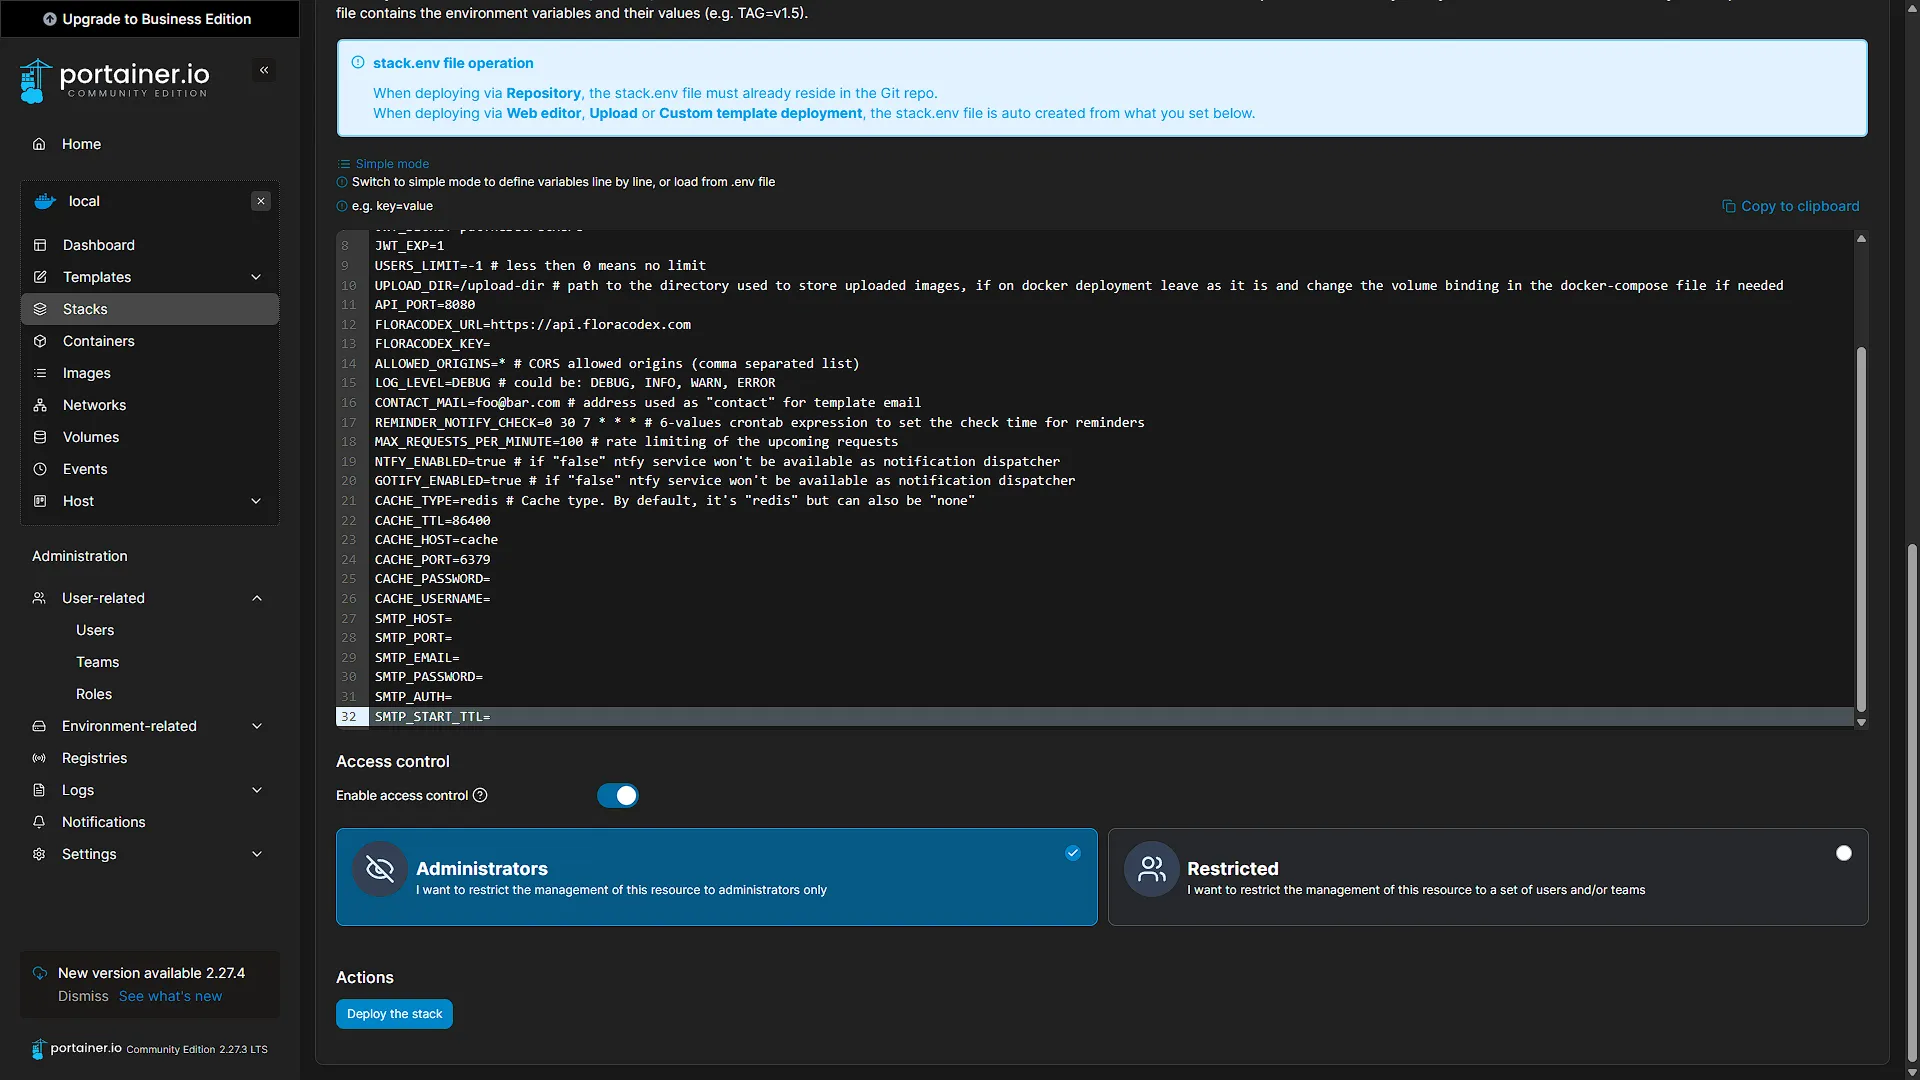
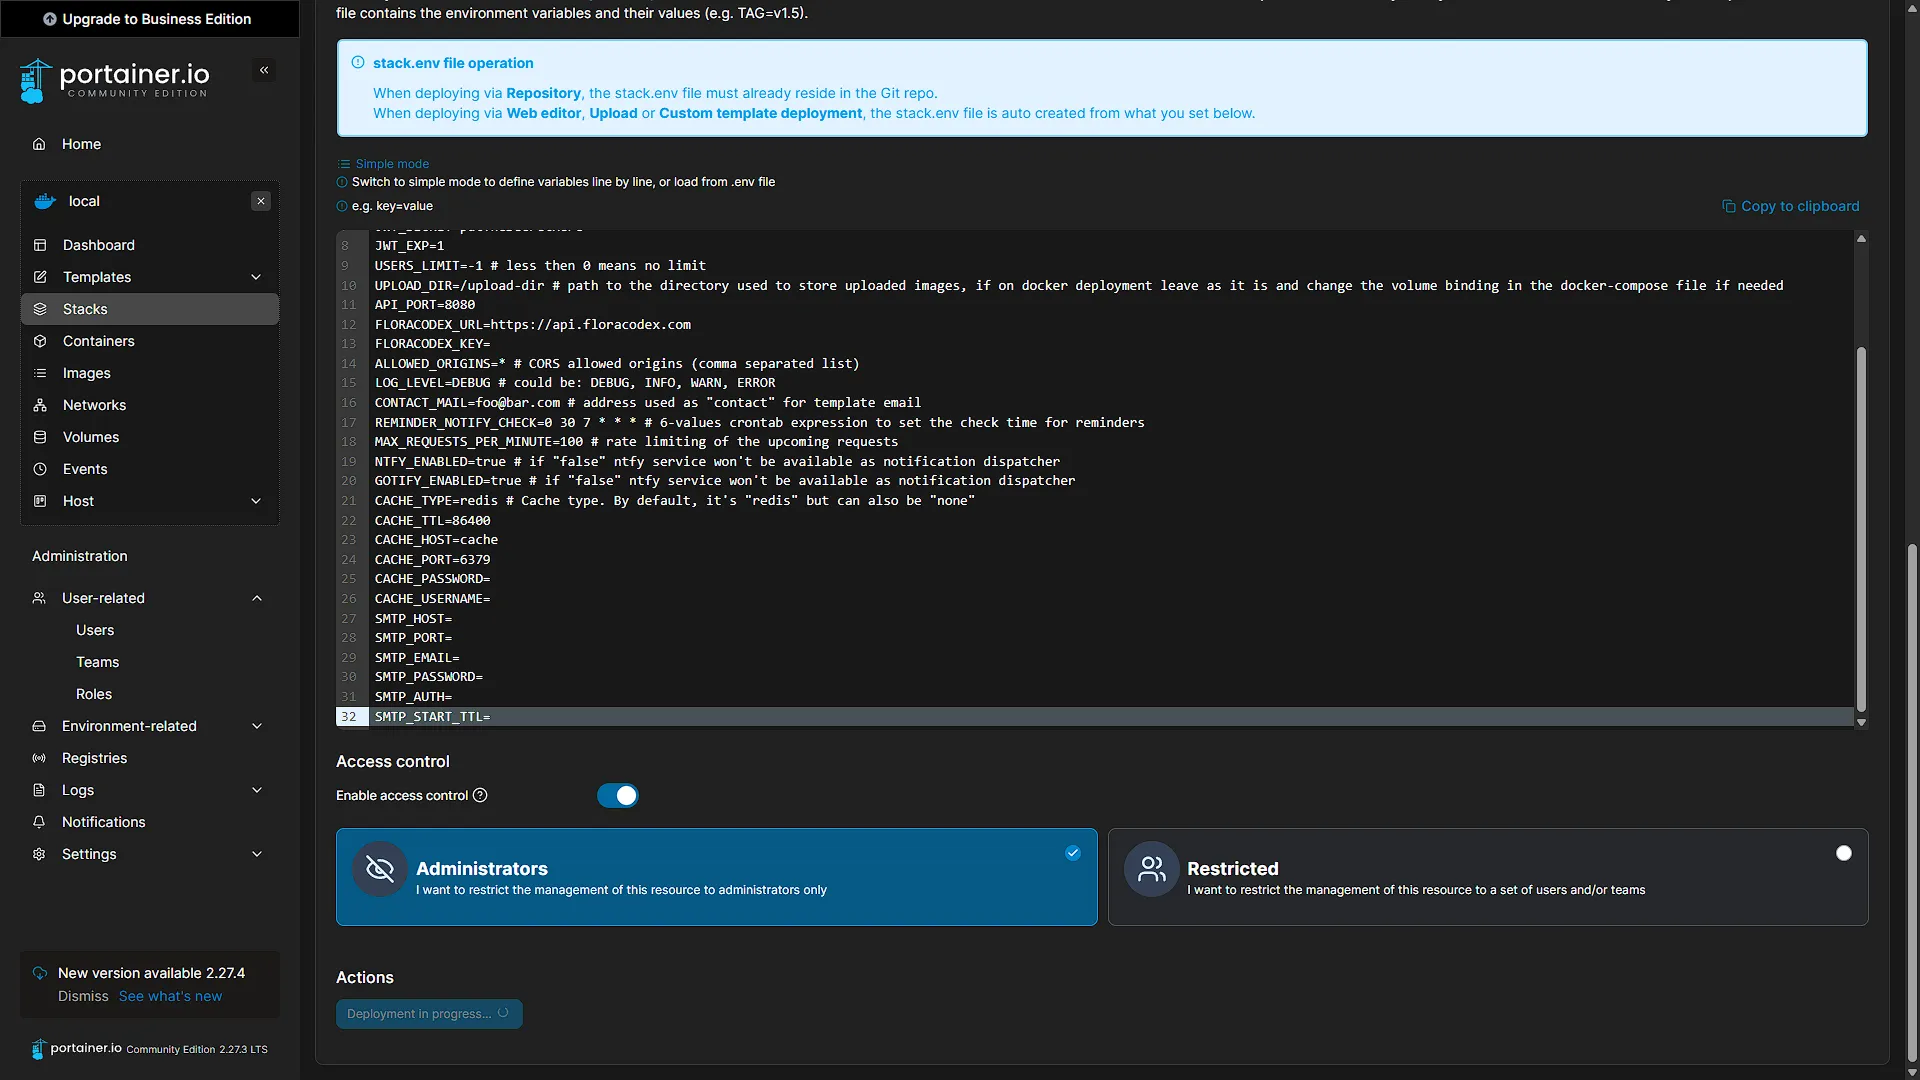
Next up we need to populate the stack.env file with the values from the official site's server.env file contents. In the Environments Variable section in Portainer, select the Advanced Mode. This will open a normal text editor for us to copy-and-paste the values from the Plant-it website:
#
# DB
#
MYSQL_HOST=db
MYSQL_PORT=3306
MYSQL_USERNAME=root
MYSQL_PSW=root
MYSQL_DATABASE=bootdb
MYSQL_ROOT_PASSWORD=root

#
# JWT
#
JWT_SECRET=putTheSecretHere
JWT_EXP=1

#
# Server config
#
USERS_LIMIT=-1
UPLOAD_DIR=/upload-dir
API_PORT=8080
FLORACODEX_KEY=
LOG_LEVEL=DEBUG
ALLOWED_ORIGINS=*

#
# Cache
#
CACHE_TTL=86400
CACHE_HOST=cache
CACHE_PORT=6379
You will see the comment parts will be removed (lines starting with #), this is not a problem. Before deploying, replace JWT_SECRET with a long, cryptographically random secret, for example one generated by openssl rand -hex 32. Never leave putTheSecretHere in place. Replace both sample database passwords (MYSQL_PSW and MYSQL_ROOT_PASSWORD) with strong passwords; keep the application database password consistent with the database configuration. Store the completed .env securely and do not commit it to a public repository.
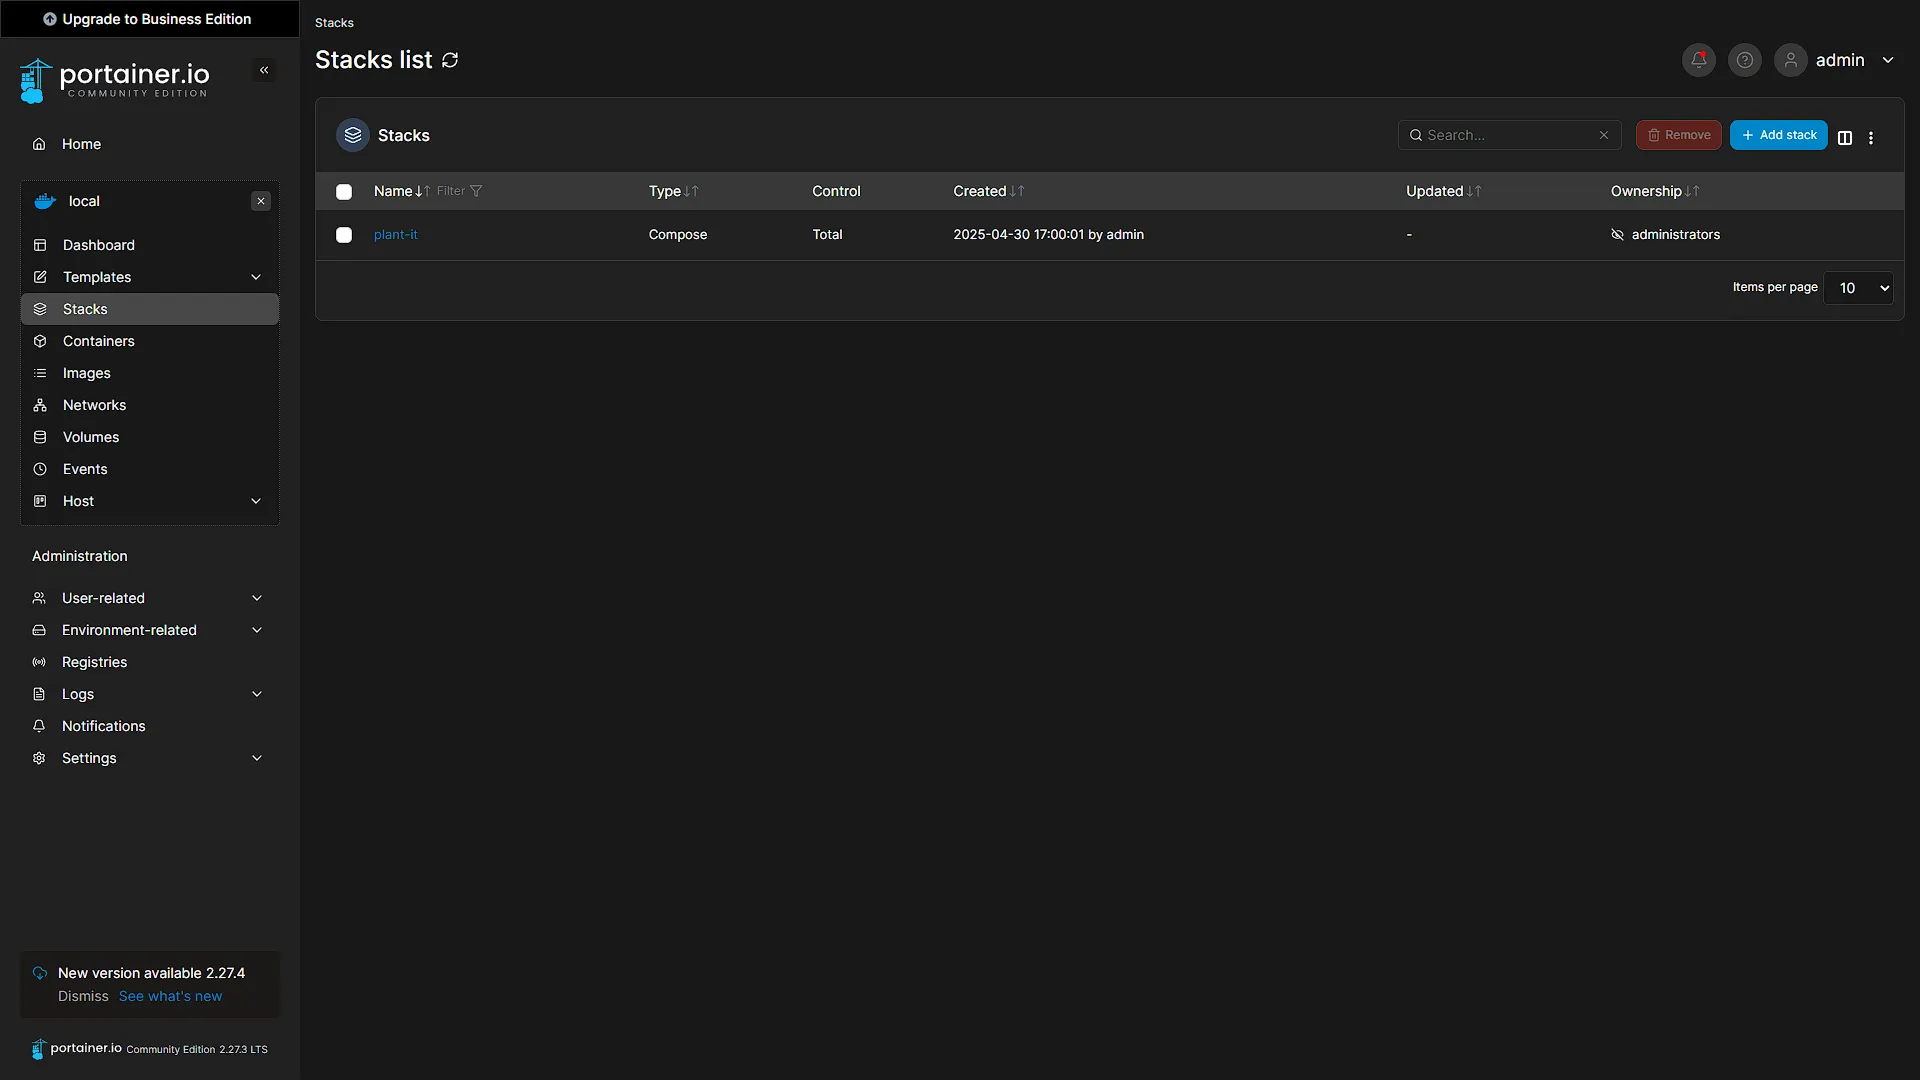
That's it, click the  button. The stack will now be deployed. Once done, you will be able to see it in the Stacks section of your dashboard where you will also be able to see the three containers that are within the stack.
Step 3: Access Plant-it
Once the stack has been deployed, be patient with the server part of Plant-it: it can take a few minutes to start up completely. Access the Plant-it front end from the Docker IP address on the port specified: in our case 3033. So the complete URL will be http://192.168.1.35:3033. The first screen will request you to input the server URL. Add the URL on the same IP address, but the 8080 port (which we changed to 8088), so http://192.168.1.35:8088. If there is an error message that the server does not exist, please just give it a few minutes for the server to start up completely.
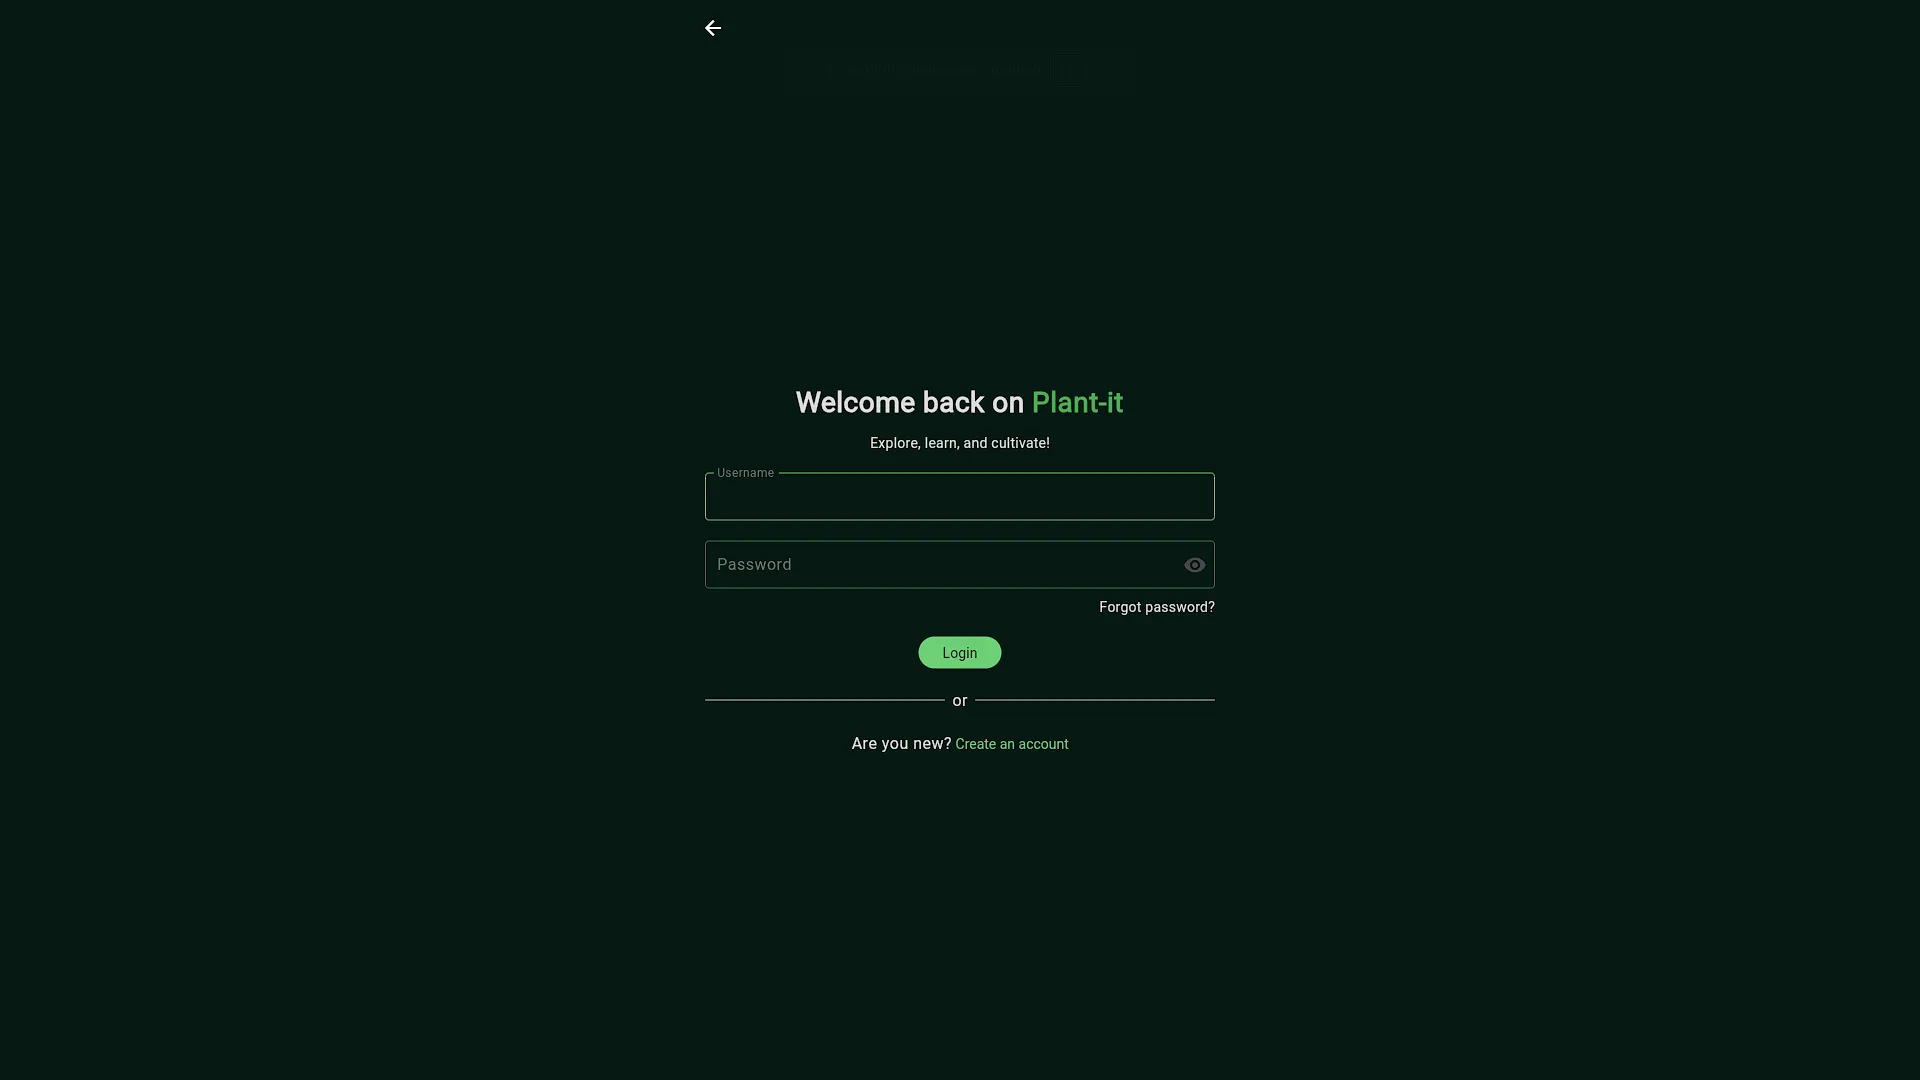
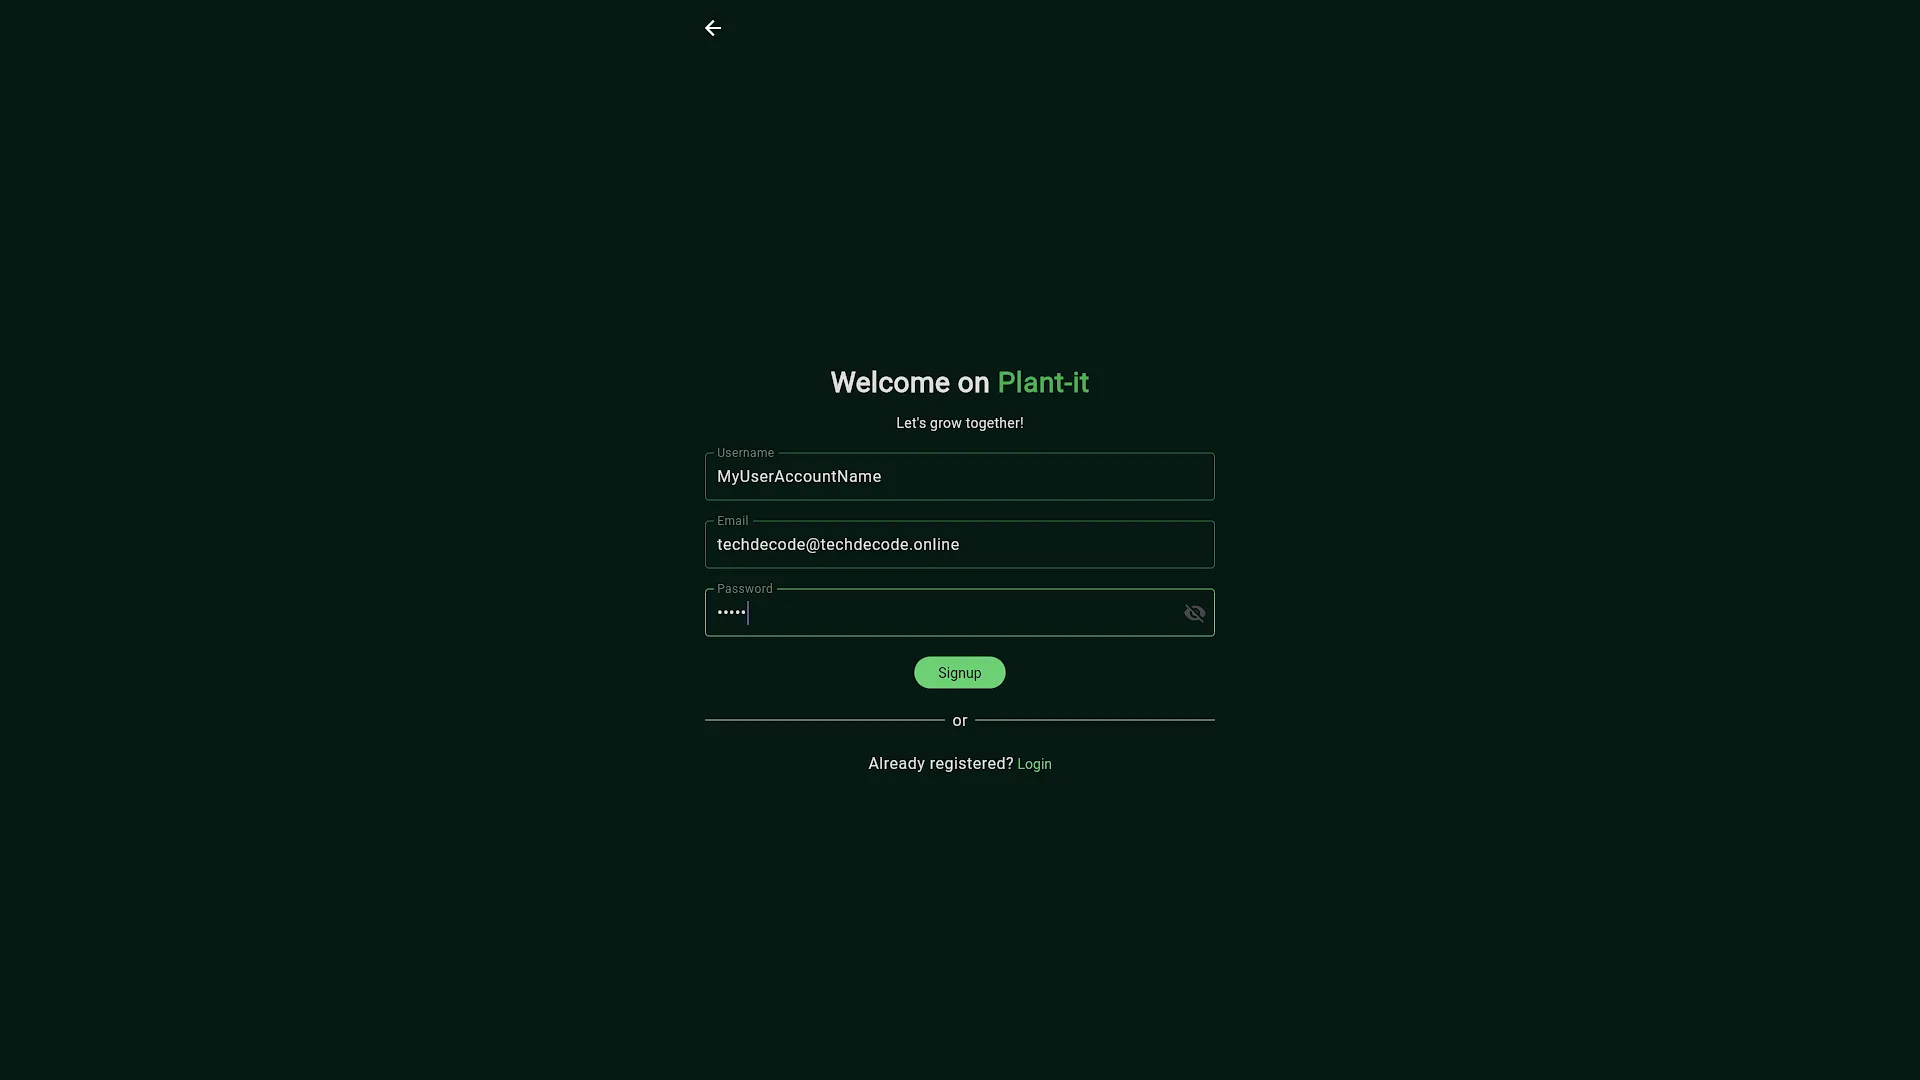
Once the server is set, you will be prompted to log in. We need to first create a user account, so click that and create a new user account.

Optional After the Walkthrough: Legacy Version, Storage and Secrets
This is the Docker alternative to Part 35's Plant-it 0.10.0 LXC. The demonstrated web/API edition has a backend, database and web frontend. Upstream Plant-it 1.0 changed to an Android-only architecture without that backend. Its current application is not a drop-in client or automatic upgrade for this legacy walkthrough. Keep a compatible legacy release when reproducing these screenshots; do not assume a moving latest tag preserves the photographed architecture.
The published host ports are 3033 for the frontend and 8088 for the API, mapped to container ports 3000/8080. Use the host ports in a browser or NGINX upstream, as Part 38 does. Service-to-service addresses inside a Compose network have a different role; they do not all use the host's remapped port.
The relative bind paths in the screenshot are historical examples. Before using important data, inspect the deployed mounts in Portainer and record where database files and uploads actually reside on the Docker host. For a new deployment, choose deliberate persistent paths using Portainer's supported method. For an existing deployment, replacing ./db with an empty absolute path is a data migration, not harmless tidying: it can create a fresh database.
Back up the database consistently and copy uploads before a planned storage move. Stop the relevant services, transfer the correct data with its permissions, update the mounts and test the restored application before retiring the old paths. Keep that recovery copy independent of the guest disk.
Replace sample secrets before the first real deployment. A randomly generated JWT secret should be stored privately with configuration backups. Rotating it later can invalidate sessions. Changing a MySQL password environment variable after database initialisation does not rotate the password already stored in MySQL; use the database's supported rotation procedure and update its clients together. Continue to Part 37 for the legacy configuration, then Part 38 for external access.
Further reading: Plant-it 1.0 architecture change, Portainer relative mounts.
Conclusion
We have now looked at two different ways of installing Plant-it. This article looks at using Docker and Portainer, where the previous article looked at installing Plant-it as an LXC Container. Either way, we still need to configure Plant-it, so whichever way it is installed, the next instalment will look at the Configuration and Reverse Proxy for Plant-it. Stay tuned for the exciting conclusion of our Plant-it service install.