Now that we have the hardware up and running, it is time to start installing our operating system for our homelab. We have decided to run Proxmox. Proxmox is an open-source virtualization platform that allows you to manage virtual machines (VMs) and containers (LXC) on a single interface. It's a popular choice for homelab environments due to its flexibility, cost-effectiveness, and powerful features. Let's get it installed on the machine so we can get started with the juicy part.
Installing Proxmox
Step 1: Preparing the Installation Media
- Download the Latest ISO
- Visit the Official Website: Open your web browser and navigate to the Proxmox Downloads page. Here you can download the latest version of Proxmox VE (Virtual Environment).
- Verify the Download: Once downloaded, check the file integrity using provided checksums (MD5 or SHA256) to ensure that the ISO has not been corrupted during the download process.
- Create a Bootable USB Drive
- Select a Tool: Tools like Rufus (for Windows) or Etcher (for macOS and Linux) can be used to create a bootable USB drive from the ISO.
- Prepare Your USB:
- Insert a USB thumb drive (ensure it’s at least 4GB and that any important data is backed up, as this process will erase the drive).
- Open Rufus and select your USB drive.
- Choose the downloaded Proxmox ISO file.
- Configure any additional settings (e.g., partition scheme: MBR for legacy BIOS or GPT for UEFI) based on your hardware requirements.
- Start the Process: Click “Start” to create the bootable media. Once finished, you have a ready-to-use install disk.
- Hardware Preparations:
- Plug in your home lab server, attach the USB drive, and configure the server’s BIOS/UEFI settings to boot from the USB drive. This may involve adjusting boot order or enabling legacy mode if needed.
Step 2: Installing Proxmox VE
- Booting Up and Selecting Installation Mode:
- Boot from USB: Power on your server. When the boot menu appears, select your USB drive as the boot source.
- Graphical Install Option: On the first screen, choose the “Graphical Install” option. This provides a user-friendly wizard interface to guide you through the installation process.
- License Agreement (EULA) and Basic Configuration:
- Accept the EULA: Even if the EULA screen appears blank or minimal, click “Accept” to move forward.
- Configure Settings:
- Hostname: Enter a hostname for your server. This could be something descriptive like “proxmox-lab” or “home-proxmox.”
- Static IP Assignment: It’s highly recommended to assign a static IP during installation. A fixed IP helps you avoid connectivity issues and ensures that your Proxmox management interface is consistently reachable.
- Router Configuration: Once a static IP is set, log into your router’s settings and reserve this IP for your Proxmox server. This prevents the router’s DHCP server from assigning it to another device.
- Disk Selection and Partitioning:
- Choose which disk to install Proxmox on. If you have multiple disks, ensure you select the one intended for the OS to avoid accidental data loss.
- Follow prompts to partition the disk. Proxmox’s installer typically sets up LVM (Logical Volume Manager) for flexibility, but review the options if you have specific requirements.
- Completing the Installation:
- The installer will copy files and configure the system. This process may take several minutes. Once complete, the server will prompt you to remove the installation media and reboot.
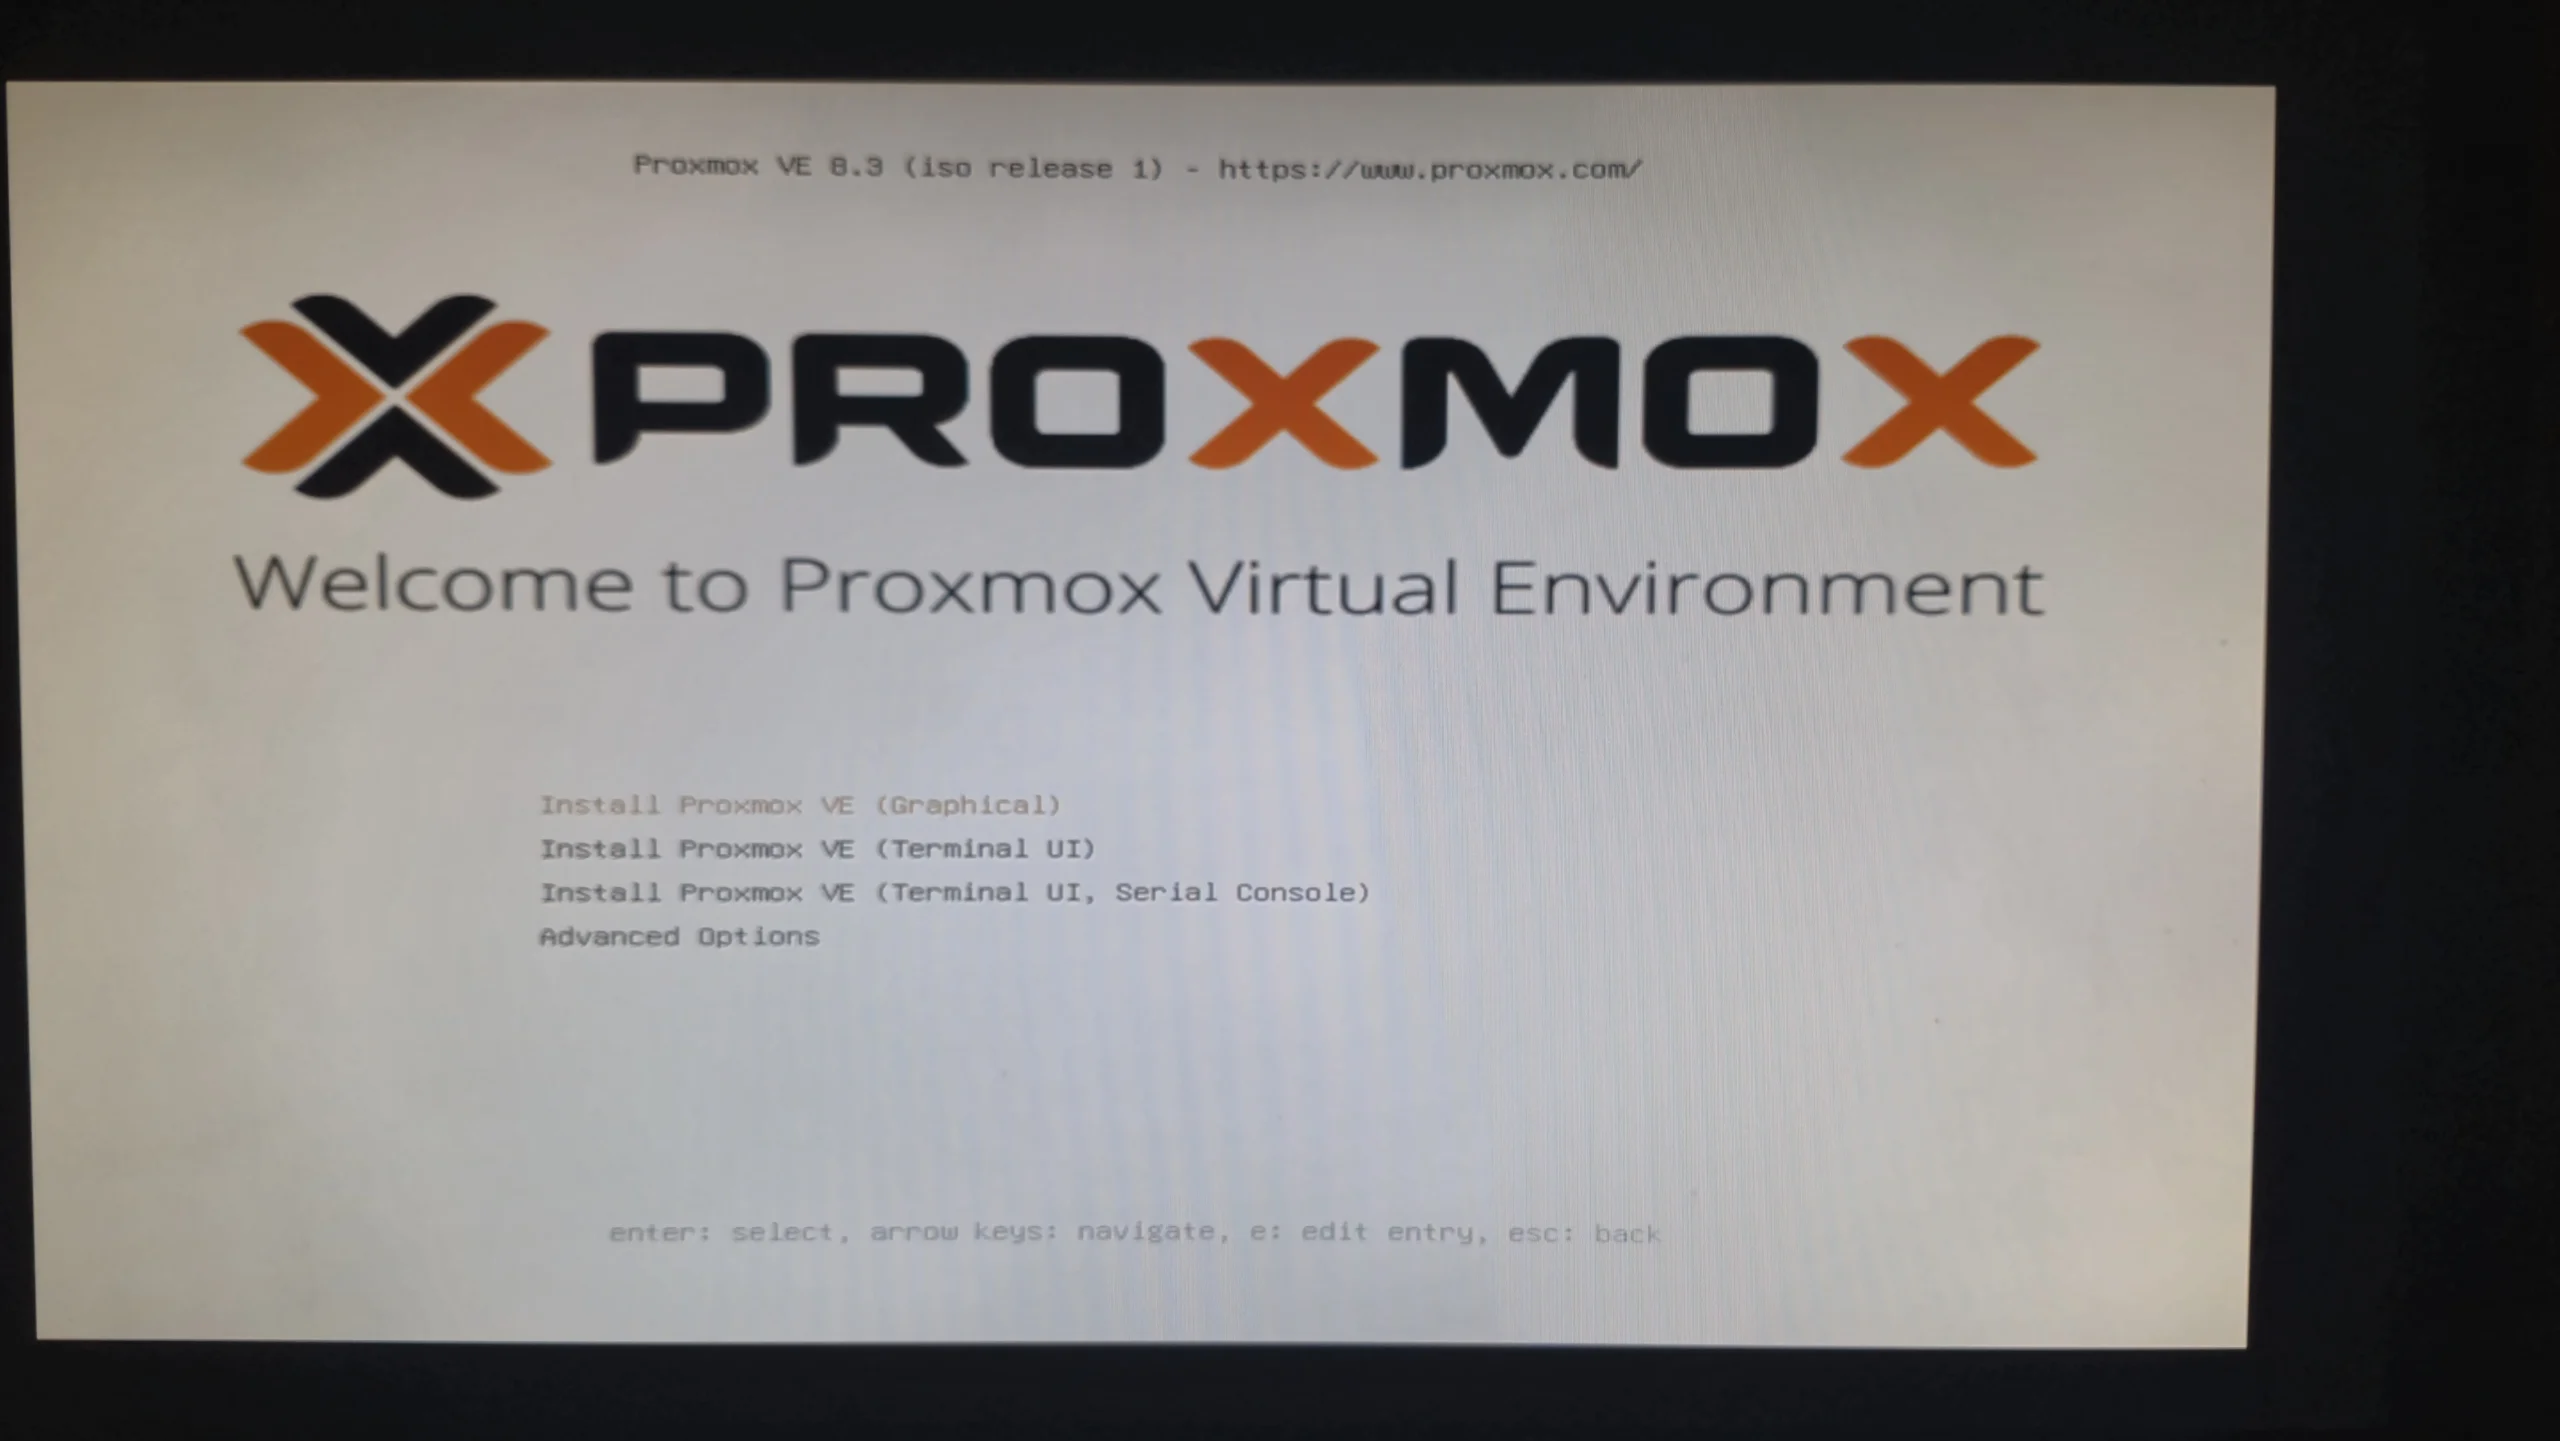
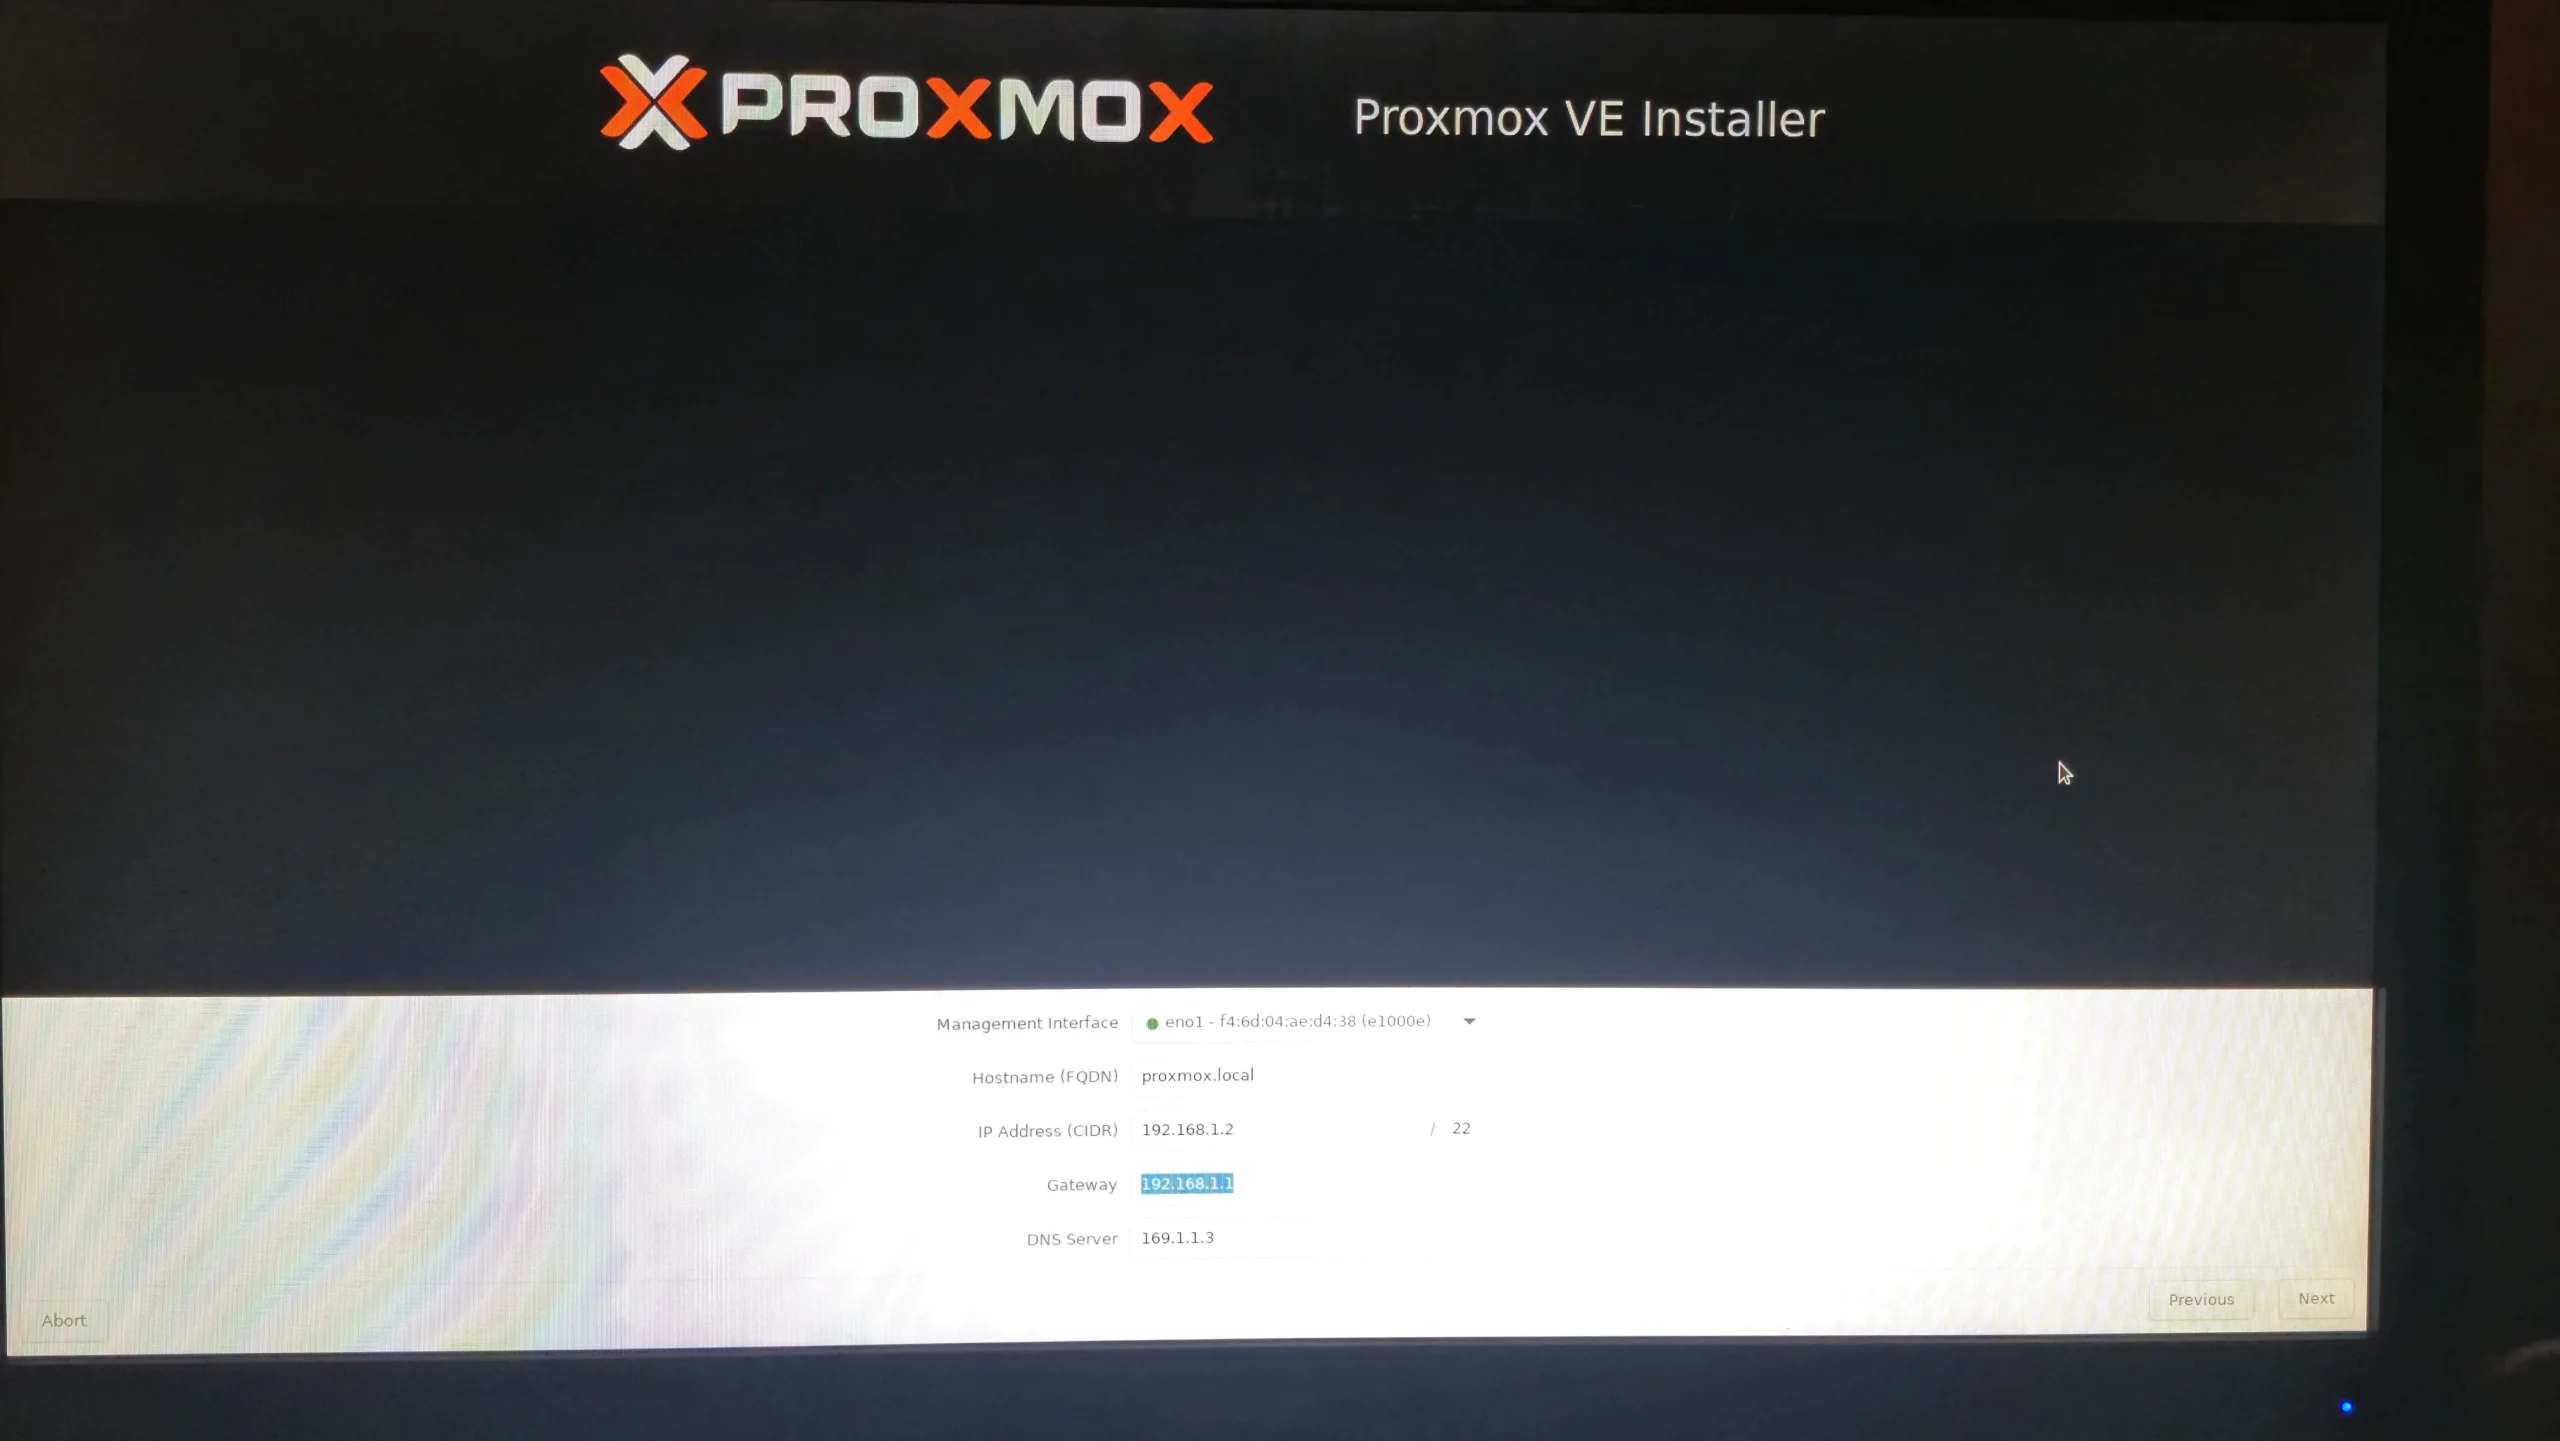
You can select any hostname you want and select a static IP (it will be beneficial). Also remember to assign the fixed IP on your router for the Proxmox Machine.
Step 3: Post-Installation Setup and Initial Configuration
- Accessing the Web Interface:
- Login URL: Open a web browser on another device on your network. Navigate to
https://<your-proxmox-ip>:8006(for example,https://192.168.1.2:8006). - Security Notice: Because Proxmox uses a self-signed certificate by default, your browser may warn you about the connection. Proceed by accepting the risk to access the login page.
- Login URL: Open a web browser on another device on your network. Navigate to
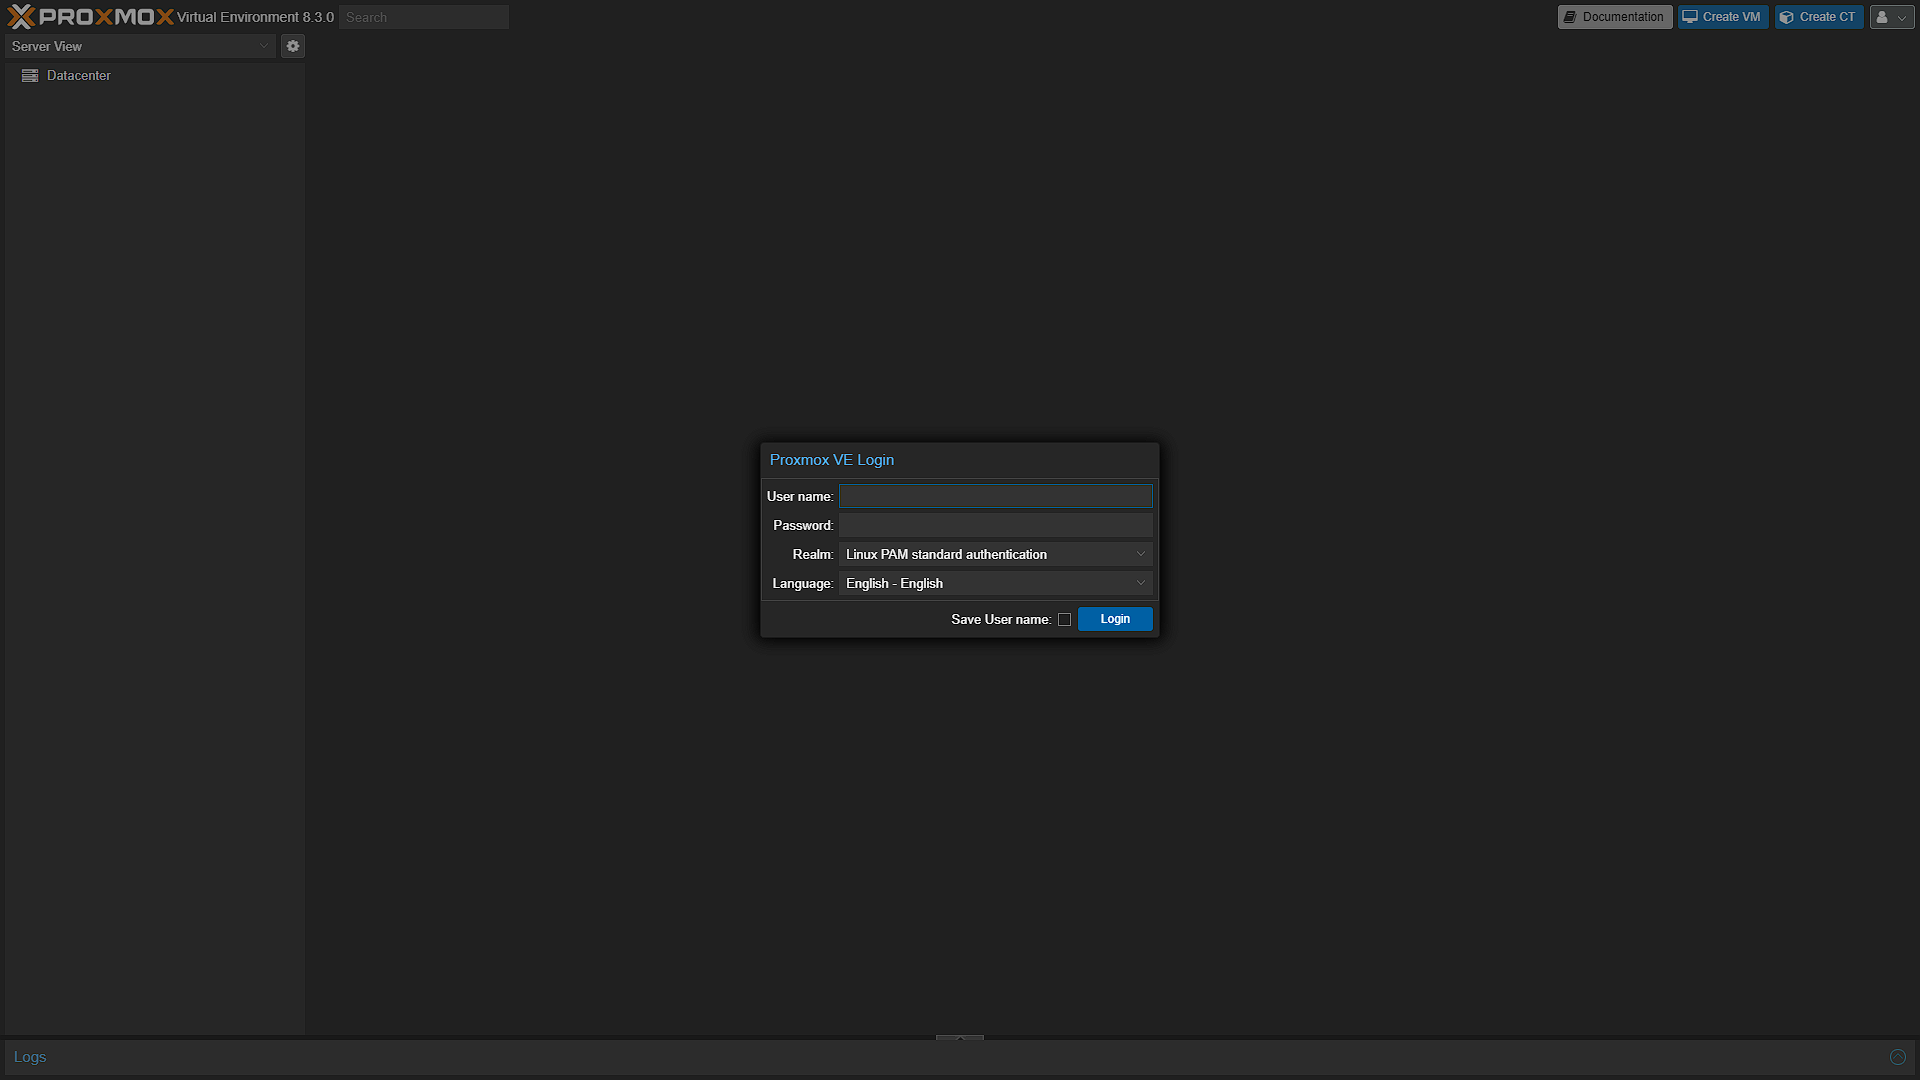
Logging In:
- Use the username
rootand the password you set during installation. - Once logged in, you will see the Proxmox dashboard, which provides an overview of your node’s status and available resources.
Configuring Storage and Disks:
- Navigating the Interface:
- In the left sidebar, click on “Datacenter” and then select the node (named after your hostname, e.g., “proxmox-lab”).
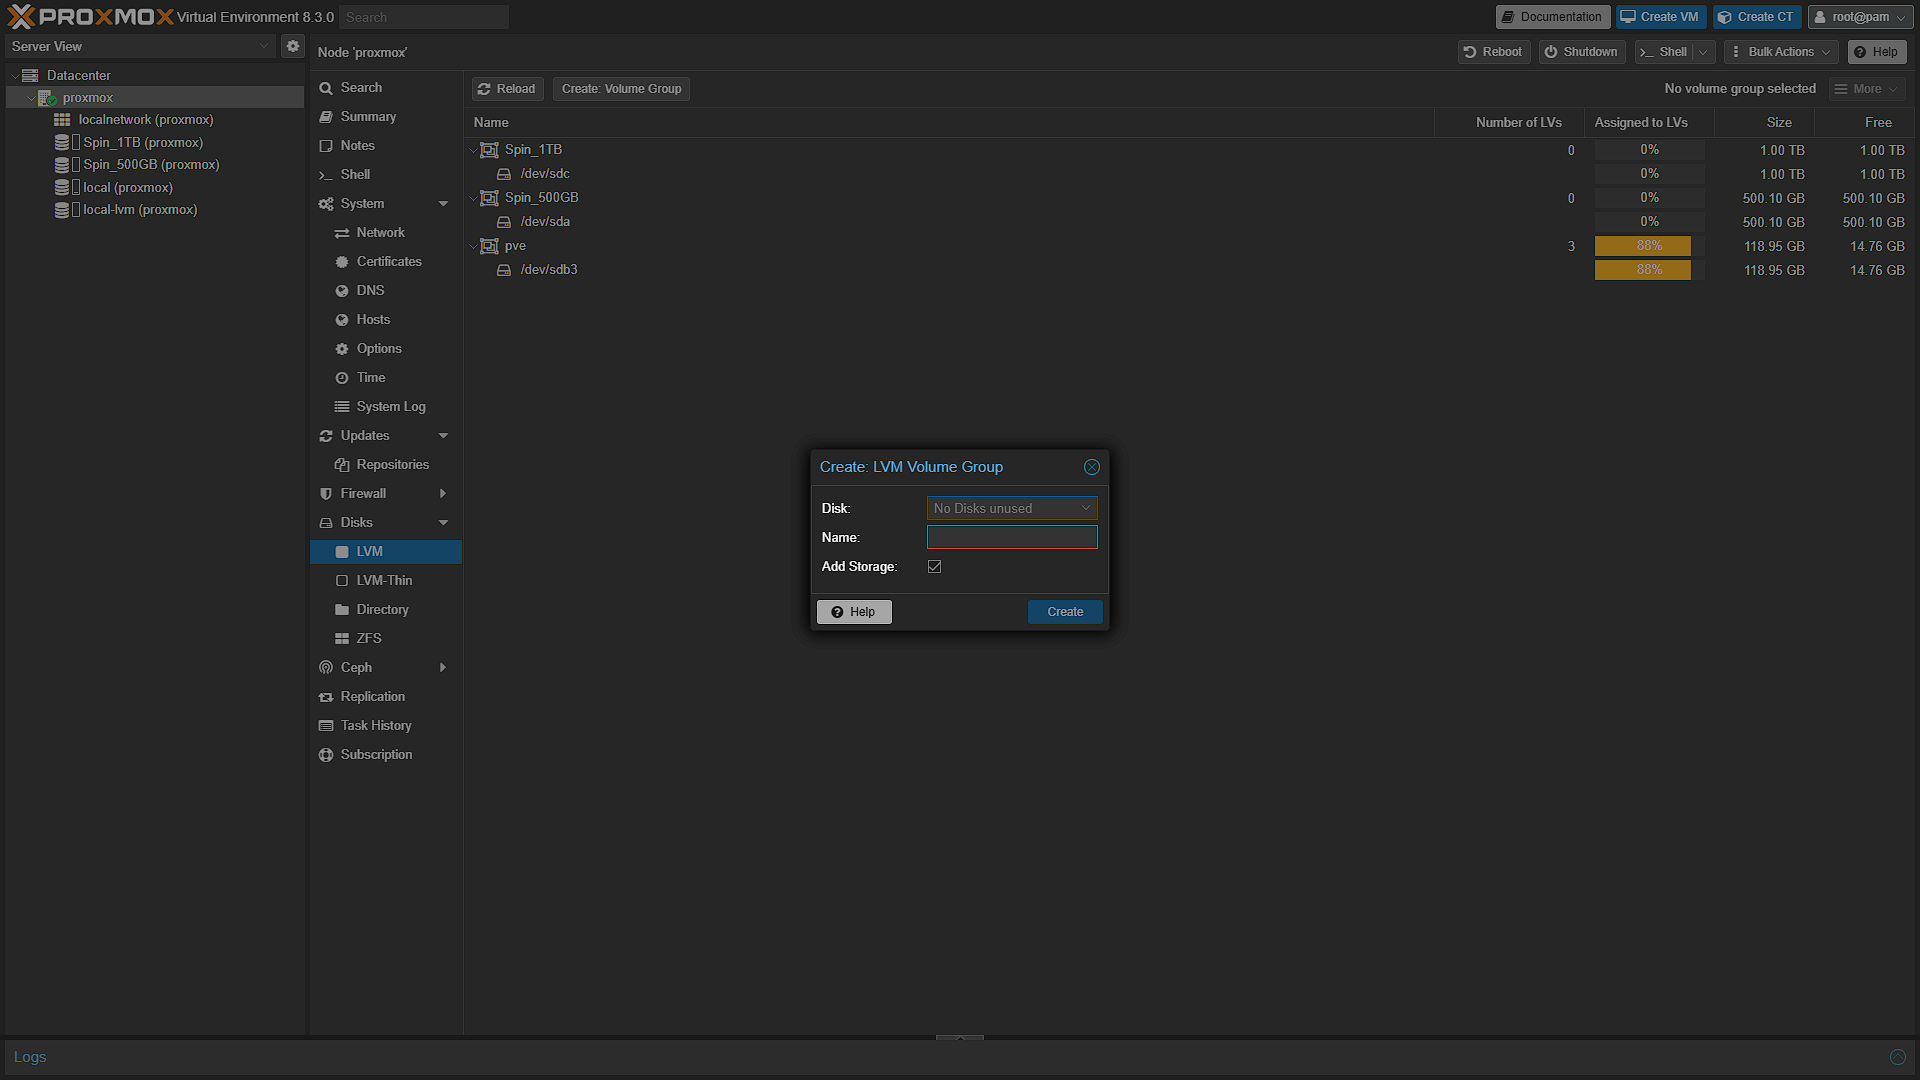
- In the second panel, look for the “Disks” section and select “LVM”.
- Adding Additional Disks:
- Here, you can see a list of available disks. Choose any disk that isn’t currently in use.
- Initialize the disk by assigning it a name and configuring it to be used as additional storage for virtual machine data or backups.
- Further Storage Options:
- For users with more complex setups, Proxmox also supports storage solutions like ZFS and Ceph. Explore these if you need advanced features such as data redundancy or distributed storage.
Step 4: Uploading ISO Files for Virtual Machines
- Preparing to Create VMs:
- To deploy virtual machines (VMs), you’ll need installation media (ISO files) for the guest operating systems.
- Uploading ISO Images:
- Storage Selection:
- In the Proxmox web interface, expand the Proxmox node in the left pane.
- Locate the storage option labeled “local” (do not use “local-lvm” for ISOs, as that storage is optimized for VM disks and containers).
- Uploading Process:
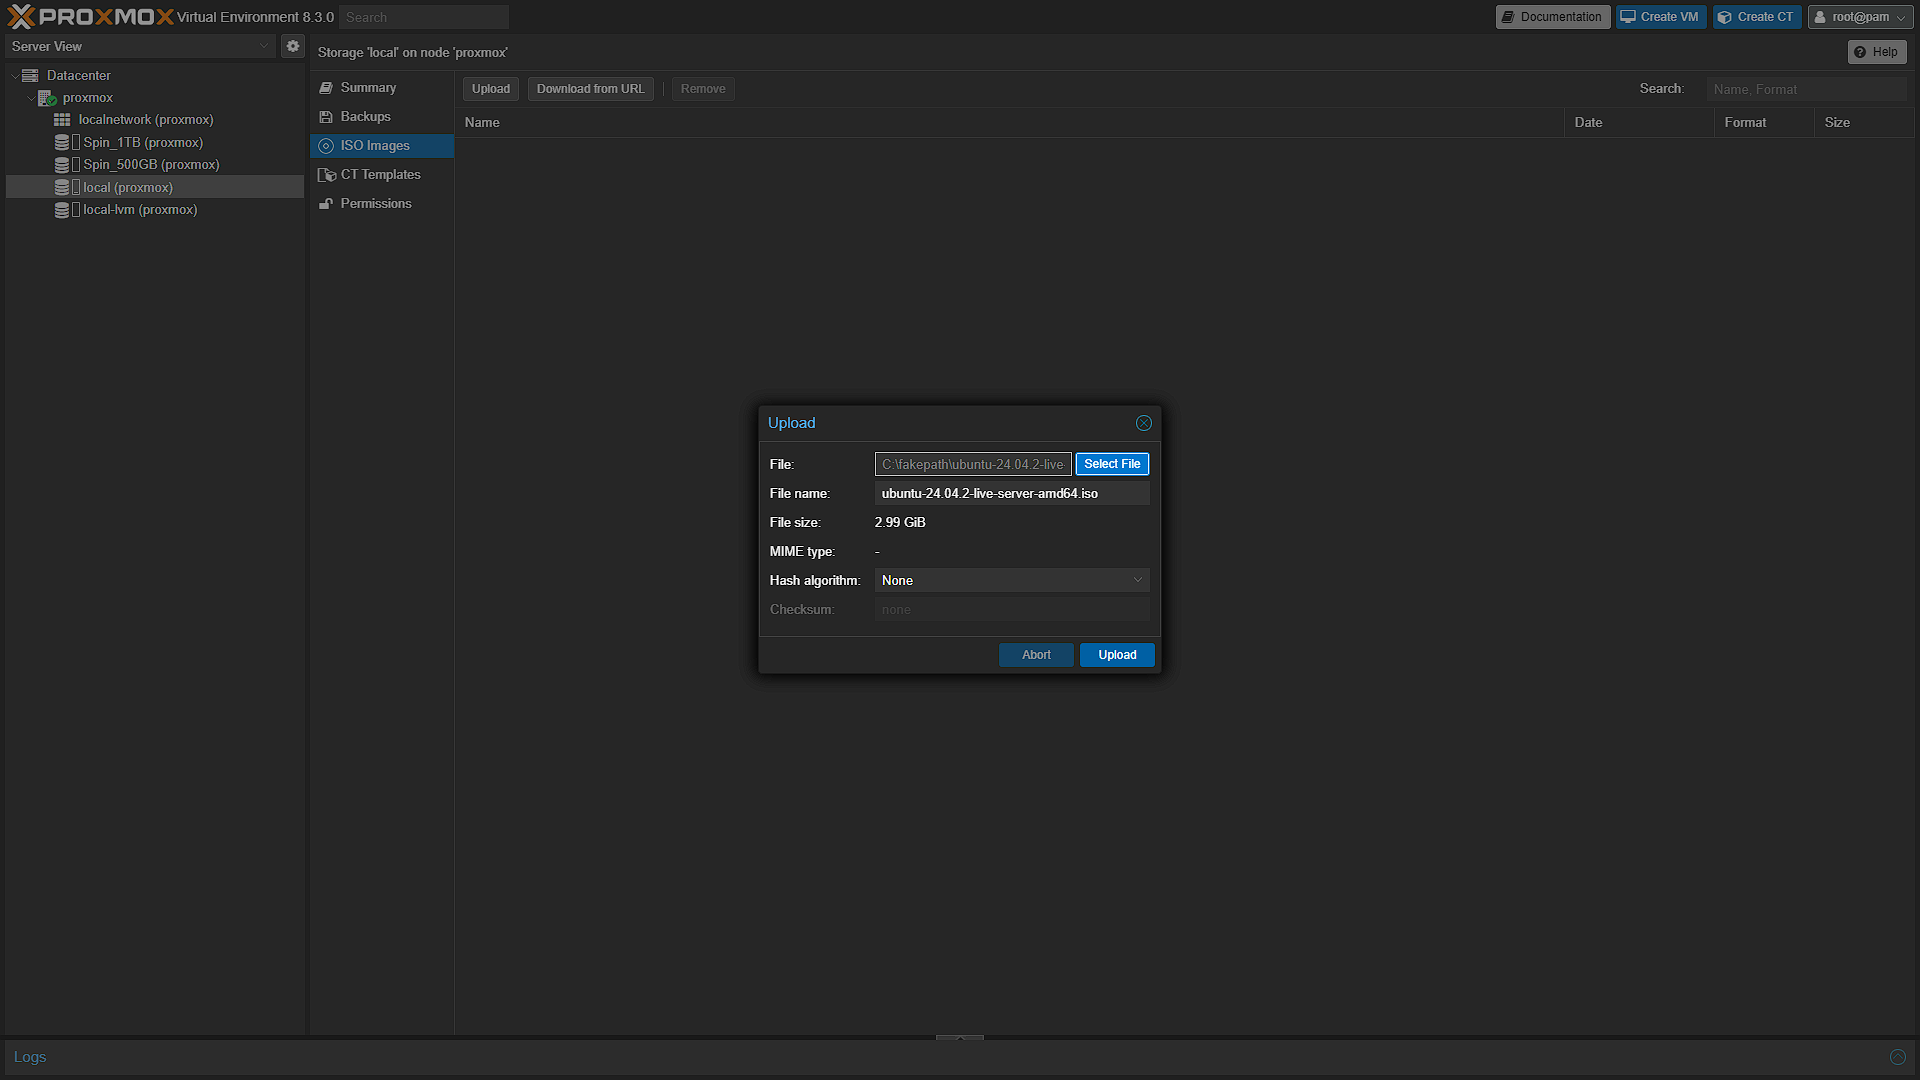
- Click on the “ISO Images” section, then use the “Upload” button.
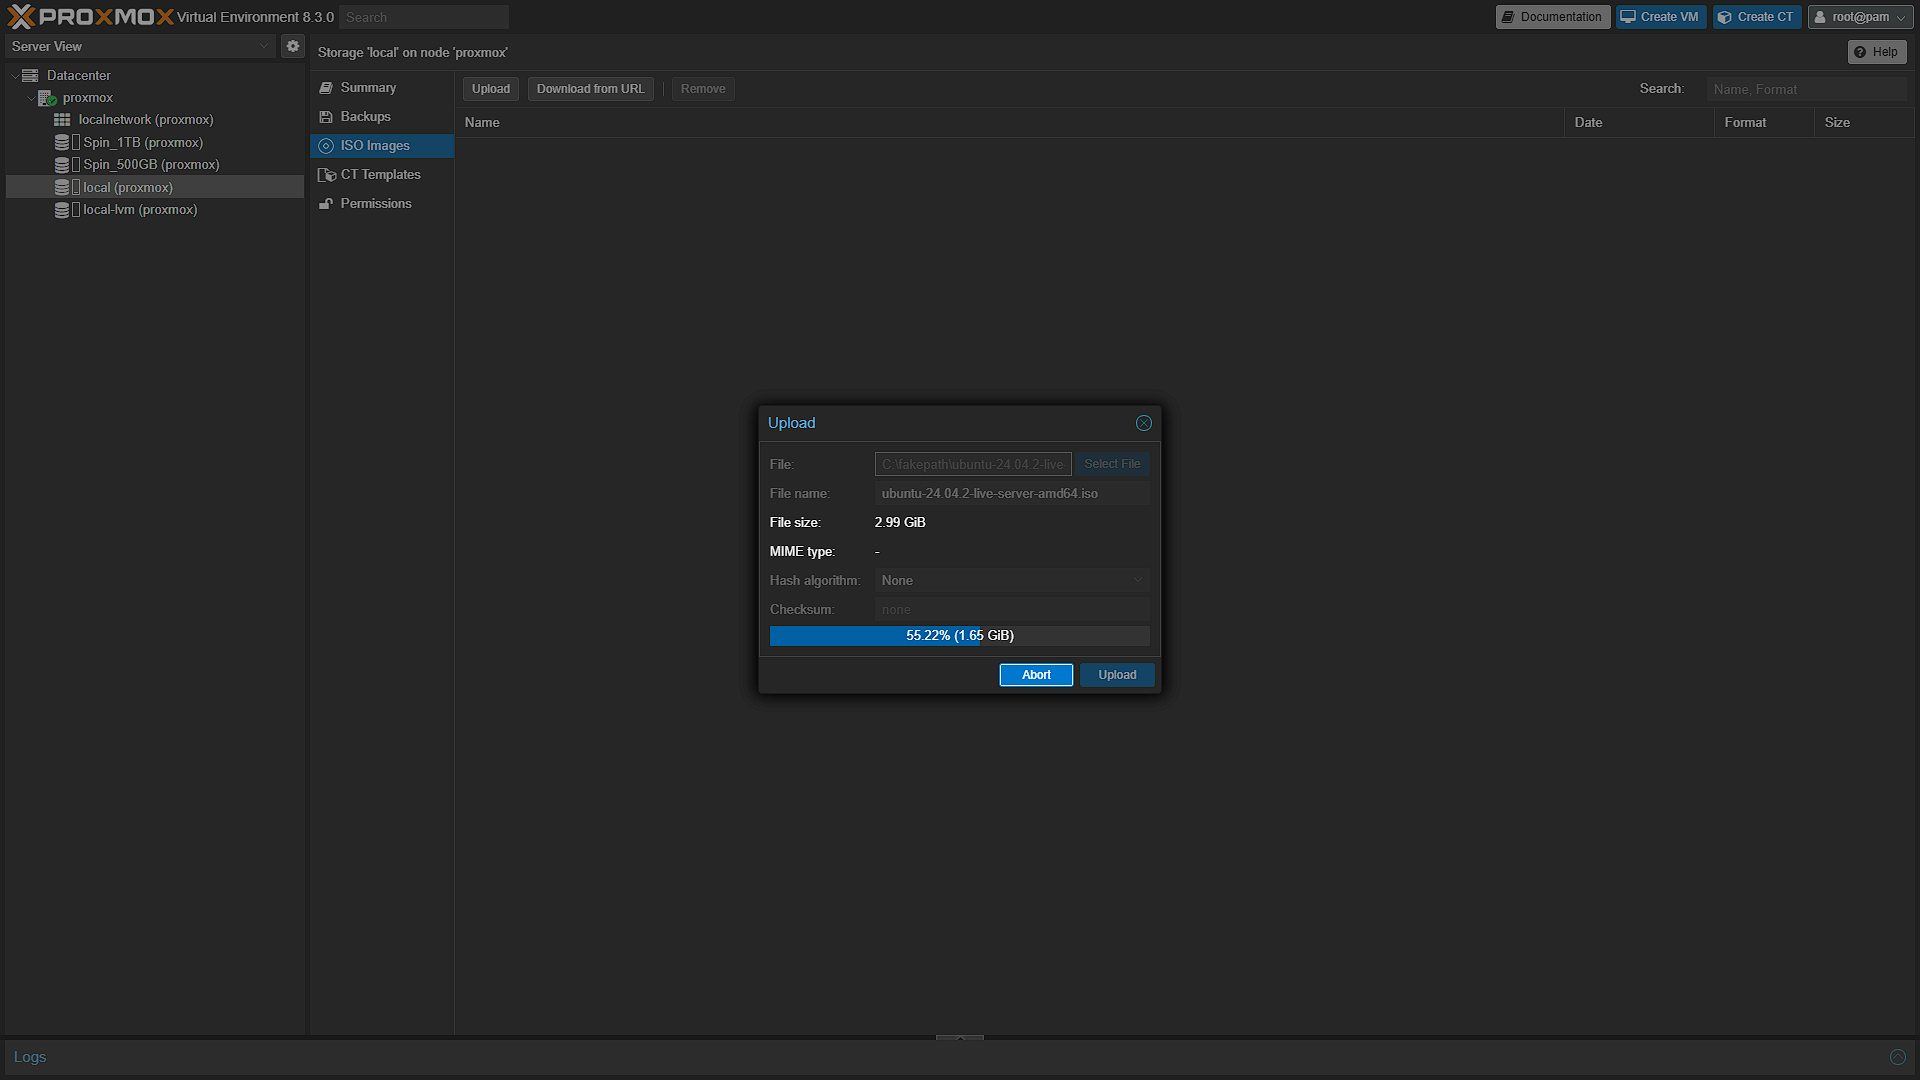
- Browse to the ISO file on your computer and select it. The upload process may take a few minutes depending on your file size and network speed.
- Verifying the Upload:
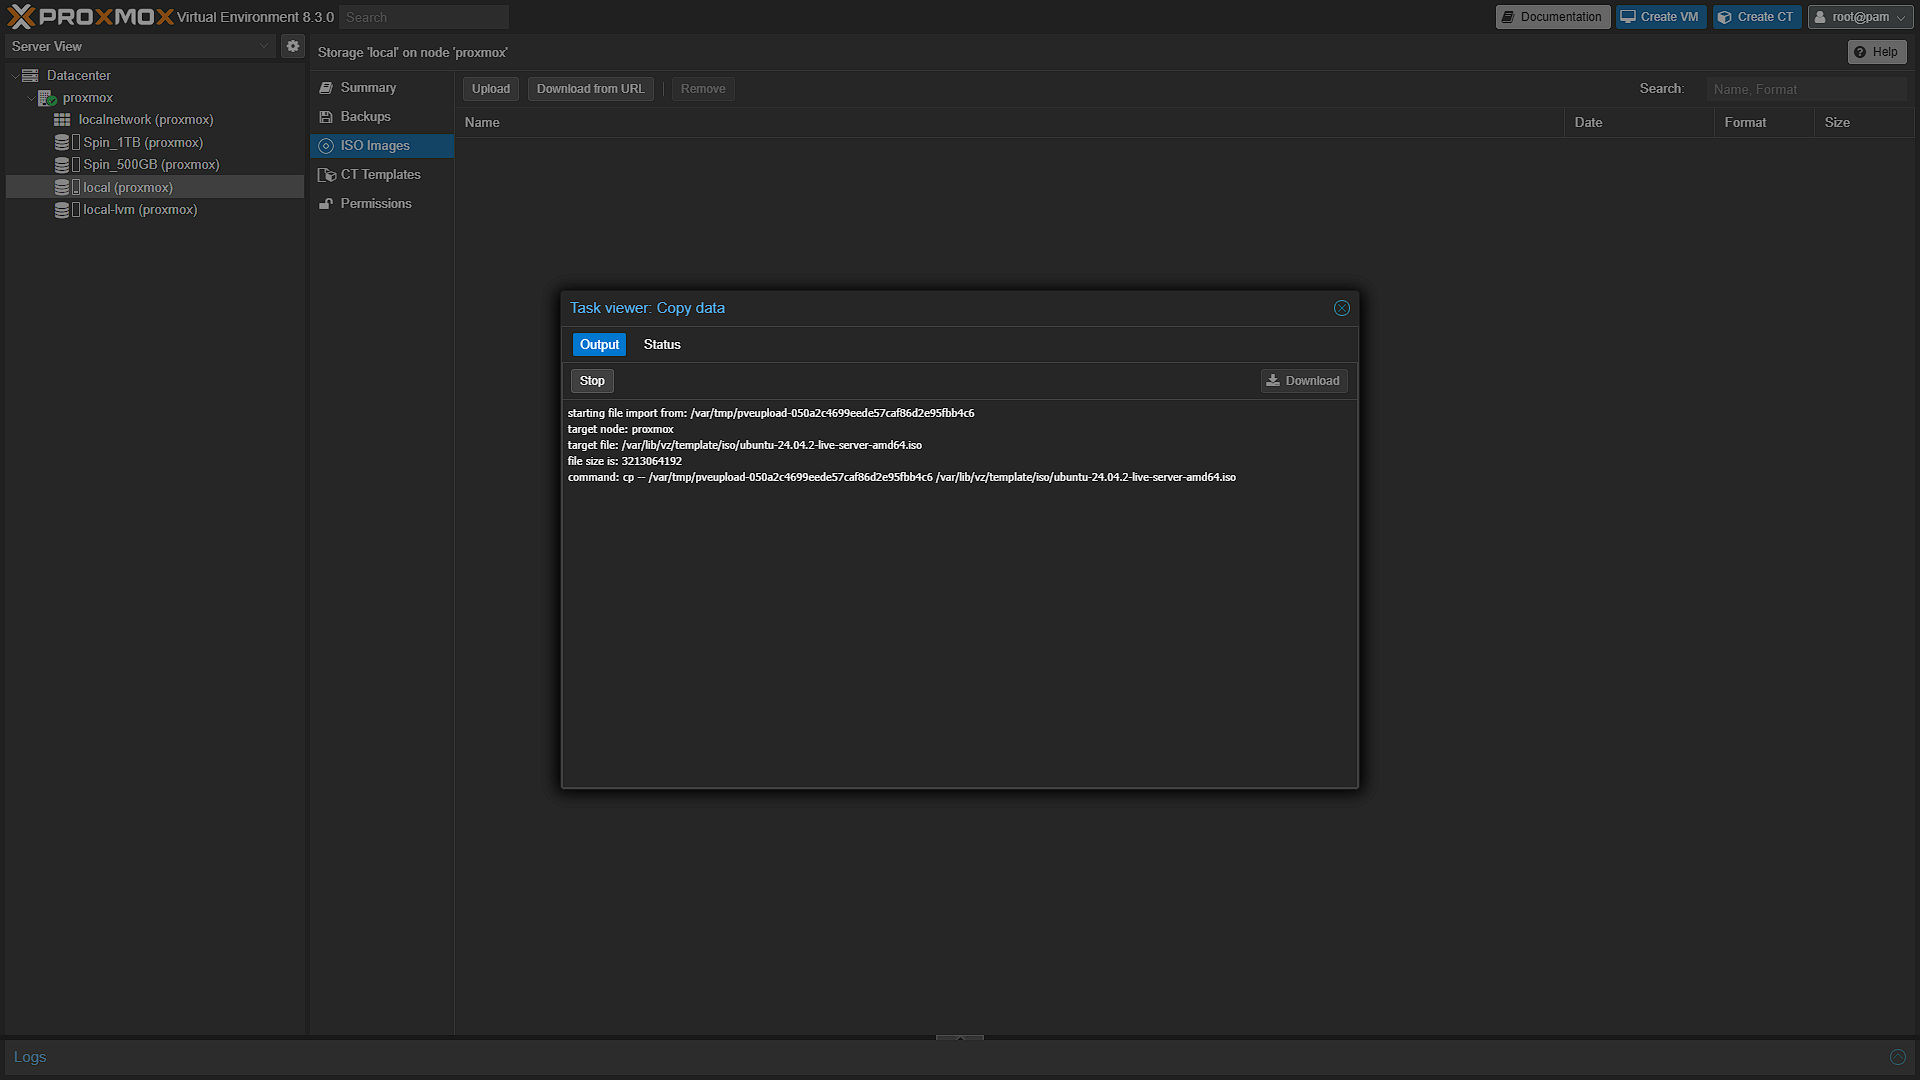
- Once uploaded, the ISO will appear in the list. You can now use it to create new virtual machines by selecting it during the VM creation process.
- Storage Selection:
Obtaining ISO Files:
- If you’re unsure which ISOs to use, a common choice for home labs is Ubuntu Server. This OS is lightweight, well-supported, and great for testing various applications.
- You can also use other distributions (such as CentOS, Debian, or even Windows Server) based on your lab’s requirements.
Congratulations, we are now ready to start creating and running VM's. This is great because we can now partition our one machine into multiple machines, each running their own service(s). In the next few days we will look at creating VM's, installing containers and getting our services up and running. Stay tuned!
Optional Steps
As an optional step, you can have a look at a Proxmox VE Post Install Script to automate some setup tasks in Proxmox for you. For a detailed look at these scripts, and the steps to get our preferred one up and running, view our Proxmox VE Post Install Script article.
Optional After the Walkthrough: Storage and First-Boot Checks
The installation screenshots remain the main procedure. Storage names describe this installation; another filesystem choice can create different entries. Before adding a guest, inspect Datacenter → Storage and the selected storage's allowed content types. A directory storage can hold templates and ISO files when those types are enabled. LVM-thin stores guest disks, rather than ISO files. ZFS-backed guest storage and a directory containing downloadable images are separate storage arrangements.
| Entry in this walkthrough | Purpose | Reader check |
|---|---|---|
| local | Templates, ISO files and other enabled directory content. | Check available space and content types before uploading. |
| local-lvm | Guest disks on the demonstrated LVM-thin installation. | Watch pool capacity as guests grow; thin allocation does not create unlimited physical space. |
| Additional storage | Optional disks or another configured backend. | Identify and back up the disk before initialising it. |
Repository configuration is worth checking after the first login. An enterprise repository requires the appropriate subscription; a no-subscription repository is another supported choice with different support expectations. The community post-install script is optional. Read its current source and prompts before accepting changes. Repository access, updates and removal of a subscription notice are different operations, so do not treat hiding a notice as fixing a failed update.
Adding or wiping another disk is also optional, not a missing installer step. Verify its identity against capacity, model and serial number and confirm that its existing contents are disposable. A disk used for guest storage is not an independent backup of those guests. Keep backups somewhere that survives loss of the host disk and test a restore before relying on them.
Before continuing, reopen the web interface at the recorded HTTPS address, confirm the selected node is reachable, and check that the storage intended for templates has enough space. Use a stable address or DHCP reservation so later DNS and proxy entries keep pointing to the same host.
Further reading: Proxmox administration guide.