Warm air leaving a PC carries heat from several components, including the CPU and often the graphics card. A CPU cooler moves heat away from the processor so it can operate within its intended conditions. Air and liquid cooling can both do that well; the right choice depends on the processor, case, workload and noise you will accept.
Air cooling: heatsinks, fans and heatpipes
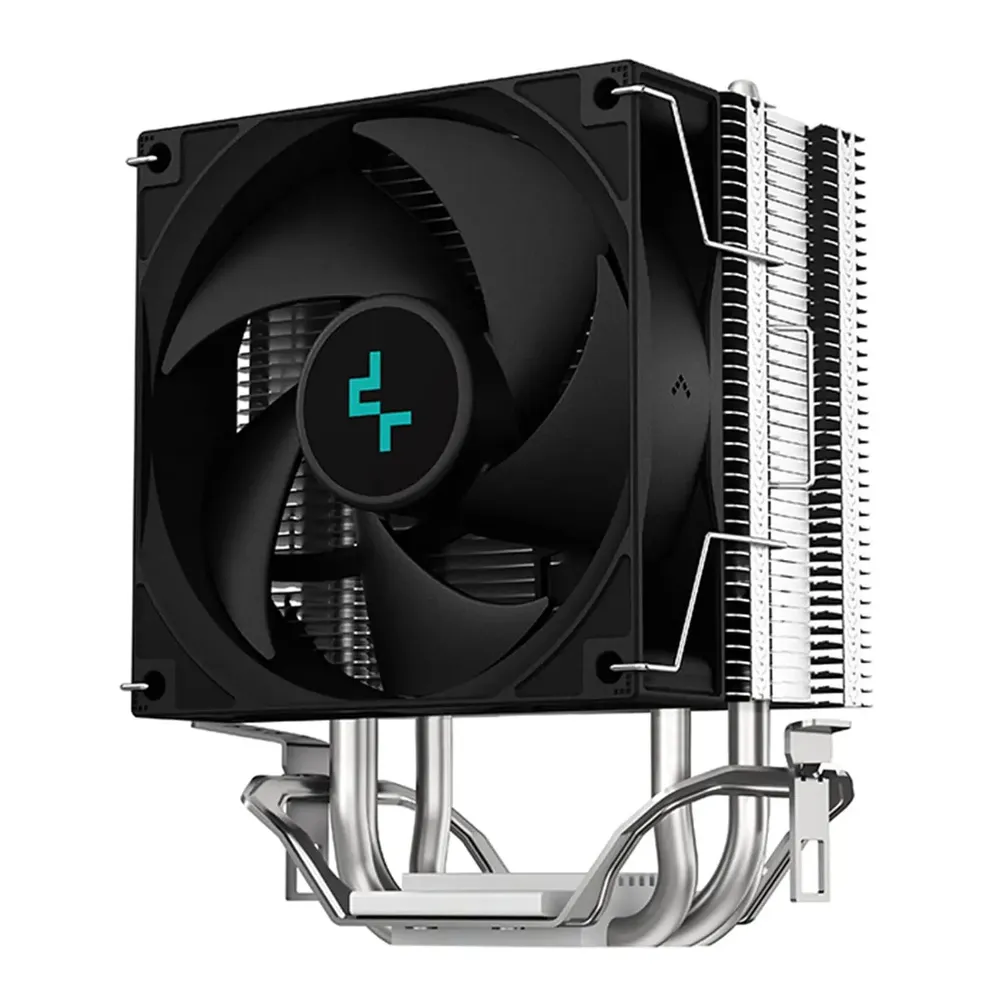
An air cooler transfers heat to fins, where airflow carries it away. A simple cooler may use a metal base and fin structure; many tower coolers add heatpipes to spread heat efficiently. Their fans still need a useful airflow path through the case.
A heatpipe is not merely a solid copper rod. It contains working fluid and a wick inside a sealed structure. Fluid evaporates near the heat source, transfers energy towards cooler regions, condenses and returns through capillary action. The process needs no mechanical coolant pump, although the cooler may still use one or more fans.
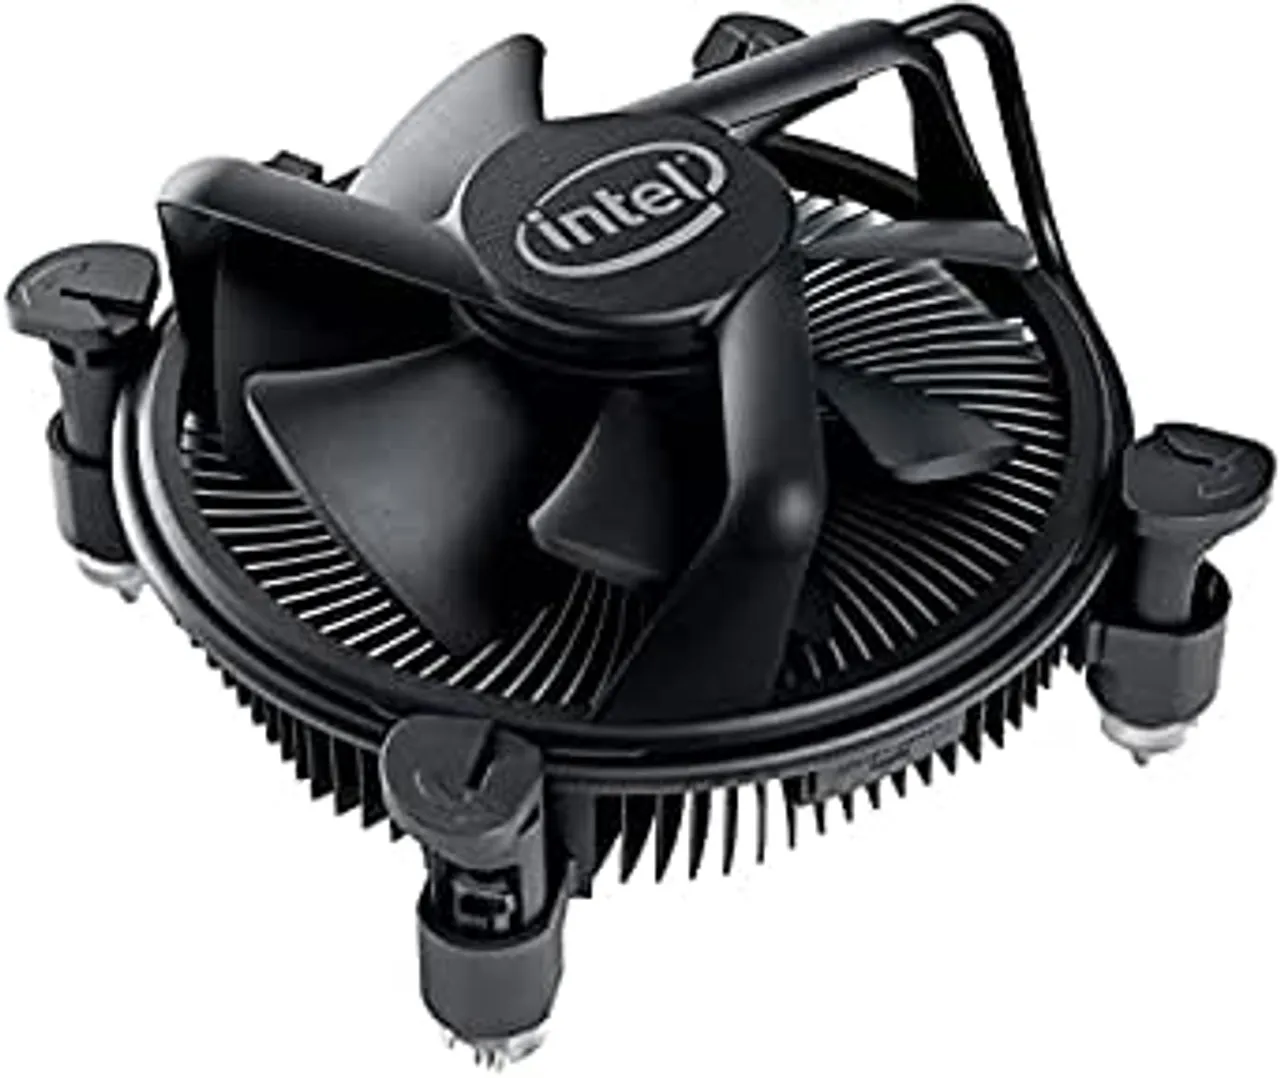
Some boxed CPUs include a cooler, but not all do, and it normally needs installation rather than arriving pre-installed on the processor. Check the exact package. Low-profile coolers suit limited-height cases, while larger towers can provide more fin area and different fan arrangements.
Air cooling remains attractive for a straightforward build. It can have relatively few components to maintain and replaceable fans. A large tower can also handle demanding workloads when appropriately matched; liquid cooling is not a requirement merely because a CPU is marketed for gaming.
Liquid cooling: AIO versus custom loop
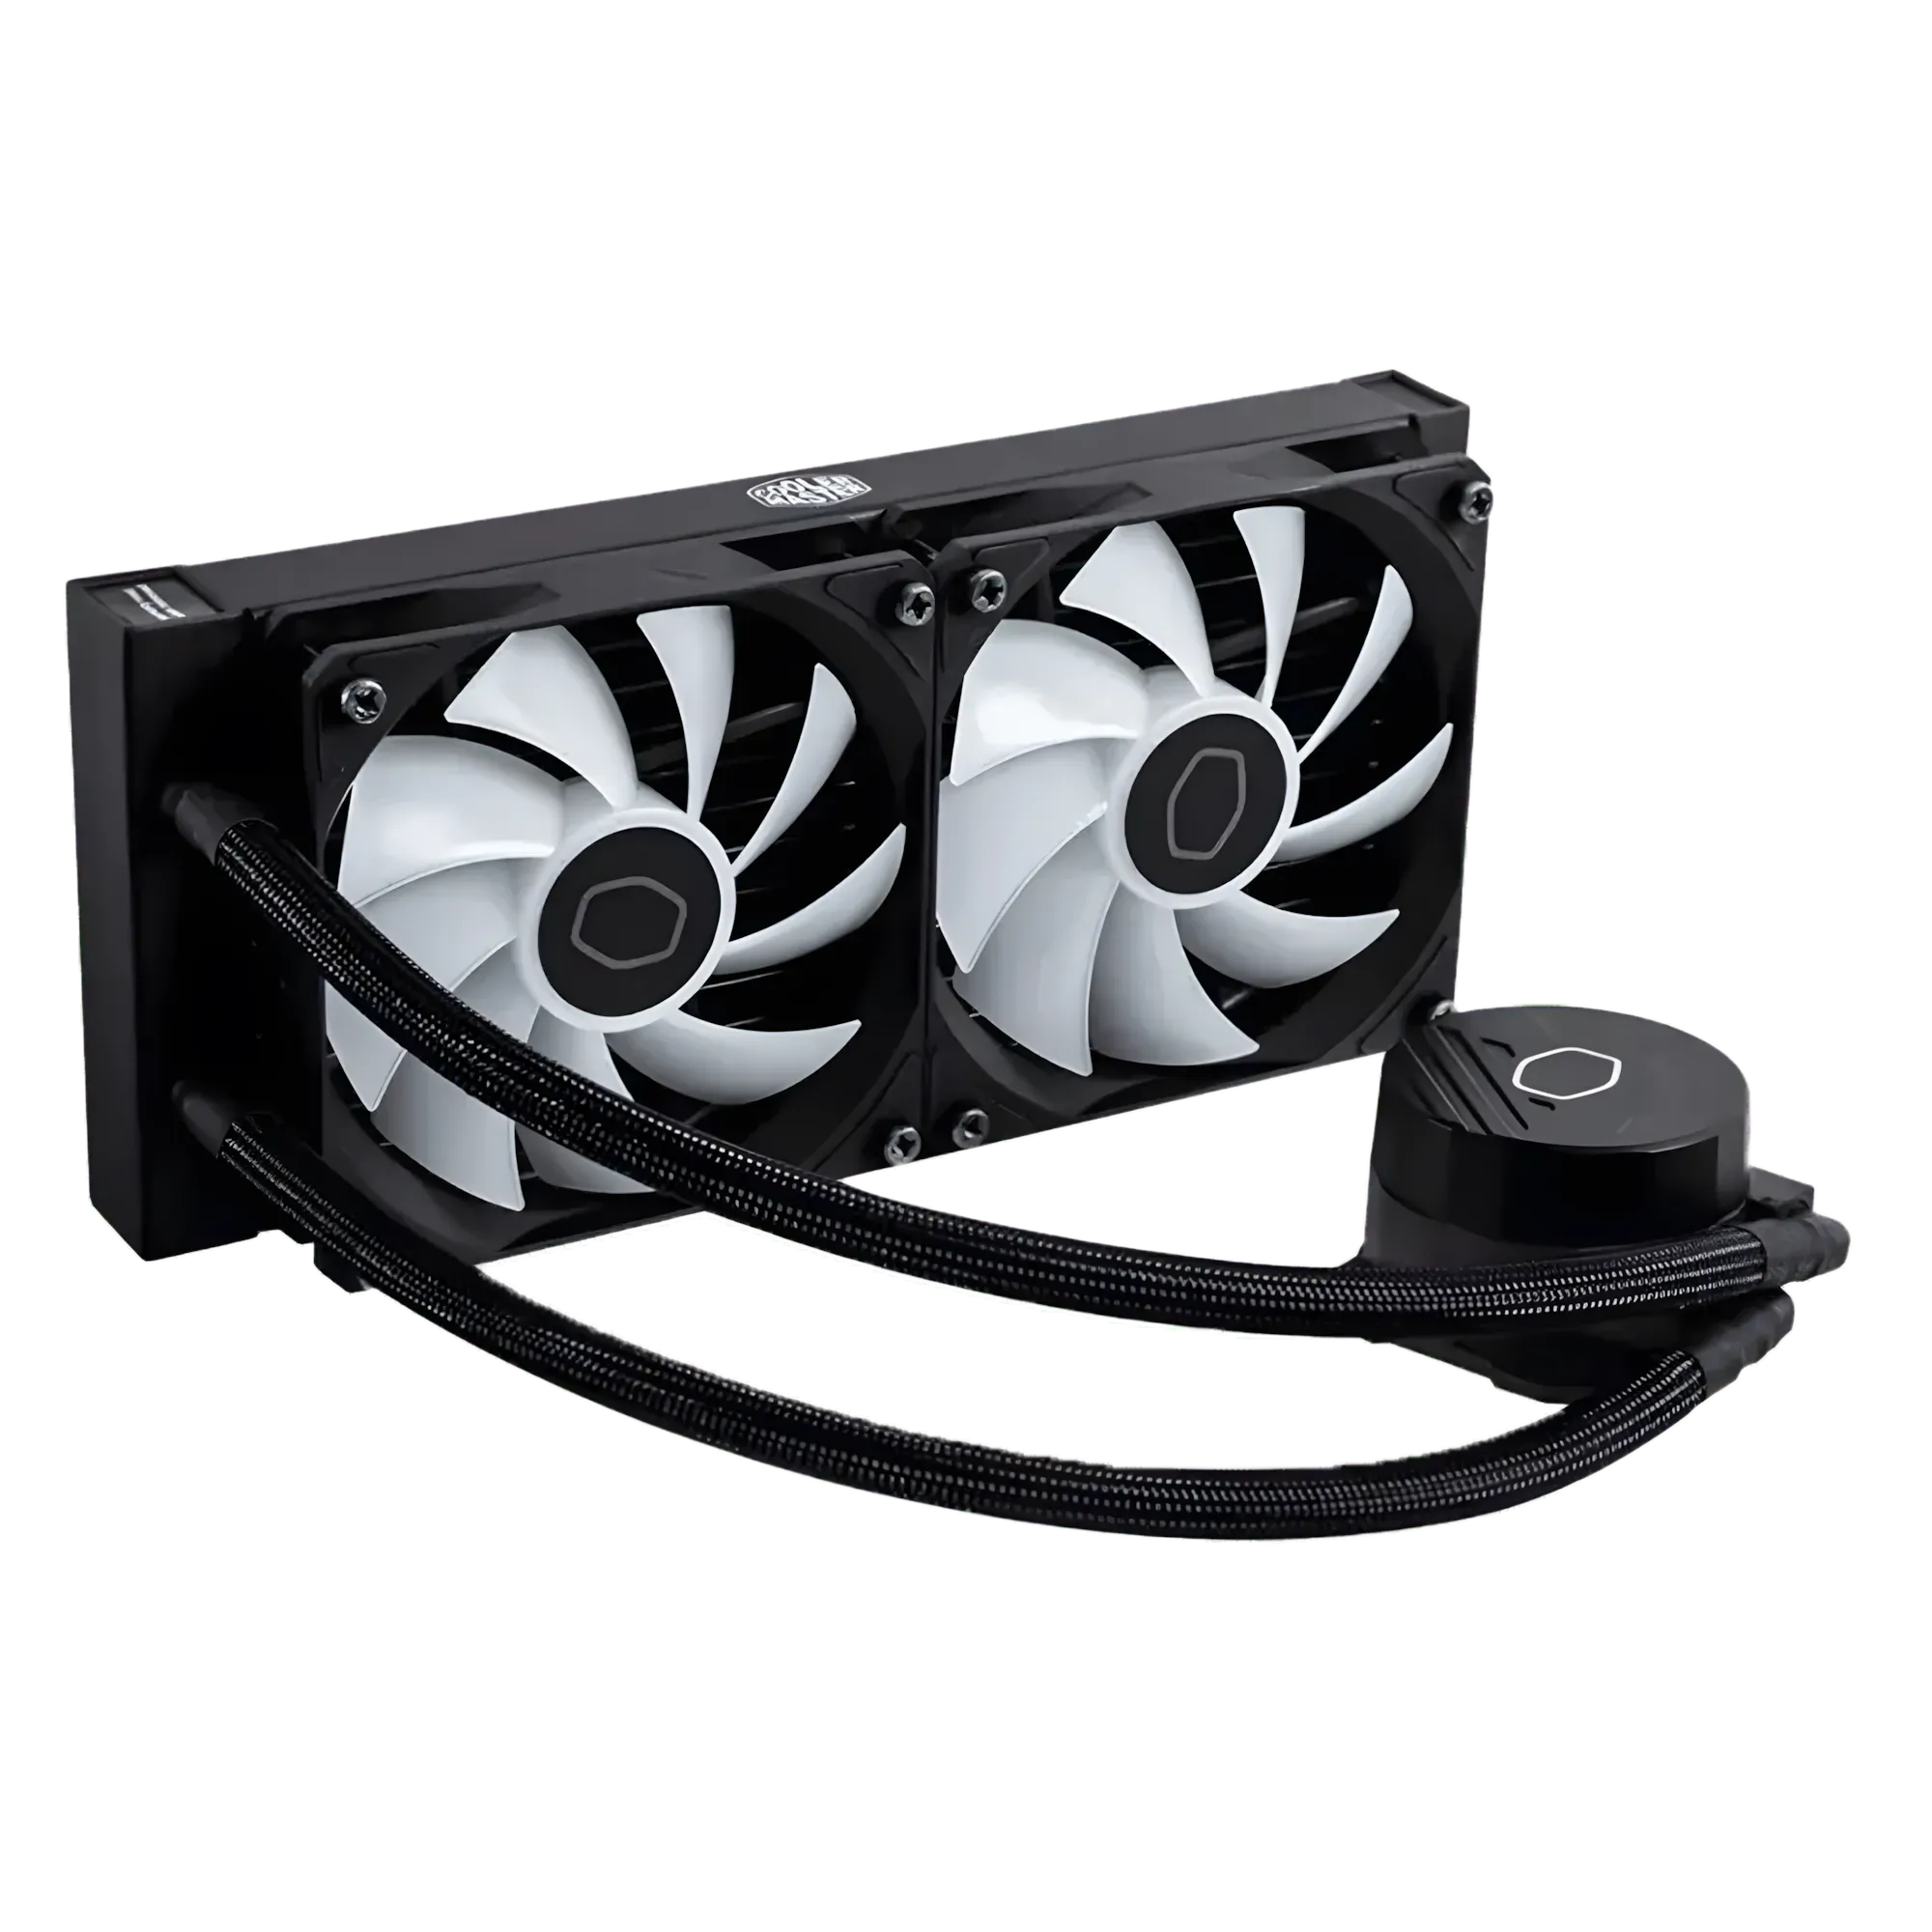
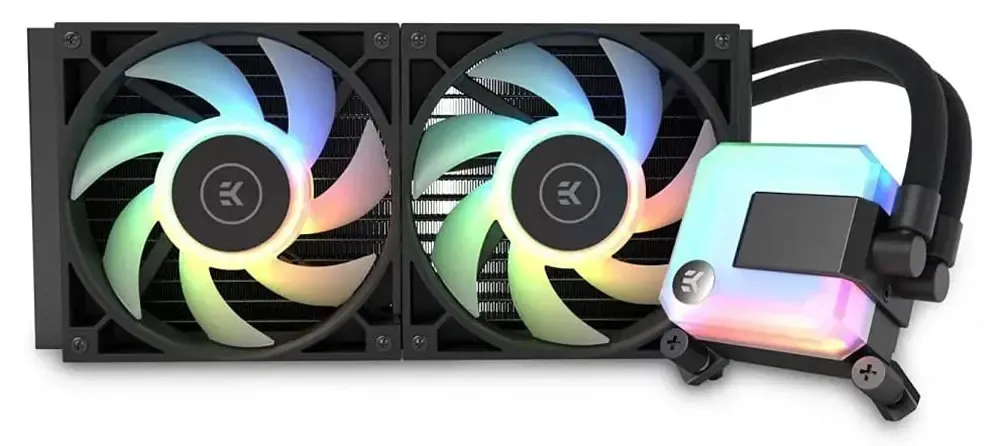
A pumped liquid cooler moves heat from a cold plate to a radiator through circulating coolant. Fans then transfer that heat to air. In ordinary PC installations the radiator mounts within the case's supported positions, rather than necessarily sitting outside the chassis.
An all-in-one, or AIO, provides a factory-assembled cooling circuit. A custom loop uses separately selected components and requires its own filling, leak-checking and maintenance process. These should not be given the same routine-service instructions.
Many AIOs are sealed products without routine user refilling. There are exceptions: be quiet!'s Pure Loop documents an accessible refill port. Follow the exact manufacturer's instructions rather than opening a sealed cooler because a generic guide says to check its coolant level.
A larger radiator can be useful for sustained heat loads or a chosen noise target, and a compact CPU block may clear tall RAM. It also adds a pump, tubing, radiator and mounting requirements. Neither lower temperature nor quieter operation is guaranteed solely by the liquid-cooling label.
Compare the complete designs
| Consideration | Air cooler | AIO liquid cooler |
|---|---|---|
| Space | Check cooler height, RAM and nearby slots | Check radiator length, thickness, fans and tube route |
| Noise sources | Fan speed, airflow and vibration | Fans plus pump; mounting can affect noise |
| Service | Dust cleaning and supported fan replacement | Dust cleaning, pump/fan monitoring and model-specific service |
| Failure considerations | Fans and mounting still need checking | Pump/circuit problems add failure possibilities |
| Performance | Evaluate the exact cooler and CPU workload | Evaluate the exact radiator, pump, CPU and airflow arrangement |
A radiator used as intake brings air into the case after it has passed through the radiator; an exhaust arrangement uses air drawn from inside the case. That affects the surrounding thermal conditions. The claim that every AIO always sends 100% of CPU heat directly outside without affecting other components is too simple.
Both designs ultimately reject heat to the room. A cooler changes temperatures and heat transport, not the amount of electrical work the PC performs under otherwise equivalent conditions. Compare CPU and GPU behaviour together when deciding on the case's airflow arrangement.
TDP is not a universal cooler rating
CPU power and heat output can change with boost behaviour, motherboard settings and sustained workload. A processor's headline TDP does not establish a universal maximum draw, and a cooler's claimed wattage may use different test conditions from another vendor's.
Noctua explains that heat flux, CPU package design and ambient/test temperatures affect what a cooler can dissipate. Its NSPR is a vendor comparison system, not a watt rating that can be substituted directly into another manufacturer's table. Use CPU-specific compatibility guidance and comparable tests rather than fixed “this cooler class handles 260 W” rules.
A meaningful comparison states the CPU, power settings, room temperature, case, workload, test duration and noise conditions. A short burst can differ from a sustained render. Extra coolant thermal mass does not guarantee that every CPU temperature spike disappears for a particular number of seconds.
Compatibility before purchase
- Socket and mounting kit: confirm the exact CPU socket and cooler revision, including any required adapter.
- Air-cooler clearance: check case height and RAM clearance, including whether raising a fan changes the total height.
- Radiator clearance: account for the radiator, fans and screws together, plus motherboard, GPU and front-drive space.
- Connections: identify pump power, fan headers, controllers and any lighting connections using the manual.
- Future service: check warranty, replacement-fan availability and supported mounting-kit updates.
A case advertised as supporting a 360 mm radiator still needs checking against the actual assembly and chosen mounting location. Conversely, a smaller, properly matched cooler can be more useful than a larger one that conflicts with the motherboard or prevents a workable tube route.
AIO orientation depends on pump location
For the common CPU-block-pump arrangement, Corsair recommends keeping the radiator's highest region above the pump so air collects away from it. A top radiator or suitable front installation can achieve that; the guide also discusses tube direction and fallback mounting positions.
Identify the real pump before applying that rule. MSI's MAG CORELIQUID P240, for example, integrates the pump into the radiator. A generic instruction that compares only the radiator with the CPU block does not describe every AIO. Follow the particular cooler's permitted orientation and the case's available locations.
Remove invented universal air-volume percentages and deadlines such as “dies within eighteen months”. Mounting affects operation, but those predictions require evidence from the actual product and conditions. Unusual persistent noise or overheating is a reason to inspect the documented setup, not proof of one exact cause.
Check the installed cooler
Follow the mounting, thermal-interface and connection instructions carefully. Confirm fan and pump operation where applicable, then observe temperature and clock behaviour during an ordinary task before a sustained test. Stop a test that shows rapid abnormal overheating and investigate installation, power and airflow.
Record room conditions and use the same workload when comparing changes. Clean dust filters and fins, keep cables clear of fans and use sensible control curves. A loud burst of fan speed can reflect the chosen curve rather than an inherently inadequate cooler.
Choosing between air and liquid
Air remains a good starting point for many everyday, budget and gaming builds. An AIO can be appealing where sustained performance, component clearance or appearance justifies its extra parts. A custom loop is a separate project for someone willing to manage it.
Compare actual products for your CPU and case, with the required performance at an acceptable noise level. Avoid guaranteed lifespans, universal temperature wins and class-based CPU lists. A cooler that fits, performs consistently and can be maintained is more valuable than a larger number on its box.