When getting ready to set up your home lab for better security management, taking control of your data or just hosting your own apps, the first thing you need to look at is getting a host machine up and running. This host machine will double as a place where all your apps, services and data will live, so we need to make sure we get the right hardware. However, this by no means we need a server grade machine up and running. It also doesn't even mean we need the latest and greatest desktop PC running. As we will demonstrate through this new series, any old machine will do. We will be running it on something I doubt most people would have expected...
Our Machine
For our home lab host machine we wanted to get away as cheap as possible. That is the point, right? It would not work if we spent copious amounts of money on hardware only to save a few pennies every month in subscriptions, would it? So we dug up an old PC we had "lying around". This particular PC was bought in 2011, just before the launch of Skyrim, and was by no means the best of its time. Yes, this PC is almost 15 years old, but this will be more than enough for what we need.
Some specs of the machine:
Asus P8P67 Deluxe Motherboard. It has Bluetooth. And dual 1Gbps ethernet (can someone say link aggregation...) This was a fantastic motherboard and I really don't know why dual NIC are so scarce nowadays. However, it doesn't have any display outputs (VGA/DVI/HDMI), so we needed to get a new display cardCost: Nothing Intel i7 2600k Chip. Was this a beast? I suppose so yes. Is this a beast. No. But what it does have is 4 cores with 8 threads running up to 3.8GHz when not overclocked. We are not going to overclock it as we want to save power and keep our thermals in check
Cost: Nothing For the cooler we used the stock cooler. Yes, back then the unlocked i7 series came with coolers.
Cost: Nothing RAM: 16 GB DDR3. Running at 1400MHz with X.M.P turned to the max. I know we said we are not overclocking, but X.M.P (Or AMD's EXPO) makes the RAM run at it's intended speed, so we are sticking to that argument and switching on X.M.P.
Cost: Nothing Drives: We thought our machine would have two drives but discovered one more old drive. So it consists of:
120GB SATA SSD - my first SSD that could barely hold Windows. This was in my daily driver until a week ago running a dual boot system.
500GB 3.5" Spinning HDD - This was originally bought with the Motherboard, CPU and RAM in 2011, but was replaced along the way with solid state drives
1TB 2.5" Spinning HDD - This was a (very) old laptop drive that was replaced with a SSD a long time ago. The laptop has also been replaced a few years back.
Cost: Nothing Power supply: We didn't have a spare, so I had to buy one. We got a Matrix 450W PSU. Measuring power output at the wall socket, we would have been running with a 250W PSU, but rather make sure to leave headroom.
Cost: US$20 GPU: Seeing as the motherboard does not have a display output, we needed a display card. We wanted the cheapest we could find and one without a 6 pin or 8 pin power socket as we needed to keep the power consumption low. We bought an Arktek Nvidia GT210. It has 1Gb of VRAM and probably can't even run Minesweeper, but we can get a display connected to the machine.
Cost: US$25
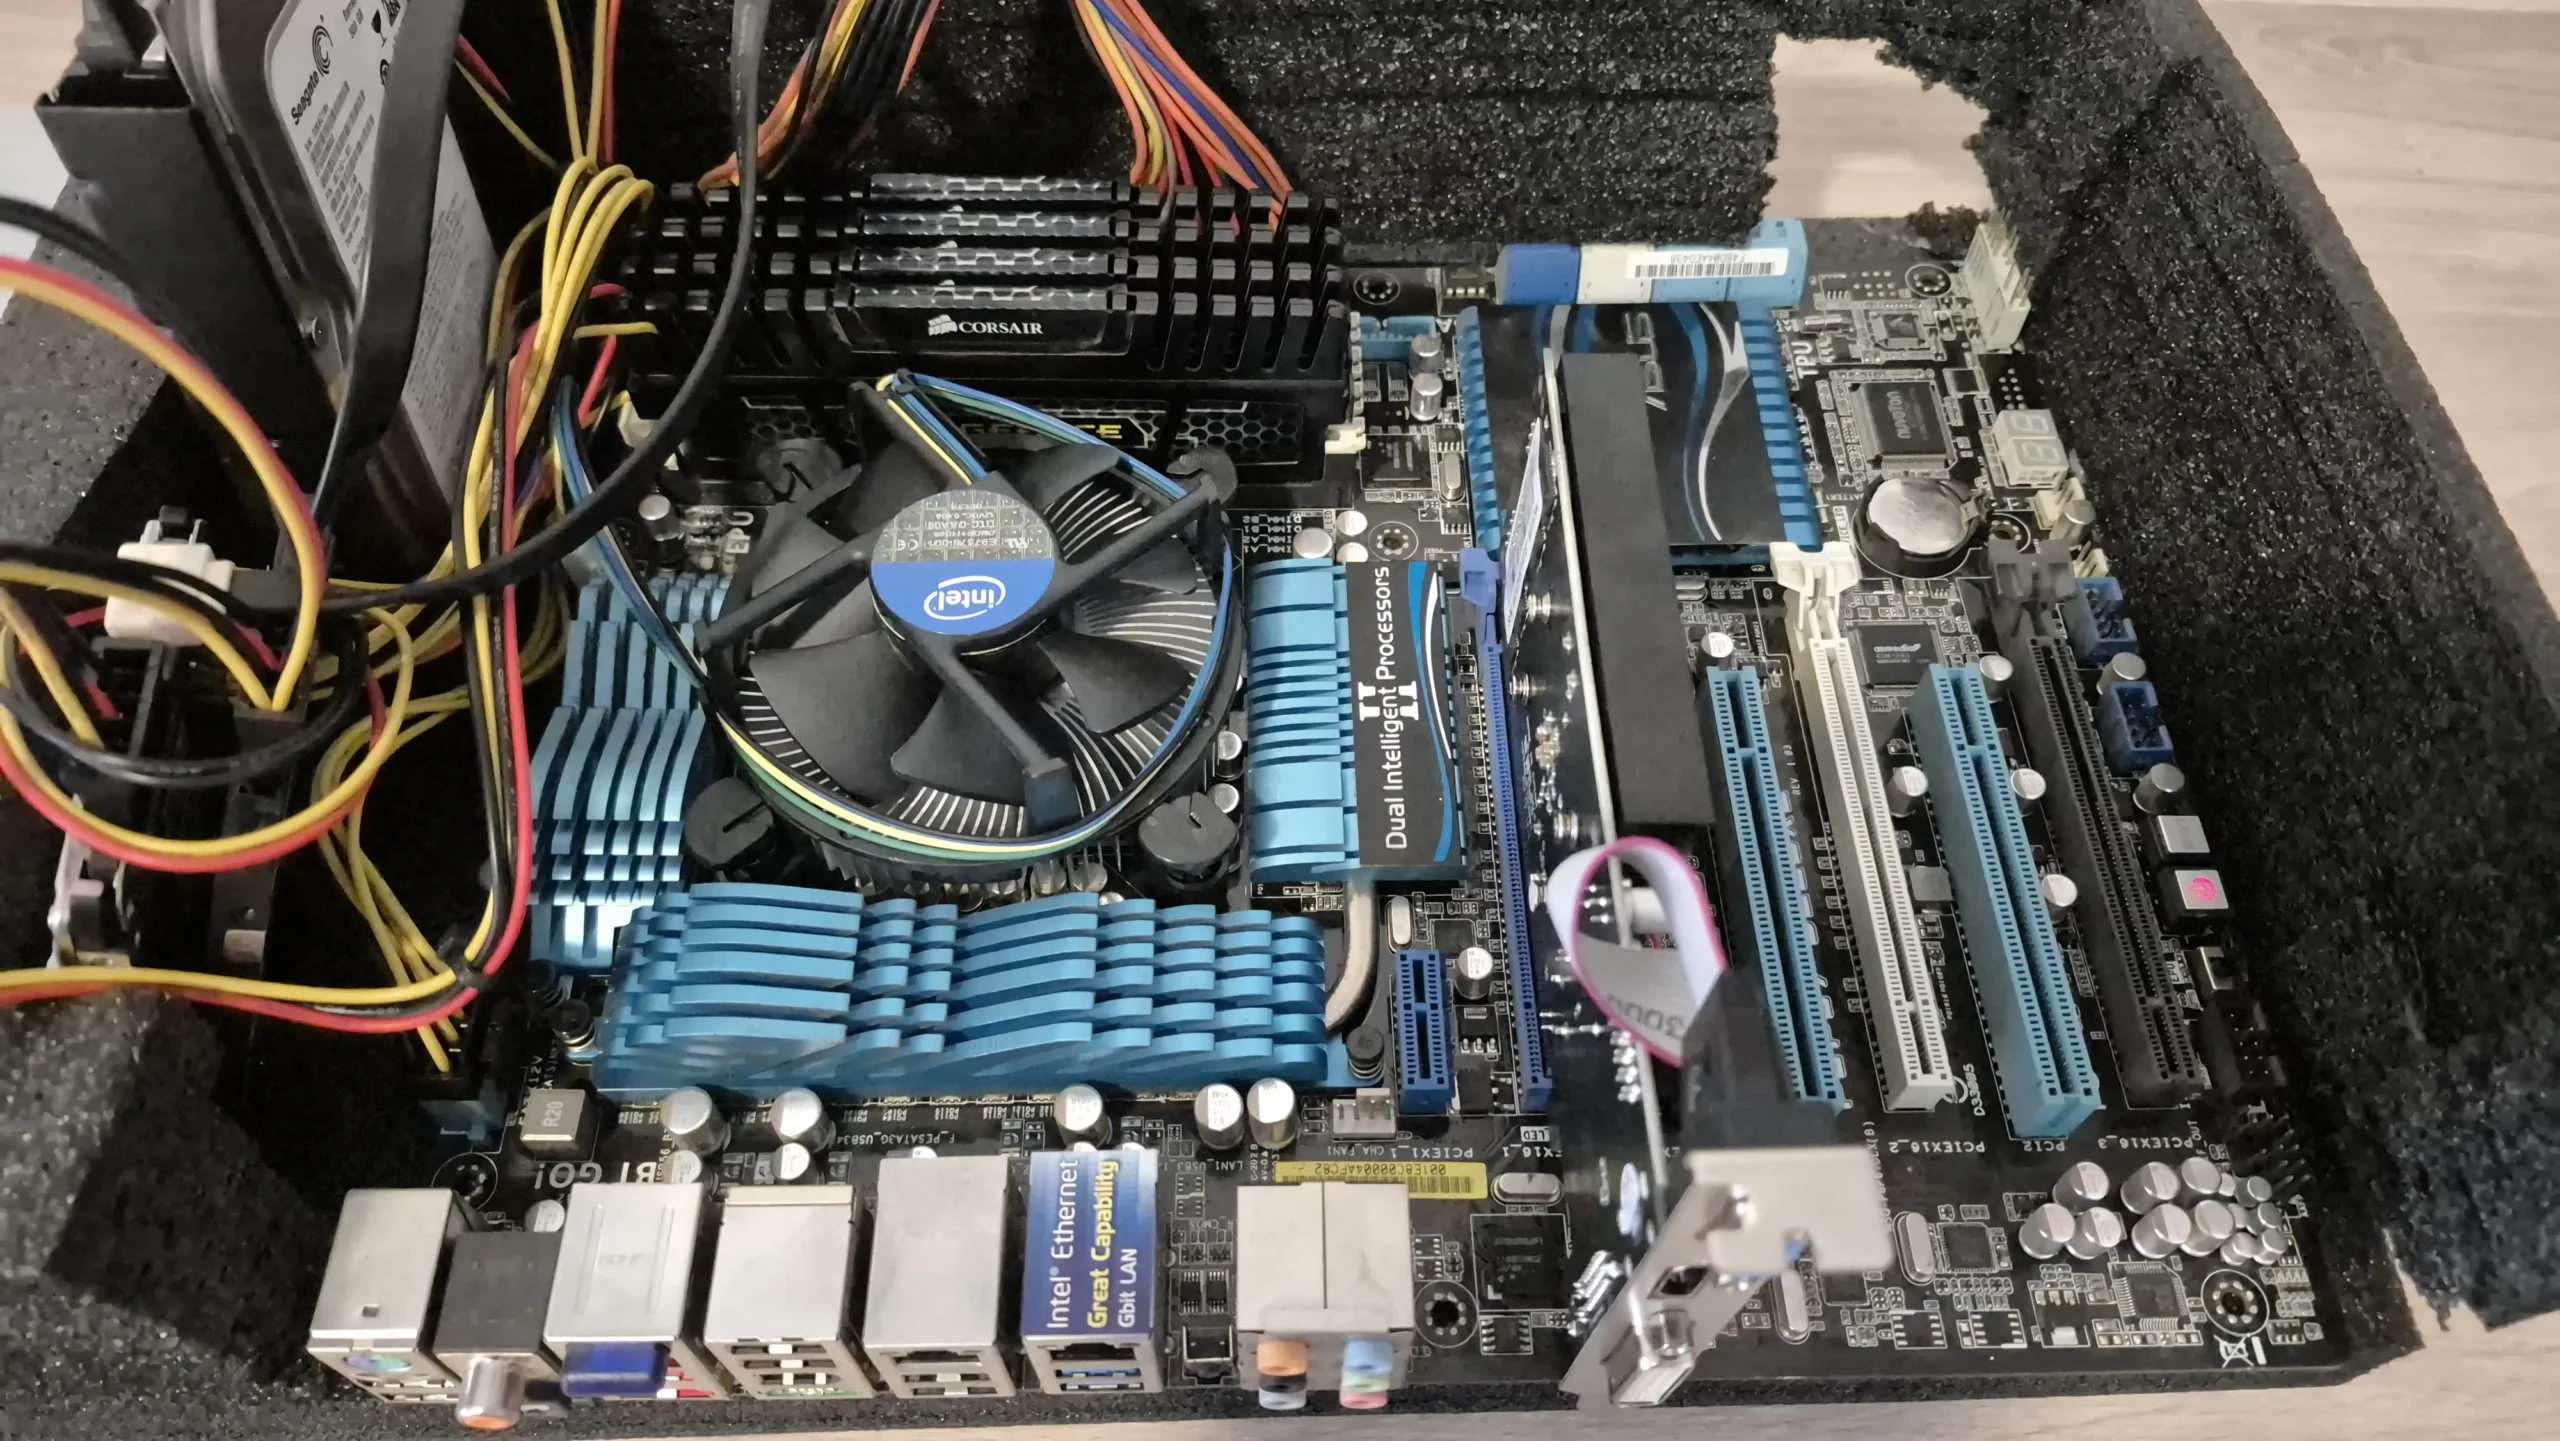
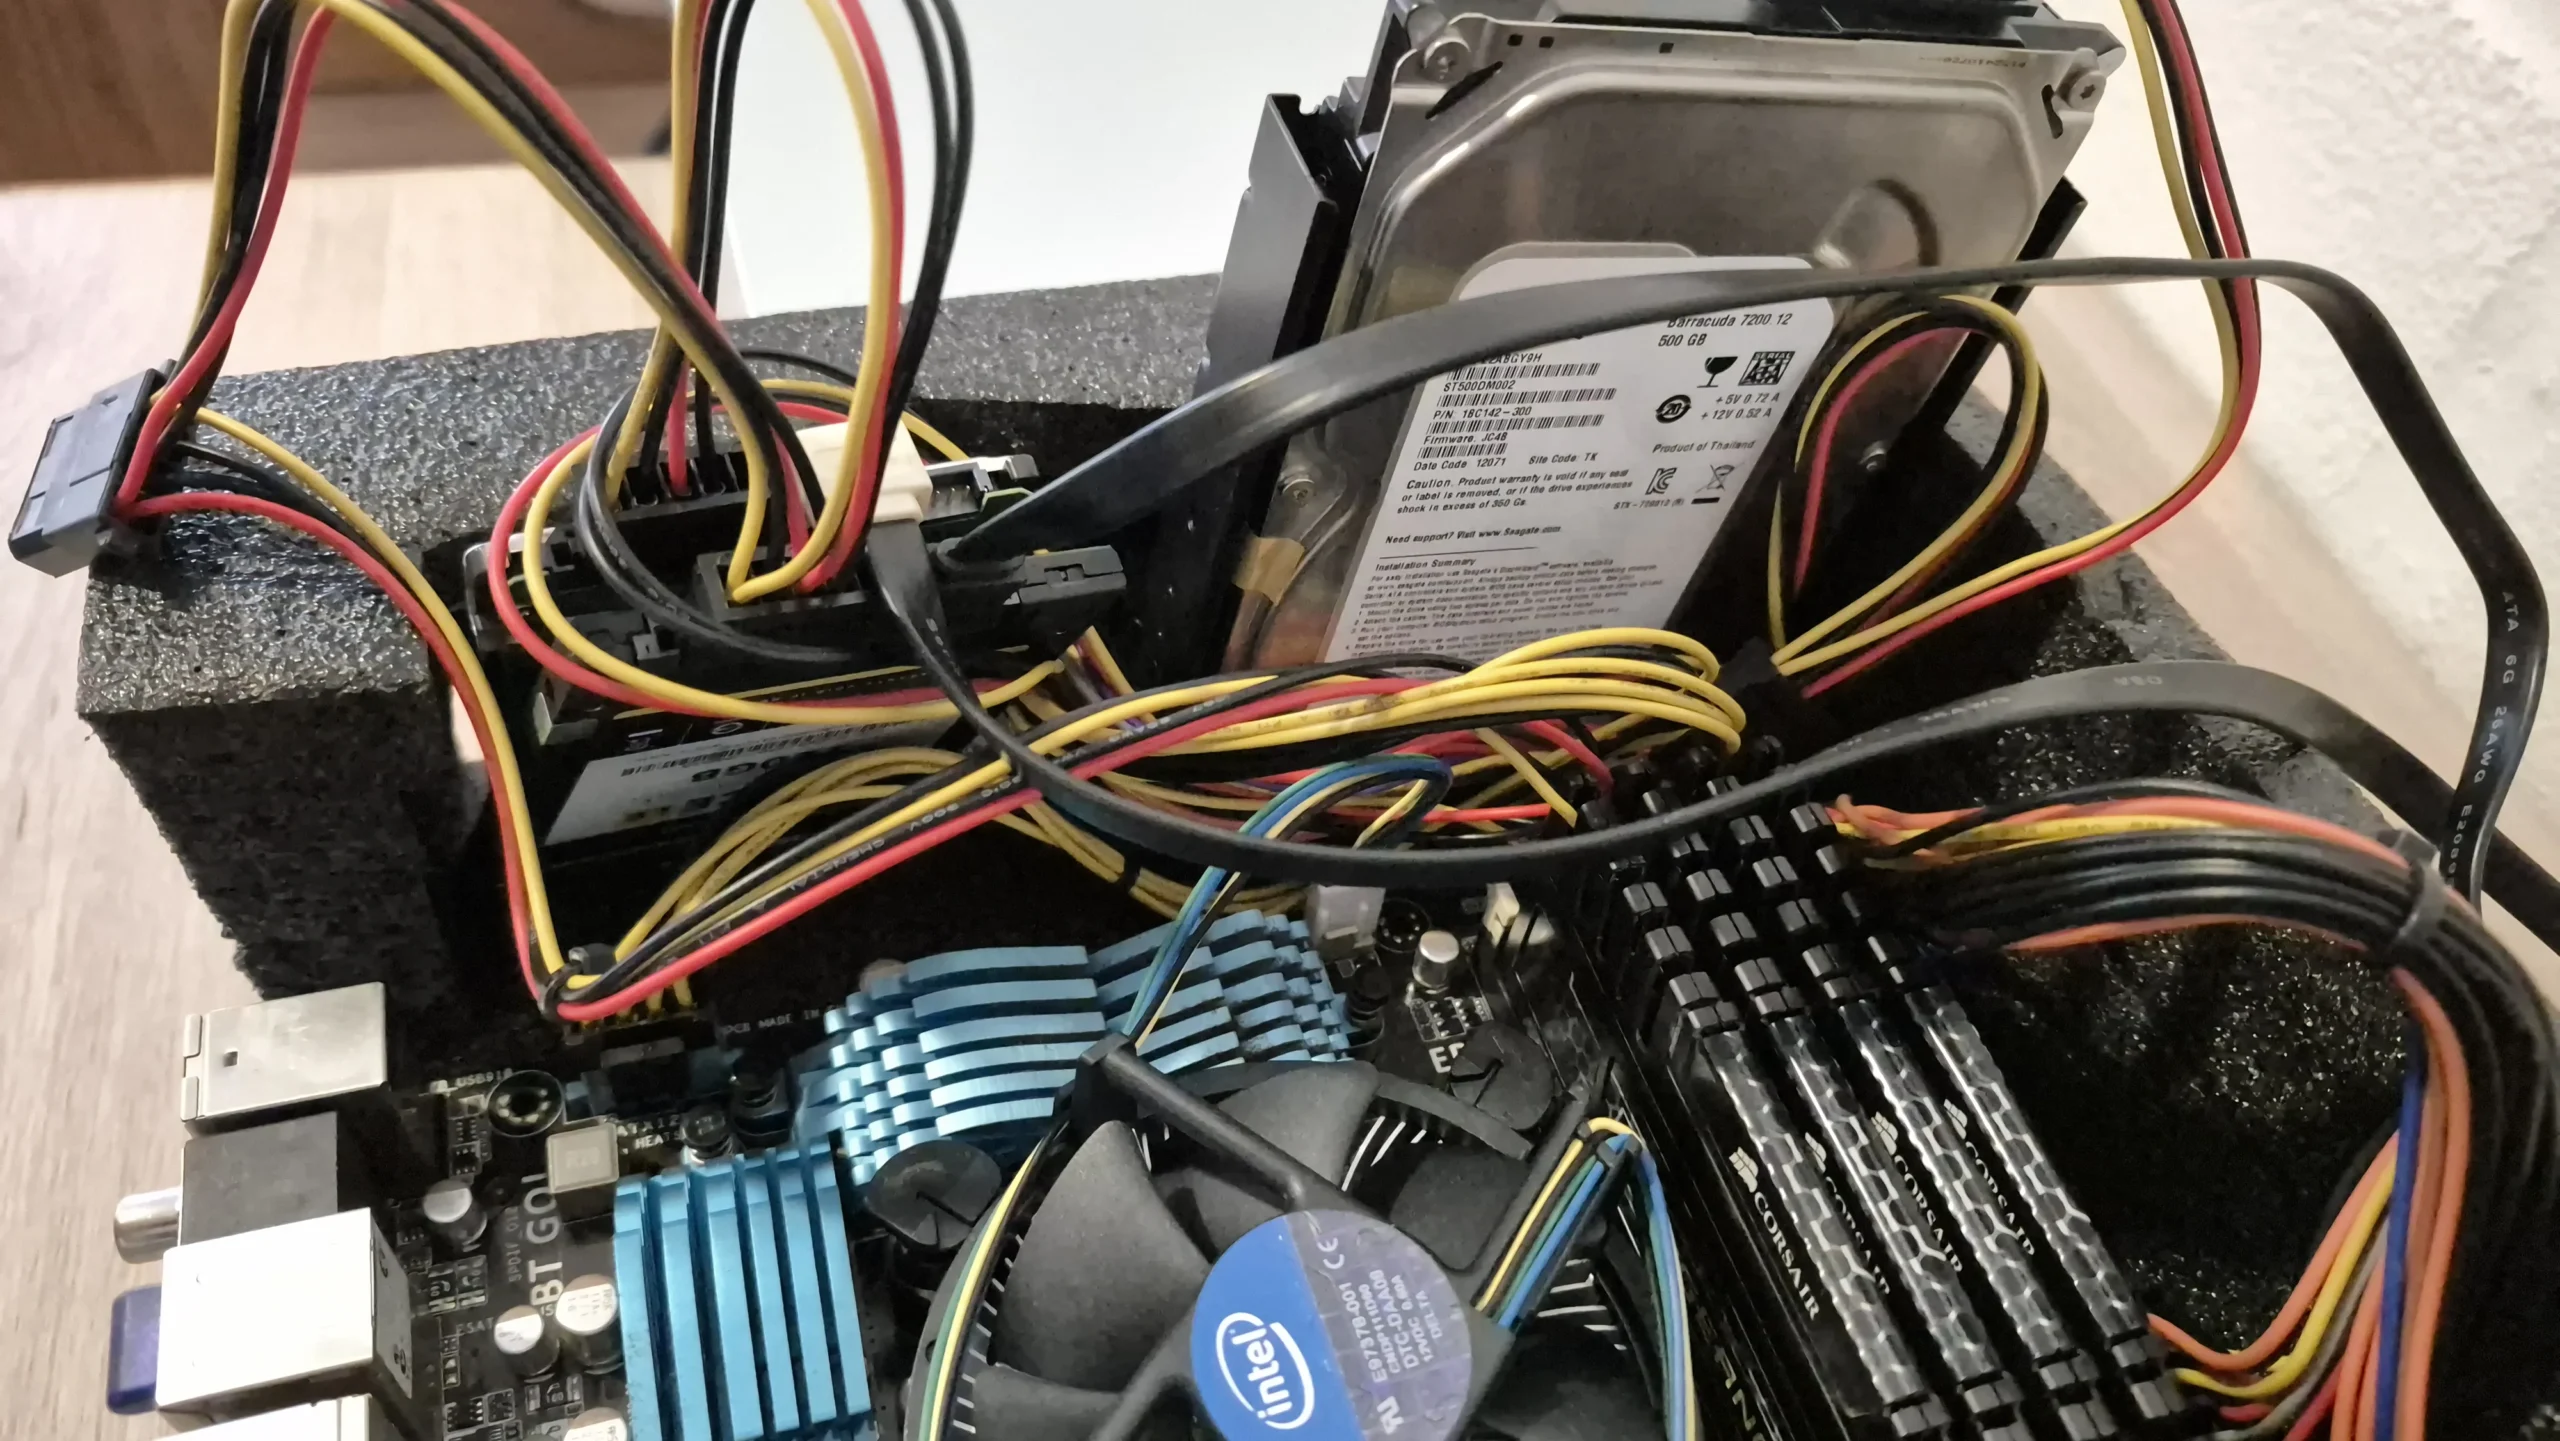
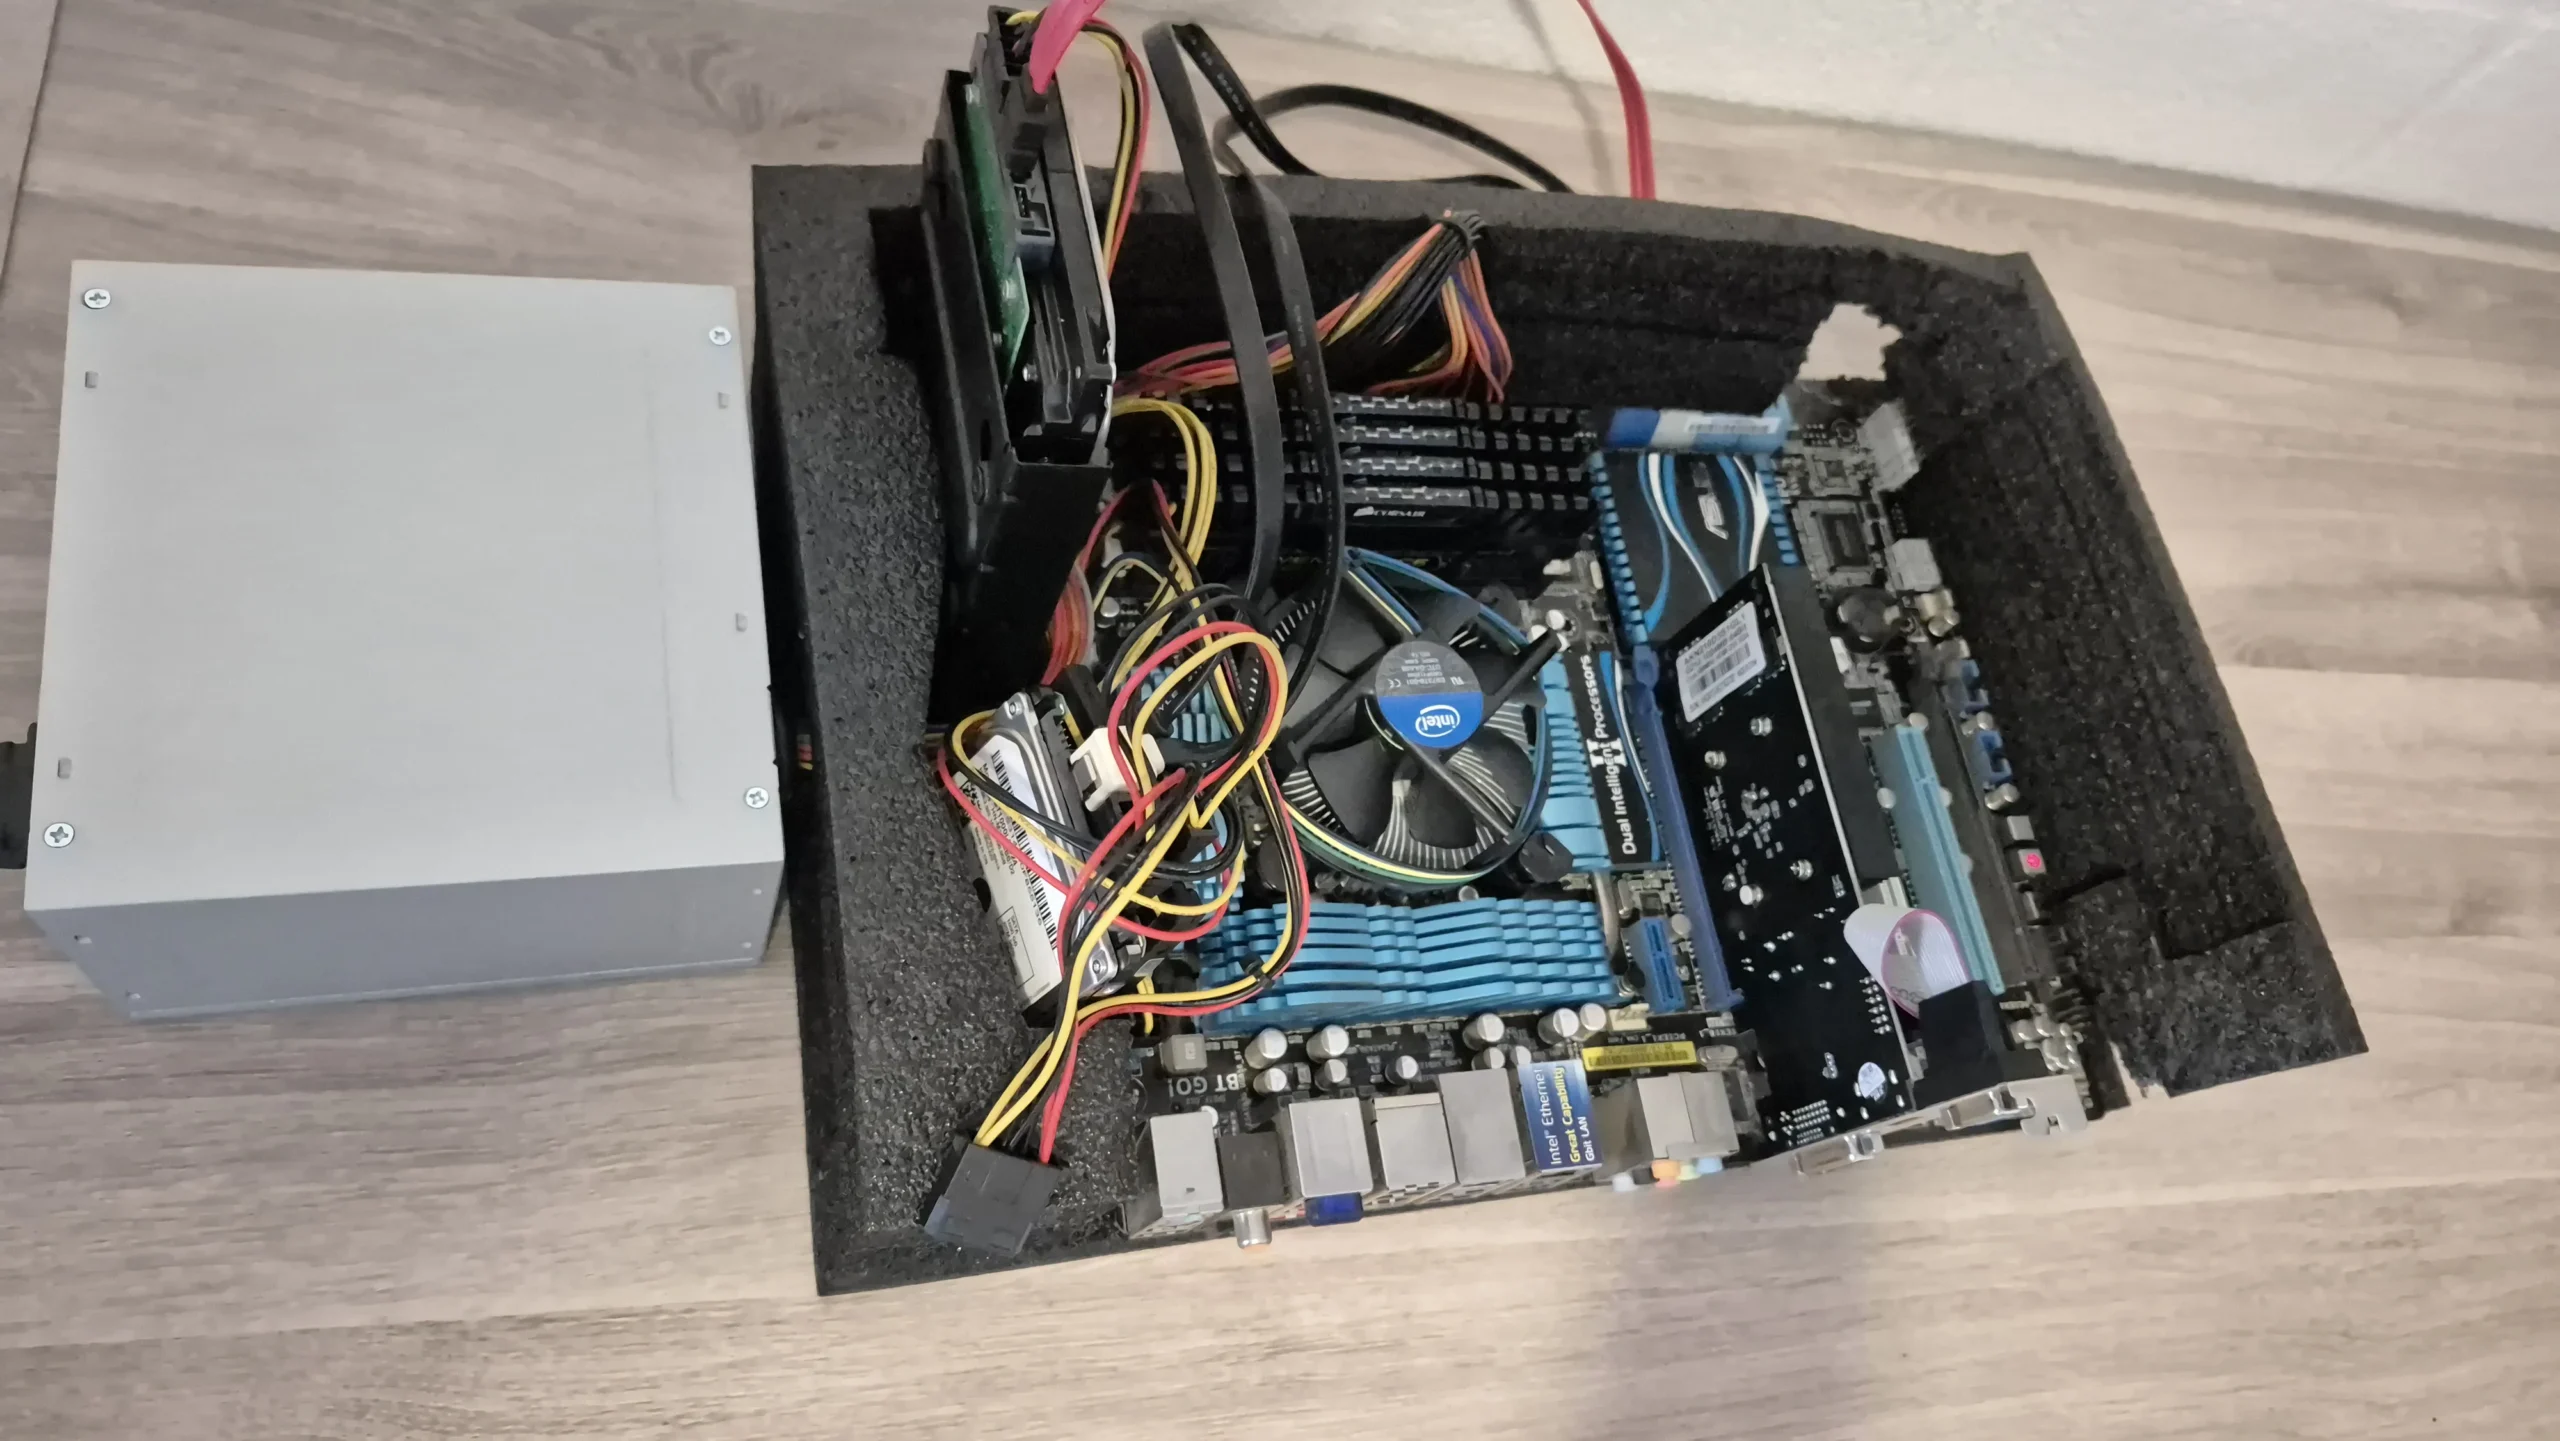
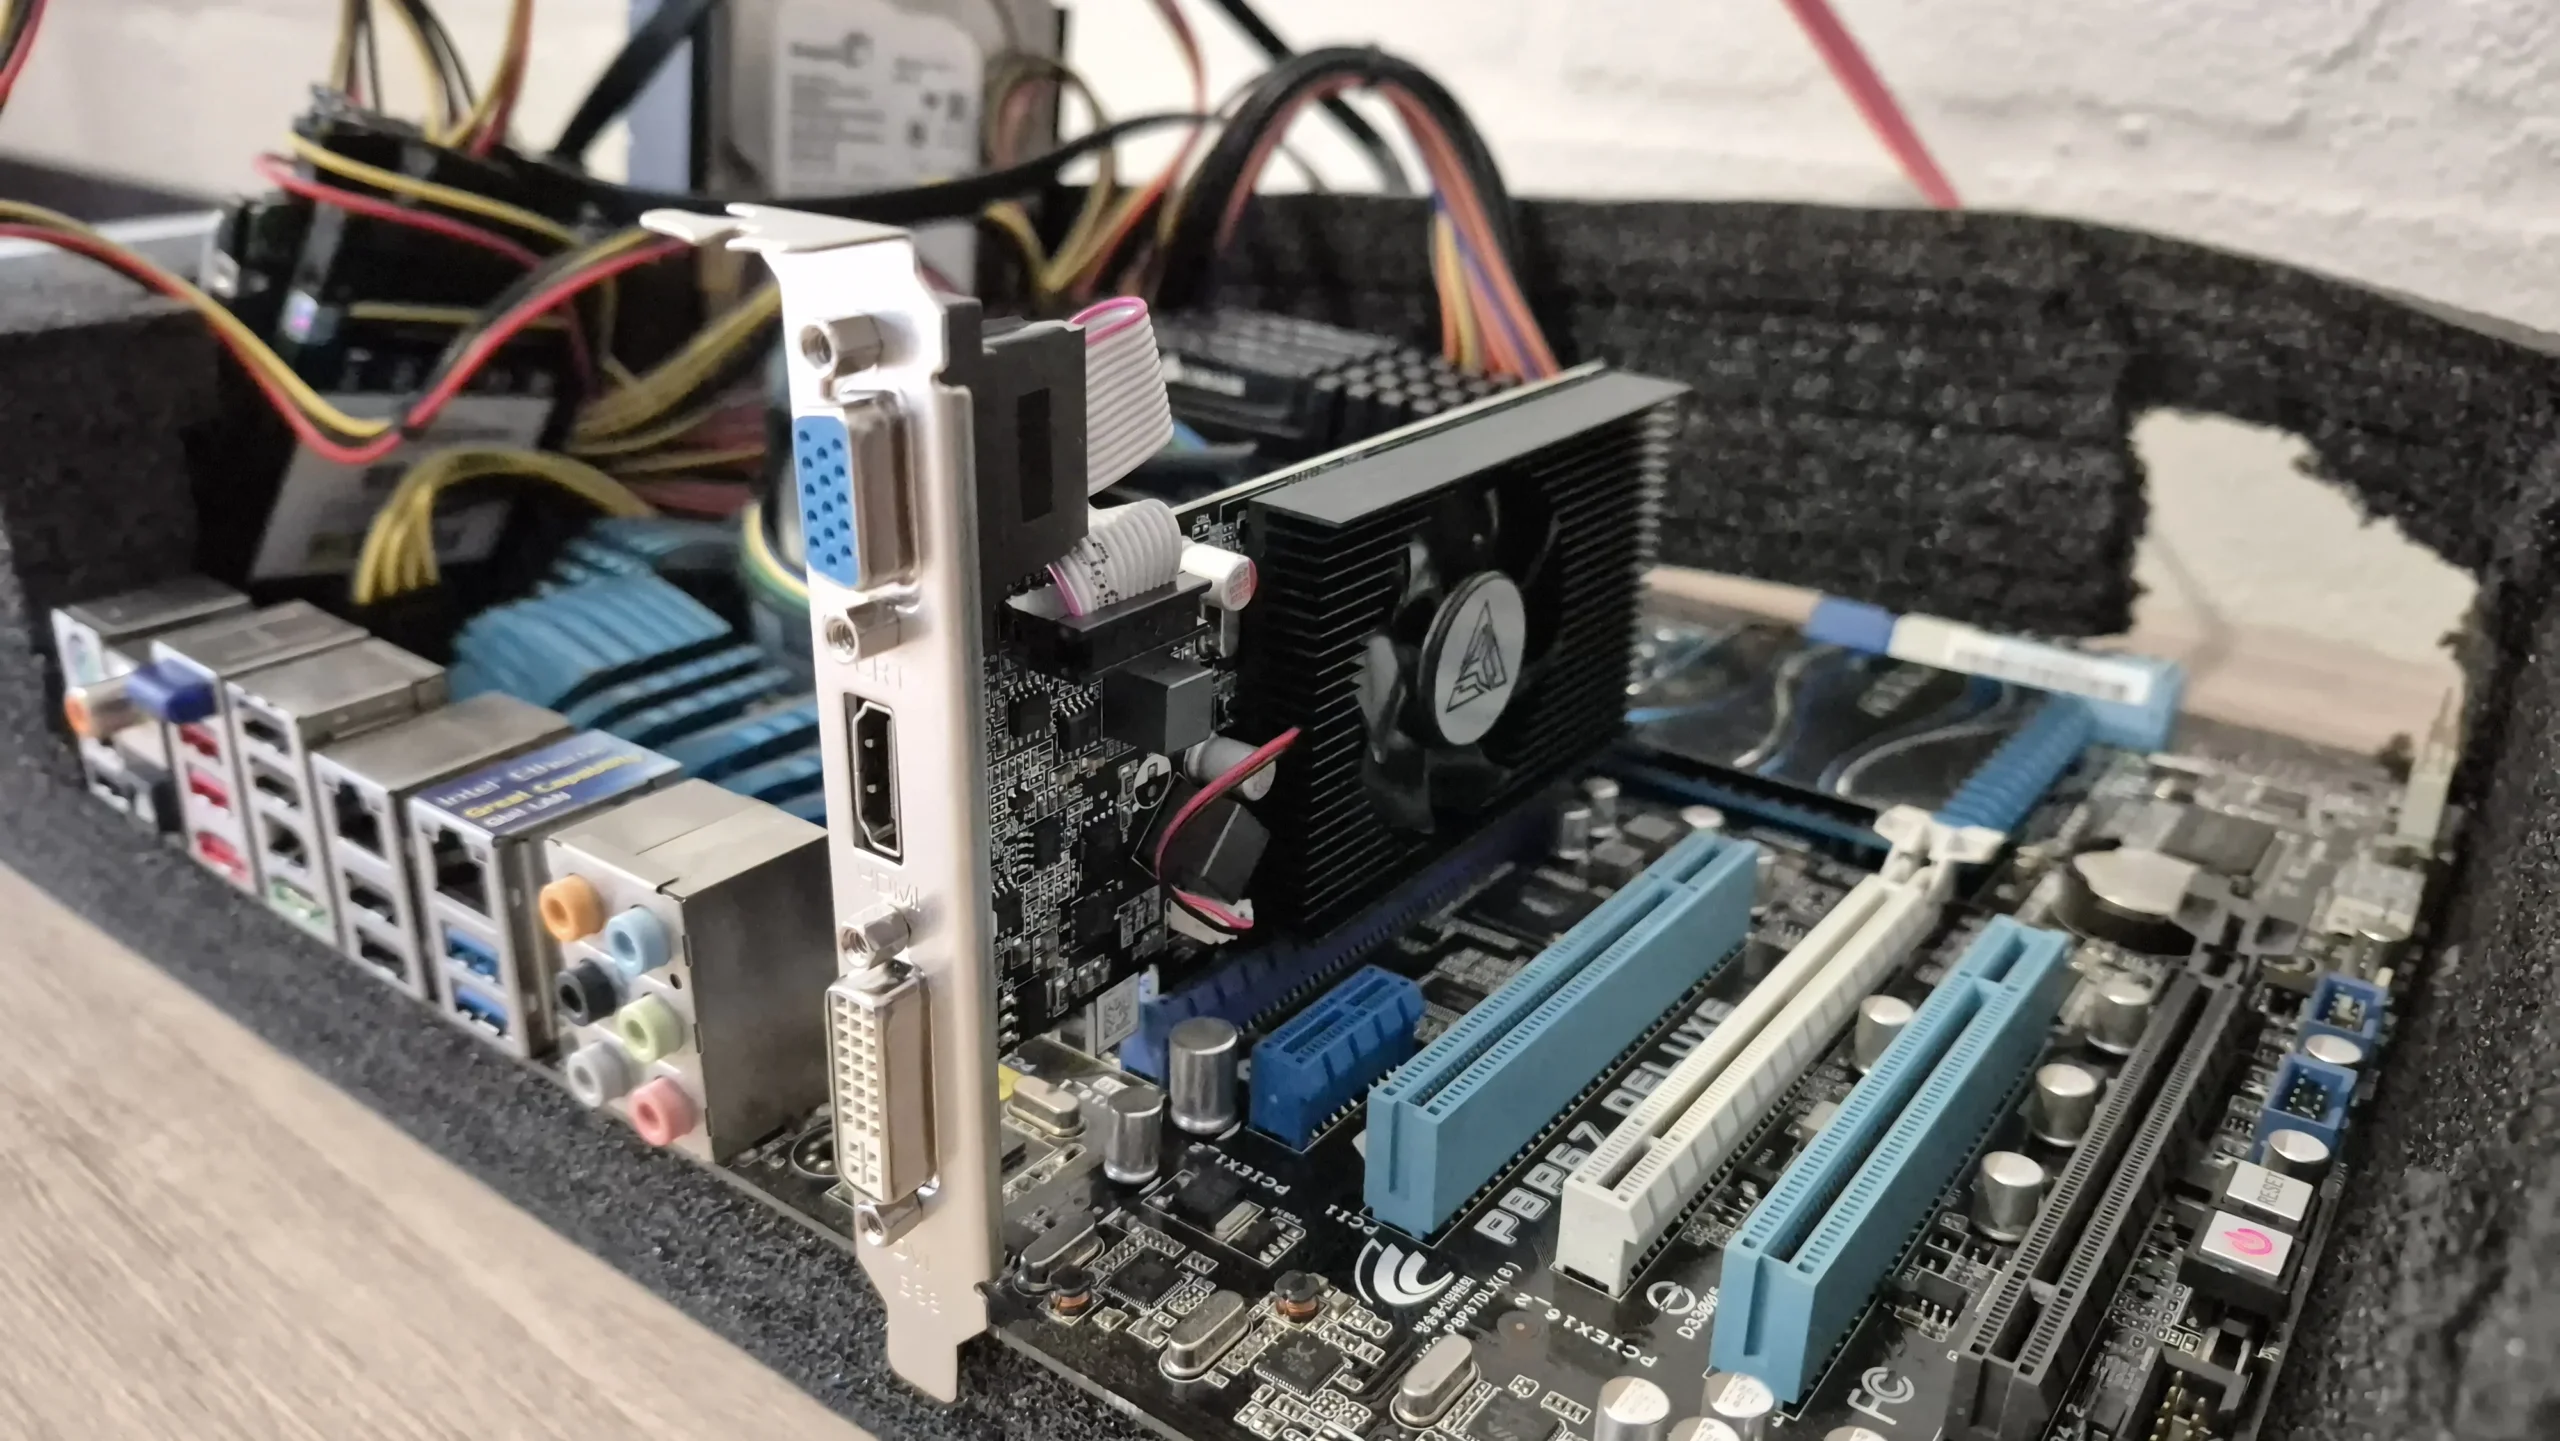
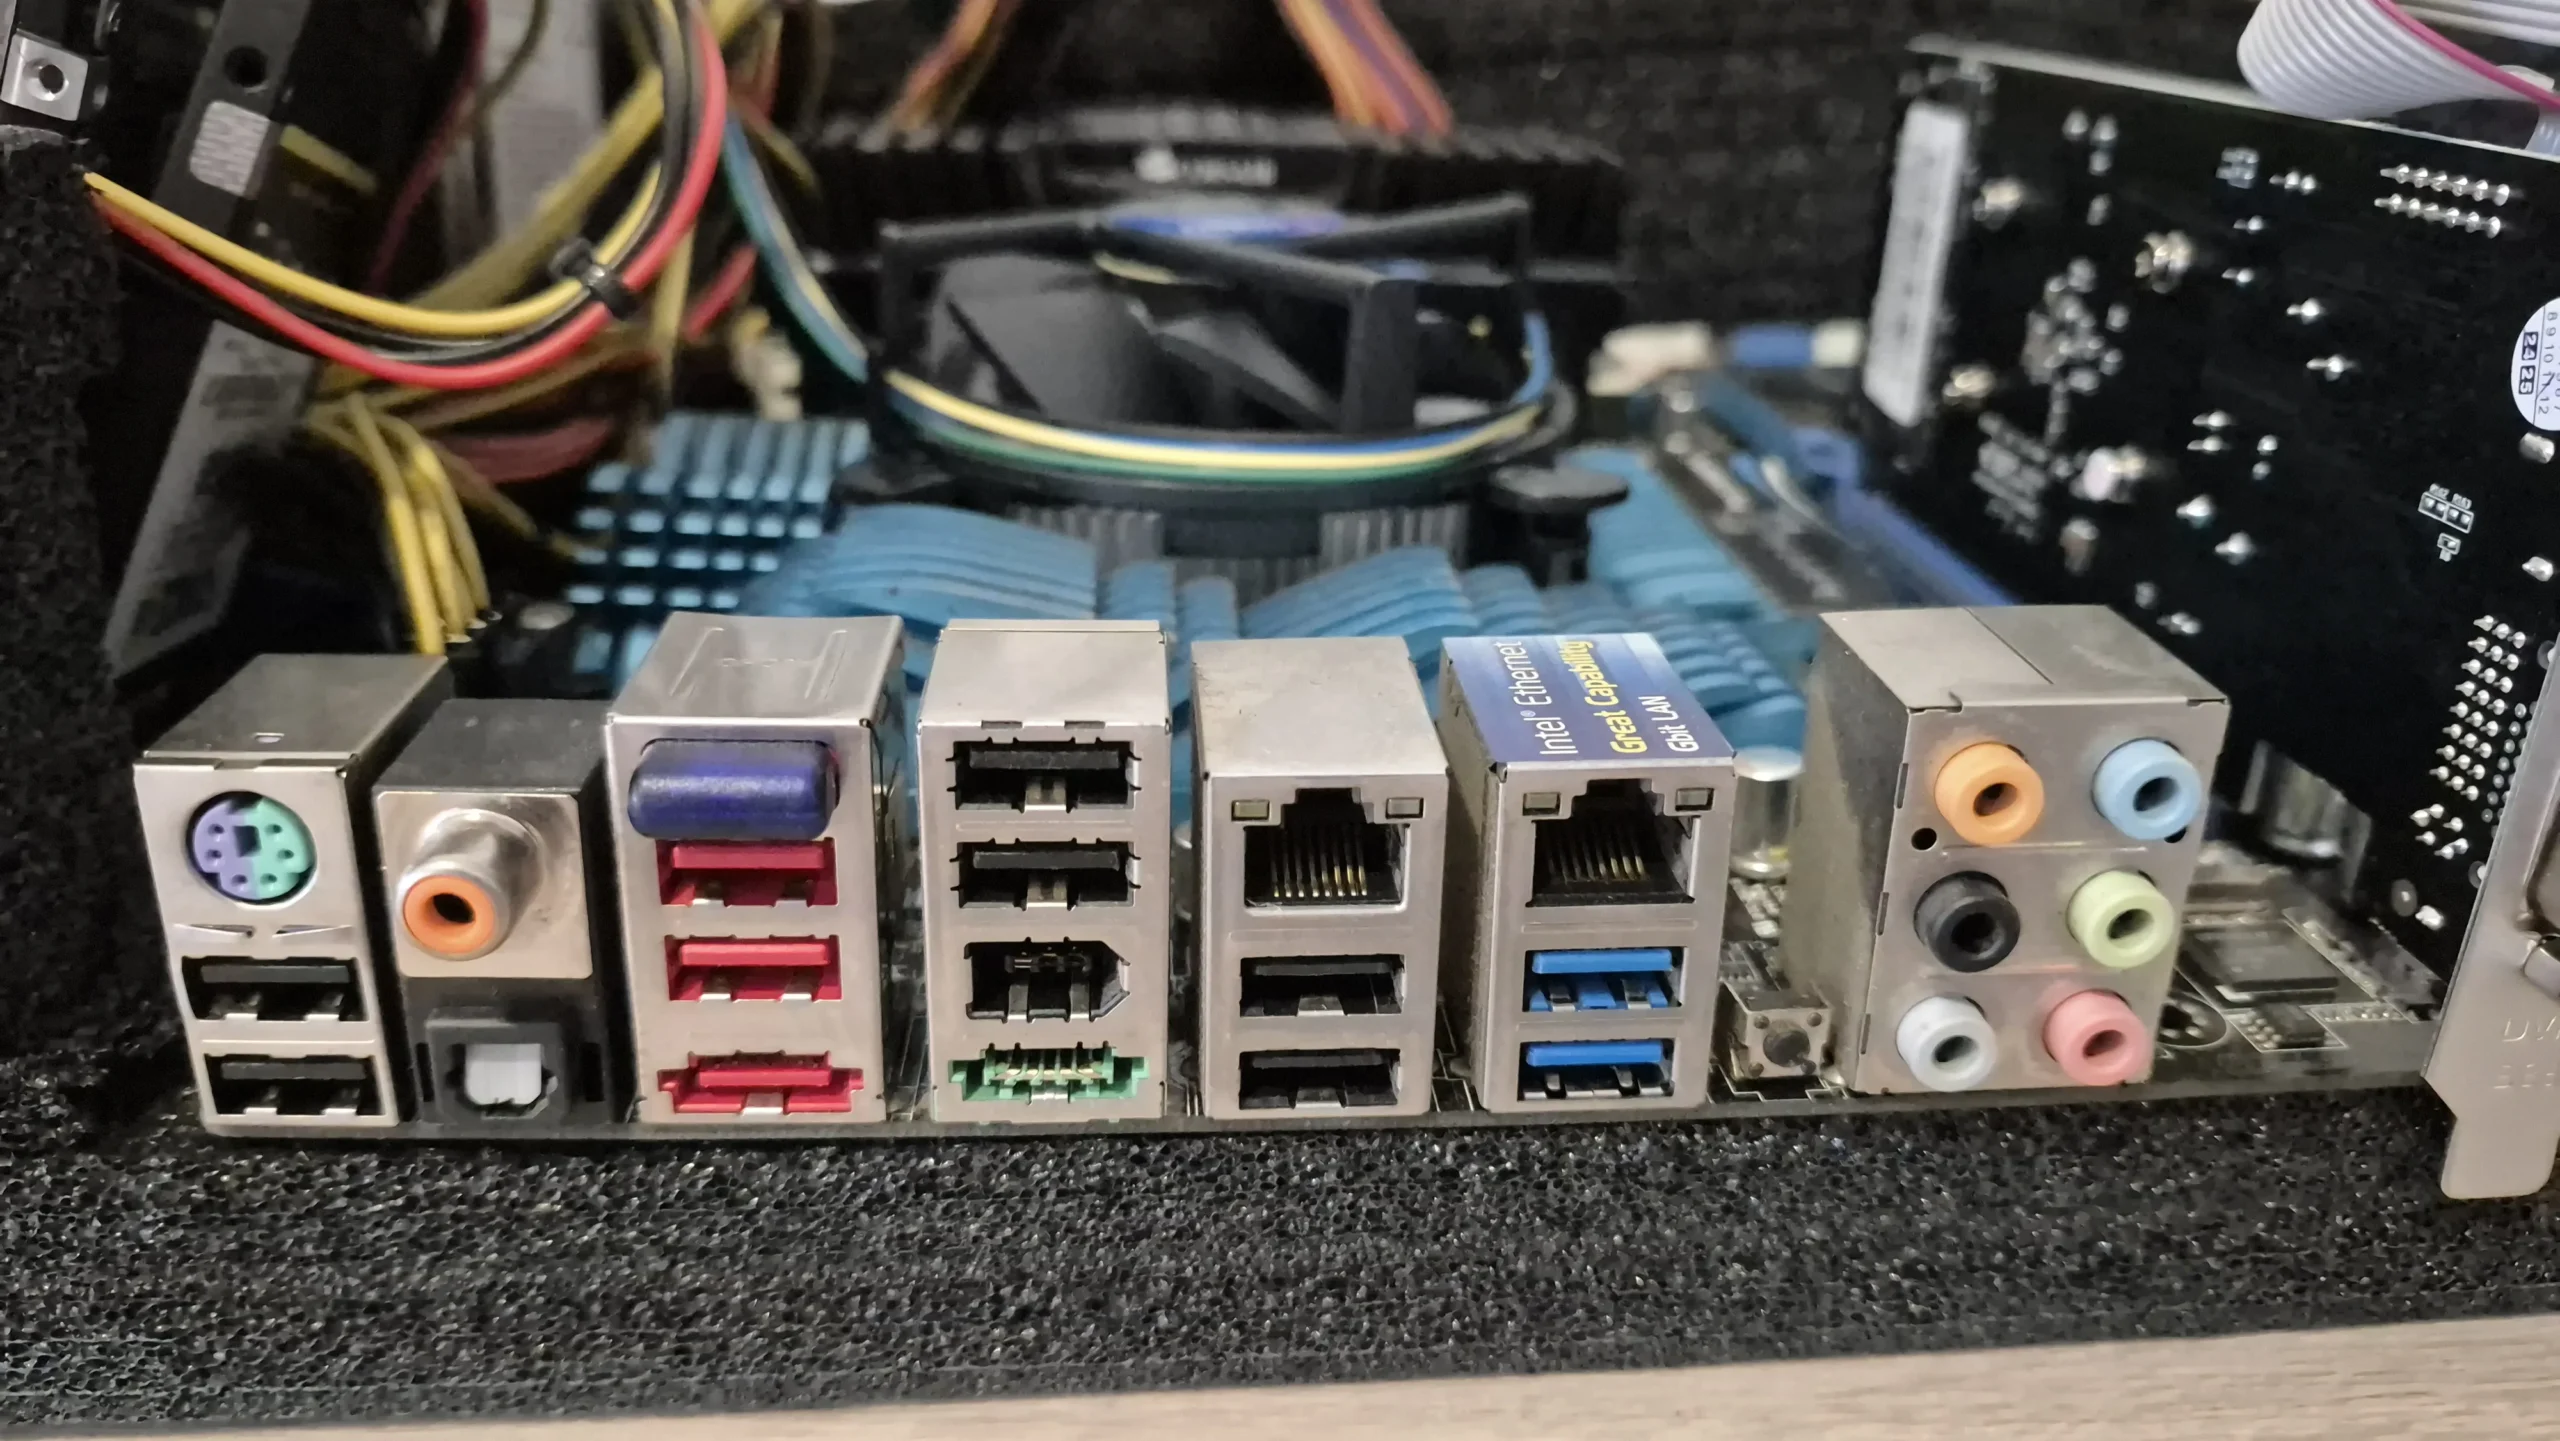
This means our total cost was around US$45, and I am sure you should be able to get the parts for a lot cheaper if you just shop a bit. And no, we don't have a case. For now it is built in a foam container that contained a GPU. GPU's are that big nowadays. We will get a case later, but for now, this will suffice. However, that does not answer the question about what you need.
Your Machine
As you can see, any second hand old machine will work wonders. If you don't have one lying around, check the classifieds and get a cheap second hand machine you can use. Alternatively, look at the cheapest new one, which will probably be a few generations old Micro ATX machine, again, it would be fantastic for what we need,
As a baseline we would suggest getting 4 cores (4 threads) CPU with about 8GB of RAM. For storage an SSD would be amazing for the primary install. If you want, you can have a look at the cheapest mini-pc's from manufacturers like GMKTec and Minisforum (This article was not sponsored and we are not earning anything if you buy from their sites). The cheapest one there will have 8GB of RAM with a 256GB NVME SSD, for just US$130. Although that is quite a bit of money, it is not near what you would pay for a new desktop (not to mention server) machine. However, you might be able to get a second hand deal on something that has a bit more power.
Optional After the Walkthrough: Choosing and Checking Hardware
The machine described above is the actual build used for the series. Its i7-2600K uses DDR3 memory, not DDR3. The original purchase costs describe that build at the time; they are not current buying prices. Before copying a configuration, check the motherboard manual, installed memory and disk health. A processor specification alone does not establish a particular board's memory capacity, expansion slots or ability to boot without a graphics card.
| Option | Useful trade-off | Check before choosing |
|---|---|---|
| Reuse a desktop | Existing parts can make an inexpensive starting point. | Drive condition, cooling, physical space and measured power at the wall. |
| Used business mini PC | Compact and often easy to place near the router. | Exact model, memory slots, drive bays and network ports. |
| Modern low-power mini PC | Useful for a small always-on collection of services. | Firmware support, storage expansion and the workload's CPU requirements. |
| Larger workstation | More room for drives and expansion cards. | Noise, cooling, electricity cost and supported hardware. |
Idle power and memory use depend on the complete system and services. Measure a candidate in the state you expect to run it rather than treating an example processor's power rating as whole-system consumption. Start with a few services and inspect Proxmox resource graphs before adding more. Retain free memory and disk space for the host, backups and future growth; eight logical processors do not mean eight heavy workloads can all run at full speed.
Before installing Proxmox, enable the CPU virtualisation setting supported by the machine. IOMMU/VT-d is a separate requirement for some device-passthrough arrangements and is not a prerequisite for the basic LXC steps. Prefer stable firmware settings and test memory instead of overclocking this always-on server. If removing a graphics card, first establish that the board can boot headlessly and that you have a working way to recover console access. Keep the GT 210 if this build needs it for display.
Success for Part 1 means identifying the intended boot disk, having working Ethernet and knowing how to reach firmware settings. Copy important files off that disk before moving to the installer in Part 2.
Further reading: Intel i7-2600K specifications.
Conclusion
You really don't need to break the bank to get an old machine up and running to act as a host for your own home lab. Get anything, whatever you can get your hands on, and start. When we start installing and running the system, you will see it is easy to expand what you have later on. This includes adding more machines because, yes, we are going to use software that enables us to create a host cluster of multiple machines with multiple drives. Don't think that the old PC you have lying around, or the laptop you wanted to throw out is not powerful enough - I promise you it will be more than enough. Let's start building our own homelab today!