Proxmox Virtual Environment (PVE) is a powerful open-source platform for virtualization, containerization, and software-defined storage which we are using in our Build Your Homelab series of articles here on TechDecode. After installing Proxmox, many administrators streamline the host setup first; we dived straight into getting services and apps running. And if you are following along, I am sure you are probably very tired of this screen every time you log in:
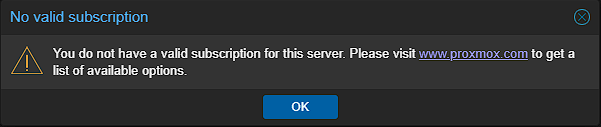
That is where the Proxmox VE Post Install Script comes in - It is a community-driven solution to automate and change some settings to make your Proxmox VE install just that little bit better.
What is the Proxmox VE Post Install Script?
The community script offers interactive host configuration choices. Its appeal is convenience: related repository and update tasks appear in one guided session. It is maintained separately from Proxmox itself and does not guarantee that every selected change is appropriate for every server.
What the Script Changes
1. Repository Management
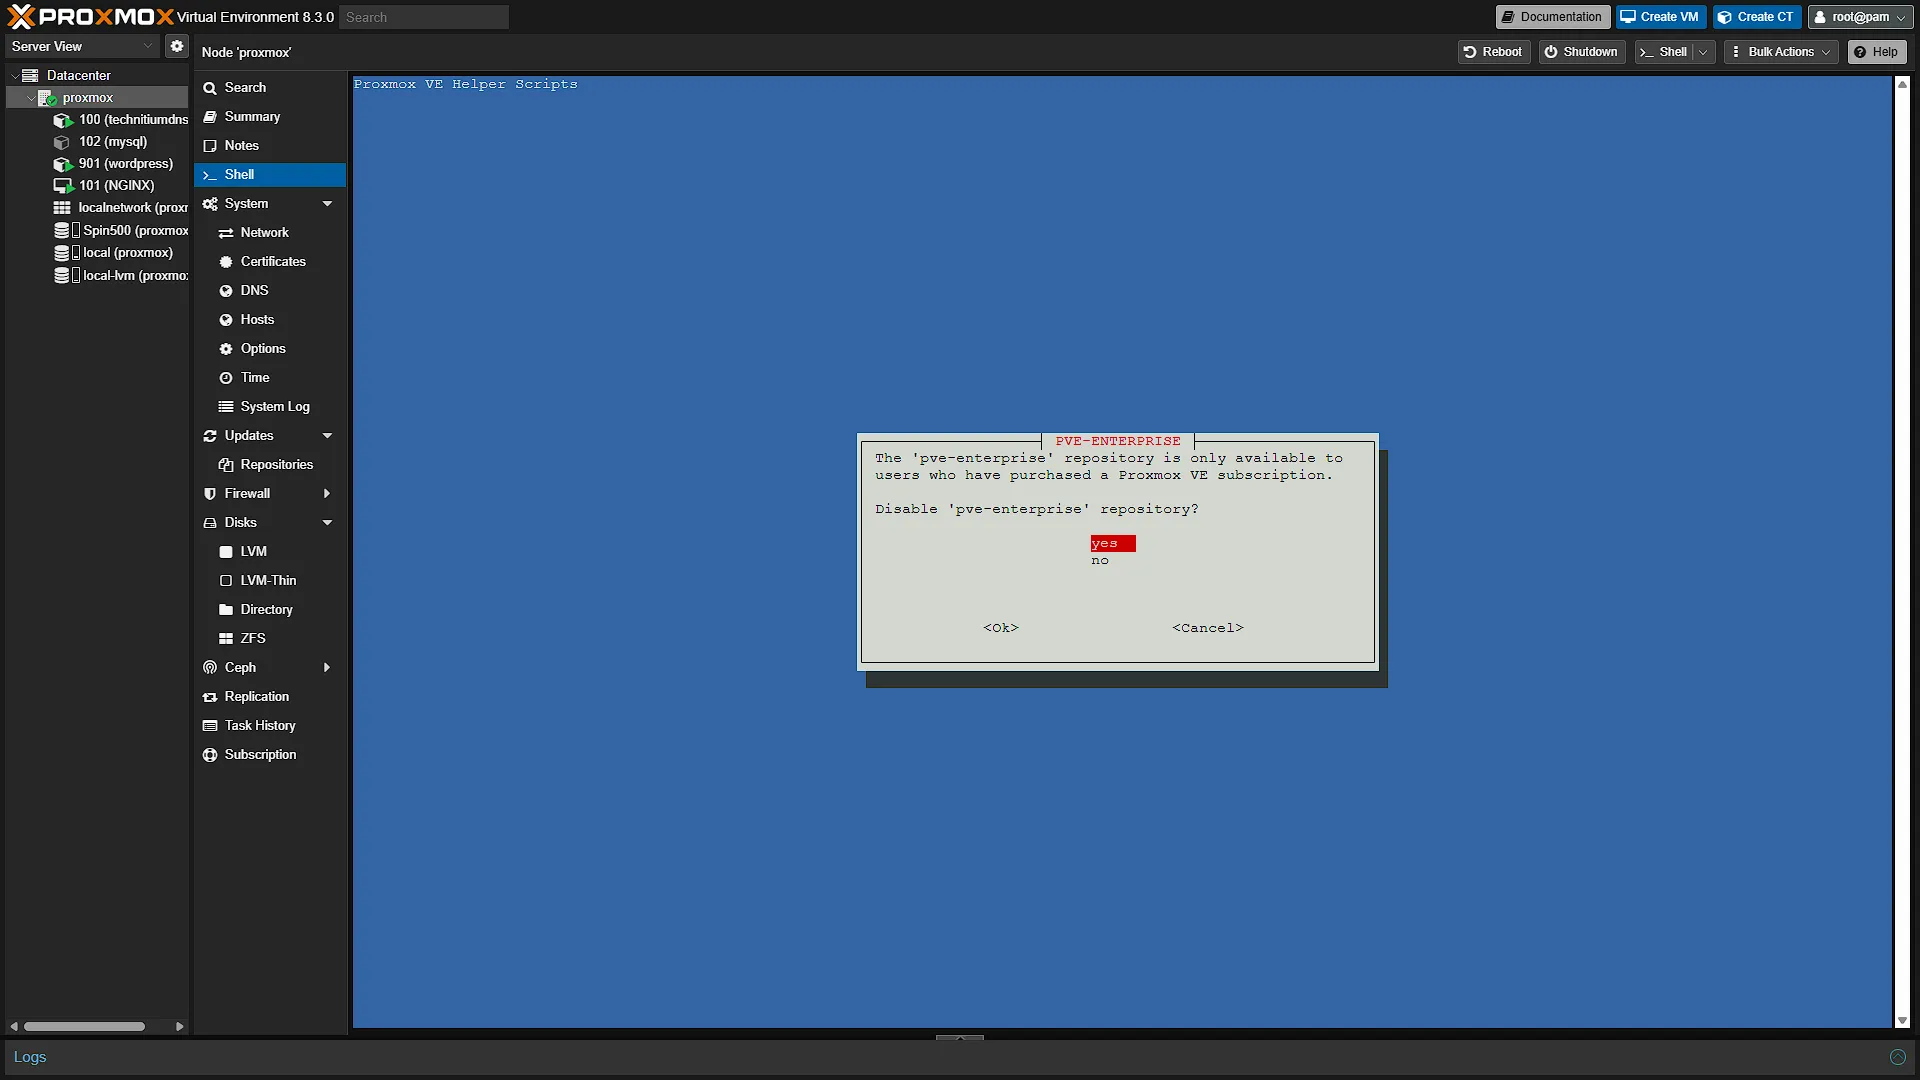
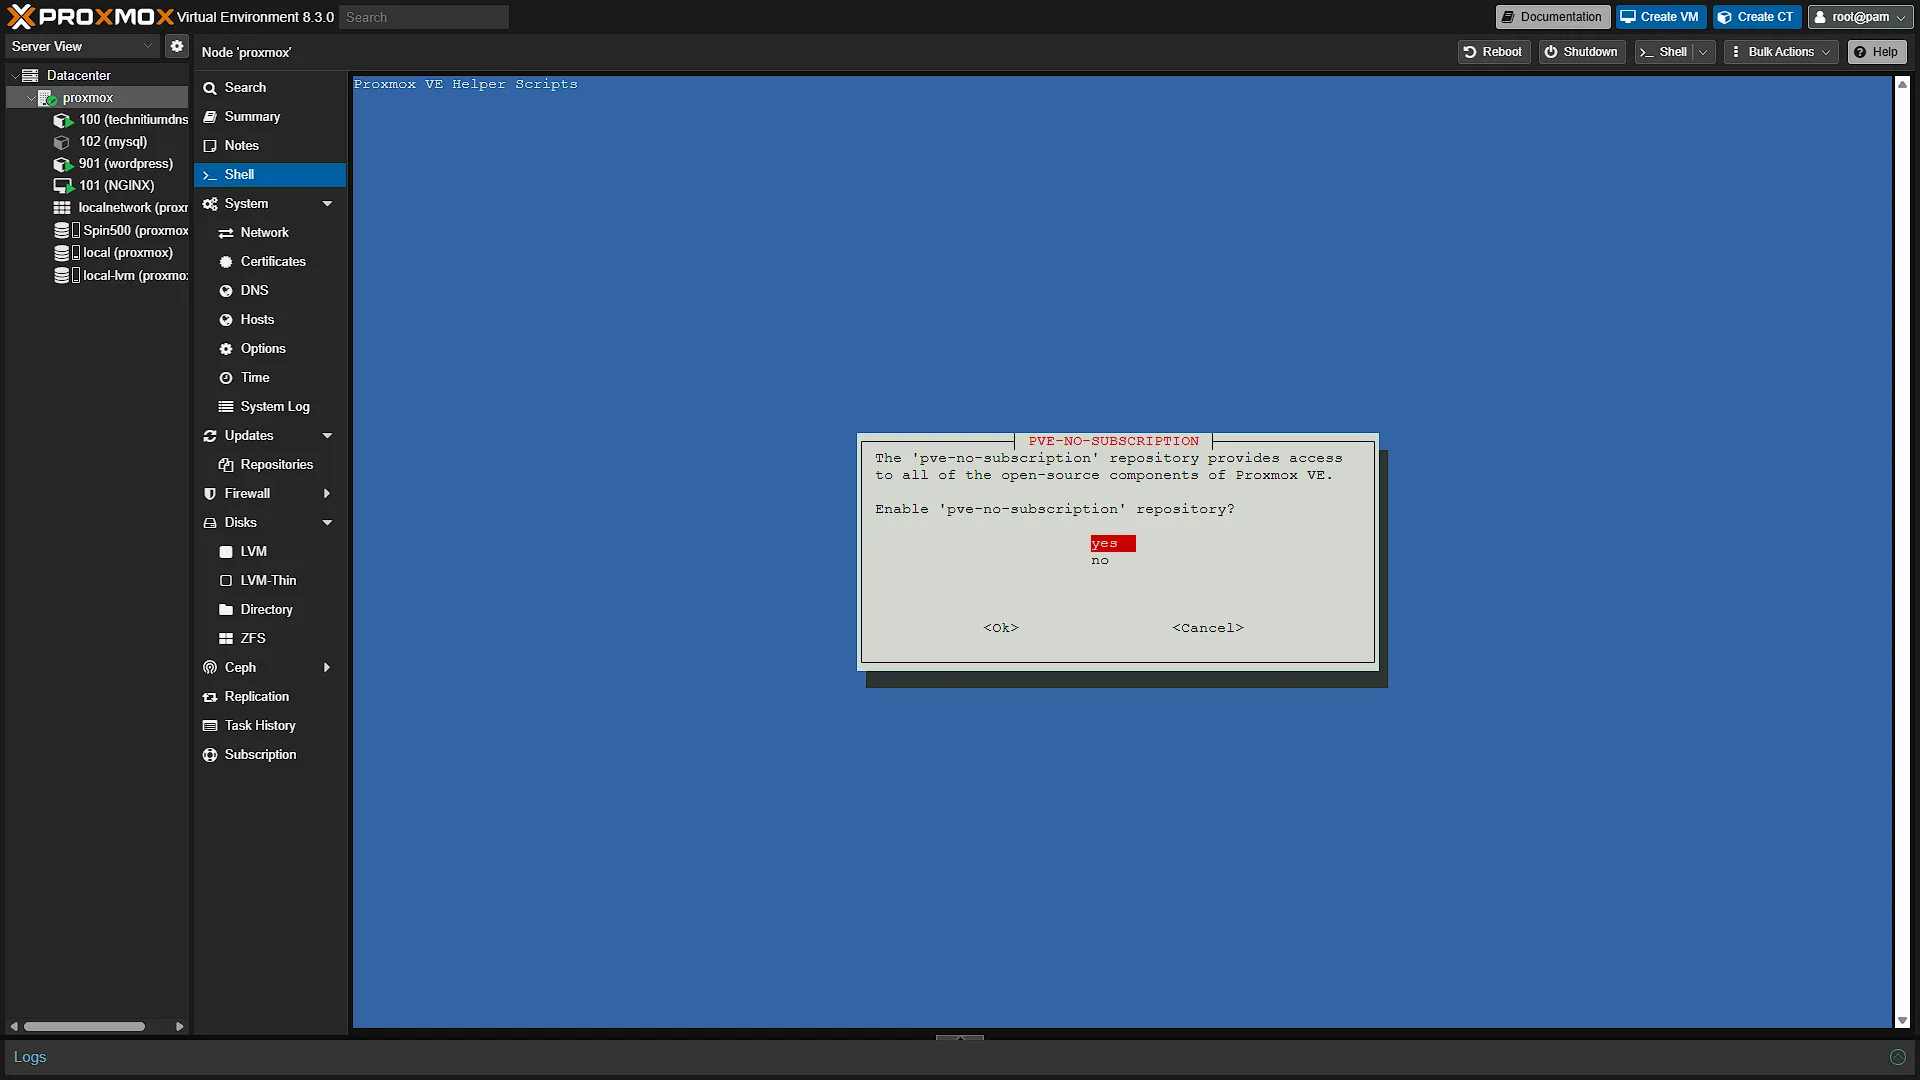
The enterprise repository requires a valid subscription. The no-subscription repository offers packages without that subscription, but Proxmox recommends it for testing and non-production use because packages receive less validation than the enterprise channel. Choose according to the host's role, rather than assuming the free channel is identical to the paid one.
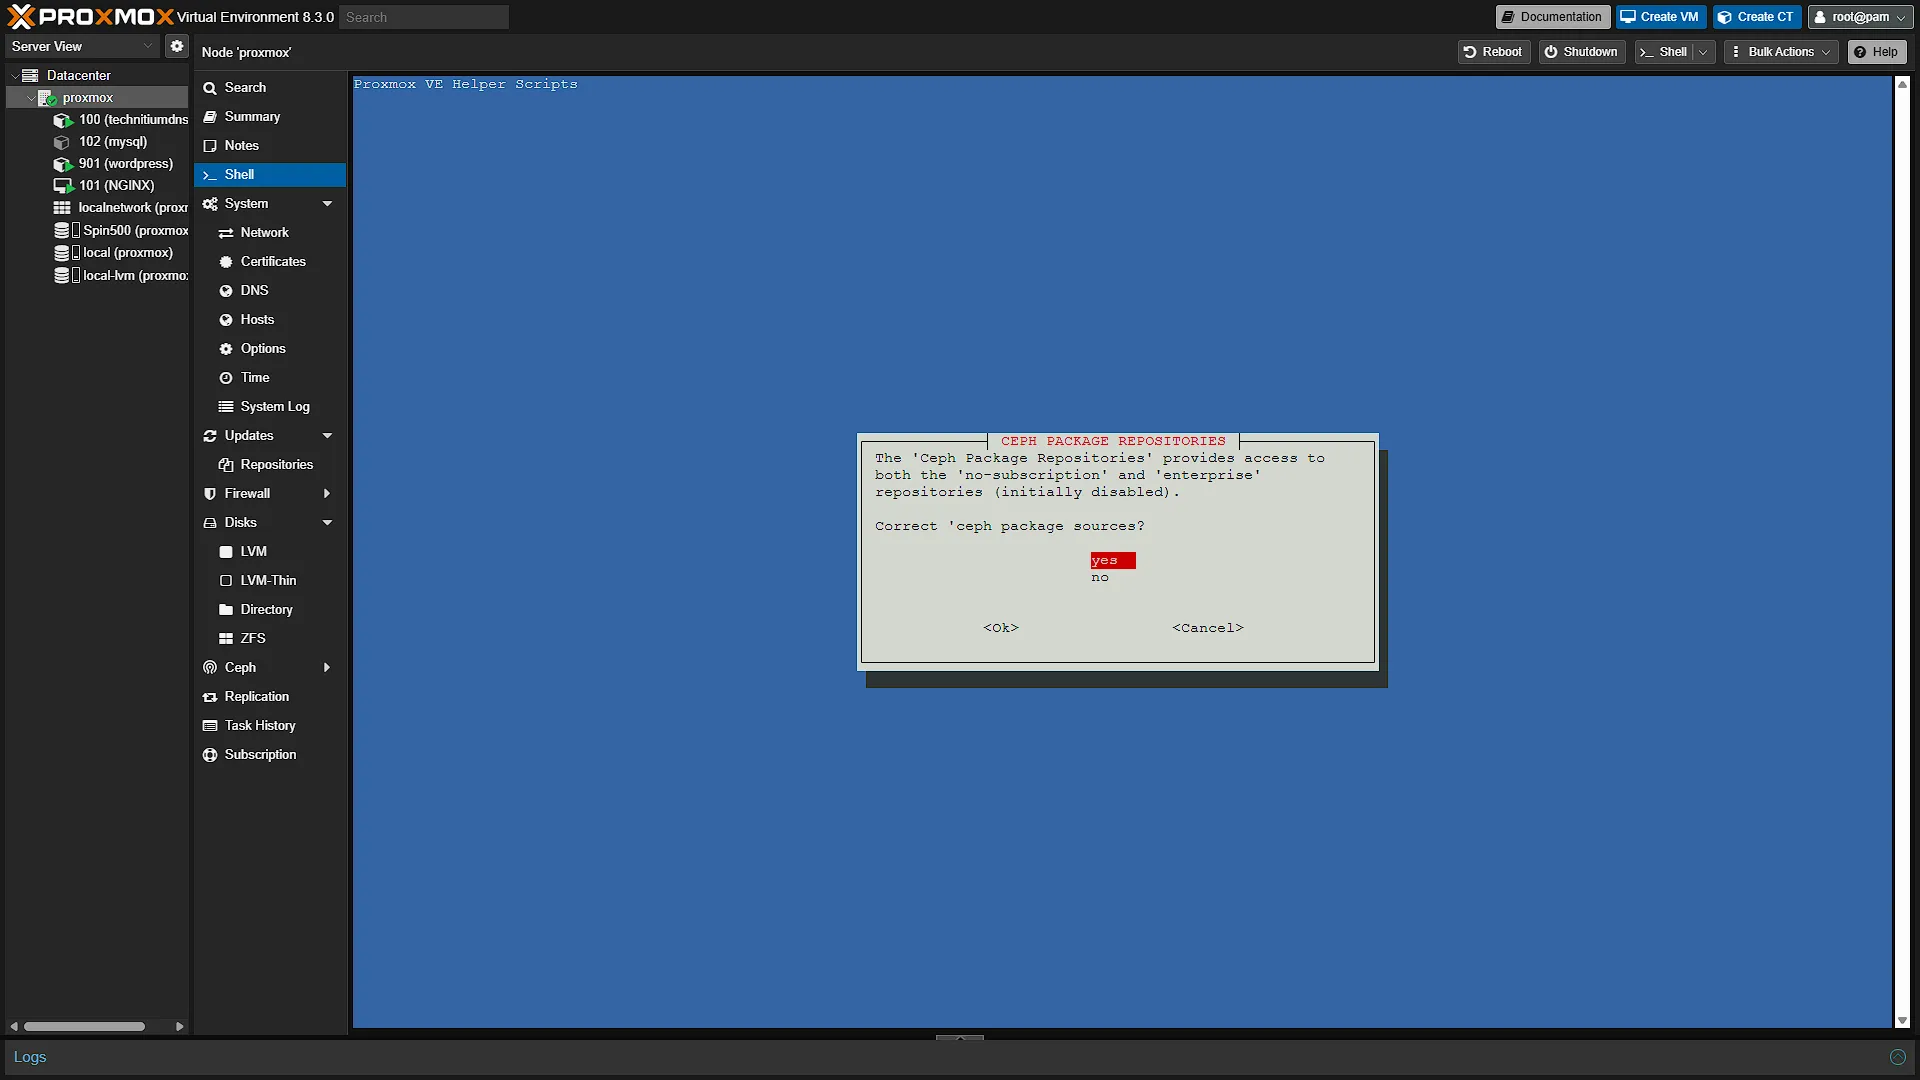
Disabling an inaccessible enterprise source can resolve its APT authentication errors. This is separate from the web interface's subscription notification: changing repositories does not by itself remove that popup. Base Debian repositories remain necessary alongside the Proxmox repository. Ceph sources need to match the deployed Ceph release; do not replace them casually on an existing storage cluster.
2. System Updates
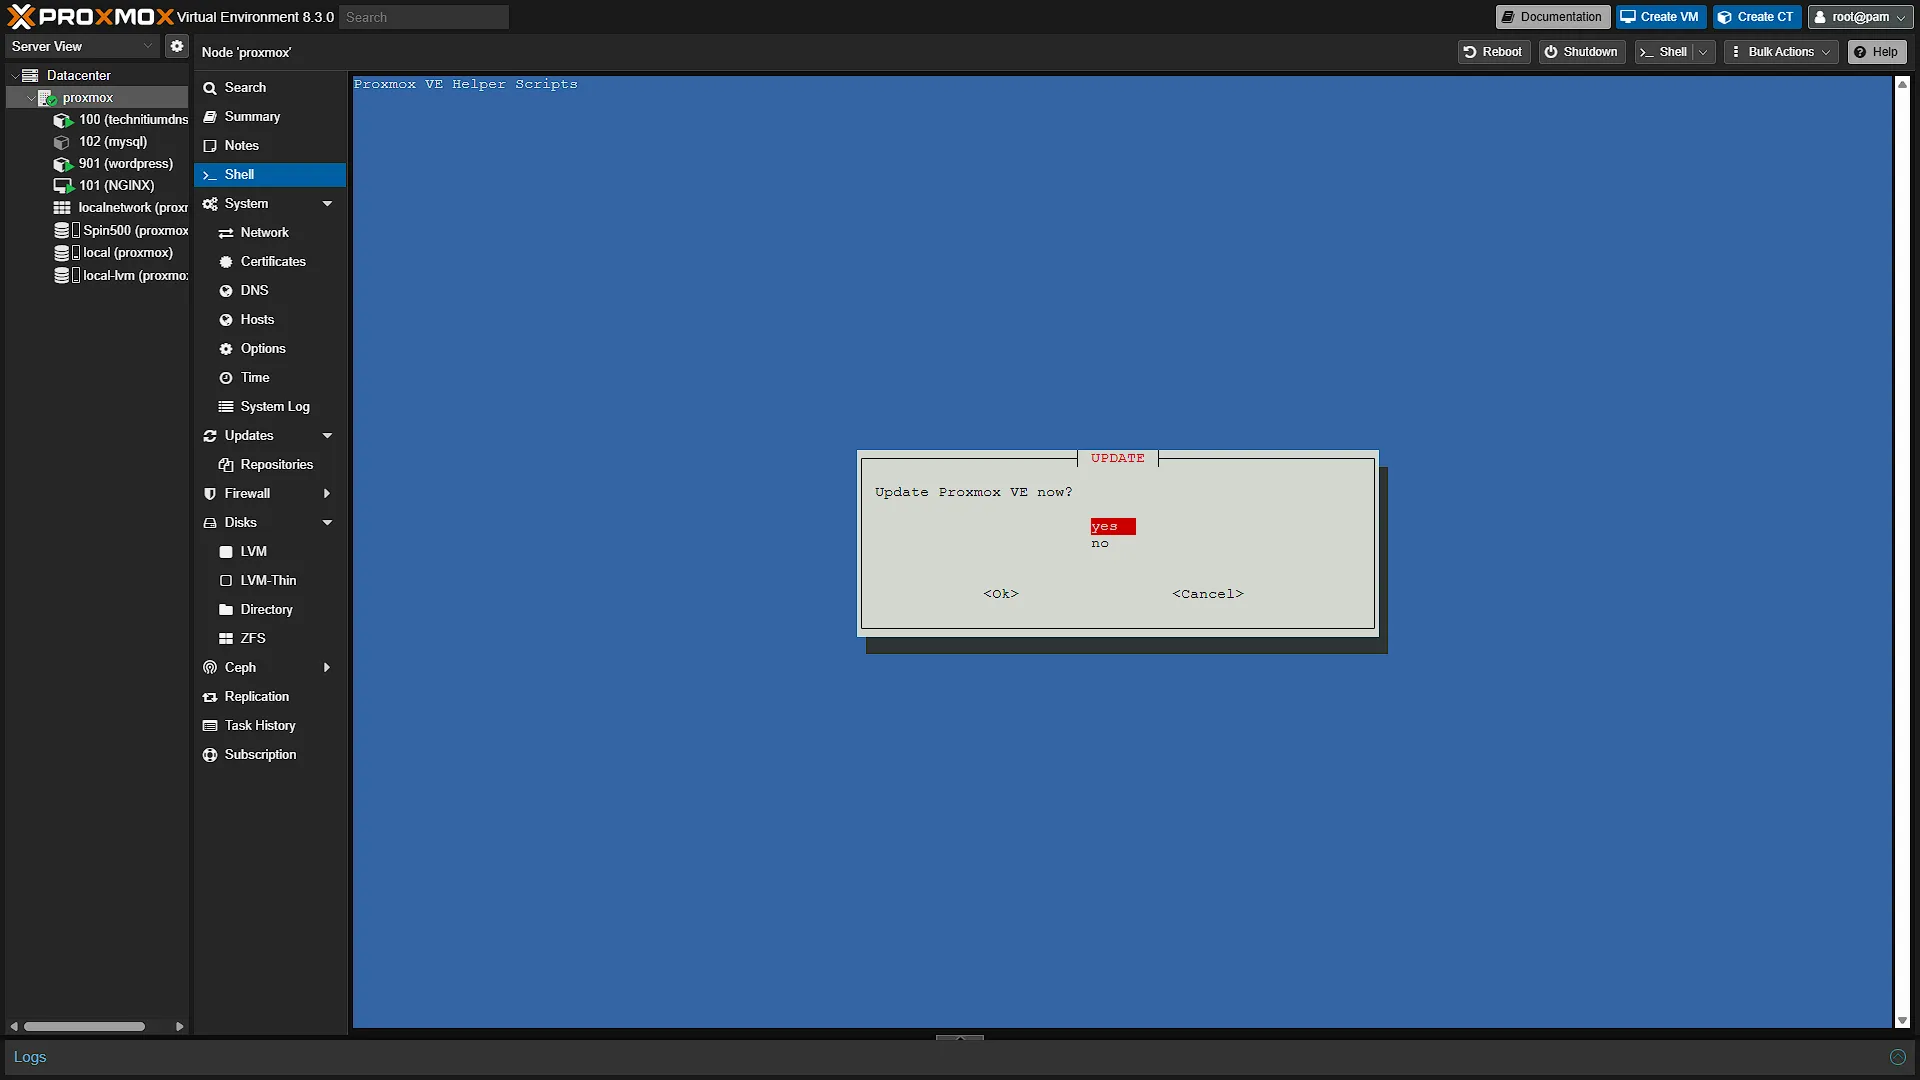
The update choice refreshes APT metadata and performs a distribution upgrade. Review guest backups, maintenance time and pending package changes first. An upgrade can install a kernel and require a host reboot. A successful dialog is not a substitute for checking the actual update result and verifying services afterward.
3. The Subscription Notification
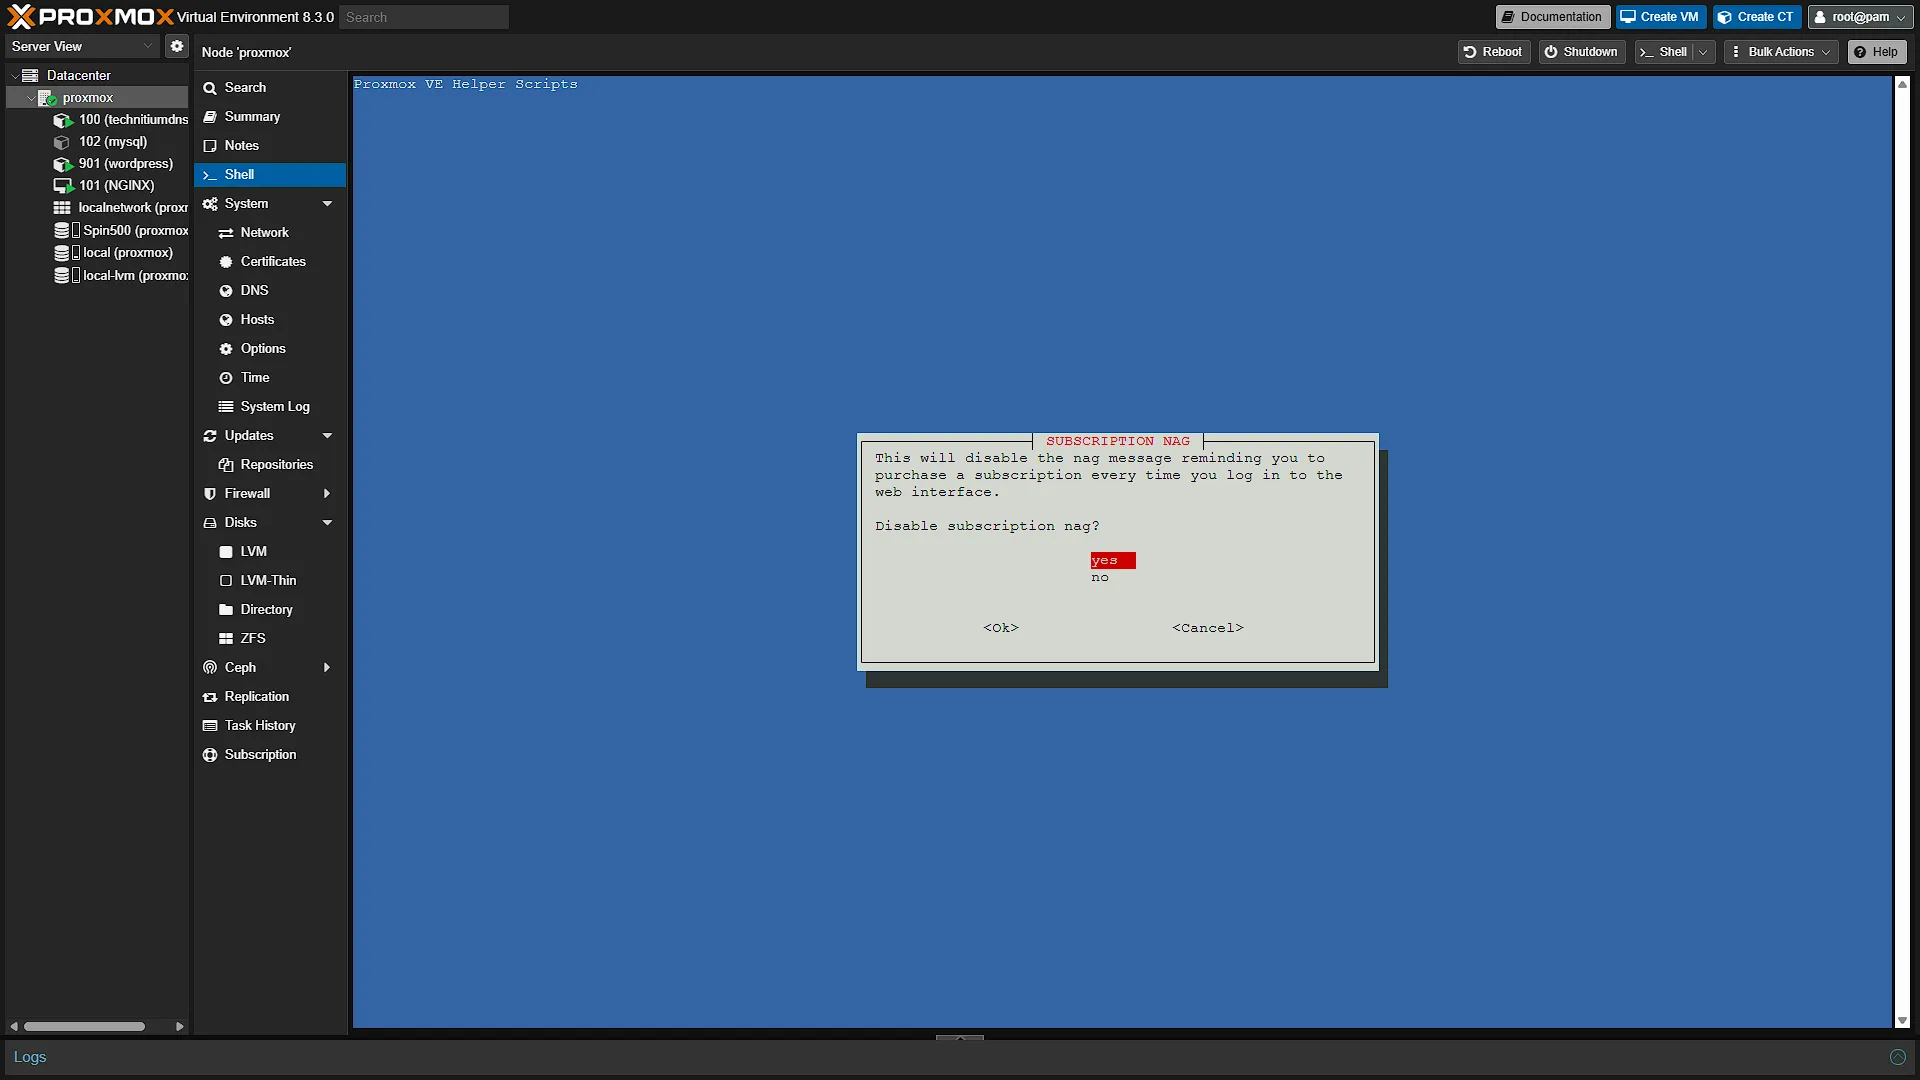
The optional notification change patches web interface files and adds an APT hook so the patch can be reapplied after package operations. It changes presentation, not your subscription entitlement or repository access. Leaving the notice visible is a valid choice. A later interface update can change the files or behavior, so do not treat this cosmetic patch as a security enhancement.
4. Utilities Are a Separate Decision
The script discussed here is not a general installer for every monitoring tool, editor or guest agent. Our preference remains to add utilities when they are needed. In particular, a QEMU guest agent normally belongs inside the guest operating system, with the VM's agent option enabled in Proxmox; installing it on the host does not add an agent to every VM.
5. HA and Corosync Choices
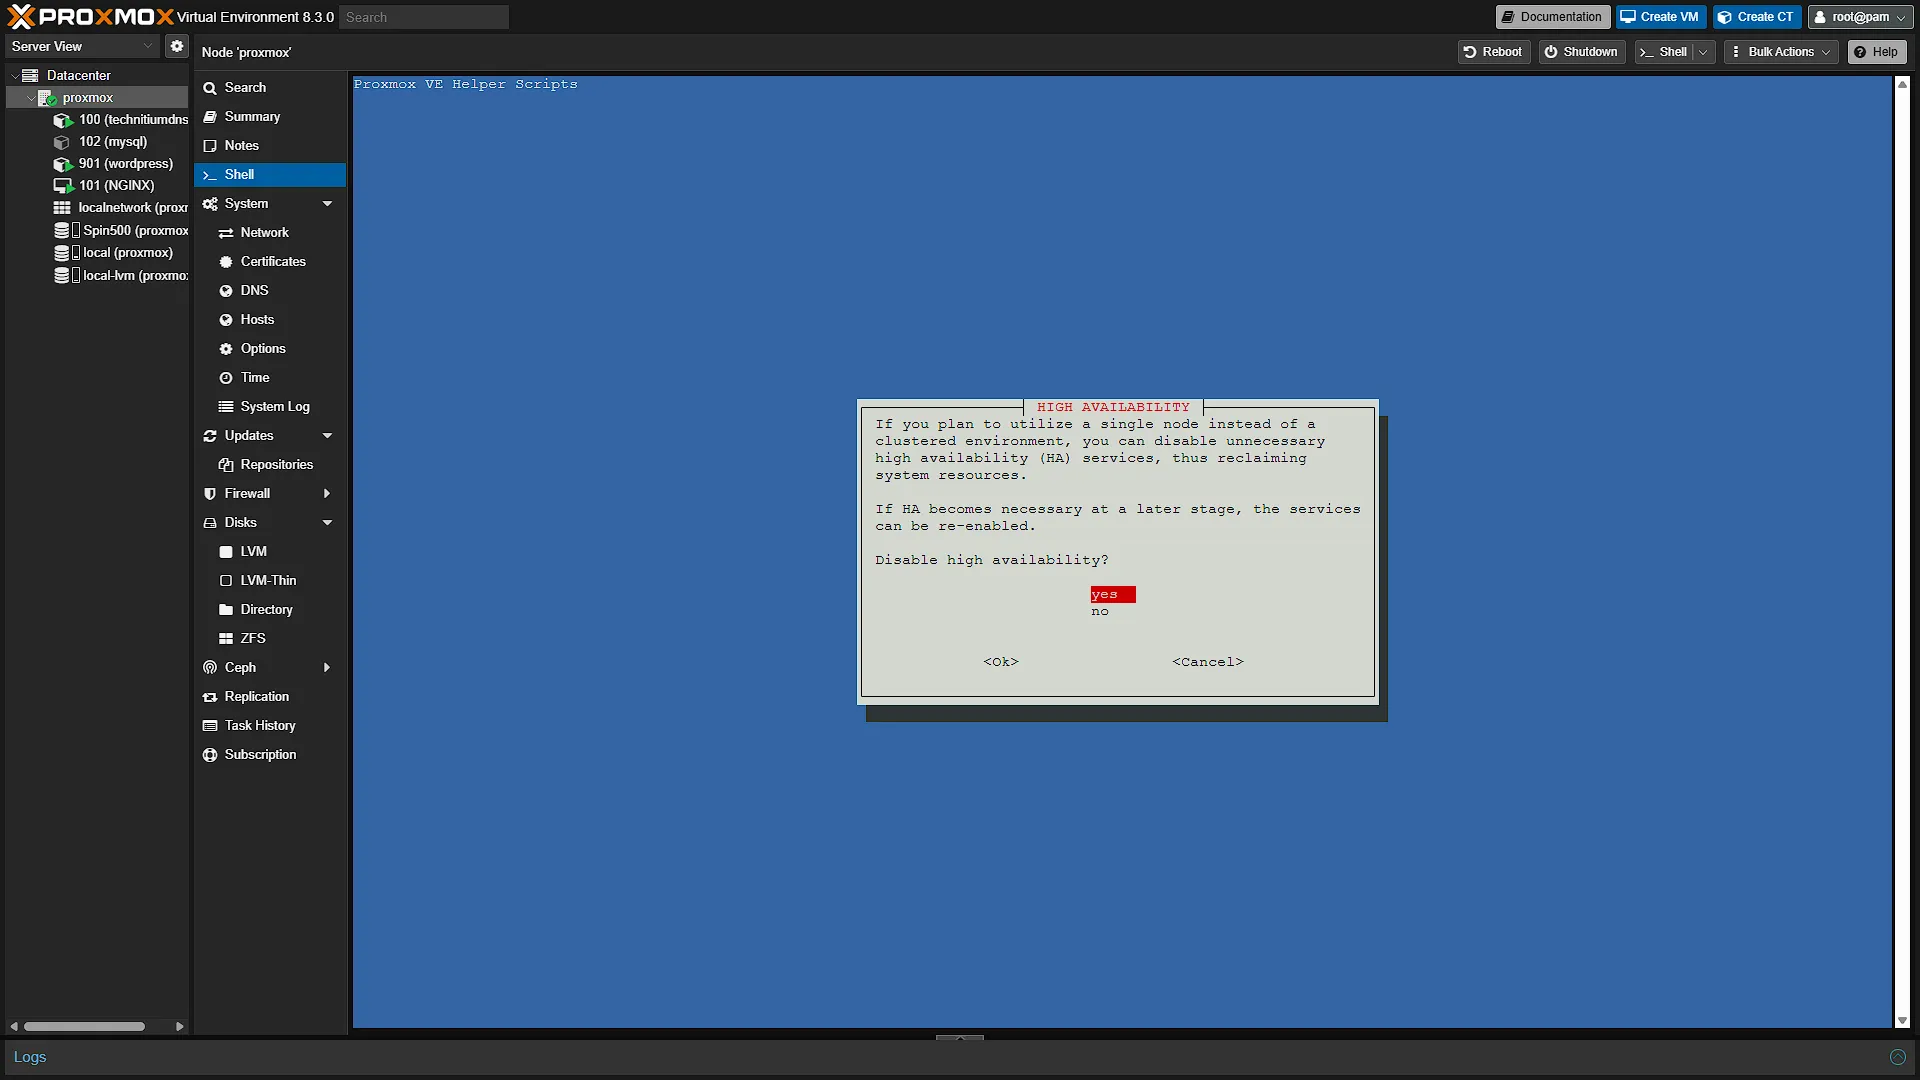
The script offers to change high-availability services. On a genuinely standalone host that will not use HA, disabling unused services may be reasonable. It is not a measured SSD-endurance improvement or a general kernel, network or ZFS tuning procedure. Current code separates the Corosync question from disabling the HA services; Corosync also supports cluster membership, so a cluster without HA still needs careful treatment.
6. Scope and Version Matter
The current script has separate Proxmox VE 8 and VE 9 branches. VE 8 uses Bookworm repository entries; VE 9 uses Trixie and modern deb822 source files. Its version checks and prompts can change. It does not turn a VE 8 installation into a supported VE 9 upgrade merely by selecting different sources. Docker, Cockpit, unattended upgrades and storage tuning require their own deployment decisions.
Why Use a Post Install Script?
For our homelab, the benefit is a convenient checklist and fewer repetitive configuration tasks. Read each choice before accepting it, keep the source revision you inspected, and record your selections. Two installations using a moving upstream script on different days may receive different code or prompts. That makes a written record useful even when the interface looks familiar.
How to Run the Script
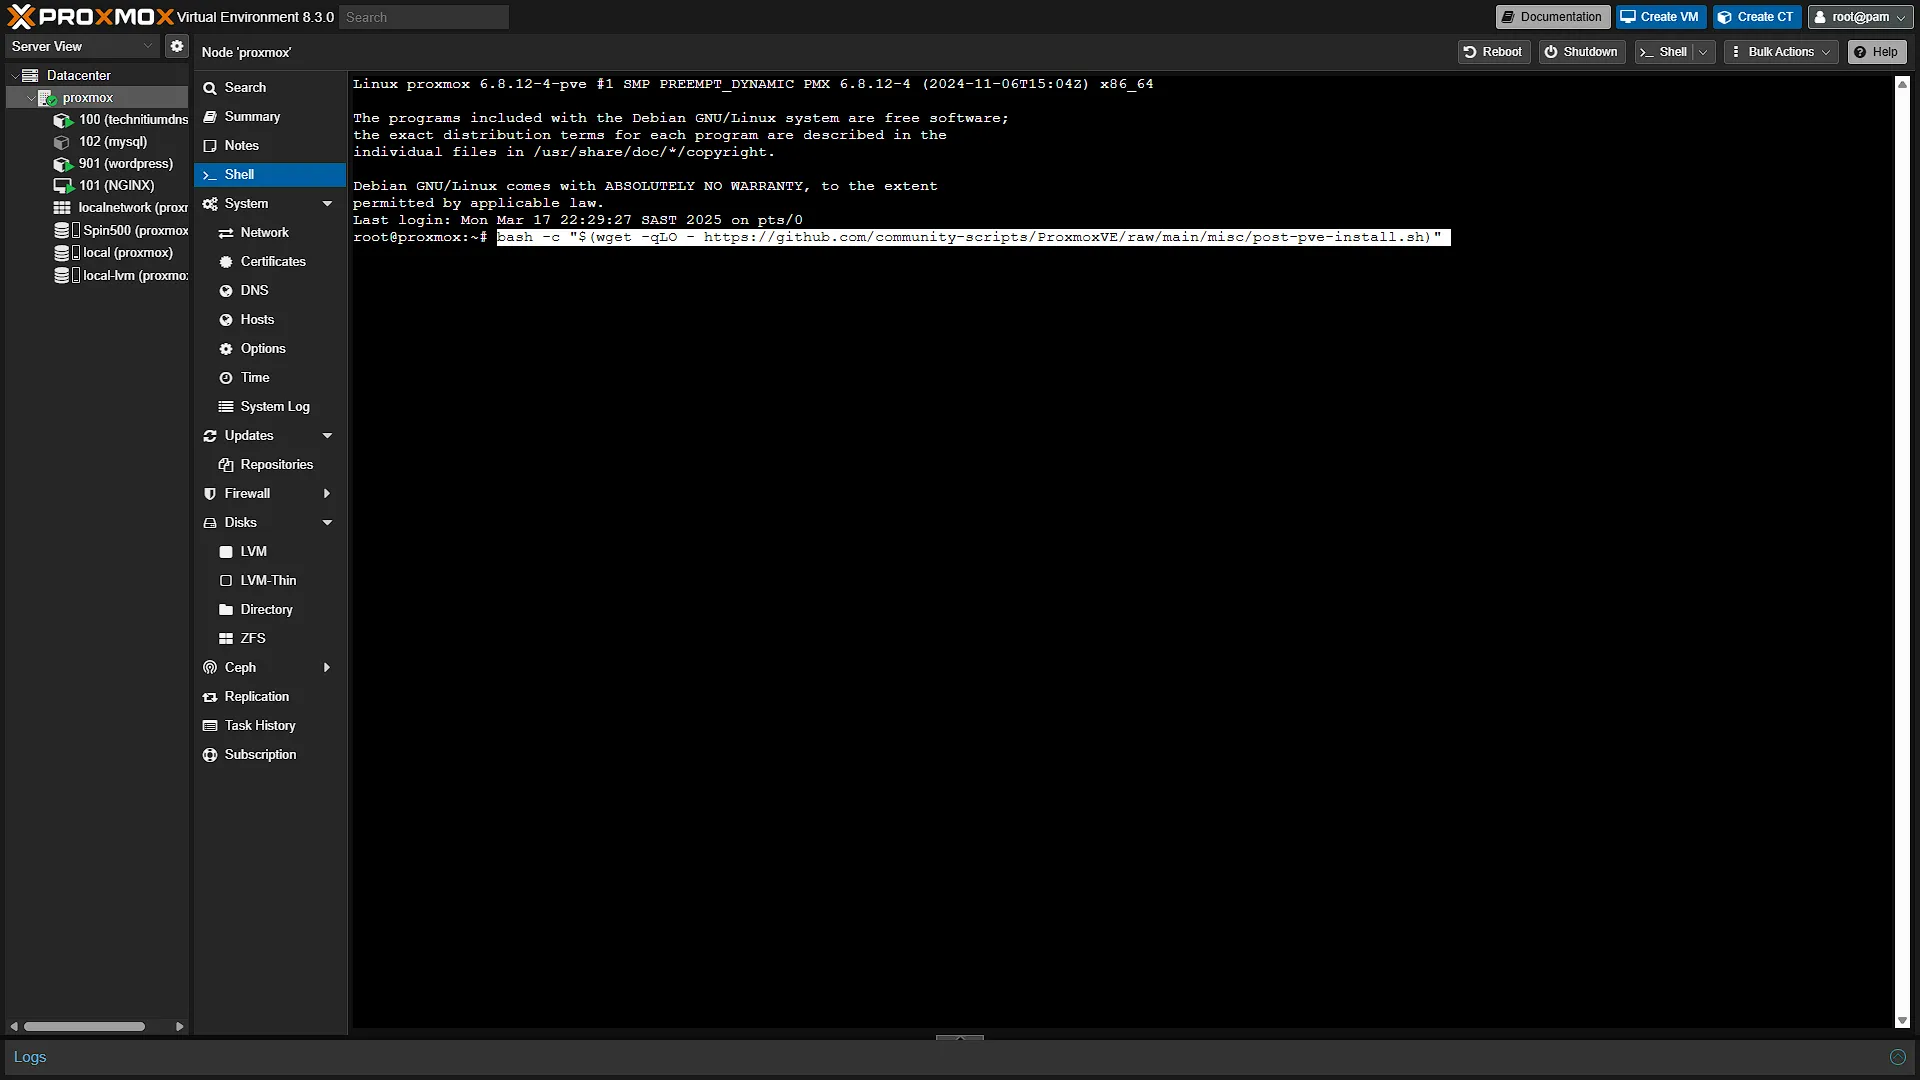
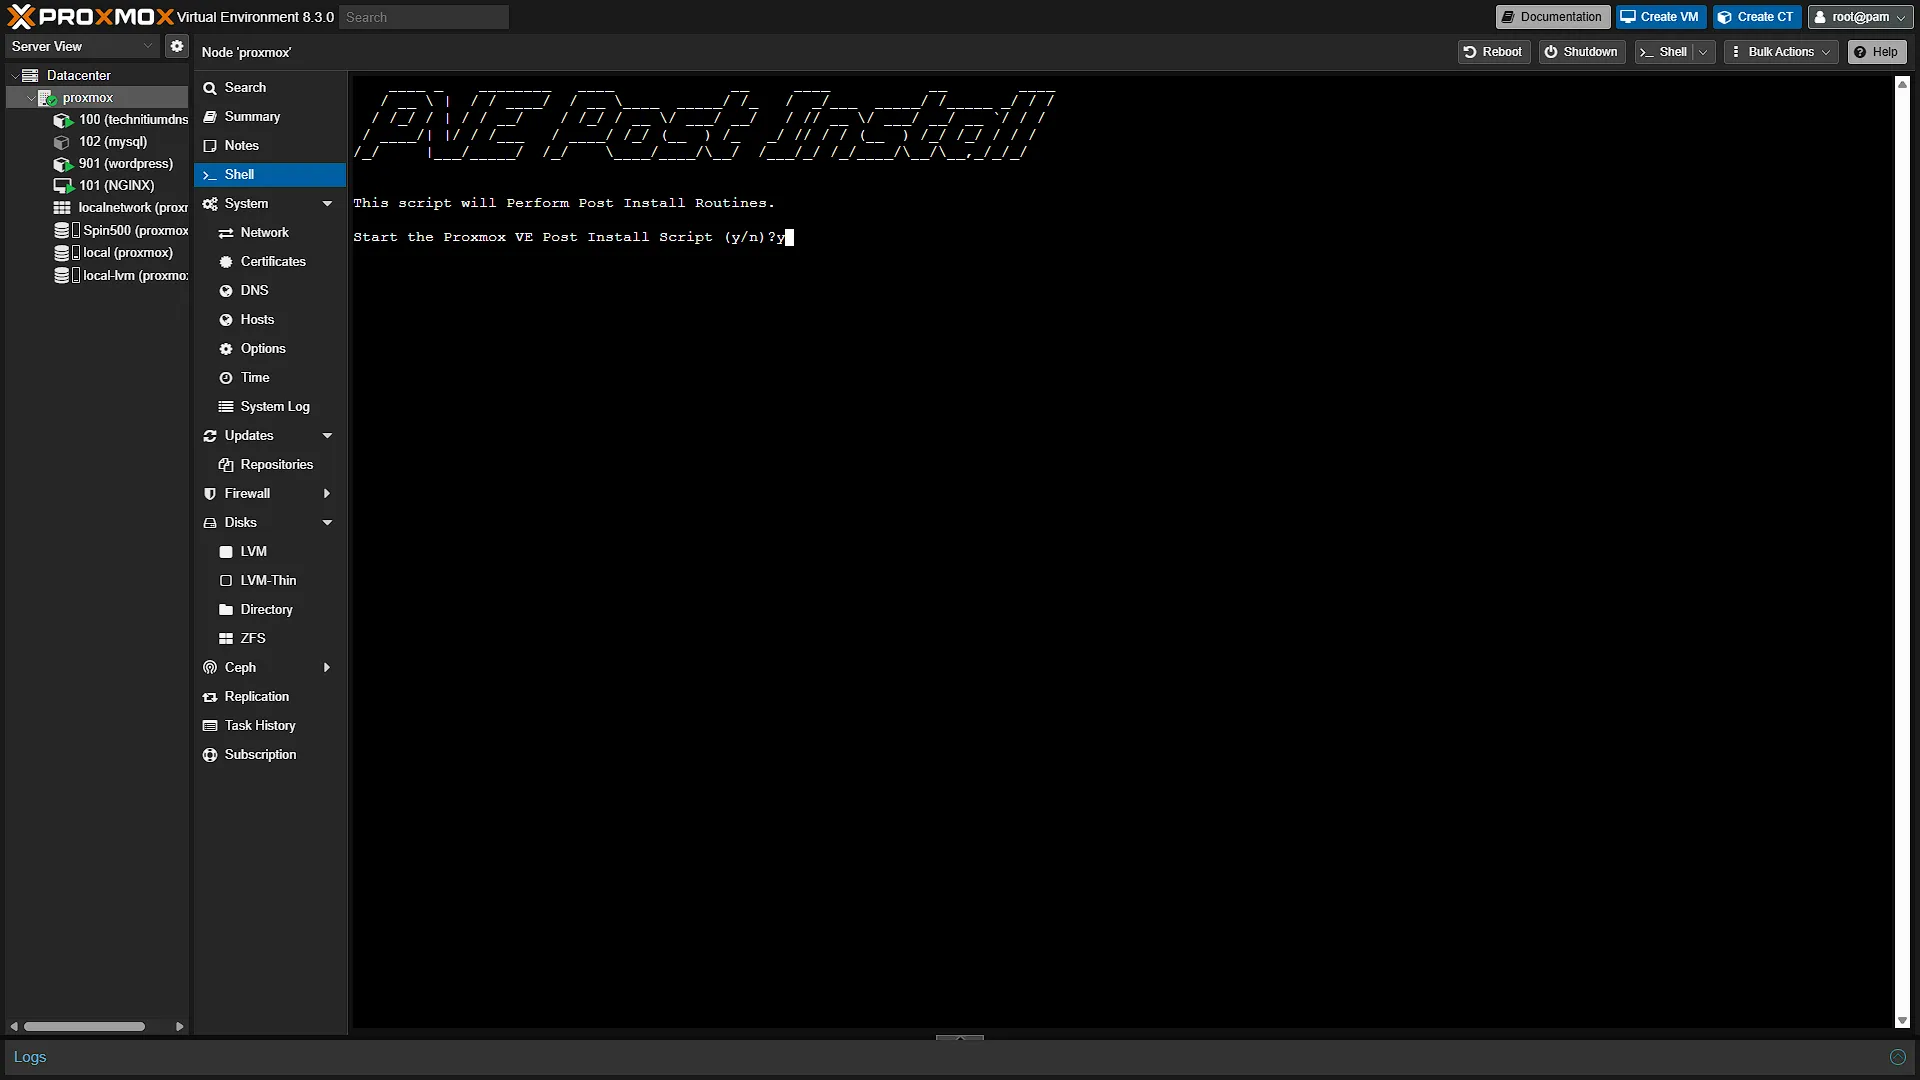
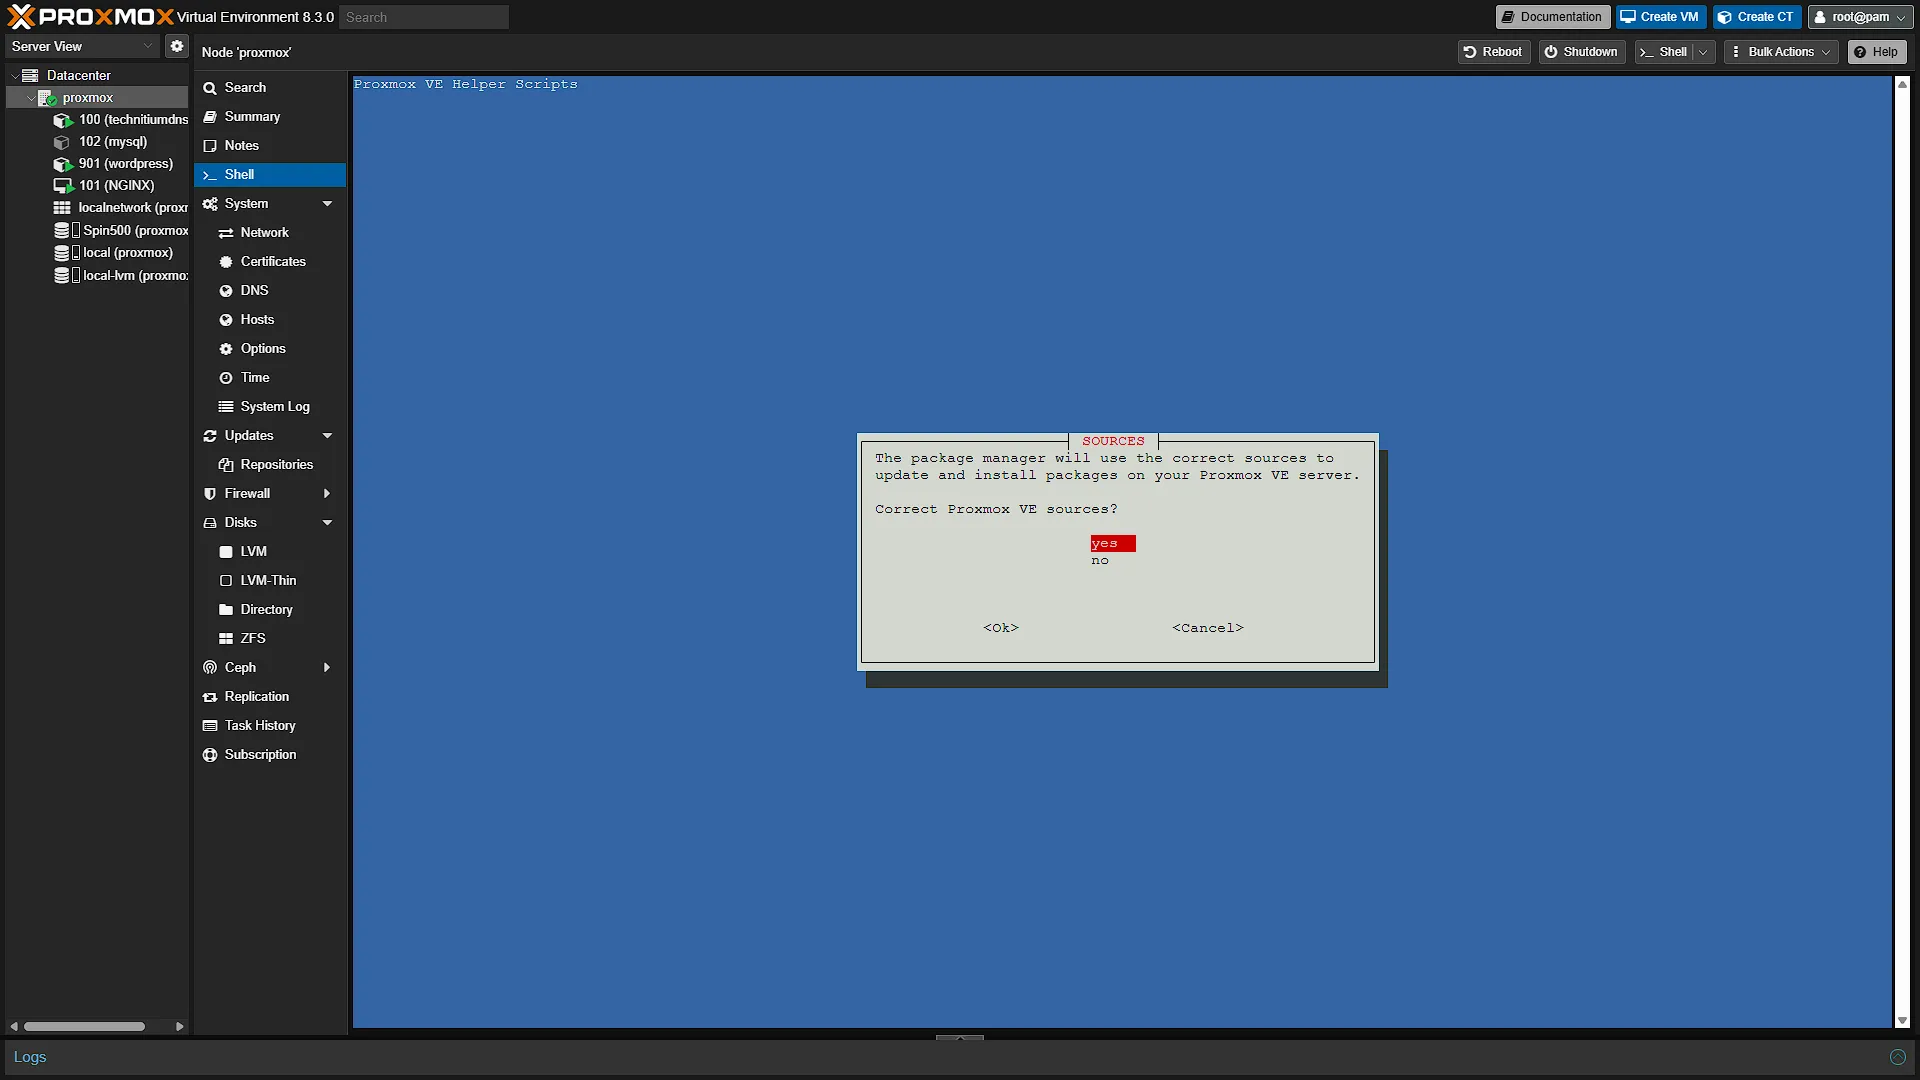
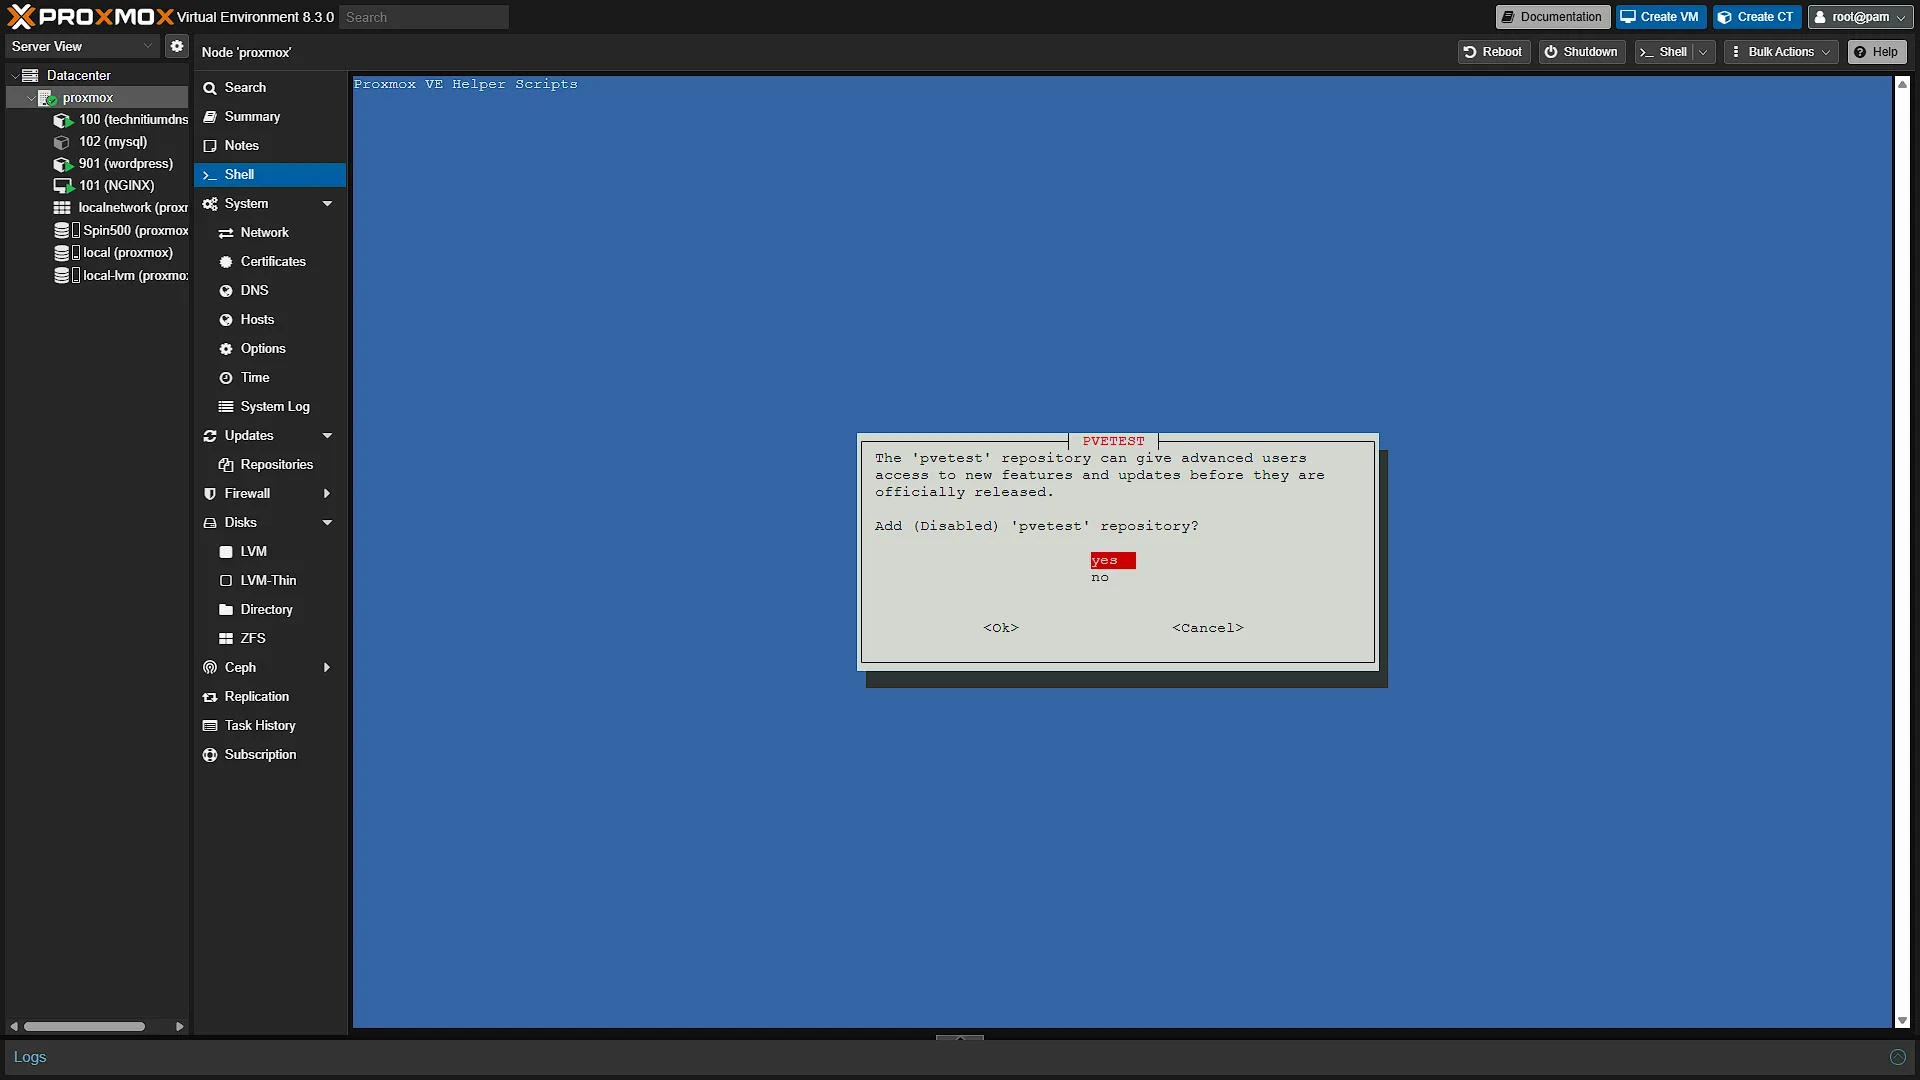
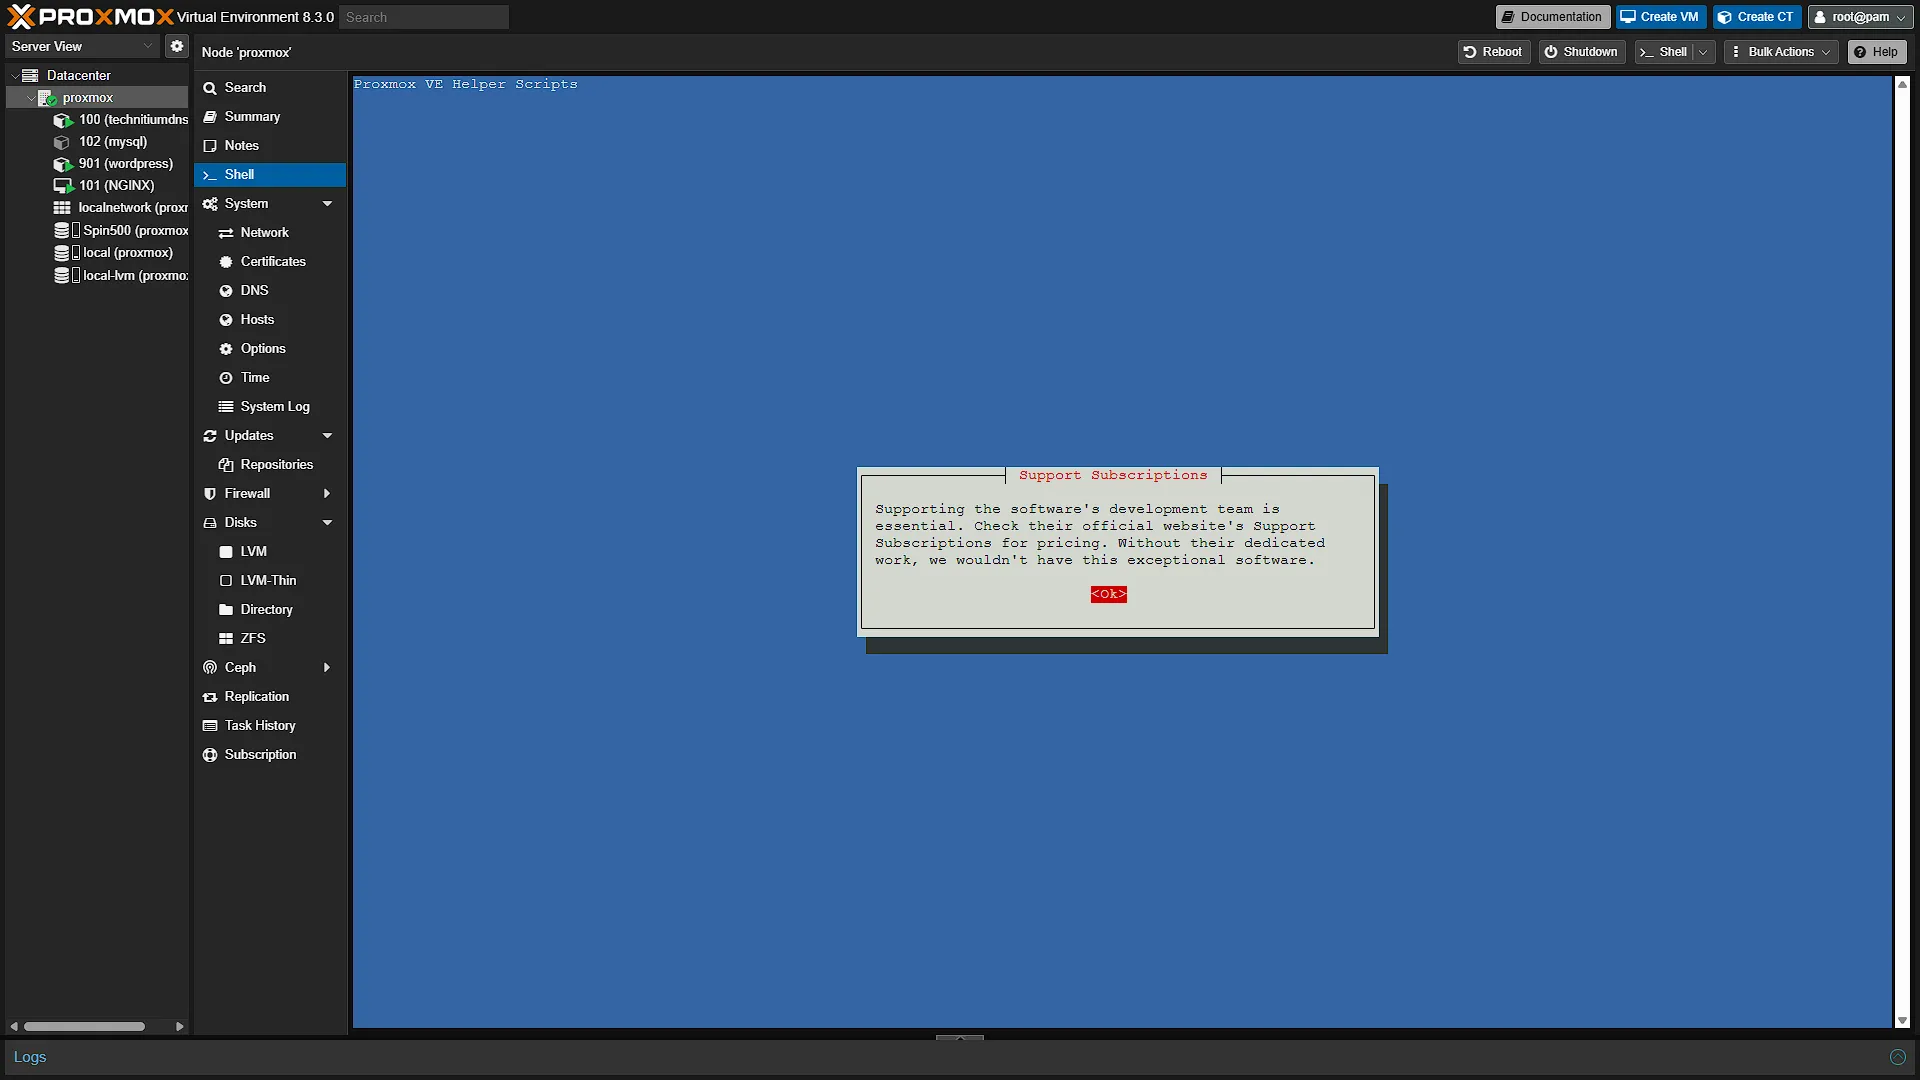
We are going to (again) recommend the script from the amazing helper-scripts.com (check them out if you haven't already). The script we are after is the Proxmox VE Post Install Script. We prefer not to install extra utilities until they are needed, so this focused script suits our approach. The following images document our Proxmox VE 8.3.0 session and the launcher available at that time:

The historical command was run in the  of our Proxmox node. In that photographed session, the command was
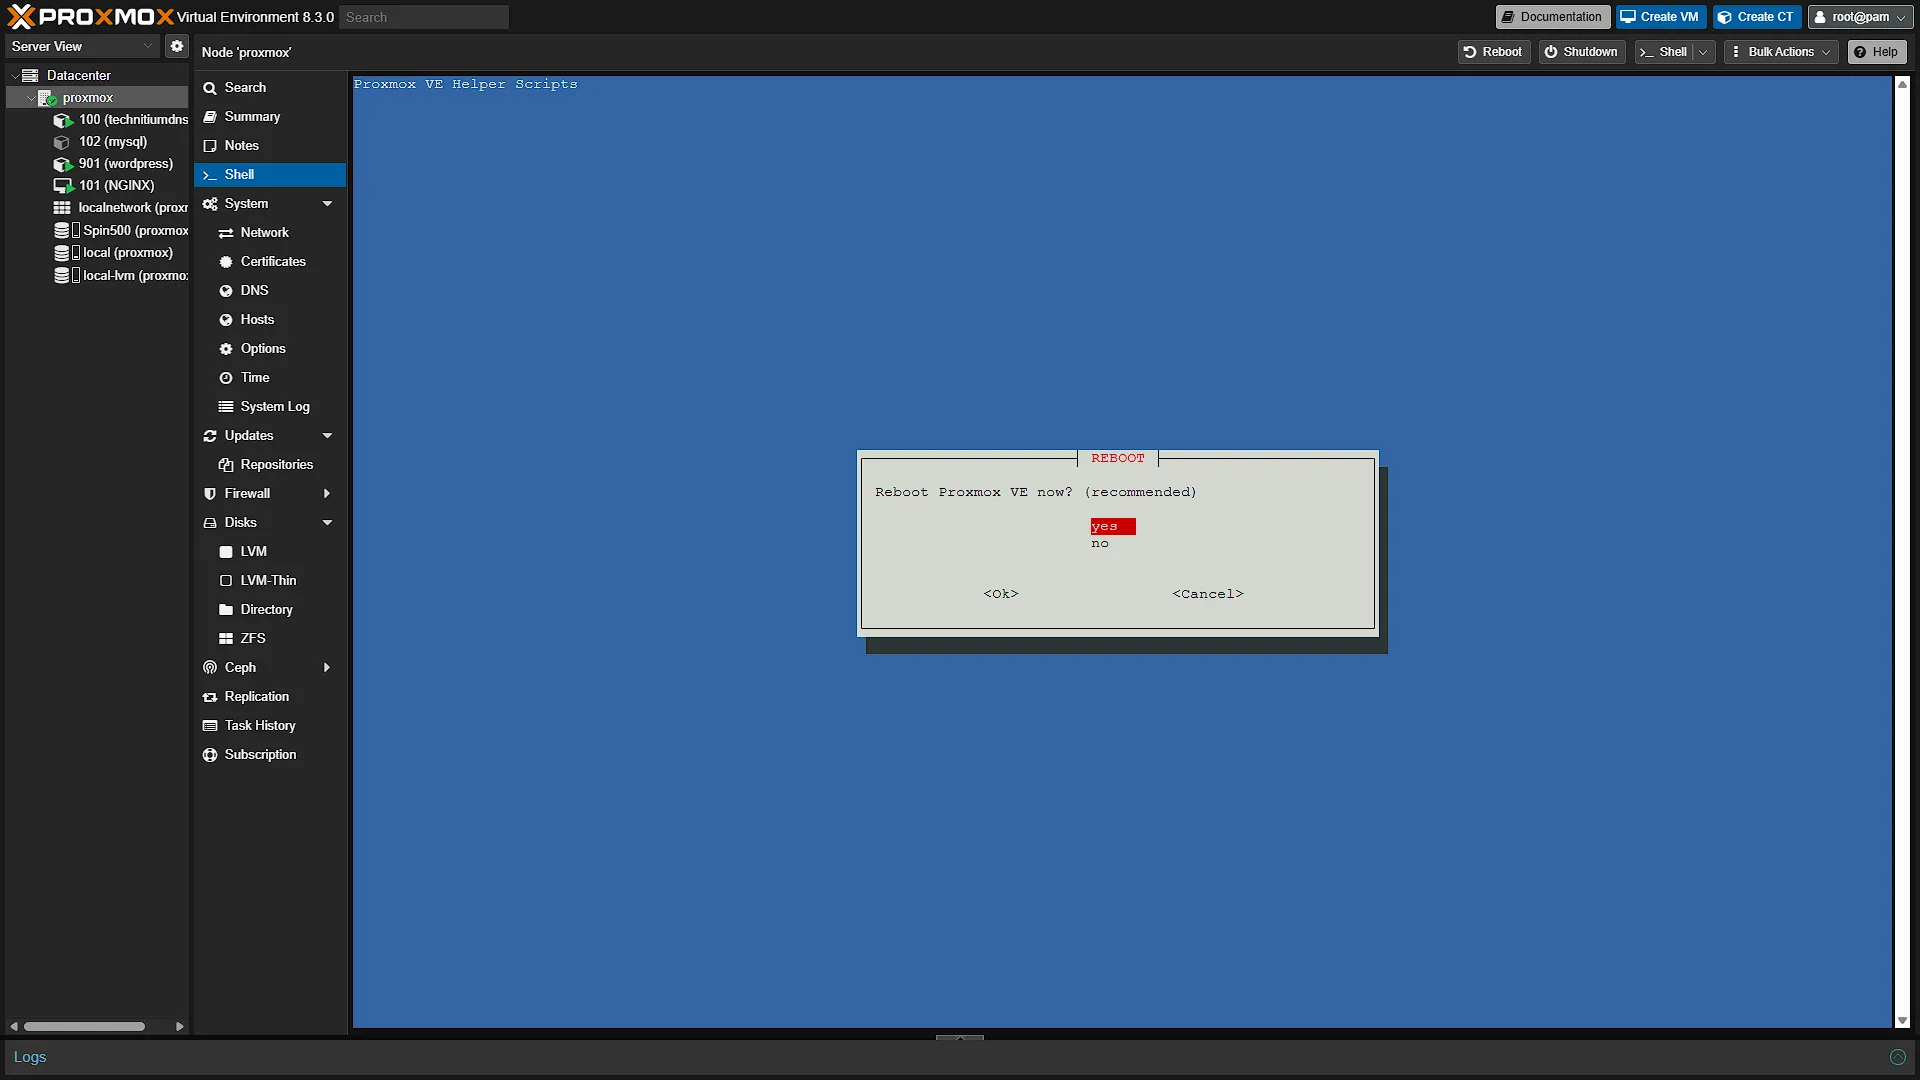
bash -c "$(wget -qLO - https://github.com/community-scripts/ProxmoxVE/raw/main/misc/post-pve-install.sh)"The gallery retains the prompts from that session. They are evidence of the demonstrated version, rather than a promise that the current script presents identical screens. For a new installation, use the current-source procedure below instead of copying the old launcher.
Checking the Current Script Before a New Run
Start on the intended Proxmox node, not inside a VM or container. Record the output of pveversion and whether the node belongs to a cluster. Save host configuration and make independently recoverable guest backups before allowing repository replacements or upgrades. Arrange console access in case normal network access is interrupted.
The maintained source is now under tools/pve/post-pve-install.sh. Downloading and reading a file first gives you an opportunity to inspect the actual choices before running it as root:
curl -fL https://raw.githubusercontent.com/community-scripts/ProxmoxVE/main/tools/pve/post-pve-install.sh -o post-pve-install.sh
less post-pve-install.sh
These commands only download and display the source. After review, run bash post-pve-install.sh in the node's root shell if the code and supported versions match your host. For a repeatable deployment, use a reviewed commit rather than assuming the moving main branch will stay unchanged. The current script also fetches a community telemetry helper; inspect its external dependencies and the project's telemetry policy, rather than assuming the downloaded file is the only code involved.
Review Existing Repository Configuration
Inspect the node's repository view before accepting a sources correction. Current code can rewrite source files, disable legacy entries or replace repository configuration. Preserve custom repositories and know how to restore them. Do not mix Bookworm and Trixie entries, and do not enable a testing channel on an important host simply because an option exists.
Choose Prompts for This Host
| Choice | Decision to make |
|---|---|
| Enterprise repository | Keep a valid subscription source; disable an inaccessible one only with a suitable replacement update channel |
| No-subscription repository | Suitable for the intended non-production homelab use; understand the validation difference |
| Test repository | Keep disabled unless deliberately testing packages |
| Subscription notification | Optional cosmetic choice; no new entitlement or protection |
| HA and Corosync | Check actual cluster membership and required services; do not disable cluster coordination merely because HA is unused |
| Update and reboot | Choose a maintenance window that accounts for running guests and host recovery |
After completion, inspect the enabled repositories, refresh APT metadata and investigate any reported errors. Confirm the management interface, guest networking, storage and backups still work. If a new kernel was installed, schedule the necessary reboot and check the running version afterward. Reload the browser if its cached interface files no longer match the installed version.
Final Thoughts
The community script still fits our preference for a focused post-install checklist. Its value comes from understanding the choices it groups together. Retaining the original screenshots preserves the session readers followed, while the current-source instructions help readers account for later repository formats and script changes. Treat convenience as support for informed administration, and keep a recovery plan for the host that runs the rest of the homelab.
Consult the maintained script source and the Proxmox repository documentation when deciding which changes apply.