Now that we have a (demo) WordPress site up and running in our homelab, as well as a proper reverse proxy (NGINX) running in a VM, we can finally start securing our sites. We are going to just secure our WordPress site, with the help of Let's Encrypt free certificates. In this article we will only generate a certificate for the WordPress site, but going forward we will also generate certificates for all other services that we access from outside of our home network. Let's get cracking.
Current Setup
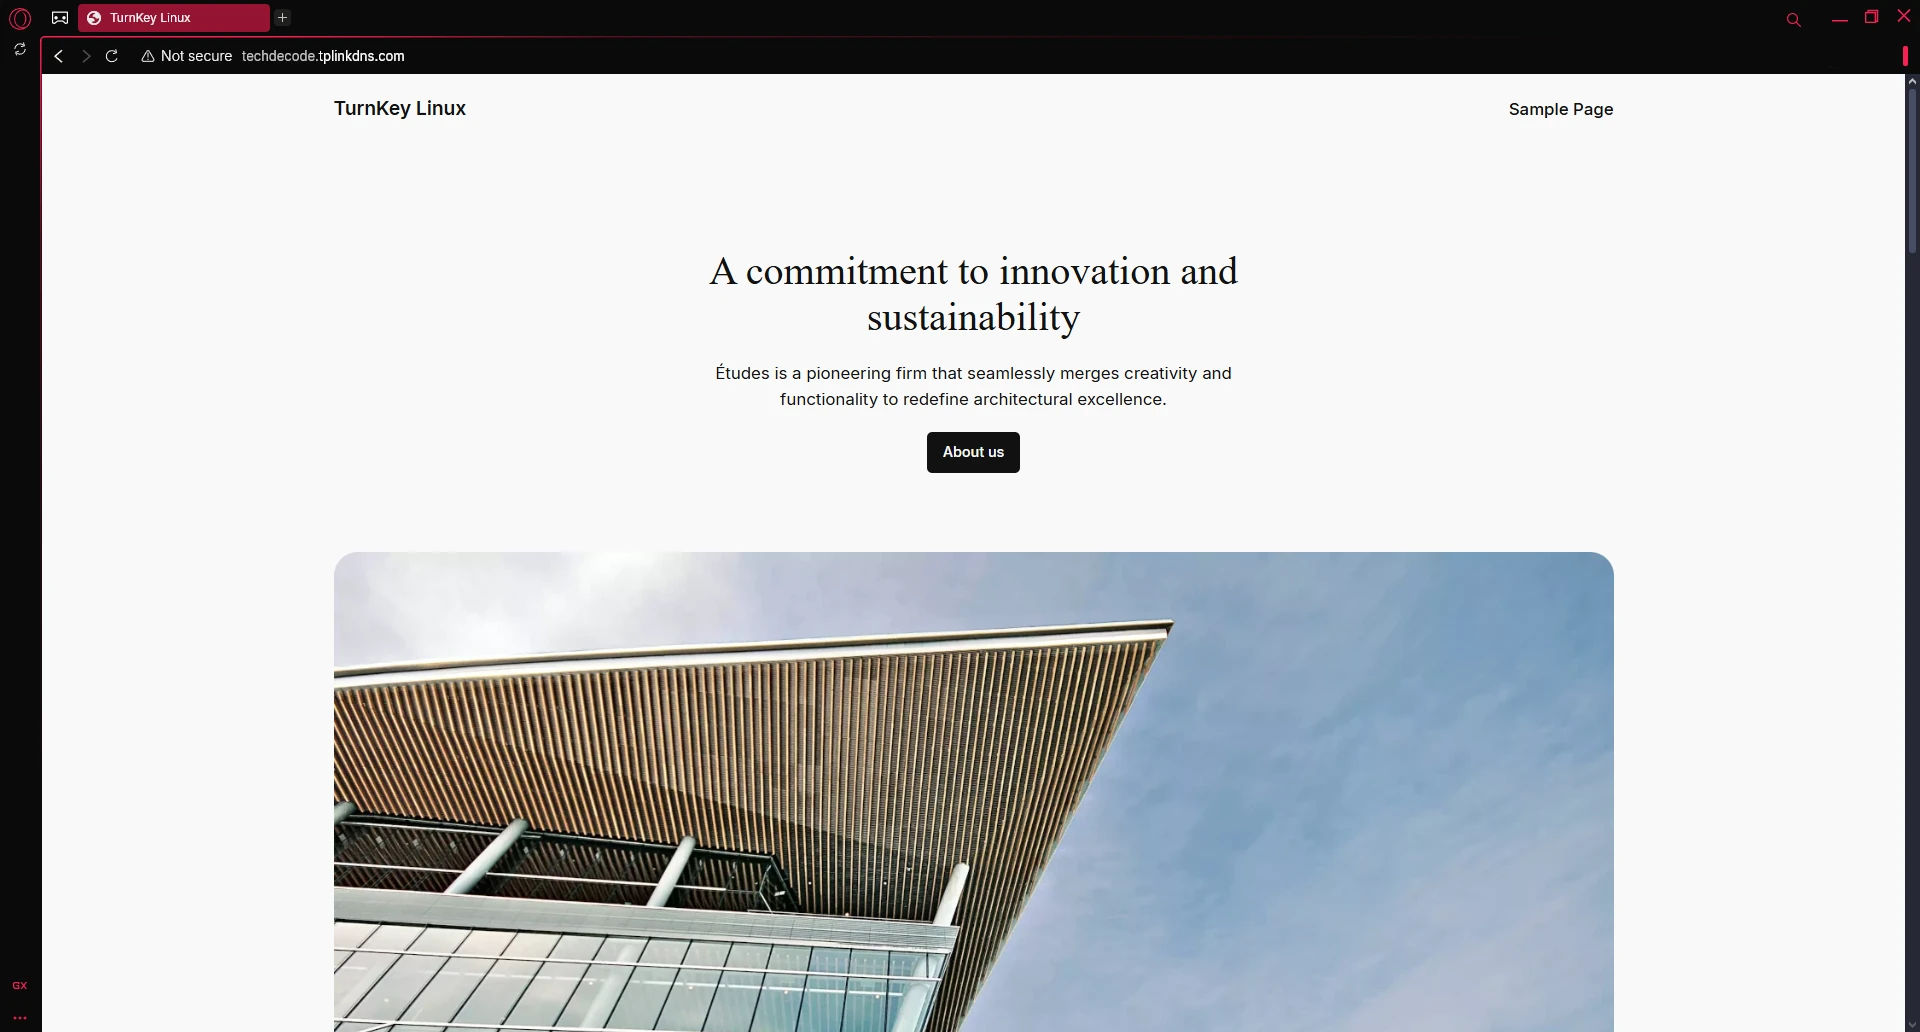
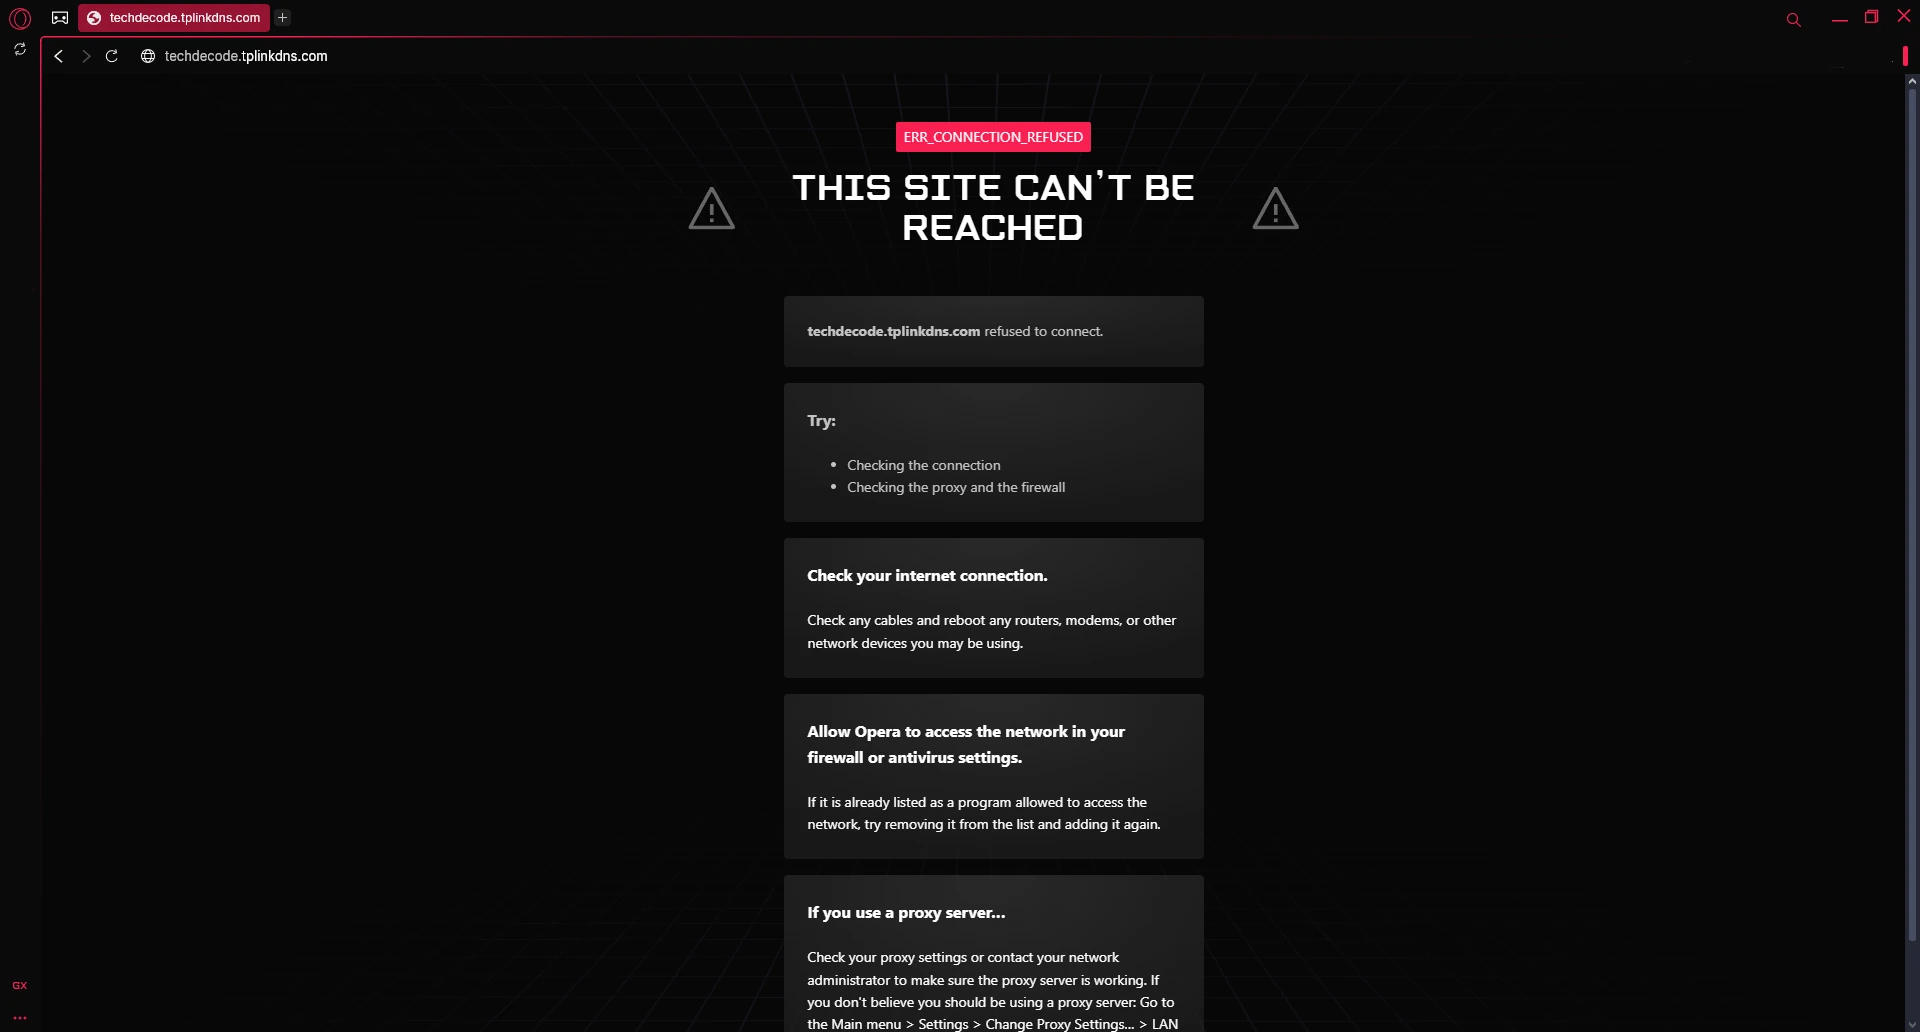
To ensure we are on the same page, let's look at the current setup. Firstly, we have an Ubuntu Server VM running on IP address 192.168.1.4 and the only thing this server is doing is running our reverse proxy, NGINX. We have set up port forwarding on our main router to forward all traffic on ports 80 and 443 (http and https) to the NGINX VM (192.168.1.4). We have also set up Dynamic DNS on our router so that we can access the router with a link from a Dynamic DNS service like DynDNS.org or noip.com. Because we are using a TP-Link router, we are using the free tplinkdns.com domain - for example techdecode.tplinkdns.com (this is not the real one we are using, so if you can't access it, it is because of the fact that we don't want to show our actual one). We also have set up NGINX to forward all traffic coming in on the address techdecode.tplinkdns.com to the IP address 192.168.1.43 which is the IP on which our WordPress is running in our LAN. We can access our WordPress when running on http, but not when running on https.
Step 1 - Installing Certbot
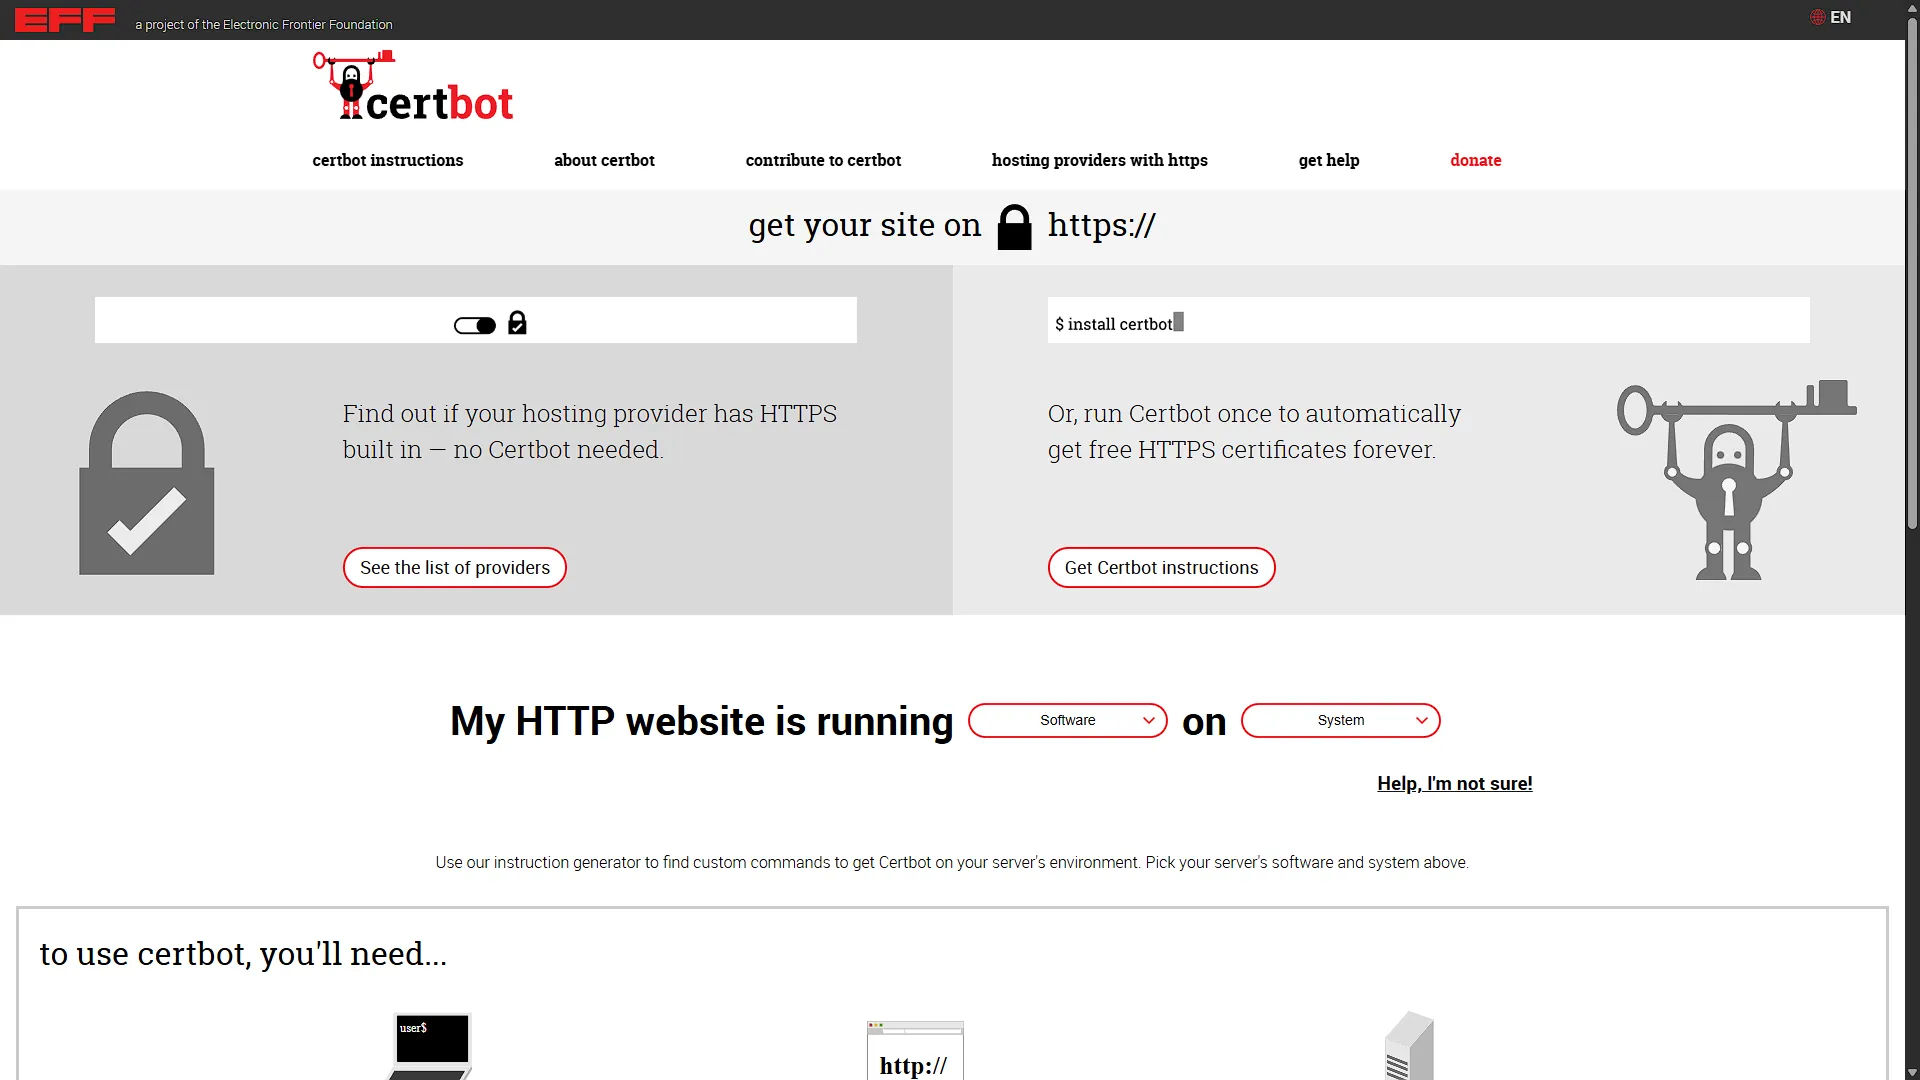
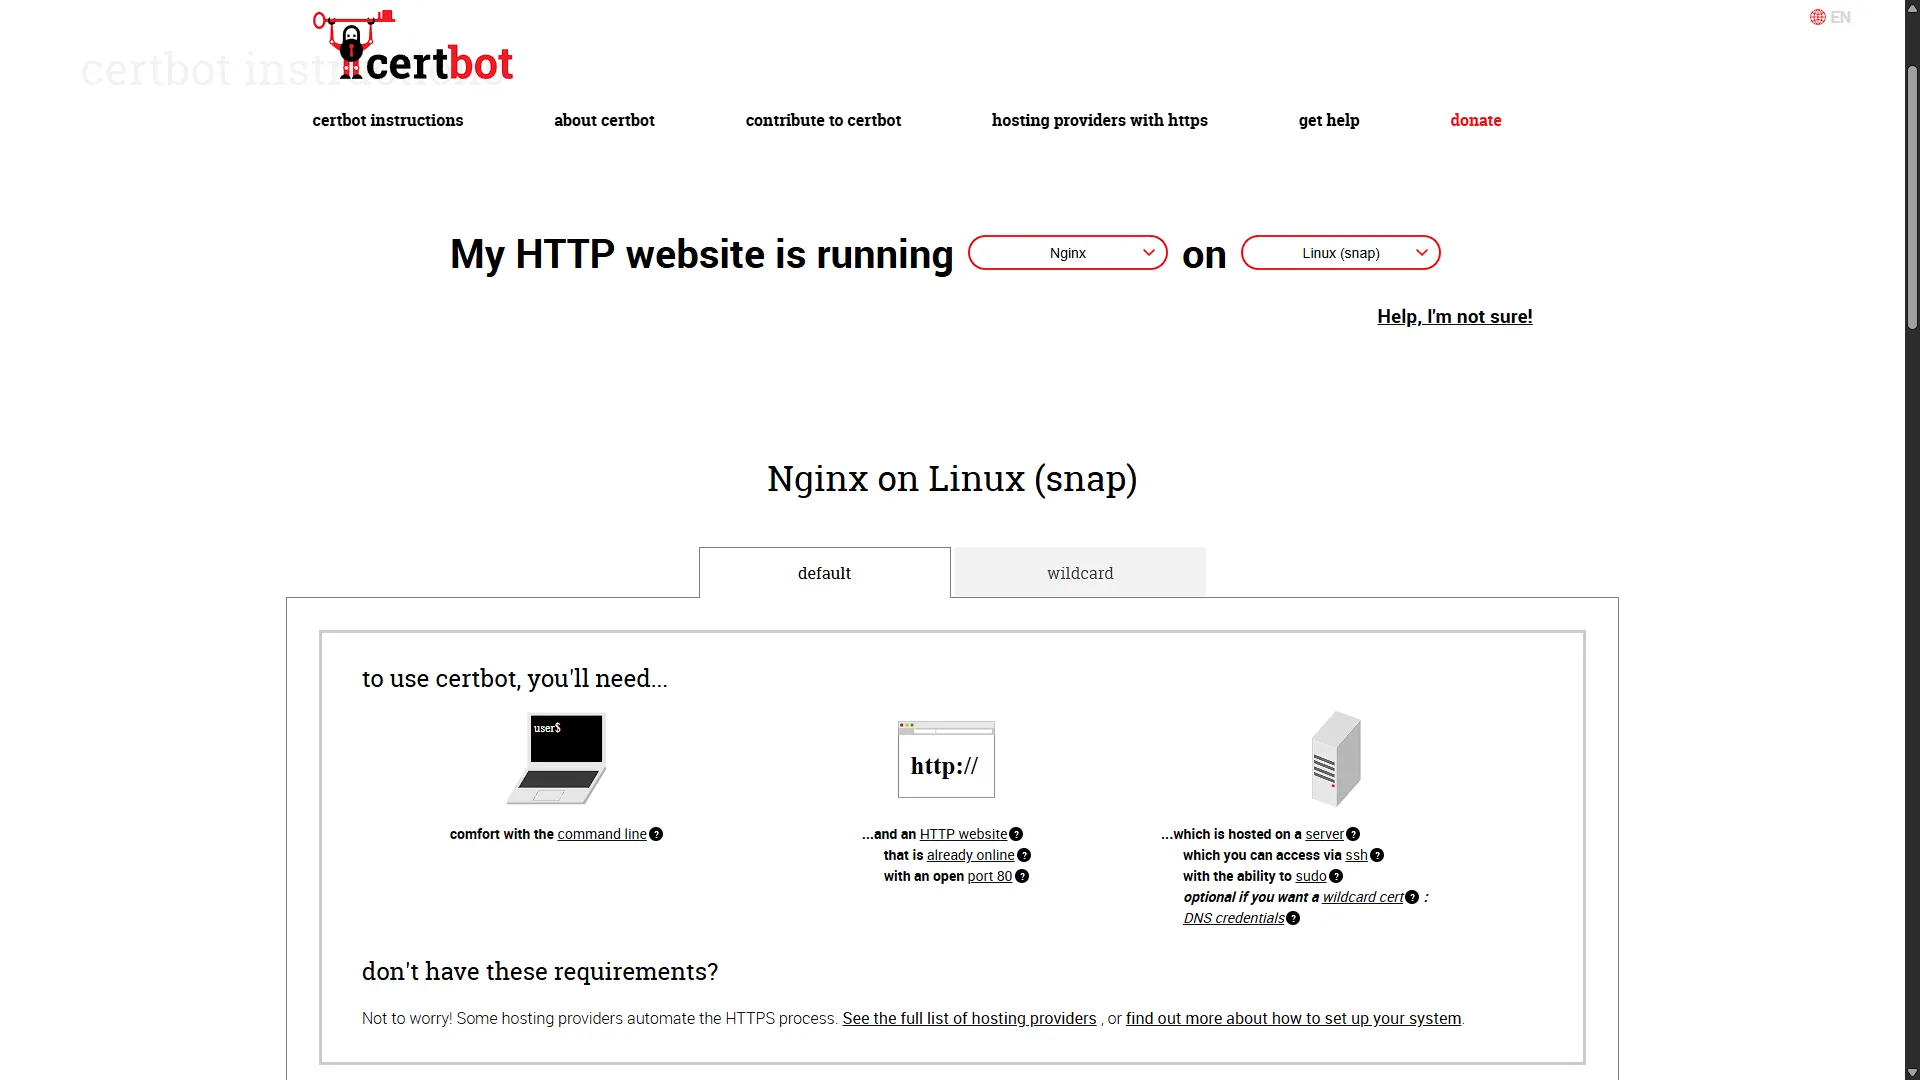
First up we need to install certbot to get our Let's Encrypt certificates installed. Luckily, the instructions is really clear on the Certbot site. Just select the proxy you are using and what operating system it is running on. For our setup we will select that we are running NGINX on Linux (Snap). To follow the instructions, we need to first access our NGINX VM.
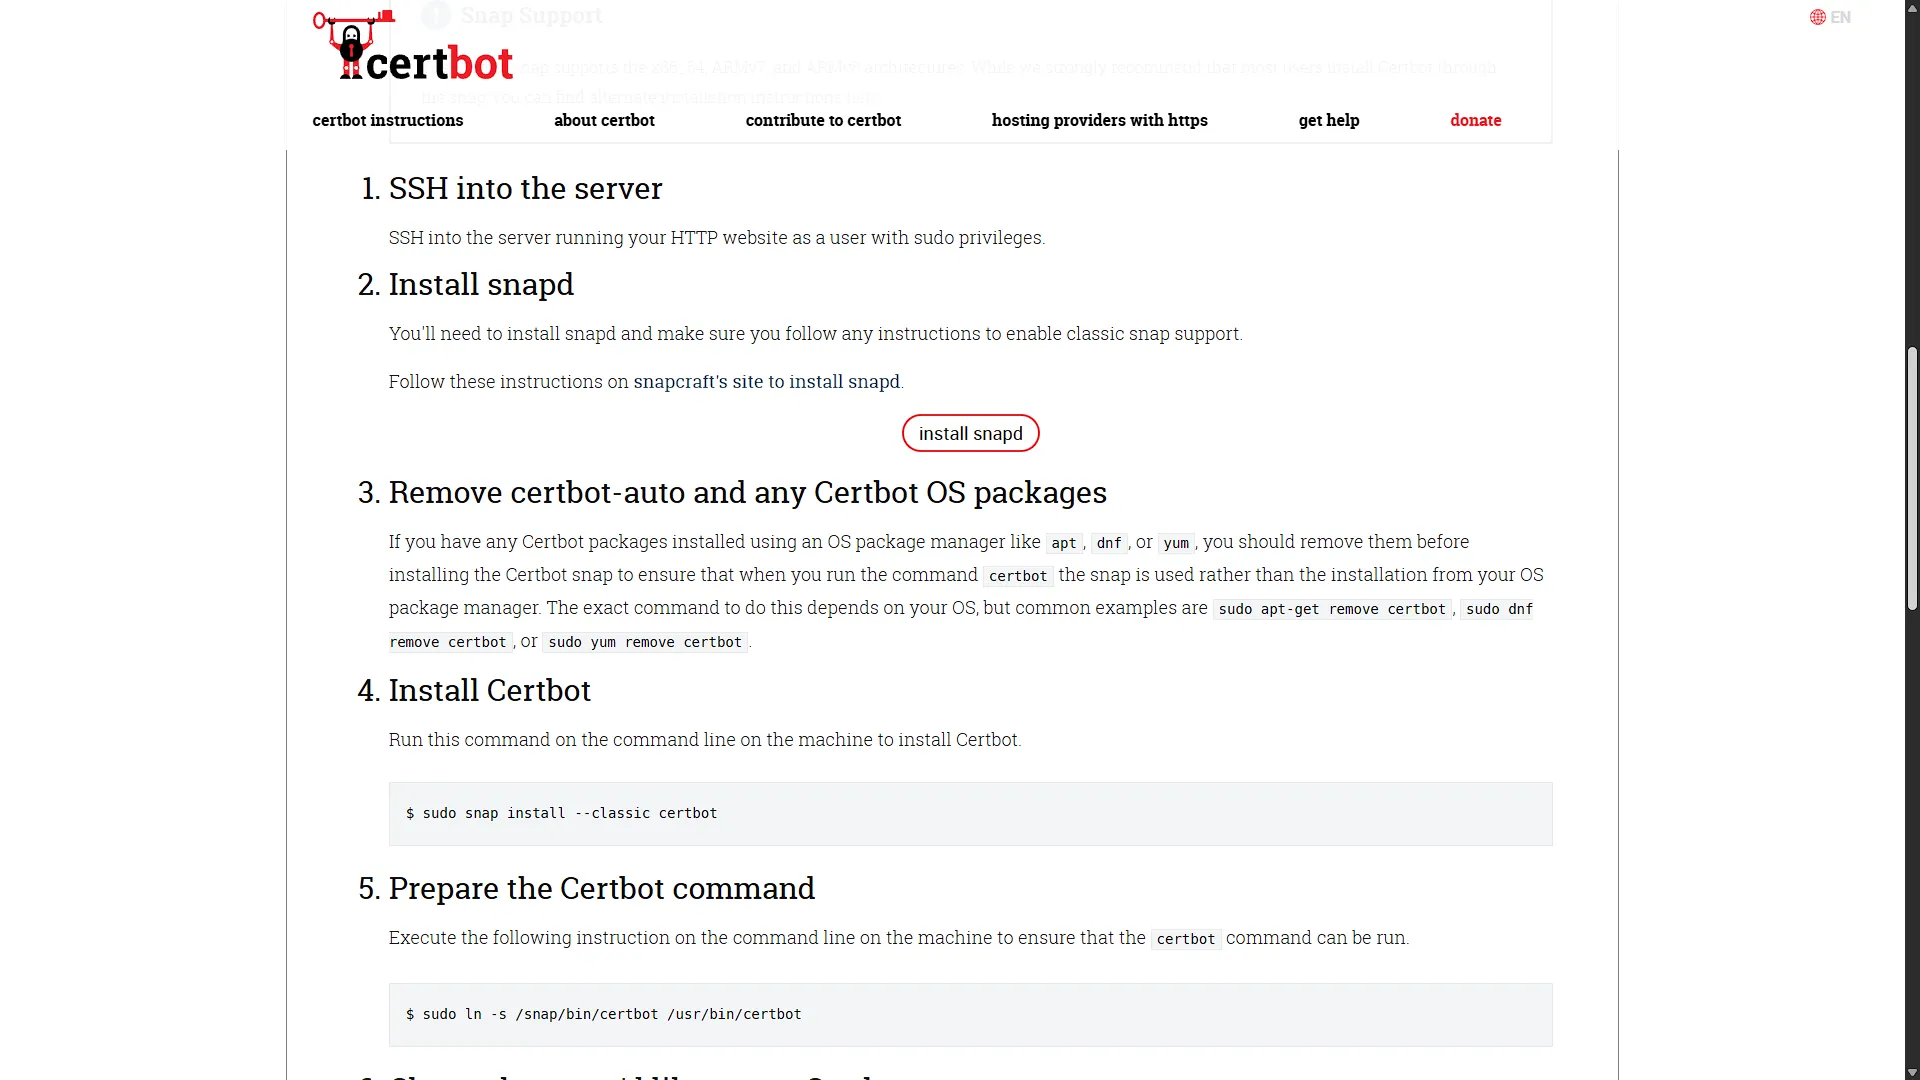
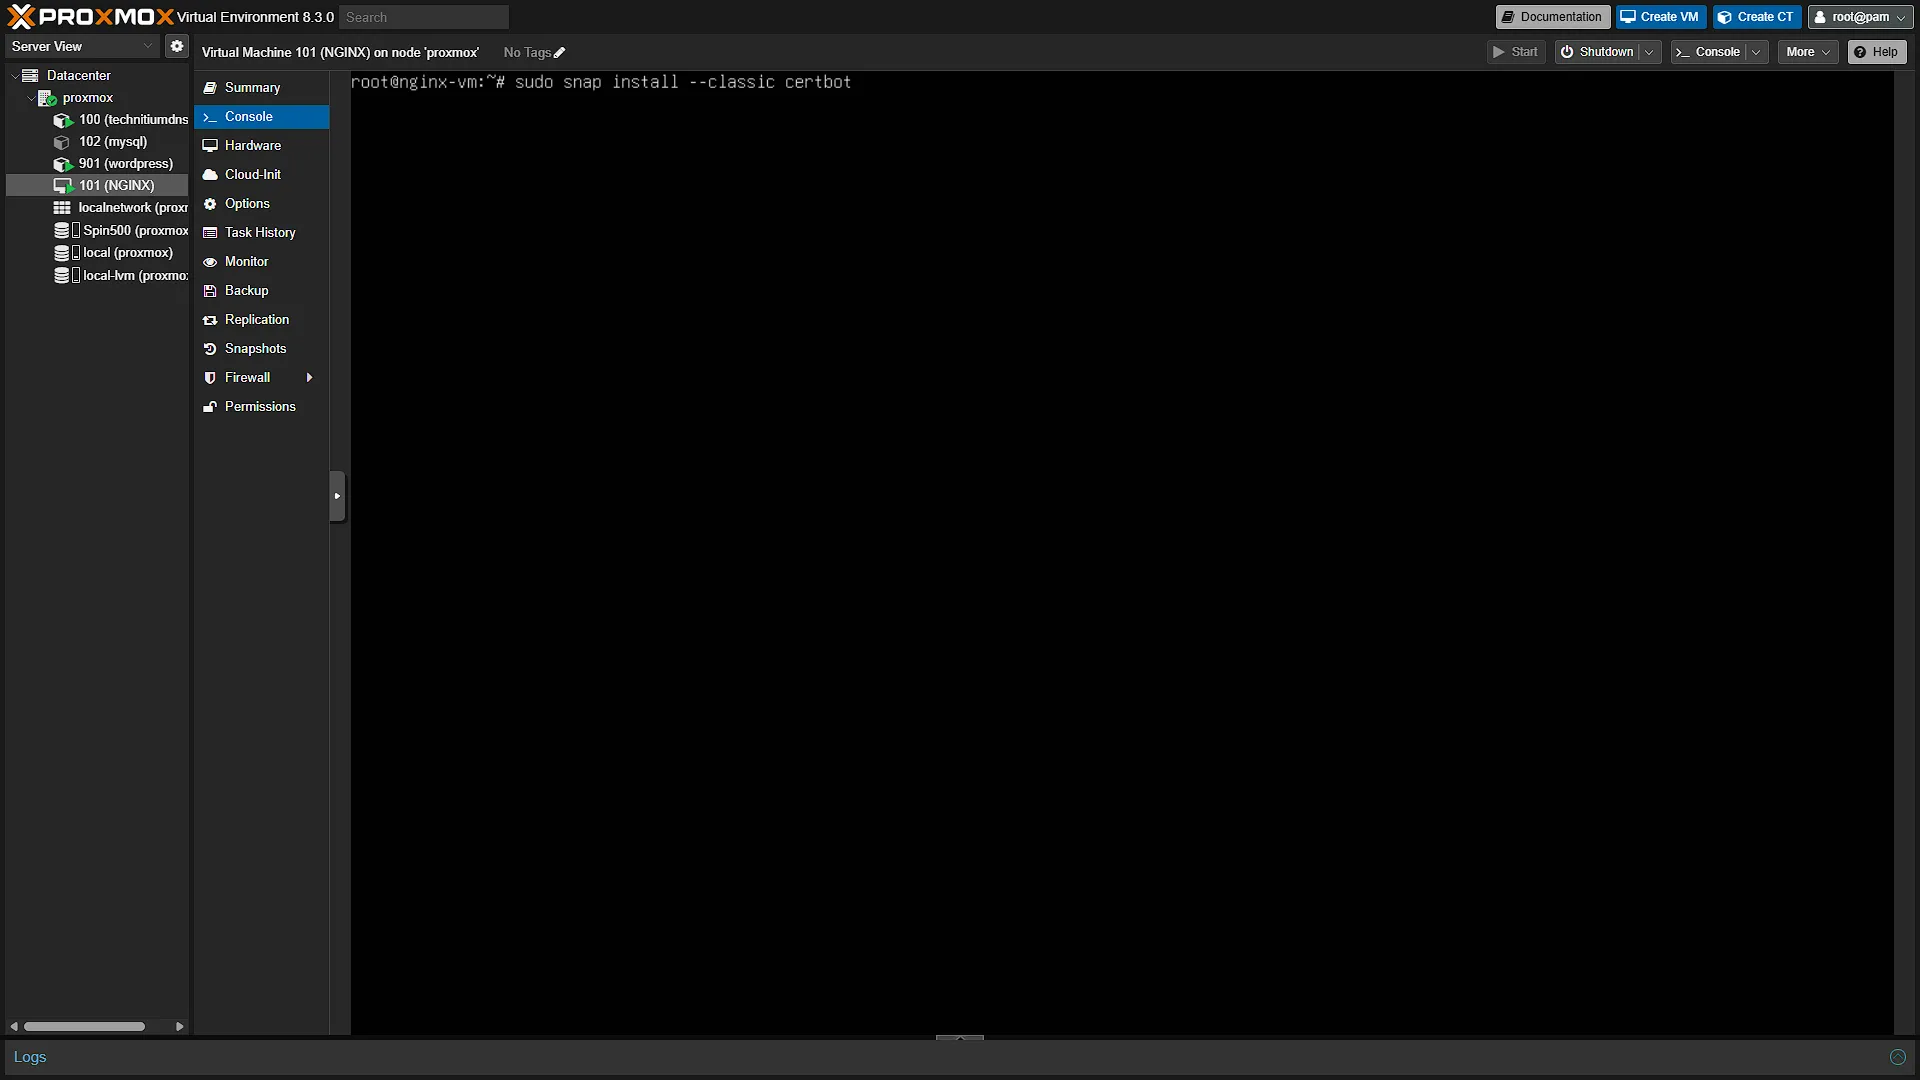
Open ProxMox again, in the left navigation pane, expand Datacenter and the the Proxmox node. Select the VM running NGINX. In the middle navigation pane, click on  . In the main window, you will now have a console connection to the VM. Log in if you are prompted to do so. Once logged in, run the following command
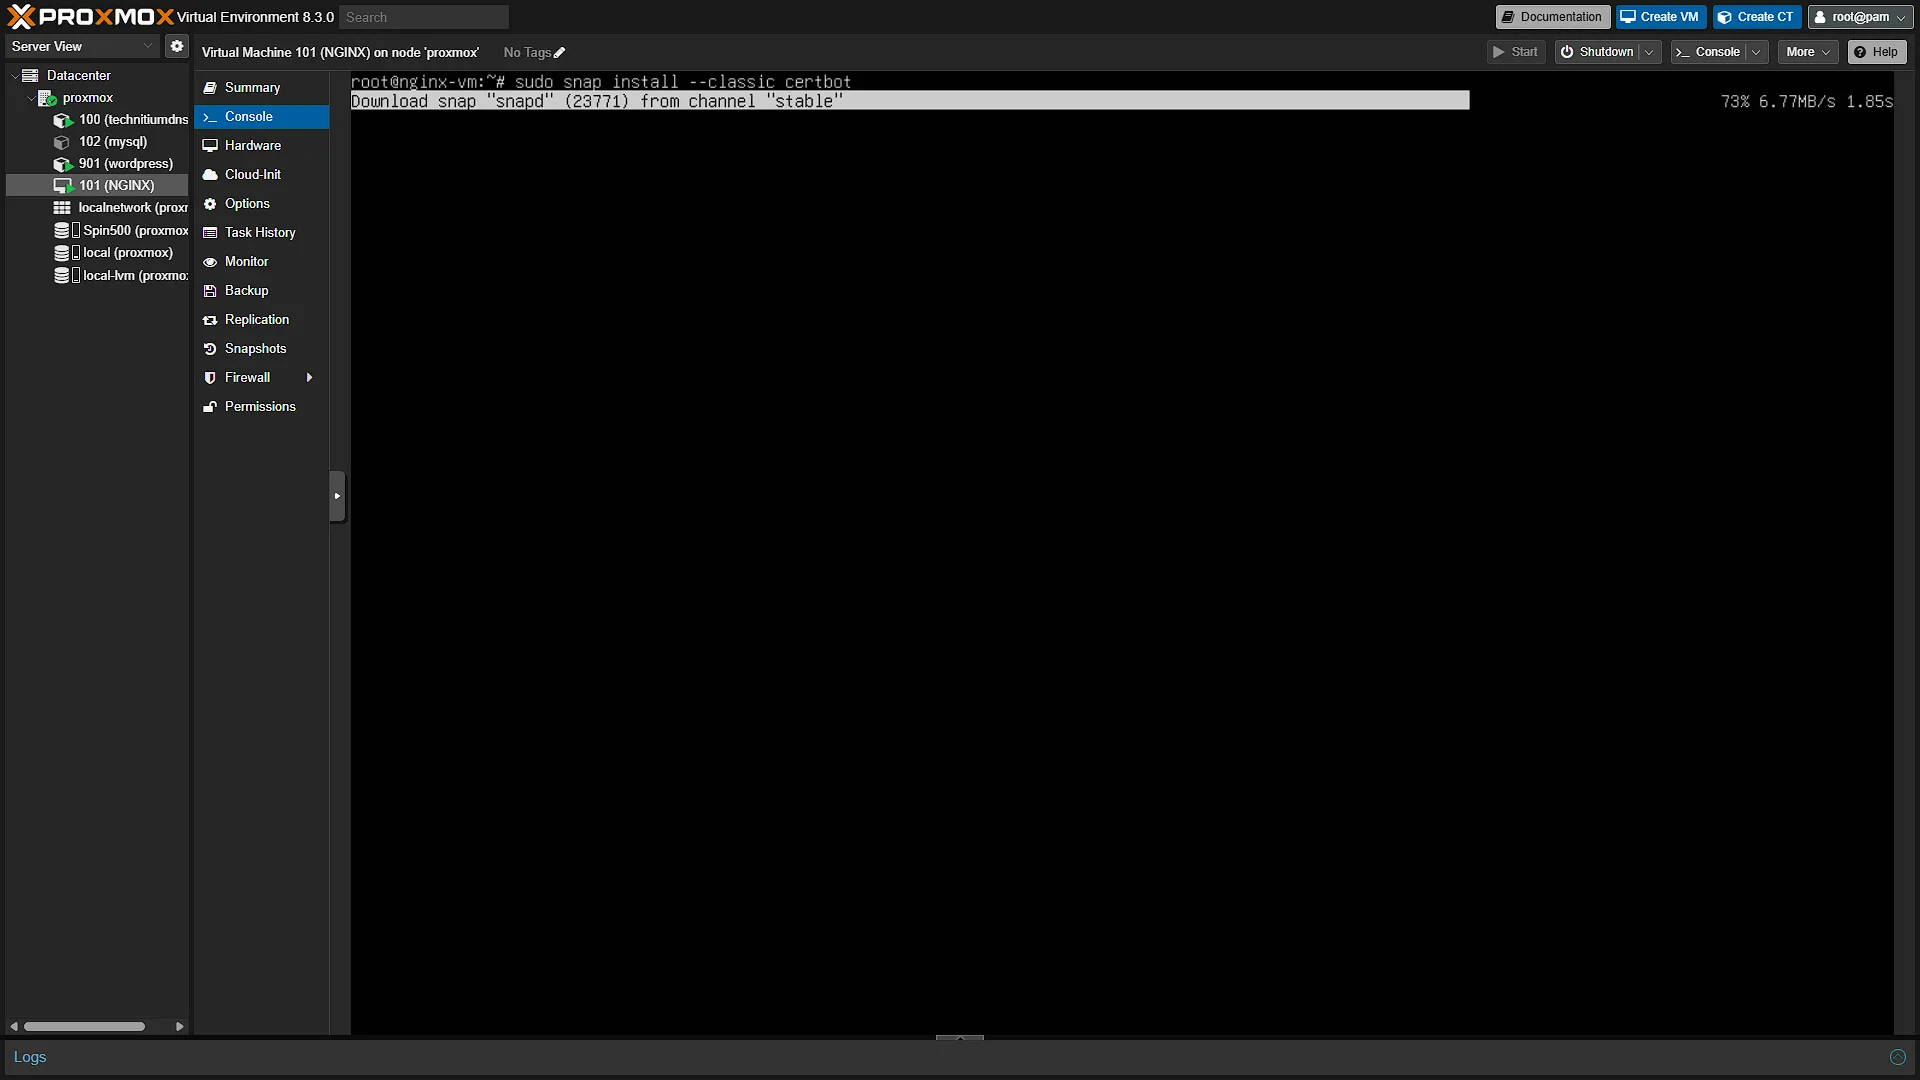
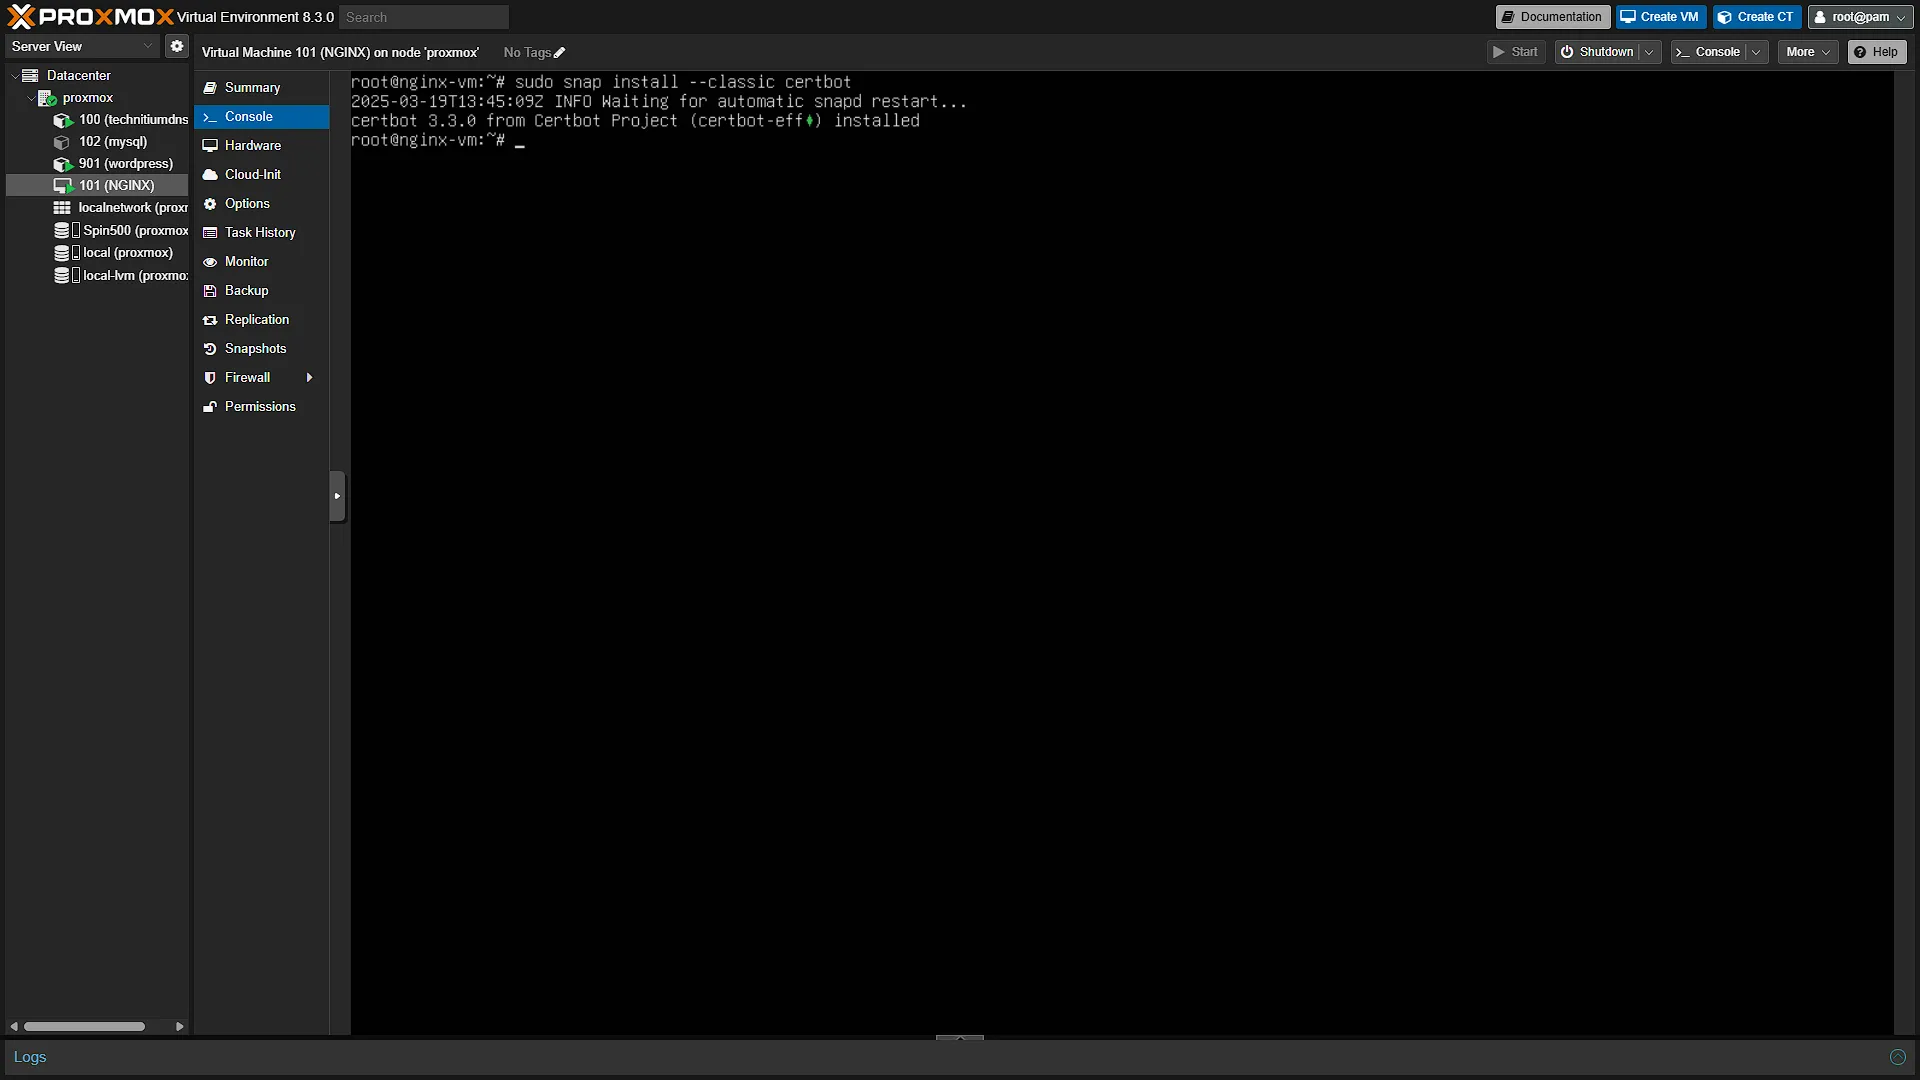
sudo snap install --classic certbotWait for the install to finish, it should be fairly fast. It will also install all dependencies and get everything ready for usage. However, there is one more step to ensure that Certbot can run, so also run the command
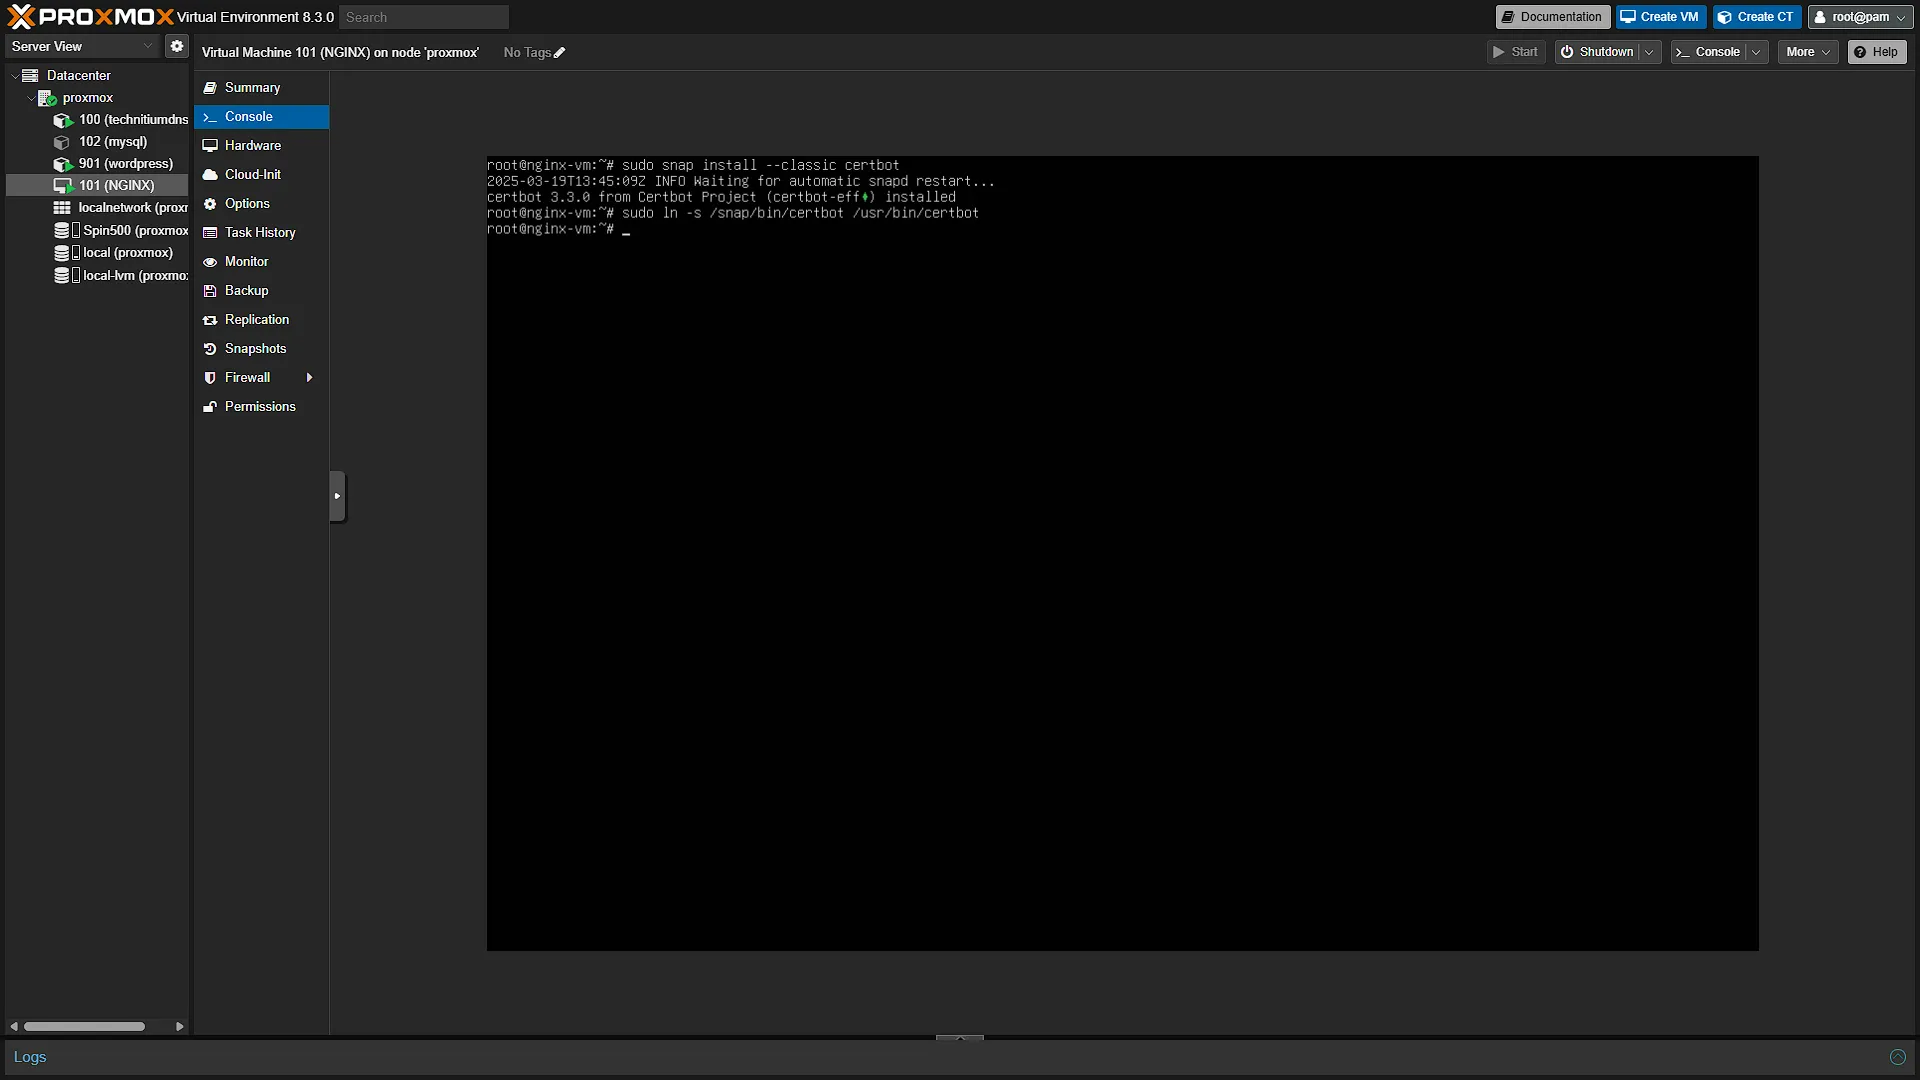
sudo ln -s /snap/bin/certbot /usr/bin/certbotThis just creates a "shortcut" so that Certbot can be run with our following commands to generate SSL certificates.
Step 2 - Get an SSL certificate for your service
To get an SSL certificate for an address, the address must be accessible from the internet. It must also connect to the same server that you are running the Certbot commands from. Luckily for us, that is the case as we have a DynDNS set up. We just need to run the following command:
sudo certbot --nginxThis command with get Certbot to check our NGINX Configuration and give the sites that qualify for a SSL Certificate. Certbot will also handle the changes to the configuration files, so we don't need to worry about anything.
You will be prompted to enter your email address, which you can skip. Next, you need to accept the terms and conditions. Lastly you can choose to share your email address with Let's Encrypt. Either way, you will now get a list of items that qualify for an SSL certificate. You just need to select the appropriate one by entering its number and pressing enter. Check the screenshots below to see what it looks like (private domains and access was omitted for security reasons). In the screenshot, we should have selected option 6 for techdecode.tplinkdns.com to get the certificate installed. And that is all there is to it, we now have SSL installed and activated!
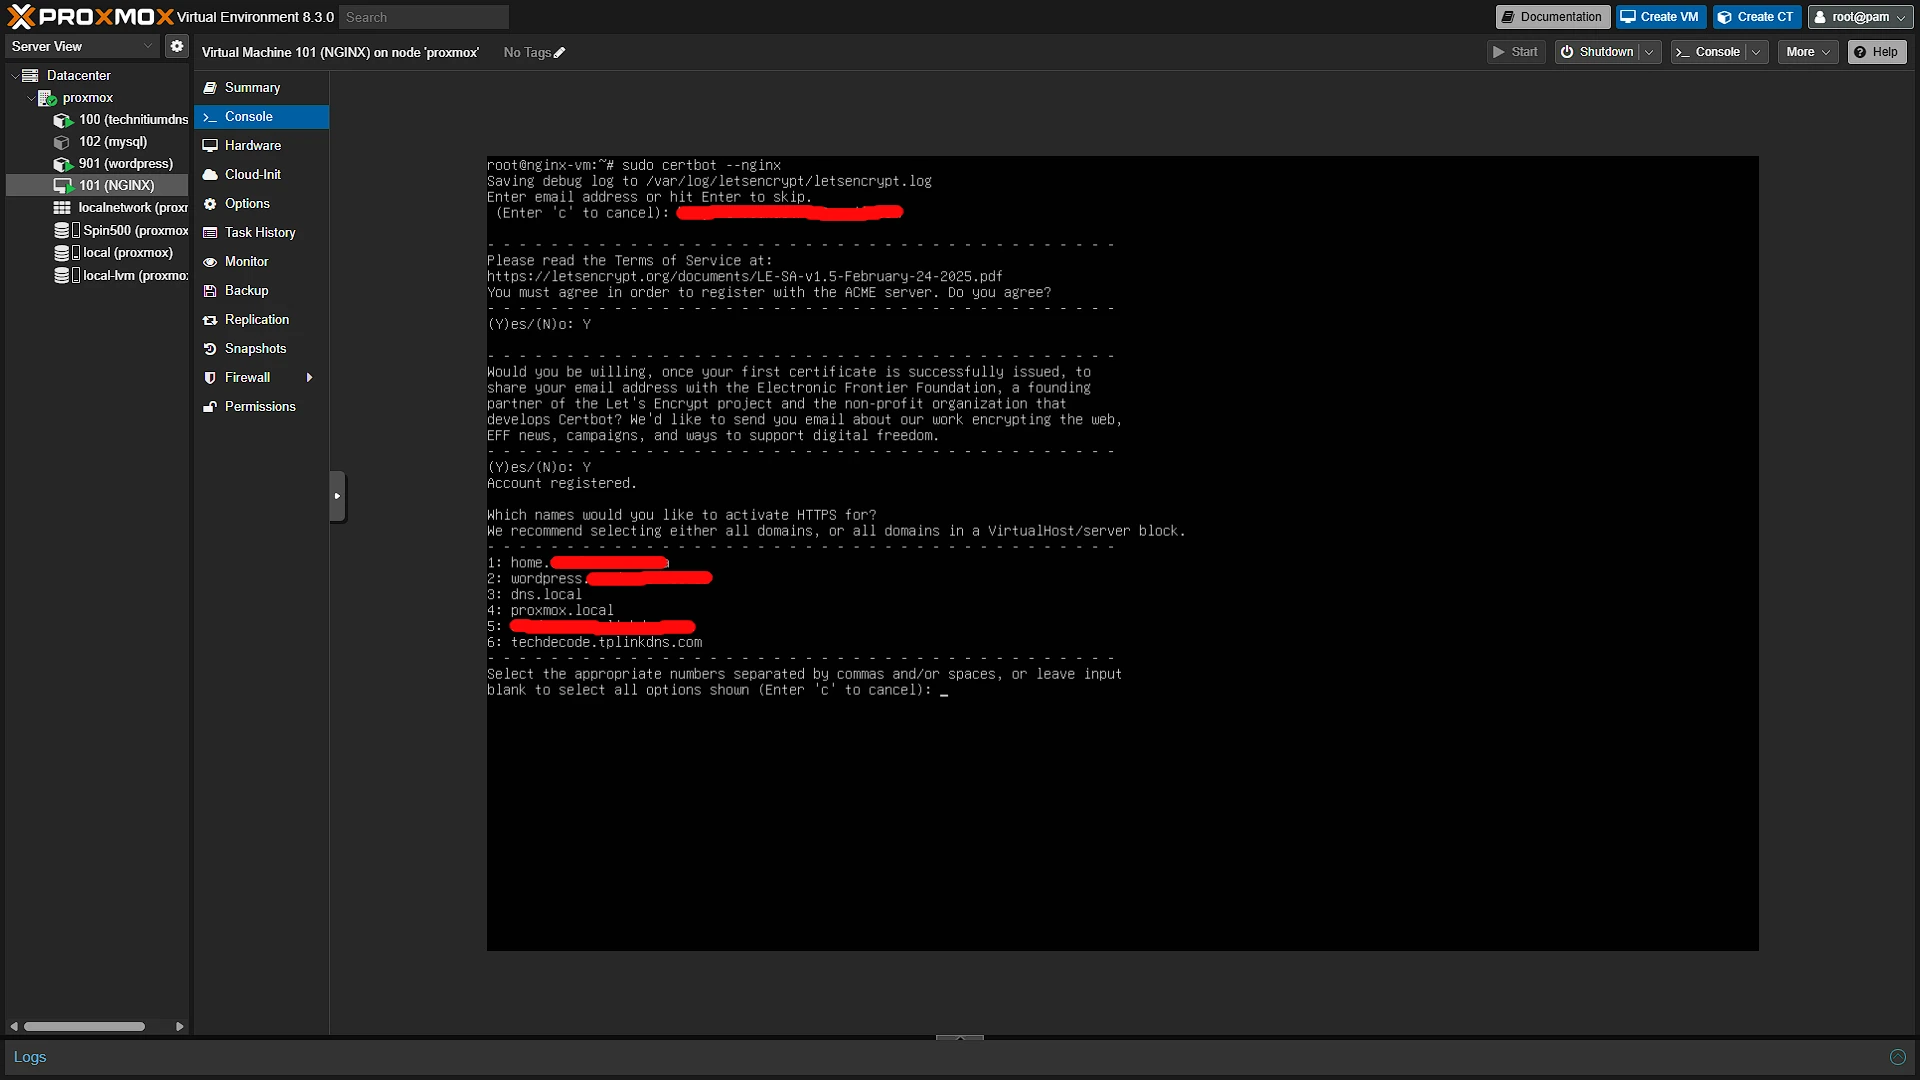
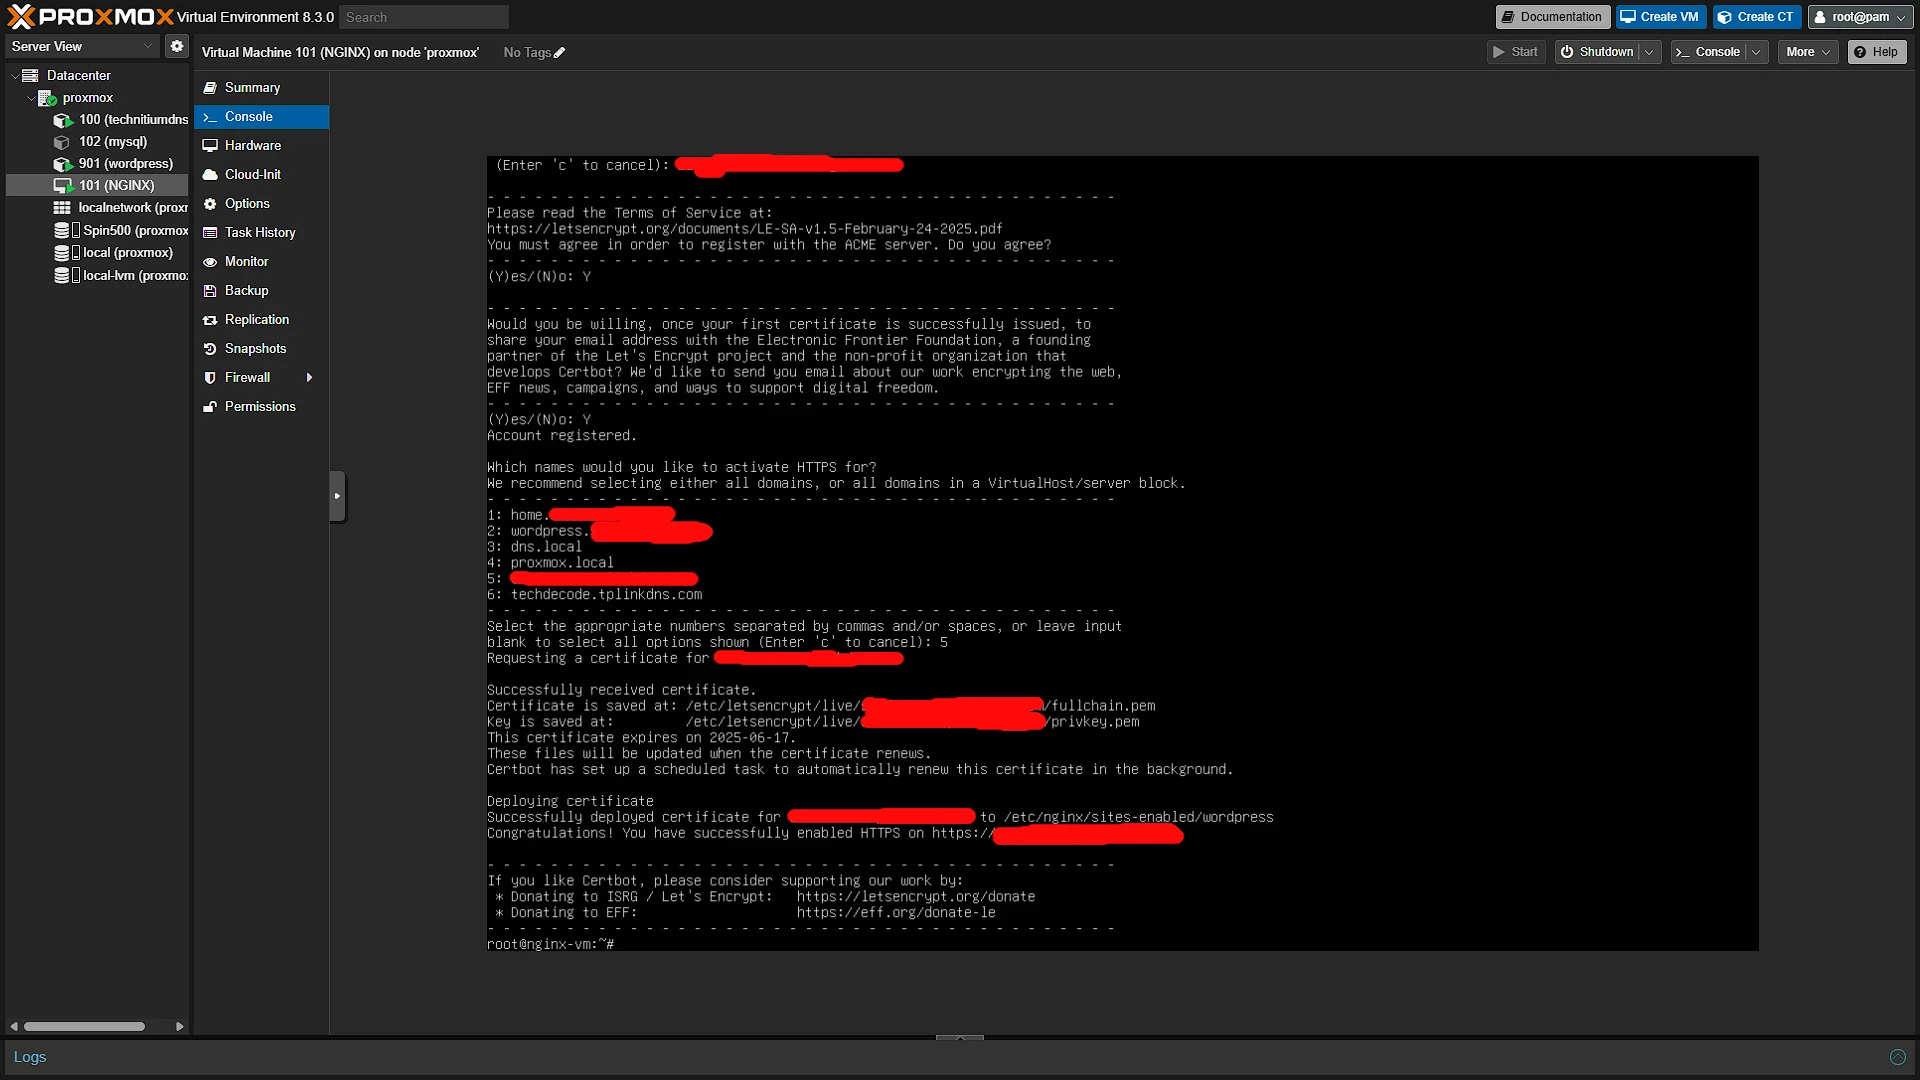
Note that selecting an option that can not be accessed from the outside internet, like dns.local will give errors:

Optional After the Walkthrough: Certificate Validation and Renewal
The main Snap/Certbot and NGINX screenshots remain the procedure for the demonstrated public hostname. HTTP-01 validation needs the appropriate public DNS record and inbound port 80 to reach the challenge response. A successful DNS lookup alone does not establish that this route works. Check external access from outside the home network before retrying a failed challenge repeatedly.
DNS-01 is an optional alternative for proving domain control through a TXT record. It can issue wildcard certificates and does not require forwarding a web port for the challenge, but it needs control of the relevant DNS zone. Use the instructions for the particular Certbot DNS plugin and installation method. There is no universal snap install certbot-dns-cloudflare step that replaces those provider-specific requirements.
A wildcard certificate covers the names allowed by that wildcard, not every possible nested hostname. Private DNS names also need a name that the certificate actually covers; a certificate for a public domain does not make proxmox.local trusted. Plan those names before changing browser bookmarks or proxy blocks. No current domain price is assumed here.
After issuance, inspect the certificate served by the public hostname and check its names and expiry. Then verify the renewal mechanism installed with your Certbot package. Certificate lifetime and renewal scheduling should be read from that installation rather than treated as a universal 90-day/30-day rule. Run a Certbot renewal dry run when appropriate and inspect failures in the logs.
Automatic renewal still depends on continuing DNS control and a working challenge path or DNS credential. If NGINX is configured manually, make sure it picks up a renewed certificate through the appropriate reload hook. Keep a record of the original Certbot-managed configuration, and run nginx -t after edits before reloading the working proxy.
Further reading: Certbot usage, Let's Encrypt challenges.
Conclusion
We now have the tools and knowledge to install SSL certificates for all our services and apps that we are going to host at home. For now, we will only see our demo WordPress site, but this is working and we now access it over SSL.