Now that we have our first Virtual Machines up and running, we need to start putting it to use. Although a VM uses a bit of extra overhead resources compared to a LXC Container, the guest has its own kernel and a stronger isolation boundary than a shared-kernel container. This does not guarantee that every failure leaves the host unaffected. Use deliberate port-forwarding rules; a router's DMZ/exposed-host setting is not required for this migration. But for now, let's move our NGINX over to the new VM.
Step 1: Remove the previous LXC Container
This step is only necessary if you are following along with our Build your own homelab series. Because we are now going to move our NGINX config over, we no longer need our previous NGINX LXC Container. First back up the old LXC and its NGINX configuration. To reuse its address, stop the old container and update the reservation or guest network settings without allowing both guests to use that address at once. The screenshots delete the old LXC; do that only when its configuration and recovery copy are retained. In the left navigation pane, select the LXC you want to remove. In the main window, at the top, click  , and then click
  . You will need to enter the container ID to confirm the removal of the container, but removal should be fairly quick and painless. Once it is removed, feel free to change the Address Reservation on your router to incorporate the new VM, or set a static IP in the VM itself. To set an IP address in the VM itself is a bit more intricate that setting it on a LXC container, so we will leave that for a future article.
Step 2: Prepare your VM
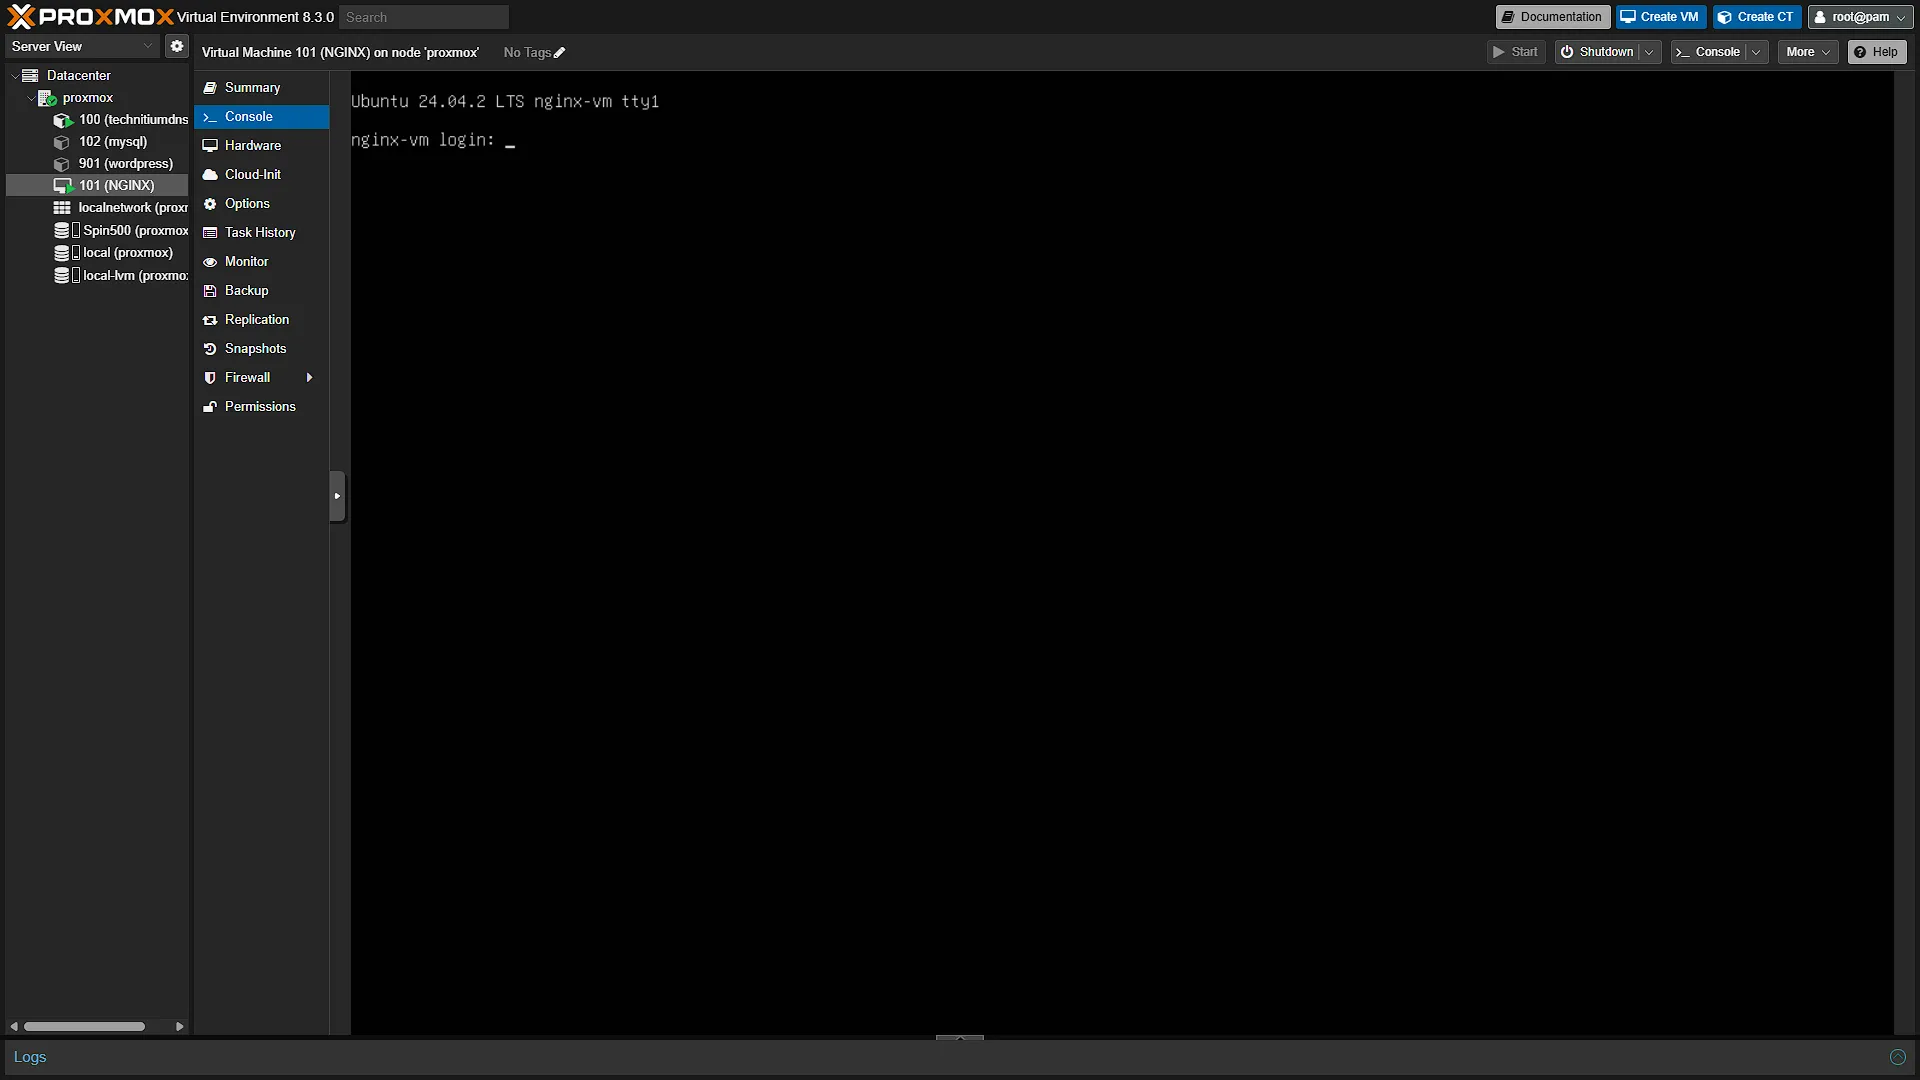
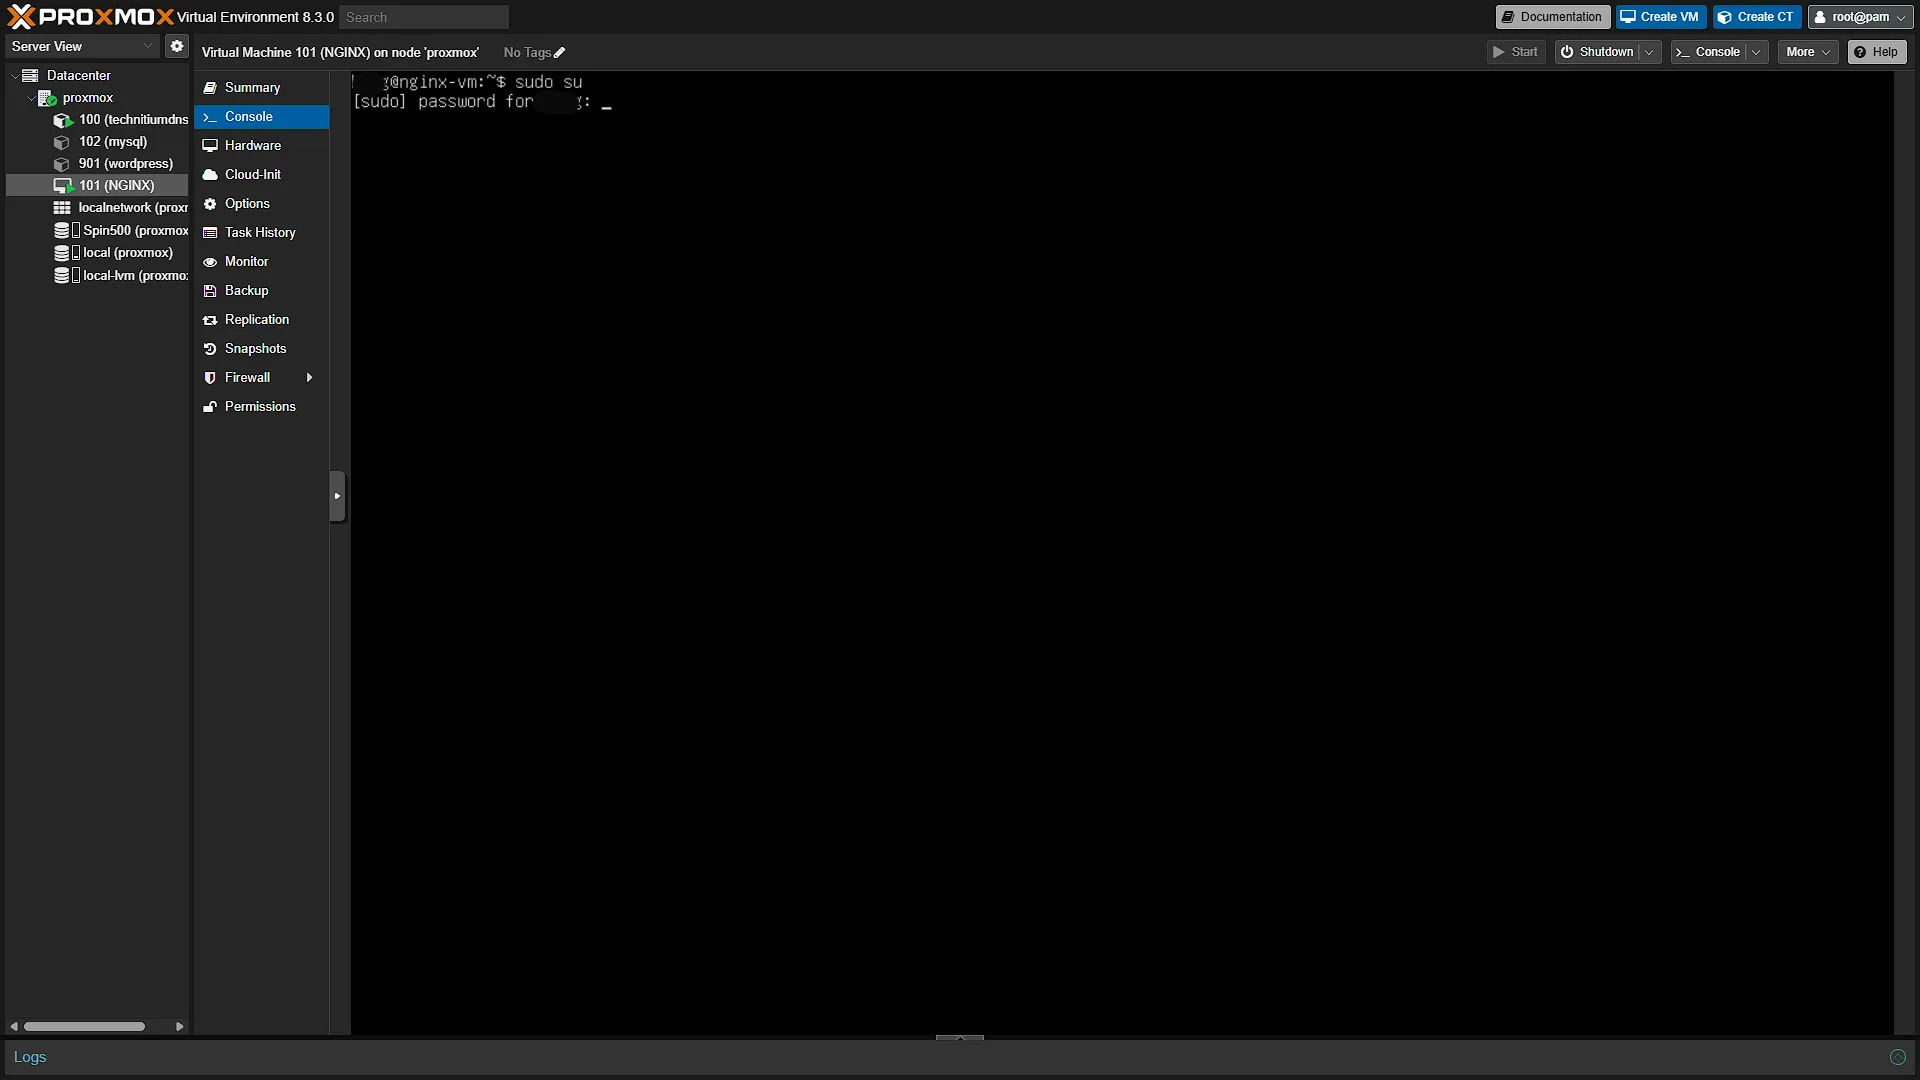
Installing NGINX on Ubuntu is really easy, but first we need to get our Virtual machine ready. So, to start, navigate to your VM in the left navigation panel, and in the middle navigation panel, click  . Log in with the details you entered on the Credentials screen when installing Ubuntu VM. With any newly installed VM, we want to make sure our Operating system is updated. To make life a little bit easier with the commands, we will first elevate ourselves to run as
 root in stead of the logged in normal user. To do that, run the command
sudo suYou will be prompted to enter your password again, so enter your password and you should now be a super user, root. First "check for updates" by running the following command:
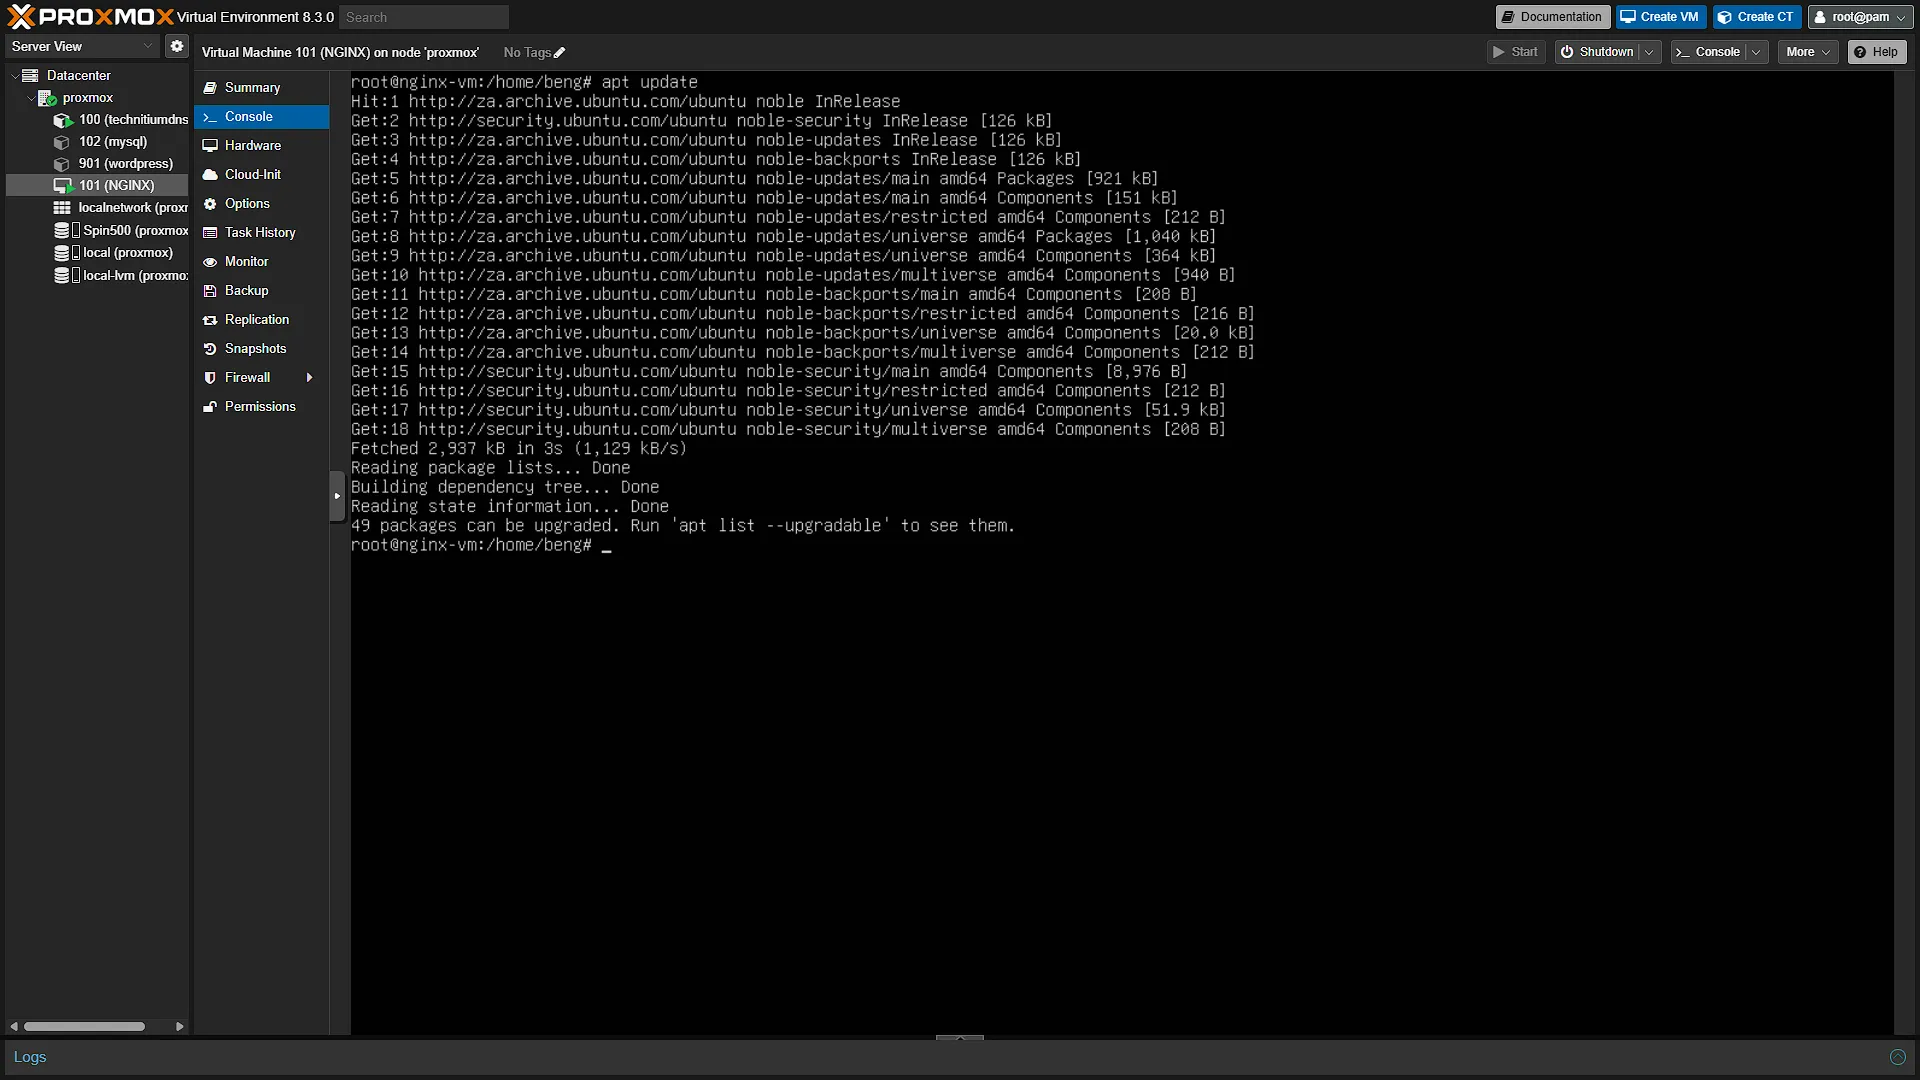
apt updatePLEASE NOTE: If you are not running as root you will need to start all commands with the keyword sudo So your command will be sudo apt update.
If there are any packages that can be updated, update them with the command:
apt upgradeThis will start the process of upgrading all packages. You will be prompted if you are sure, just press Y and then <enter> to continue. Upgrading will not take that long.
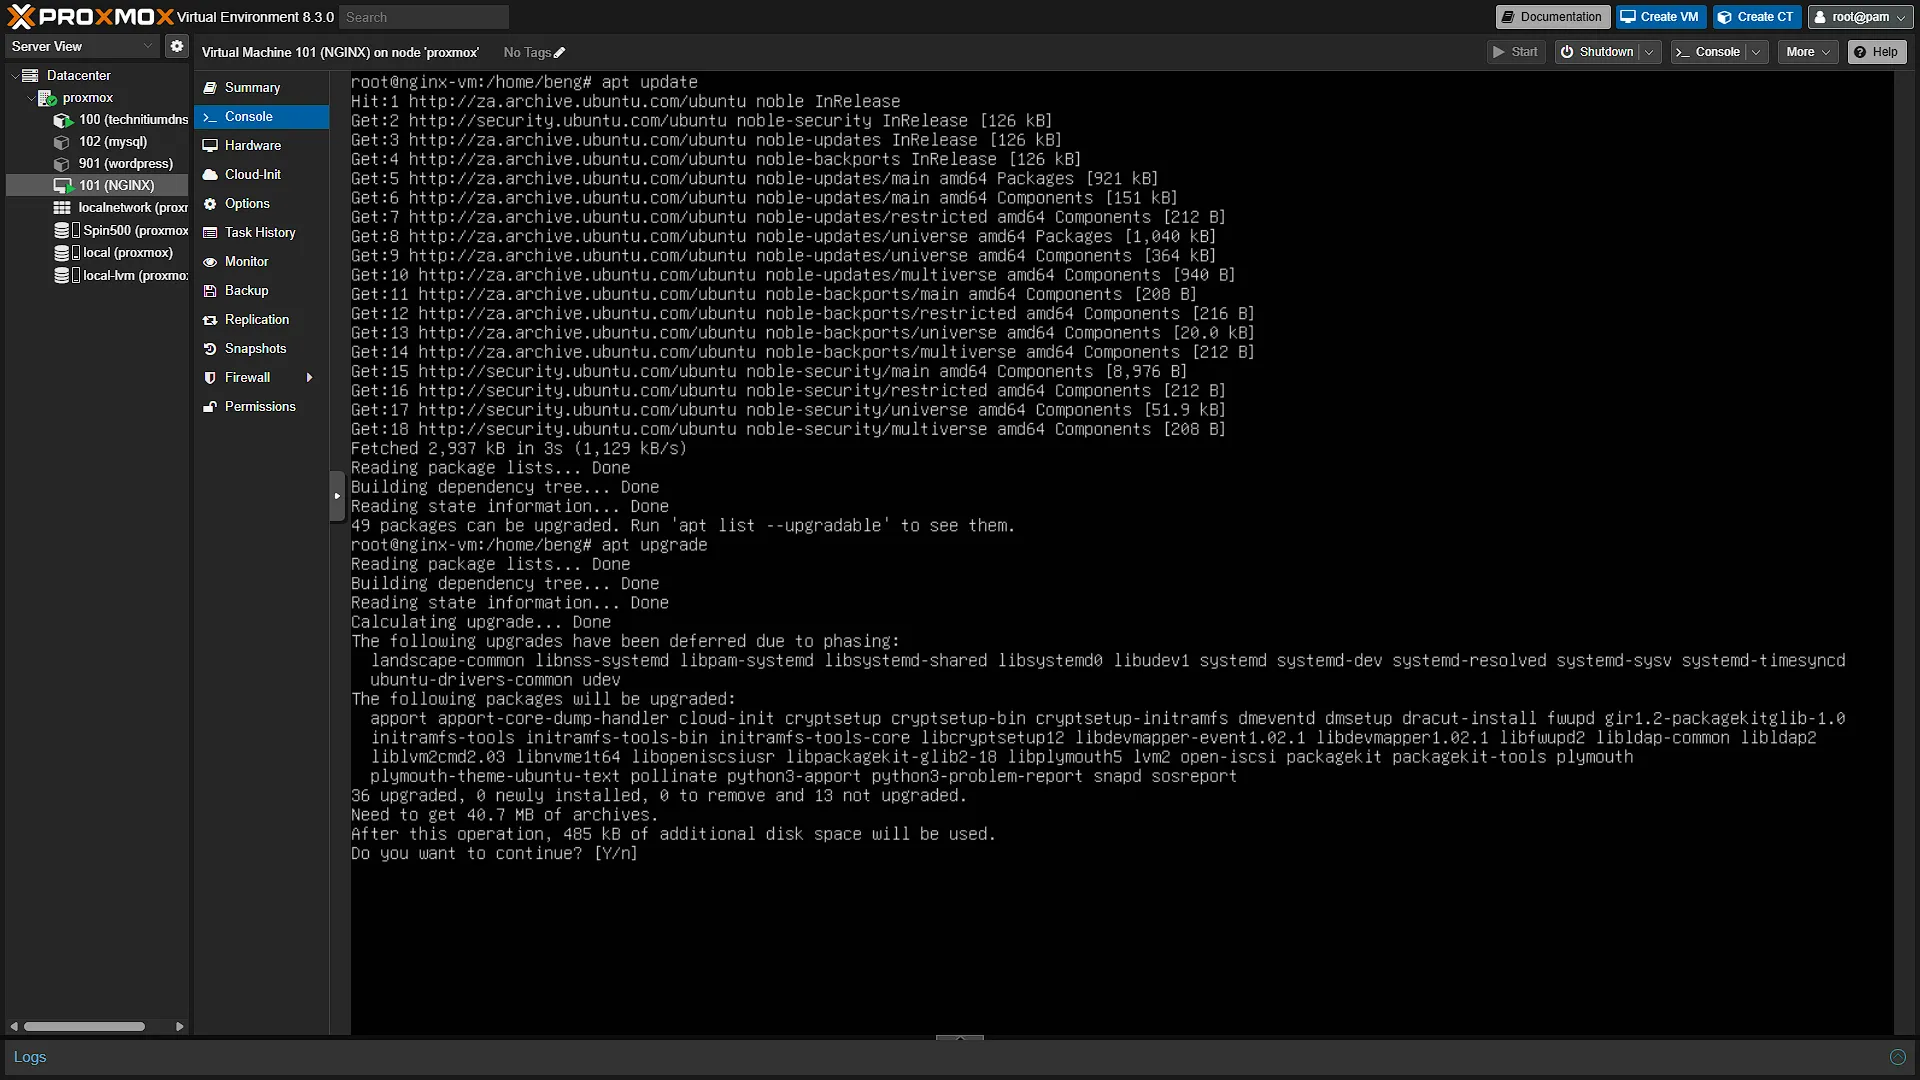
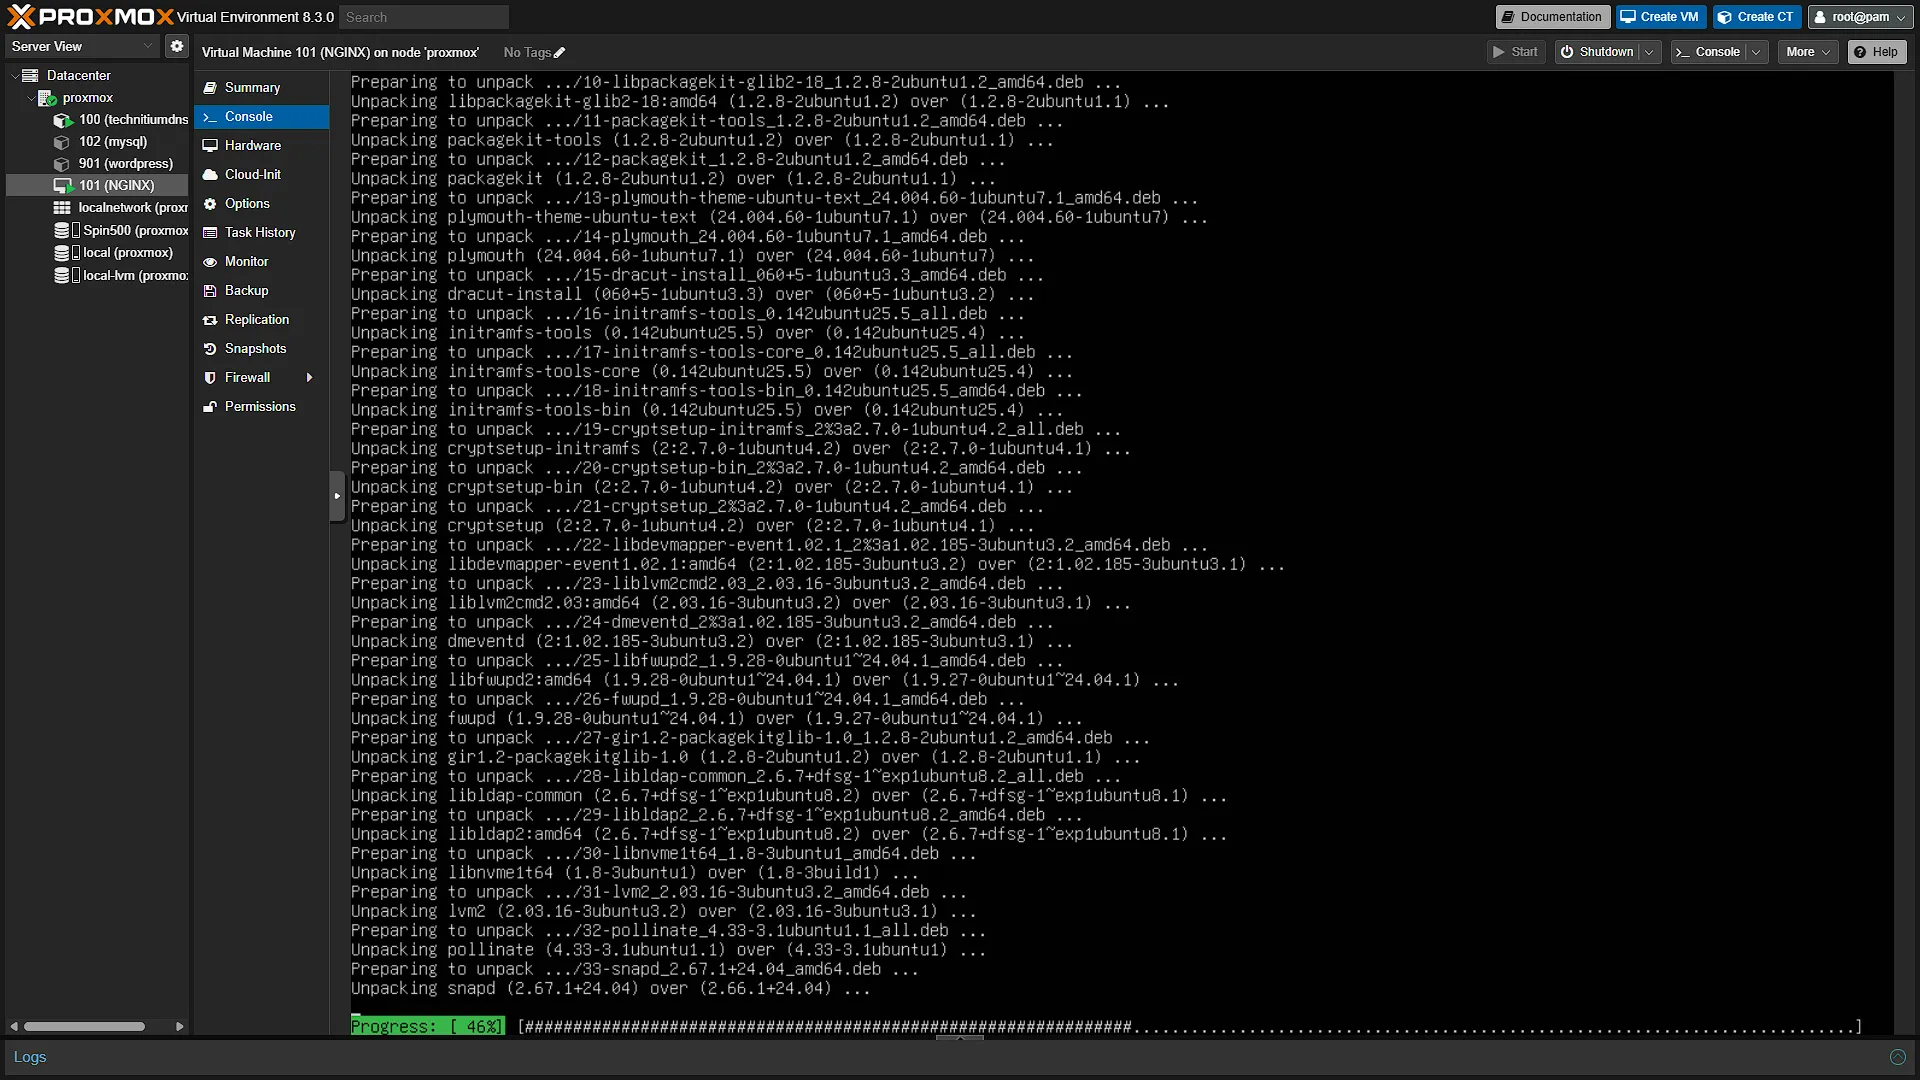
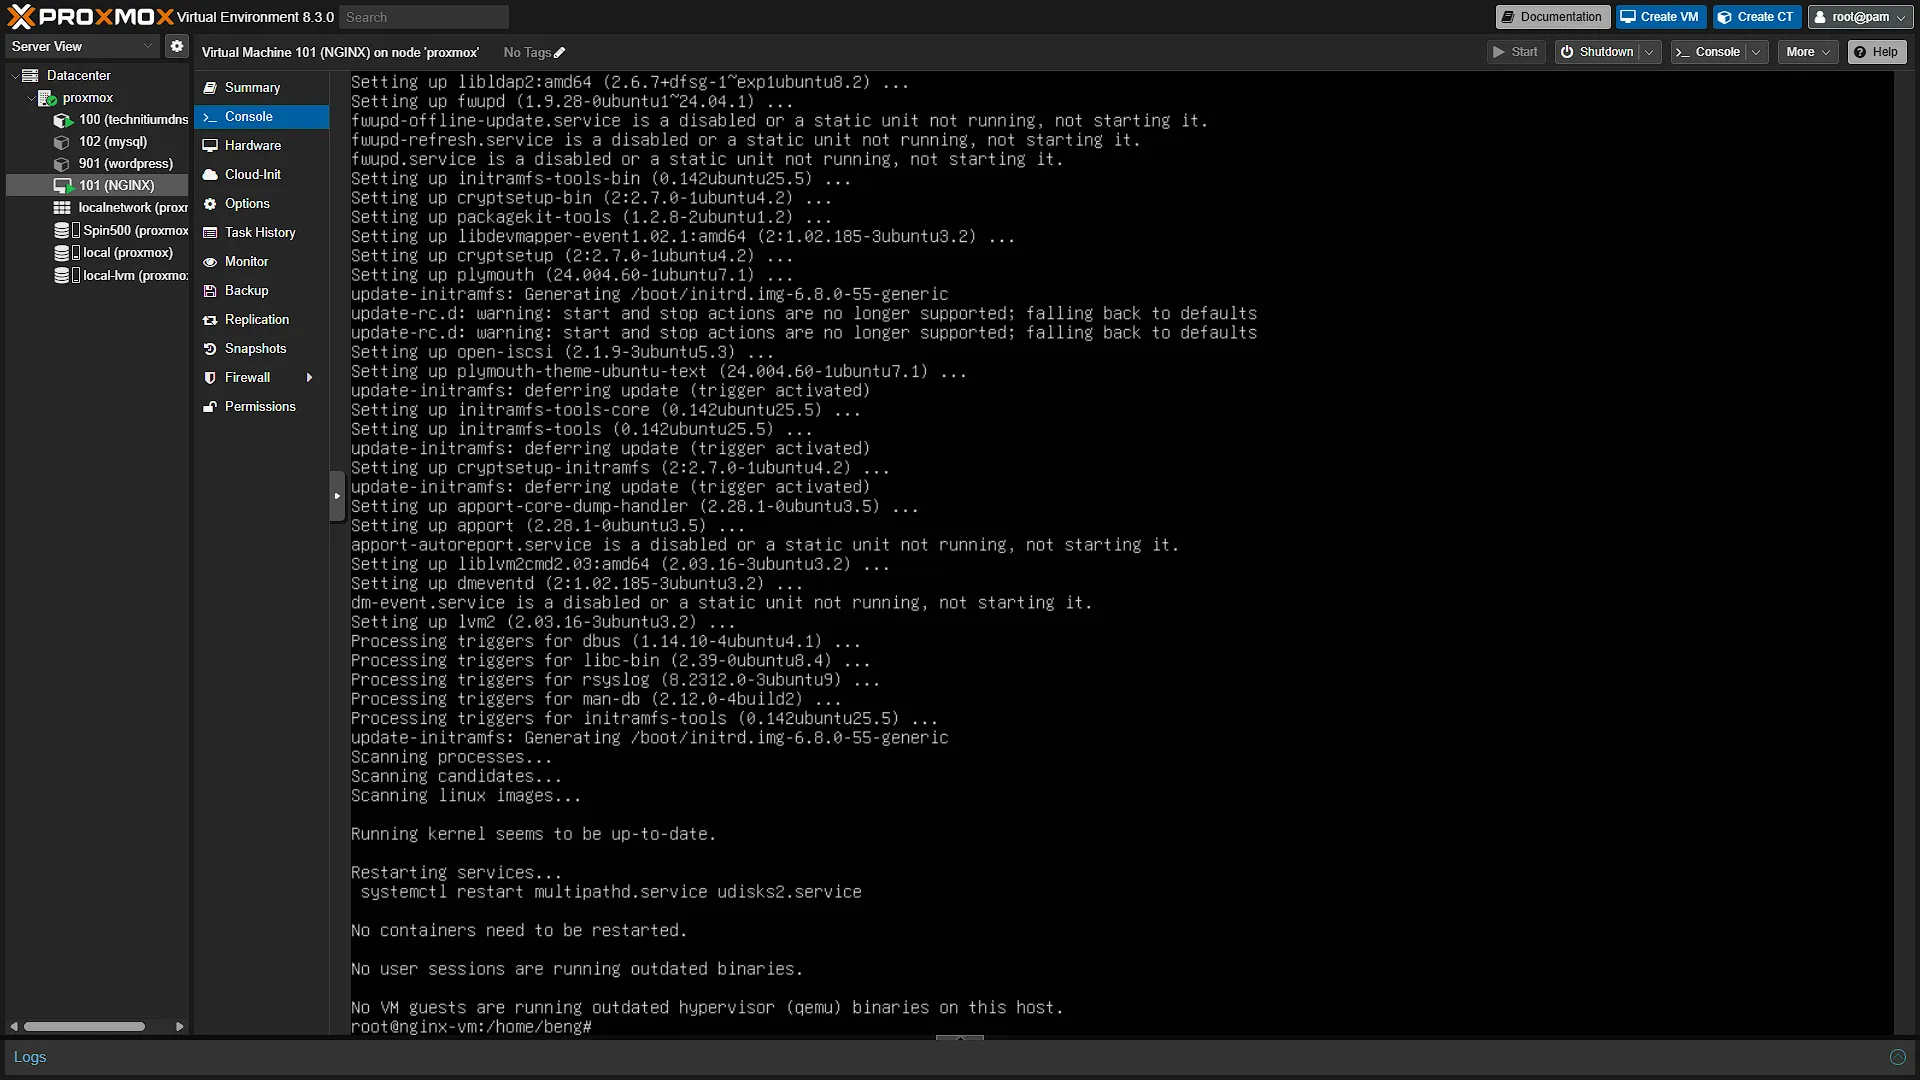
Step 3: Installing NGINX
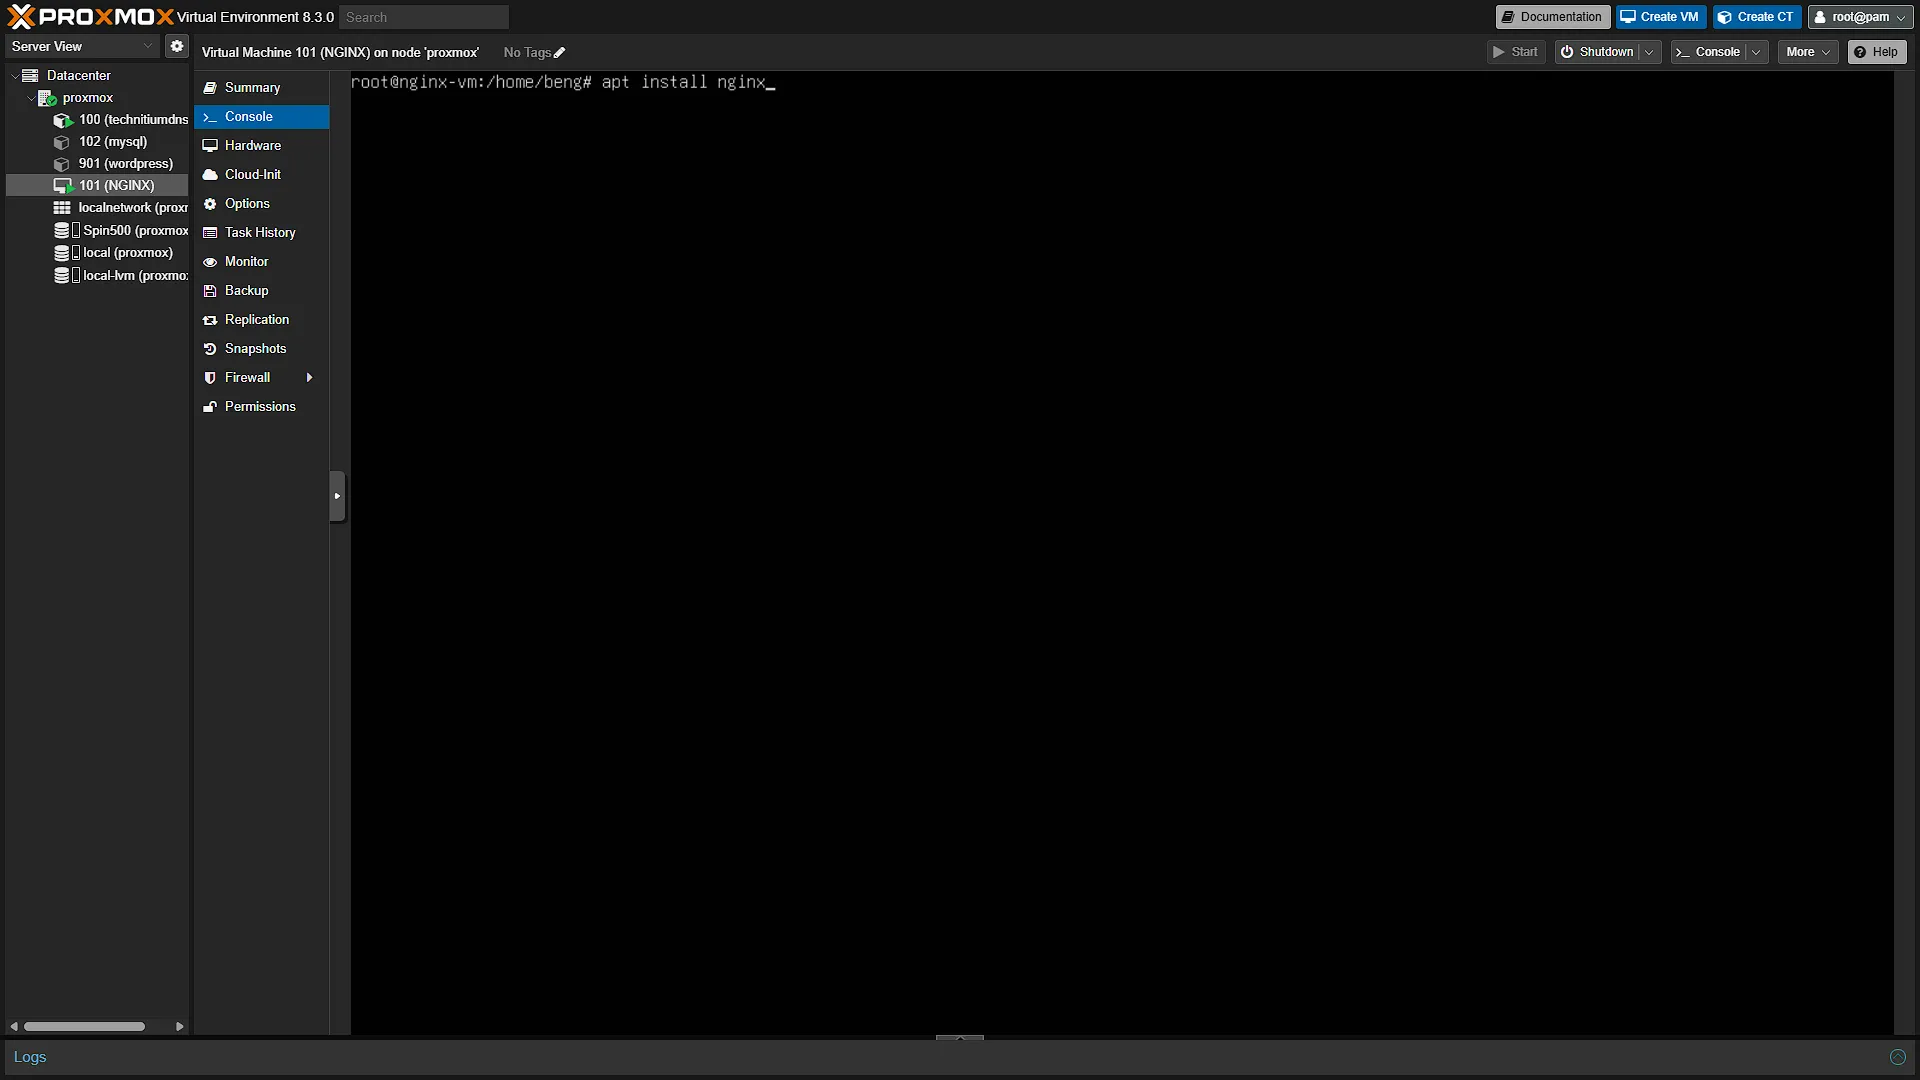
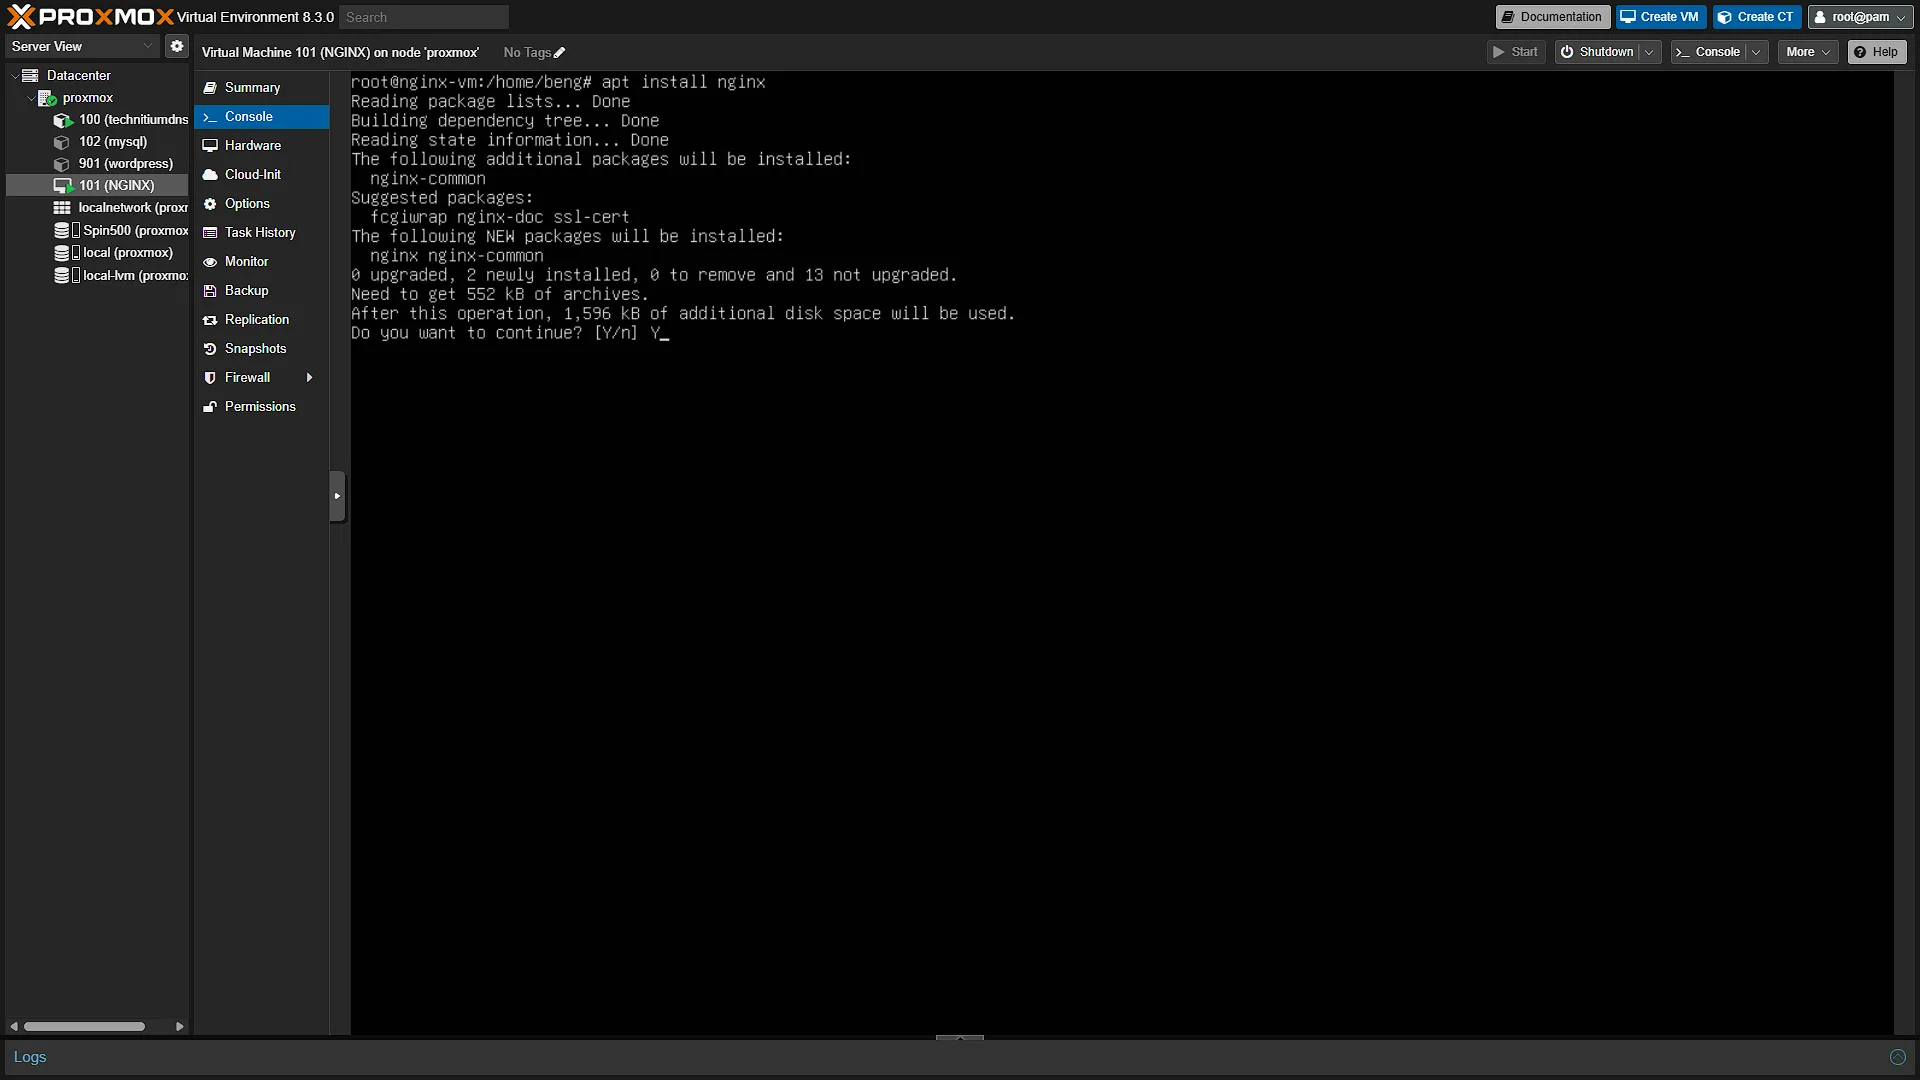
The easiest step. To install NGINX, simply run the command:
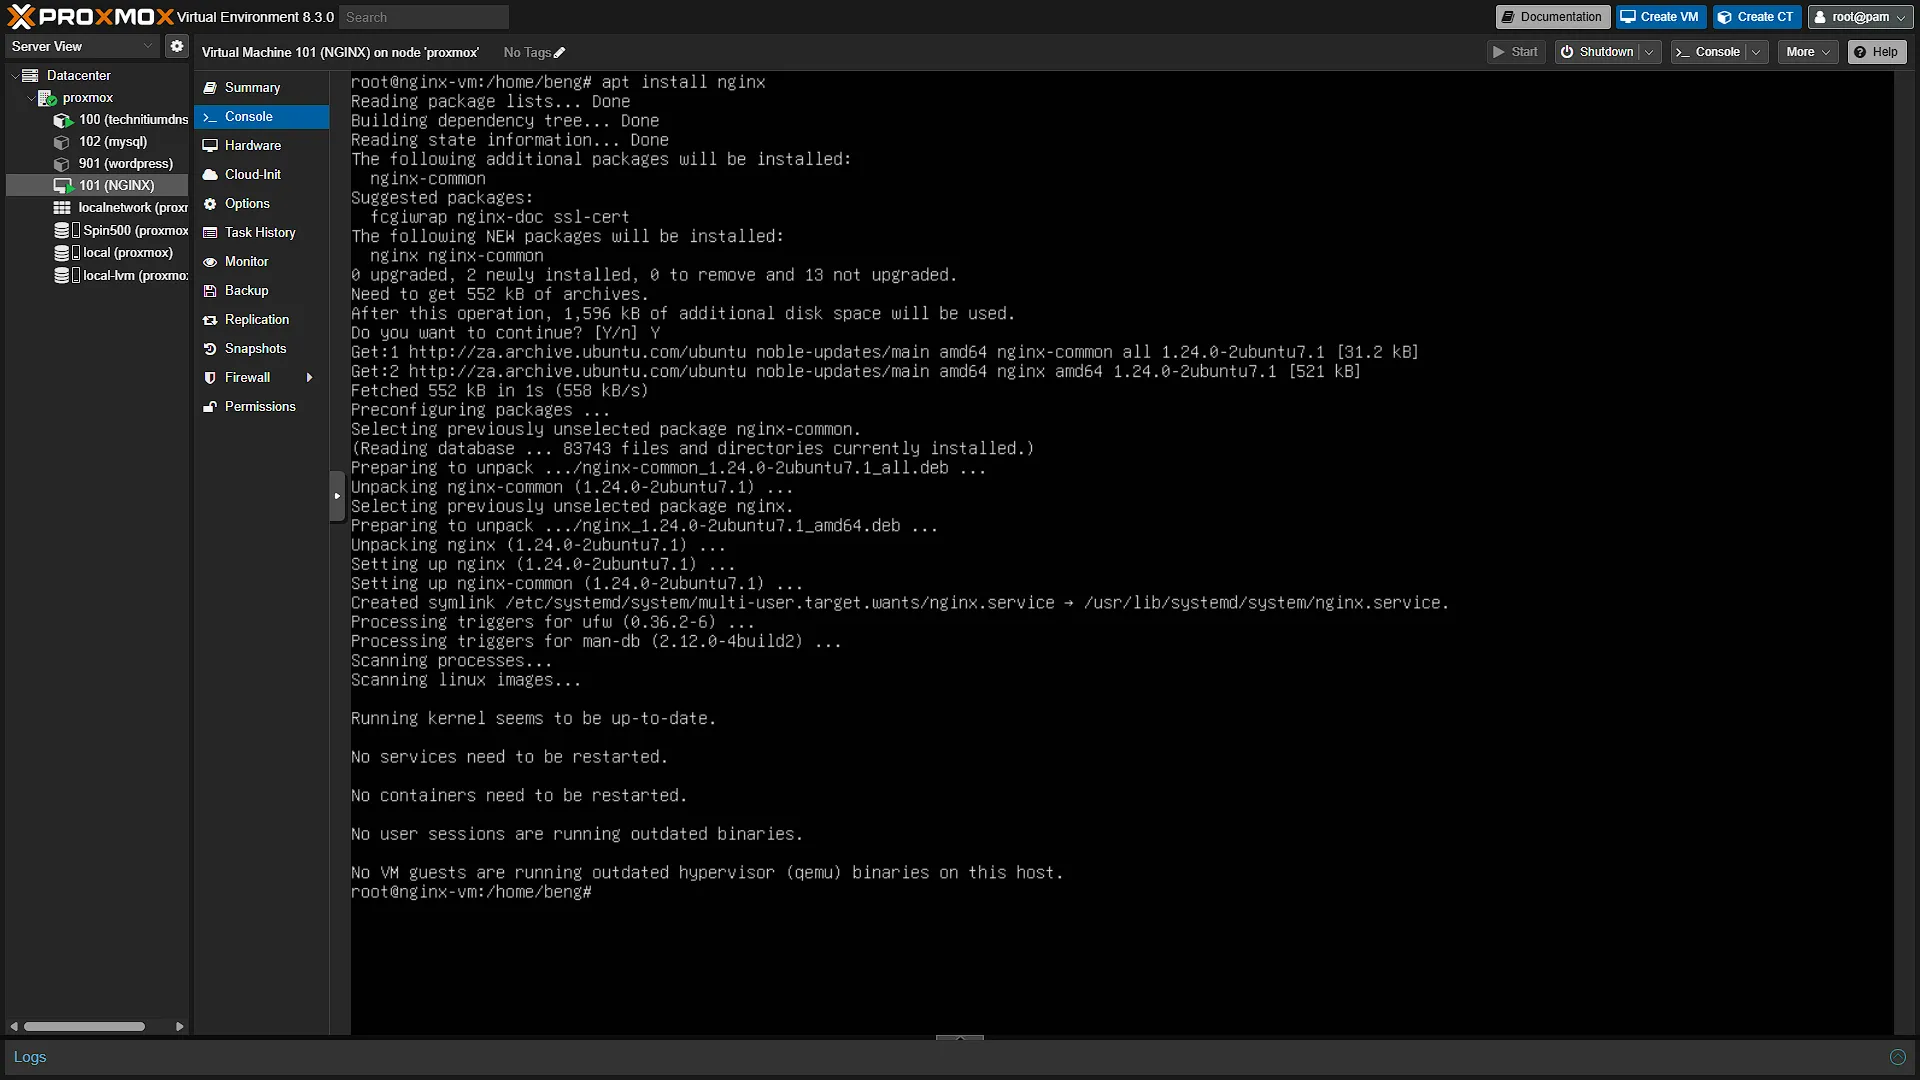
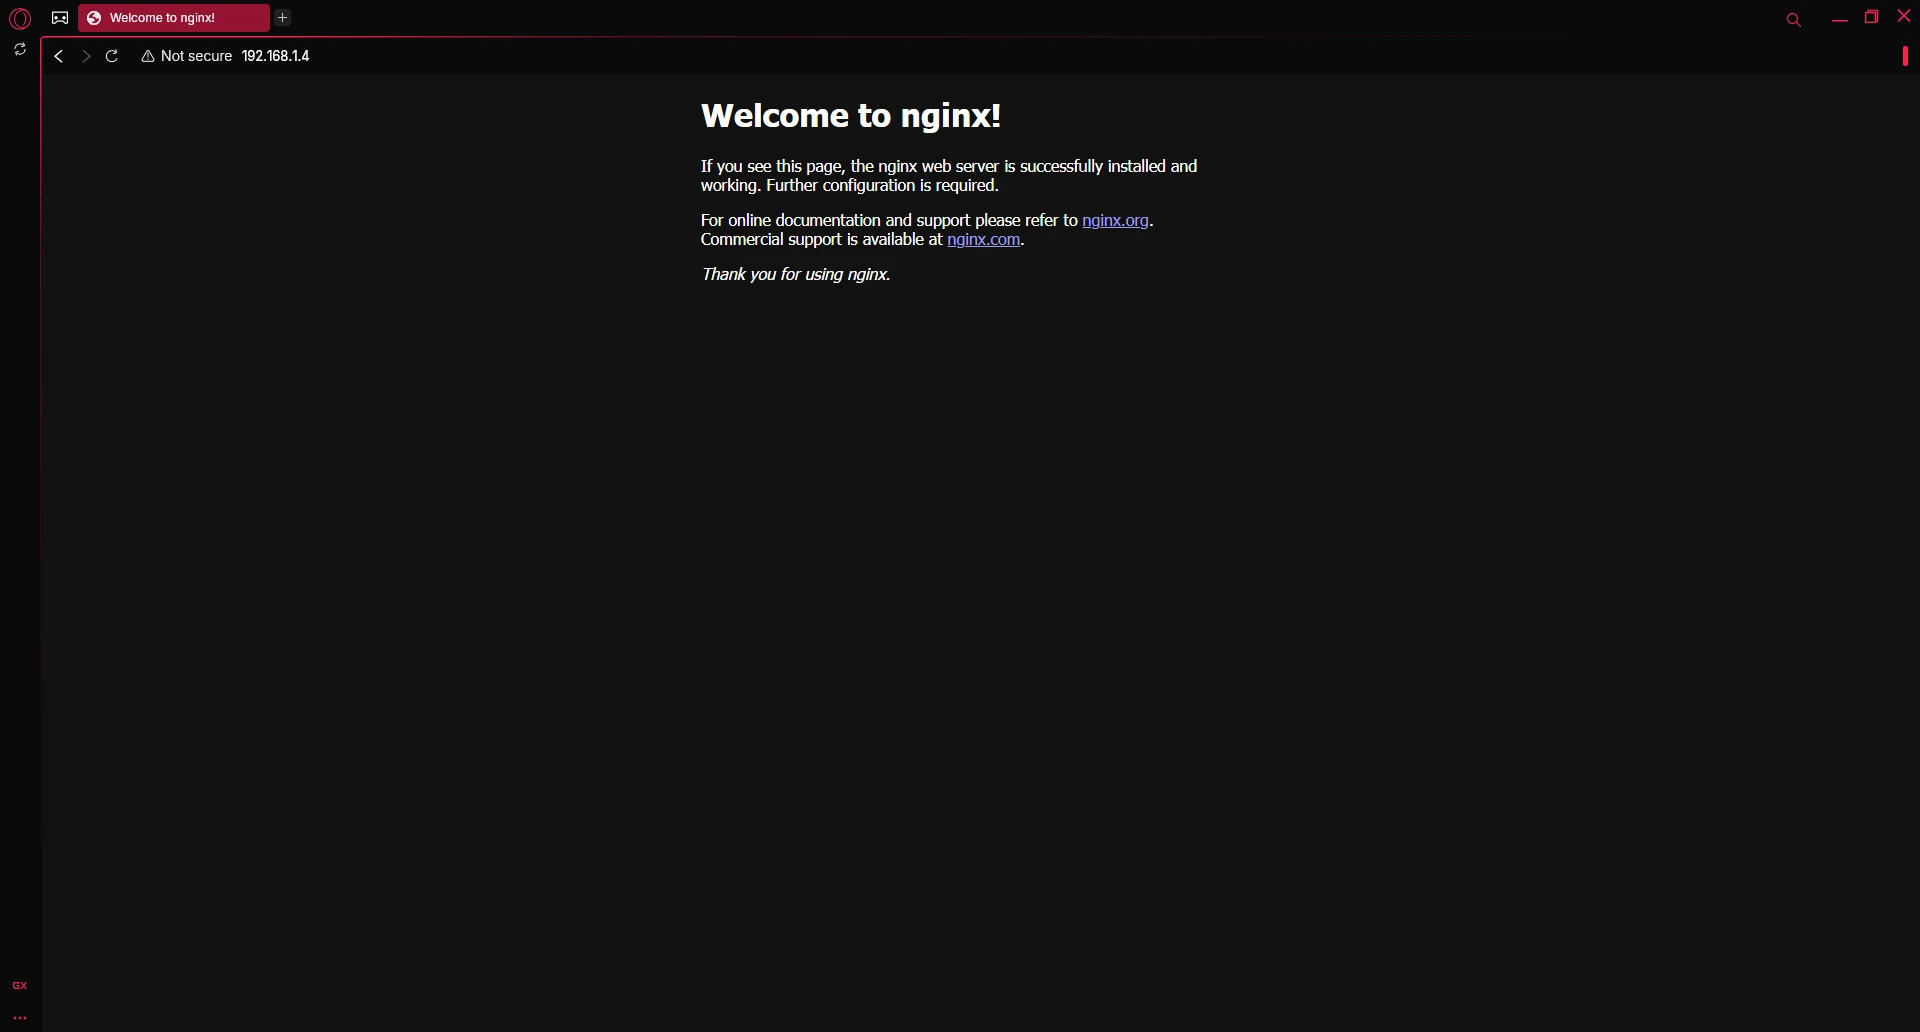
apt install nginxThat's it. You will need to confirm again that you want to continue, but installation takes a few seconds. You can now go to the IP address of your VM to confirm that you are seeing the default NGINX HTML Page, as per the last screenshot below.
Step 4: Set up NGINX
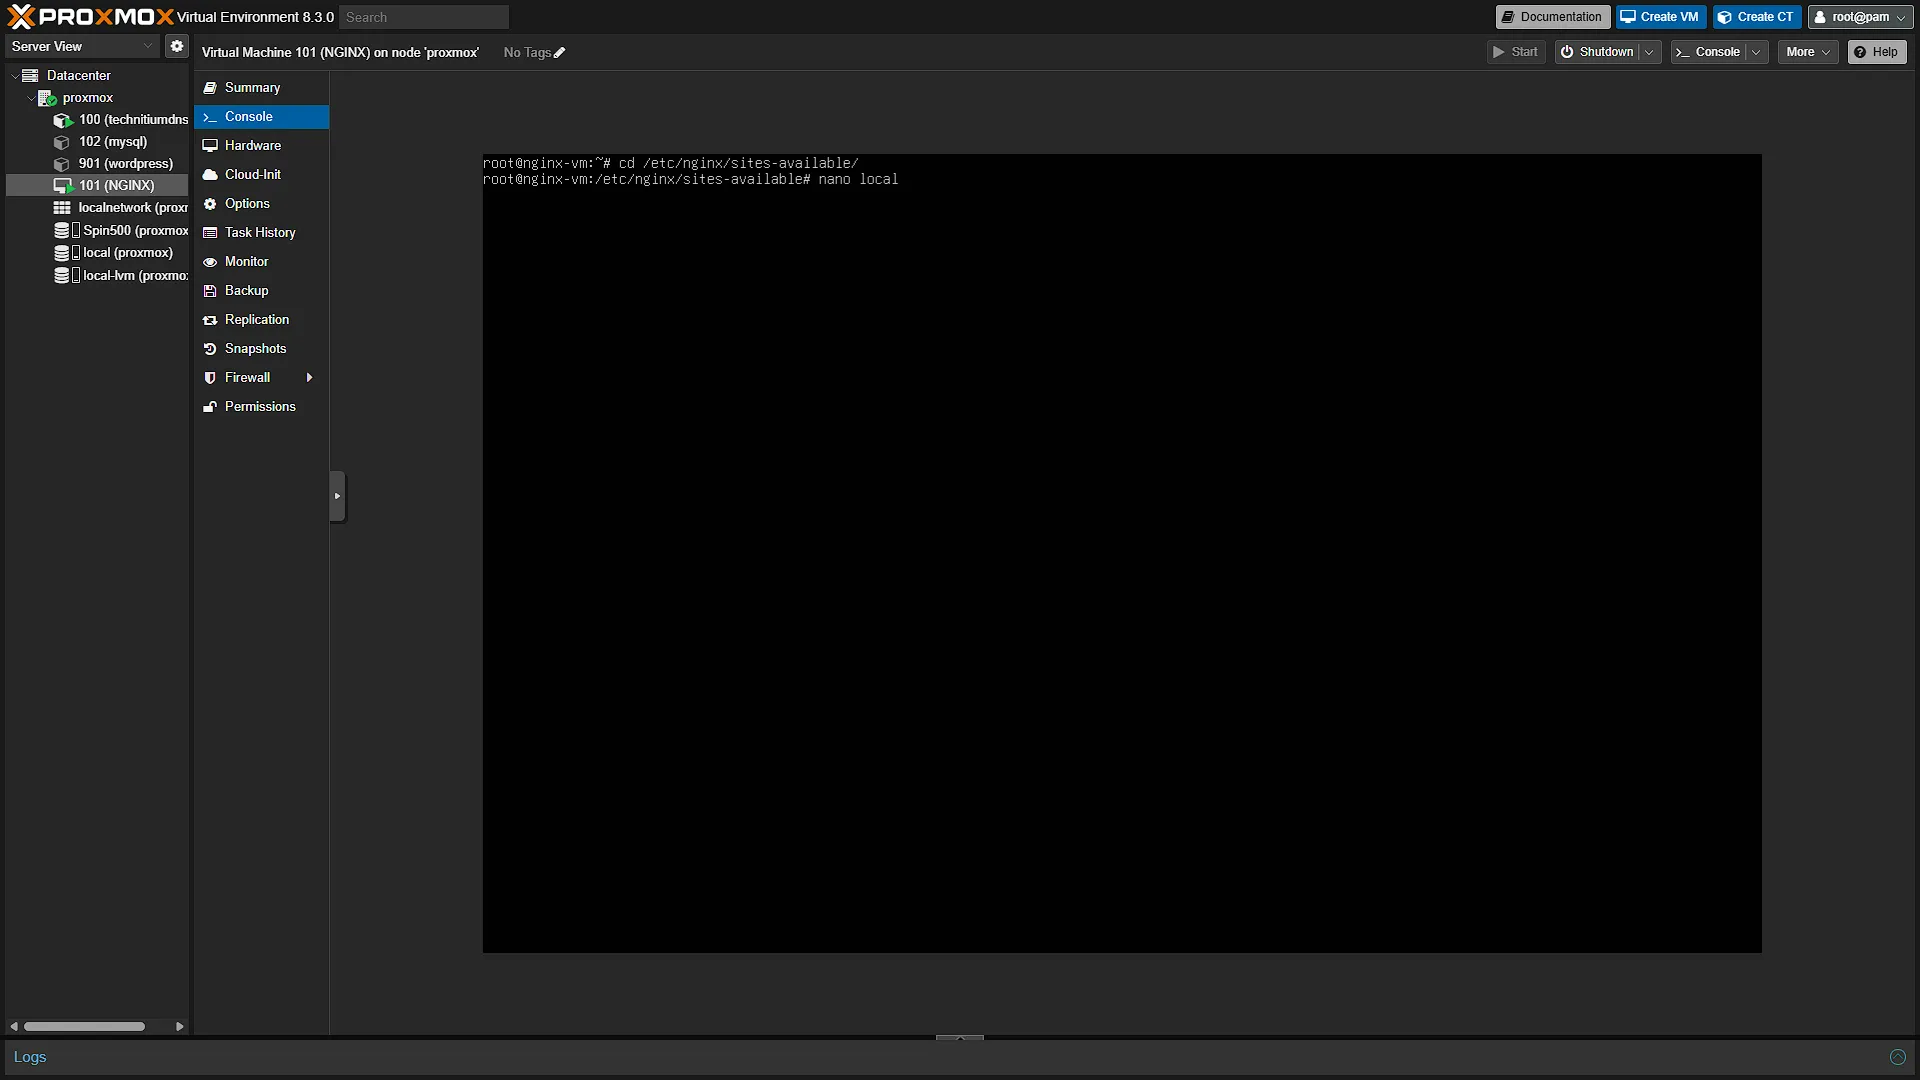
Just like the previous time we set up NGINX, we need to go into the configuration directory and add a new configuration file, after which we will create a "shortcut" to the enabled directory to enable our new config. Start by going to the configuration directory
cd /etc/nginx/sites-available/This will change the working directory to that where NGINX stores its configuration files. You can run ls -al to see a list of all files in the directory (we will get to that blue one in a minute). Each of these files are a configuration file and can be seen as a group of sites. We want to add a new file, specifically for all our .local domains, so we will run the command
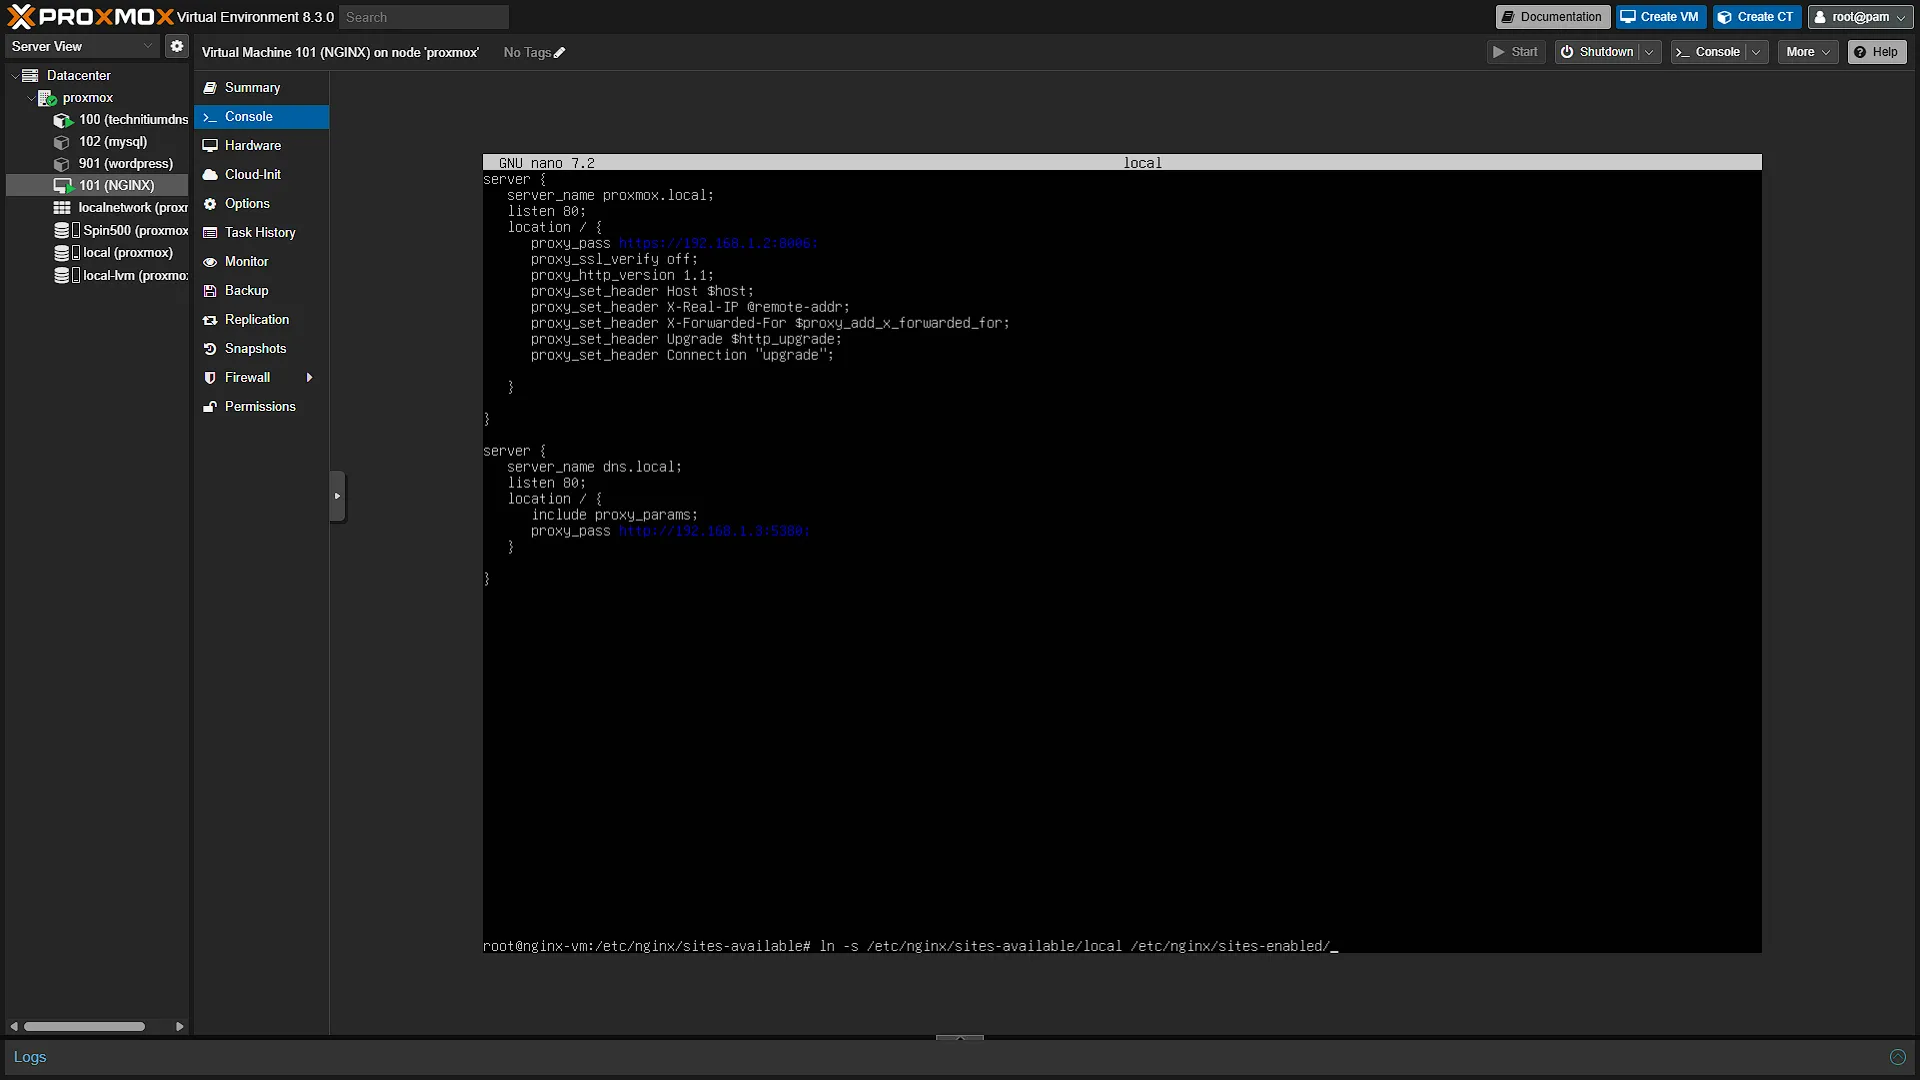
nano localThis creates a new file, local in the directory and opens it up for editing. We need to add the following:
server {
   server_name proxmox.local;
   listen 80;
   location / {
        proxy_pass https://192.168.1.2:8006;
        proxy_ssl_verify off;                # Skip SSL verification (if using a self-signed cert)
        proxy_http_version 1.1;
        proxy_set_header Host $host;
        proxy_set_header X-Real-IP $remote_addr;
        proxy_set_header X-Forwarded-For $proxy_add_x_forwarded_for;
        proxy_set_header Upgrade $http_upgrade;      # Needed for WebSocket support
        proxy_set_header Connection "upgrade";
    }
}

server {
   server_name dns.local;
   listen 80;
   location / {
      include proxy_params;
      proxy_pass http://192.168.1.3:5380;
   }
}
Keep the braces, semicolons and directive names as shown. Indentation helps readability; NGINX does not require an exact indentation width.
To break it down, the file contains the following:
– Two server blocks, one for proxmox and one for dns.
– The server_name contains the address that the user entered in their browser to reach this nginx configuration. So one is for promxmox.local and one is for dns.local
– Both listens on port 80, which is http.
– With the location as /, meaning there is nothing after the proxmox.local or dns.local address (ex: http://proxmox.local/ and http://dns.local/), we need to do two things:
– Add the header parameters stating that we are passing this request via proxy
– Pass the request (proxy_pass) to the relevant IP address… and port!
Now that we have a way to pass both the IP address and port, go ahead and save the file with Ctrl+S and exit with Ctrl+X (CMD on Mac). Next up we need to “activate” this configuration file. We do that by creating a shortcut (a soft link in Linux terms) to the sites-enabled directory. Run the following command:
ln -s /etc/nginx/sites-available/local /etc/nginx/sites-enabled/To test that it worked, change into the directory /etc/nginx/sites-enabled/ and run ls -al. You will see one of those blue links for local pointing to the file we created.
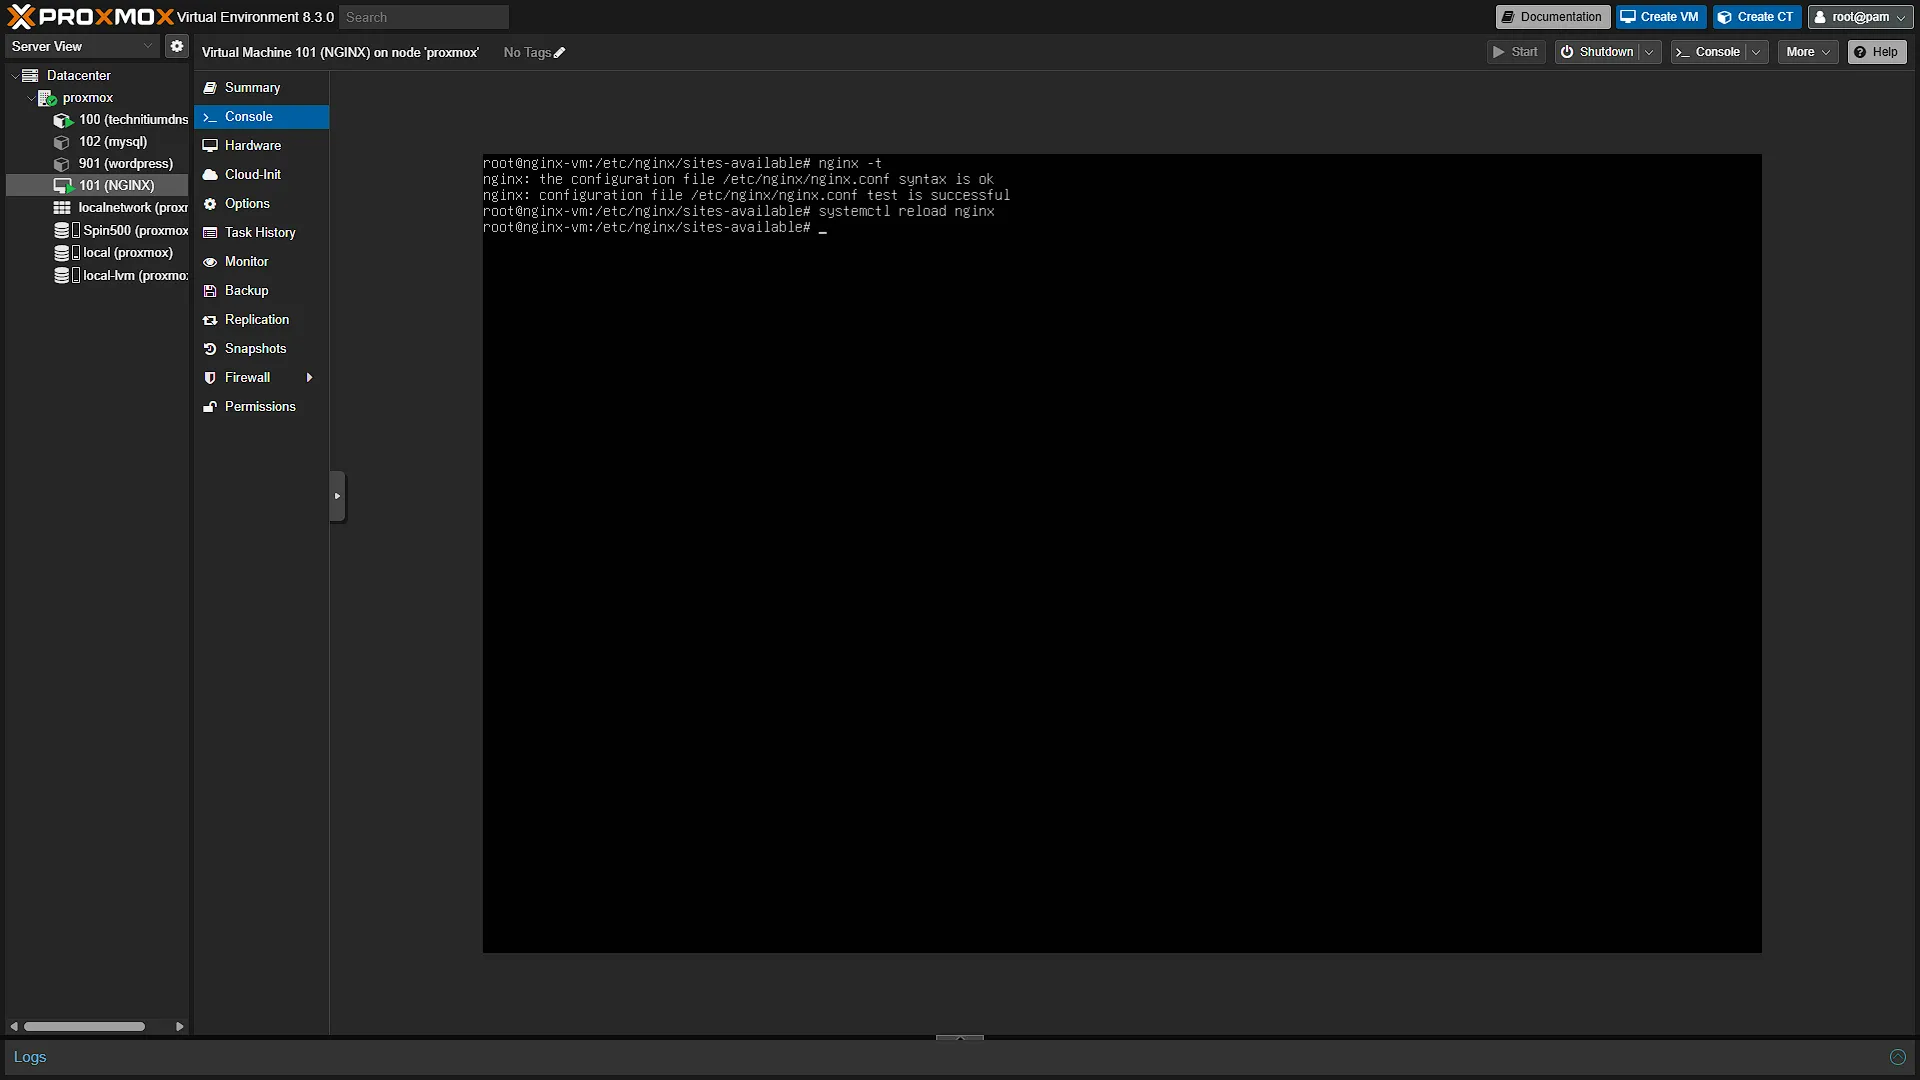
We can now test our configuration by running the following command:
nginx -tIf we don’t have any errors, all we need to do is reload NGINX with the following:
systemctl reload nginxWe can now just enter the addresses http://proxmox.local in our browser to access proxmox (without worrying about the port) and the same for http://dns.local to access our Technitium DNS config.
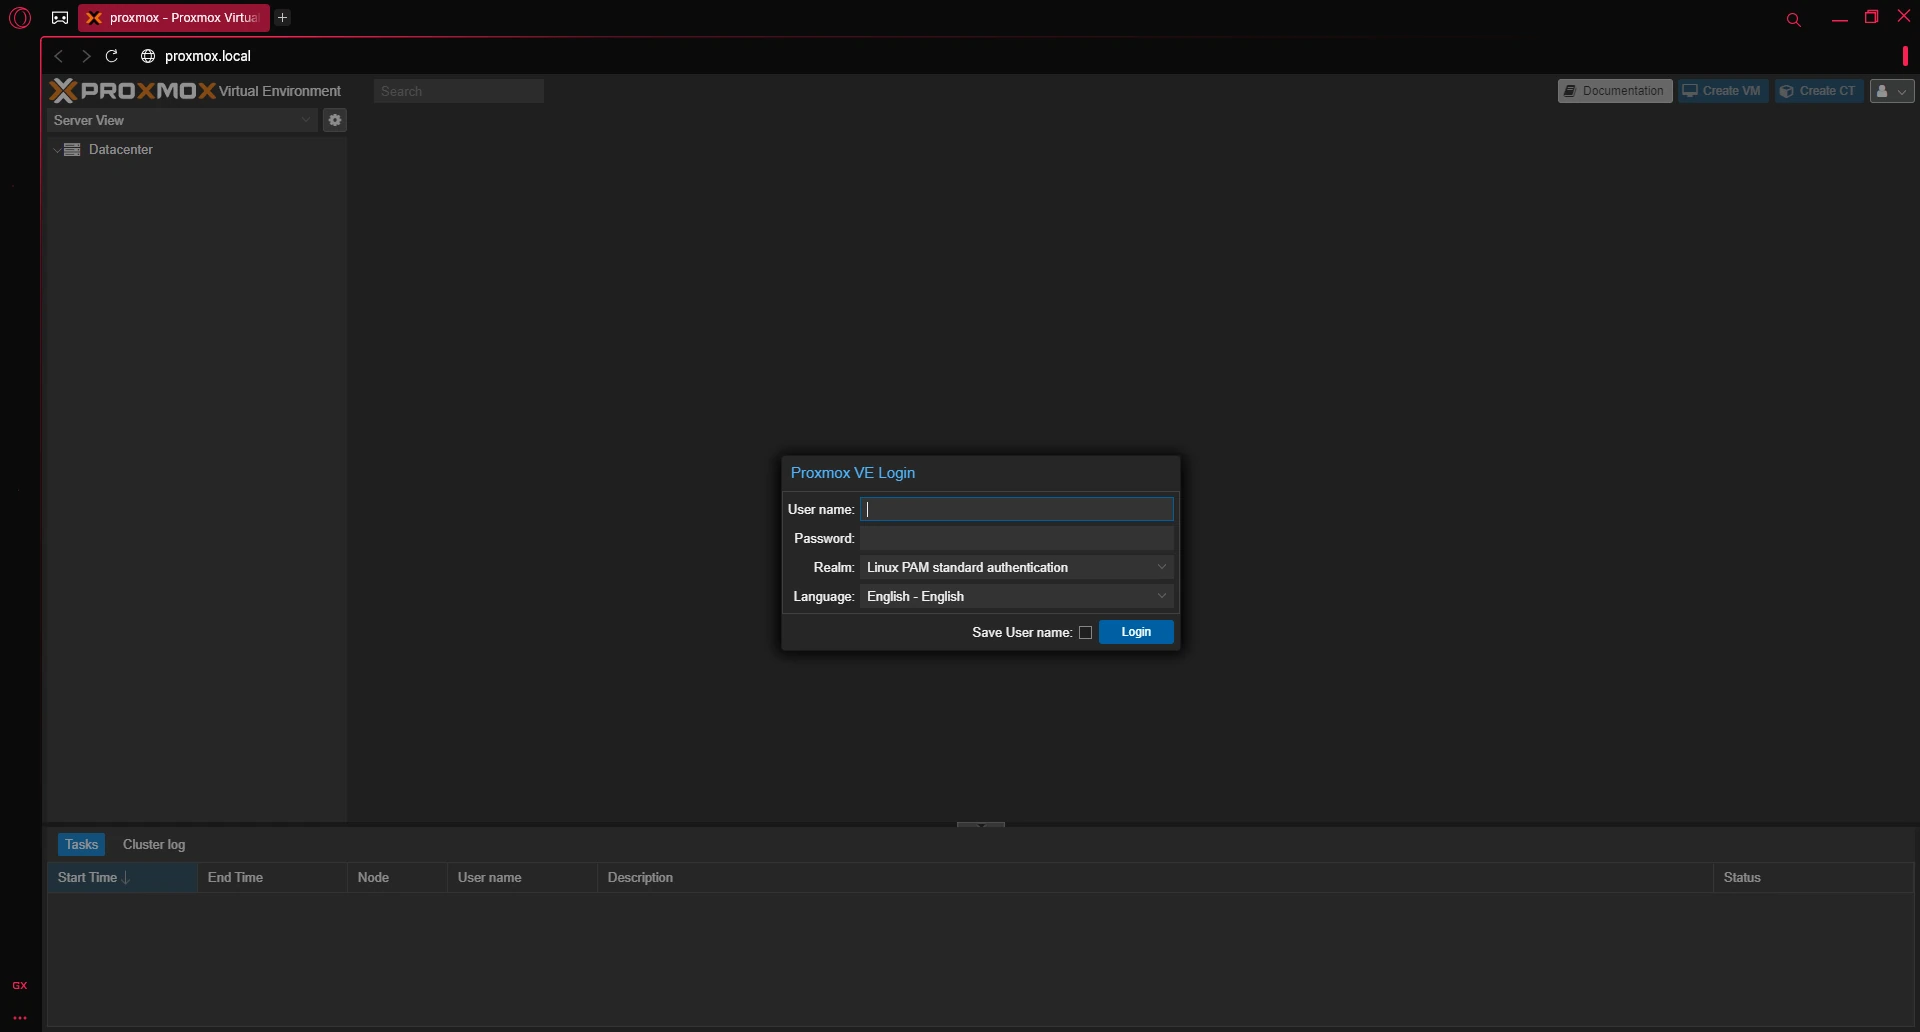
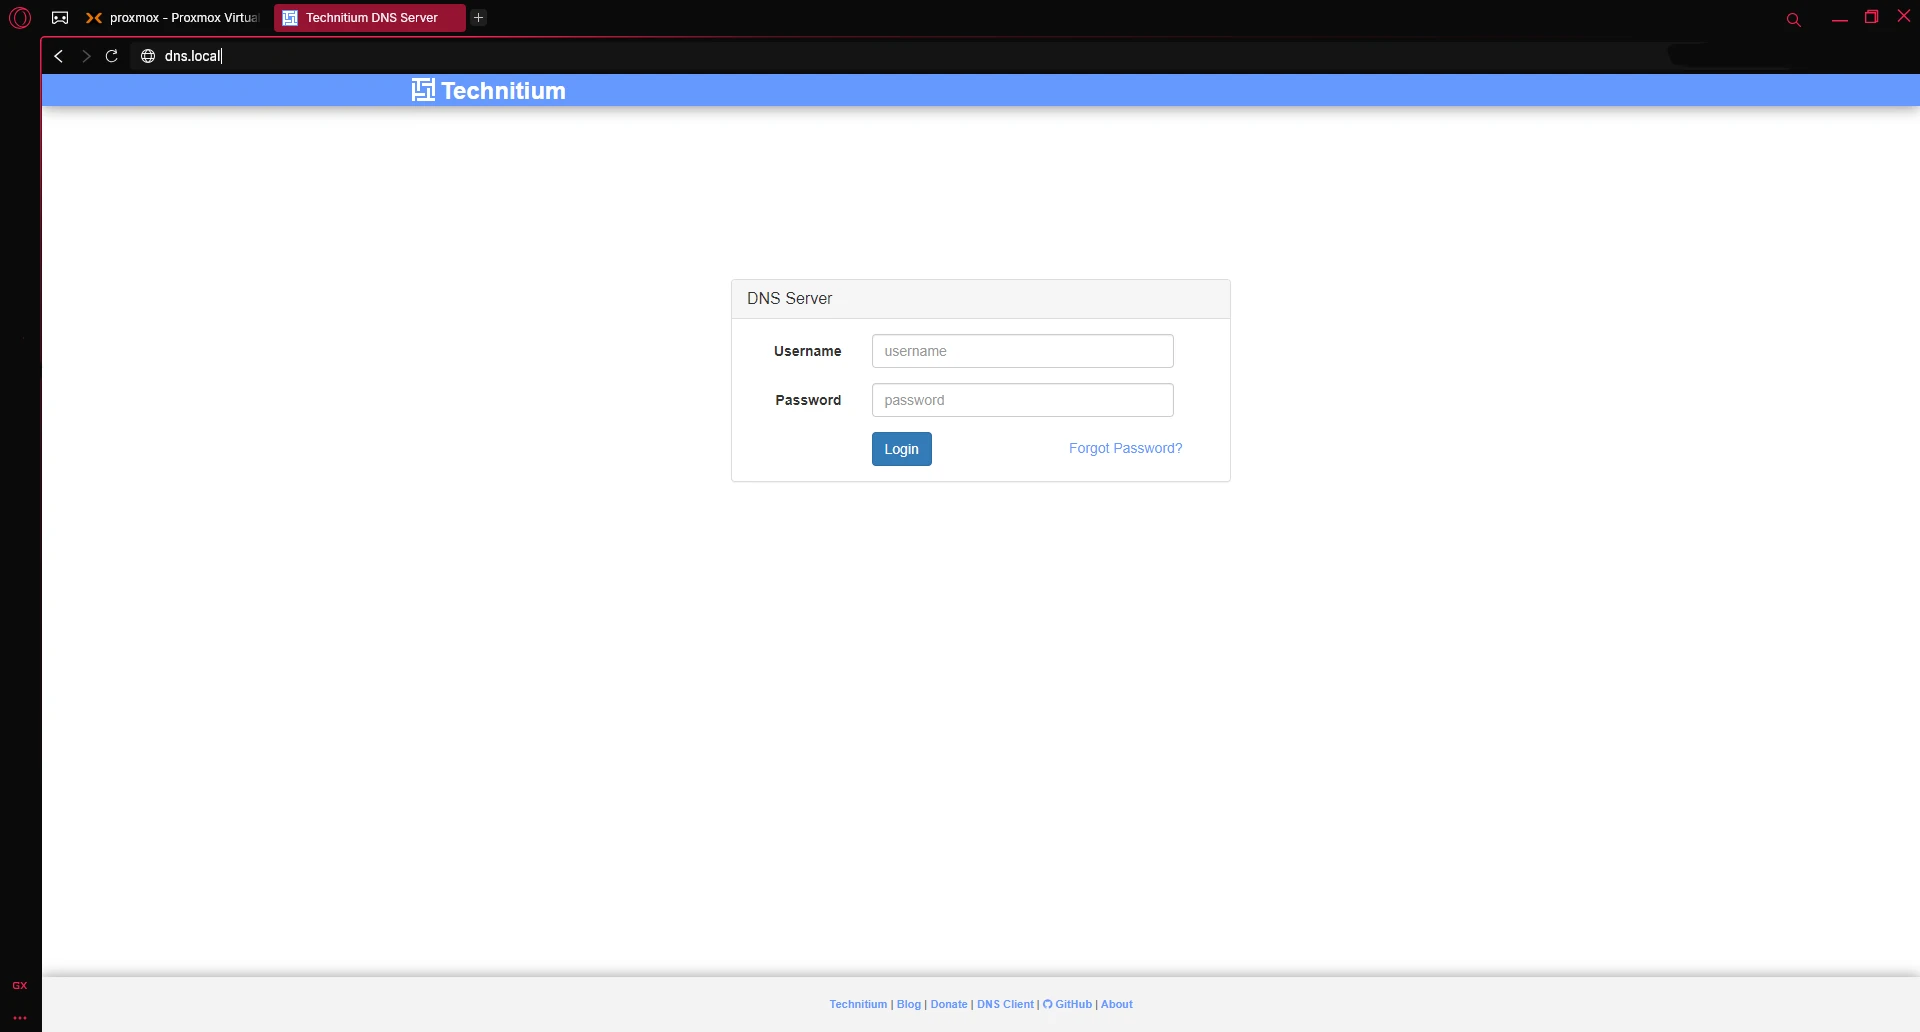
Take note: Proxmox might not work on your setup, you might get an error when logging in. We will post an update once this has been sorted out.
We also want to set up the DynDNS settings file again, as per our previous article on Nginx and DynDNS for outside access. Return to /etc/nginx/sites-available/ before creating the new file. Run the following
cd /etc/nginx/sites-available/
nano wordpress
In the open text editor, add the following config, keeping the braces, semicolons and directive names as shown:
server {

   listen 80;
   server_name techdecode.tplinkdns.com;

   location / {
      include proxy_params;
      proxy_pass http://192.168.1.43;
   }
}
Please ensure that the IP address is that of your Wordpress LXC container. Also change the techdecode.tplinkdns.com to the DynDNS address you registered on your router that we did in the Dynamic DNS Setup Article. To add the shortcut, run the following command:
ln -s /etc/nginx/sites-available/wordpress /etc/nginx/sites-enabled/This takes our config file called wordpress and creates a shortcut in the sites-enabled directory, ready for NGINX to read. Make sure NGINX configuration is working by running:
nginx -tIf everything is ok, all we need to do is reload the NGINX config. We do that with the command:
systemctl reload nginxNow that NGINX has reloaded, we can access our site from the address techdecode.tplinkdns.com from outside of our home network.
Optional After the Walkthrough: Keep Addresses Stable and Diagnose the Proxy
This VM replaces the earlier NGINX LXC. Its IP address must remain consistent with the DNS records and router forwarding destination. A DHCP reservation is sufficient for that purpose; switching to guest-side static addressing is optional. Record the actual VM address and update dependent rules when replacing the old proxy.
If you choose Netplan, inspect the existing interface, gateway, renderer and configuration files first. Do not assume an interface called ens18 or a file called 50-cloud-init.yaml. Back up the actual configuration and keep access through the Proxmox console. netplan try offers confirmation and rollback behaviour, but you should verify the outcome rather than assuming every failed remote session has restored the old state.
Use the Technitium resolver actually installed in the series: the earlier example is 192.168.1.3. A public resolver such as 1.1.1.1 cannot answer your private .local zone. Adding it beside Technitium does not guarantee that clients query Technitium first or that internal names always work. Test internal and public lookups after any network change.
The main Proxmox block already supplies the WebSocket directives. Adding the same headers again is not a proven fix for every login problem. Test direct access at https://192.168.1.2:8006, then the proxy, and inspect the browser request and NGINX log. Check stale cookies, address changes and the selected server block as well as console upgrades.
Create configuration files in sites-available before linking them into sites-enabled. The WordPress command above now explicitly returns to that directory. Otherwise the symlink command could refer to a source file that was never created there. Test the configuration, reload NGINX and repeat the WordPress external test before continuing to certificates in Part 12.
Further reading: Netplan try, NGINX WebSocket proxying.
Conclusion
In conclusion, transitioning your NGINX setup from an LXC container to a dedicated VM enhances system isolation and security. Although the process involved several key steps - from removing the old container for those still running NGINX as an LCX Container and preparing your VM to configuring and testing NGINX - the result is a more resilient and streamlined homelab environment. As we move forward, keep in mind that your setup might require tweaks tailored to your unique network conditions. Next up we will get to our first tangible security upgrade, installing SSL certificates.