One of the reasons we want to self-host services as part of our Build your Homelab series is to take control of our data and keep it private. We already looked at two image solutions: installing Immich (and setting up Immich) and using Nextcloud (and configuring Nextcloud). That said, Nextcloud is more than just a photo/video backup tool, and in today's case Nextcloud can yet again offer a solution. But as with photo/video backups, Nextcloud's solution is general, so what if we need a more specific, tailor-made solution? Do you spend ages digging through folders (both physical and digital) to find that one important document? What if there was a smart, digital filing cabinet that could not only store your documents but also help you find them in seconds?
Enter Paperless-ngx, a fantastic tool that can transform your document chaos into organized bliss, especially if you're interested in running it on your own computer or home server.
What is Paperless-ngx? Your Digital Filing Super-Assistant
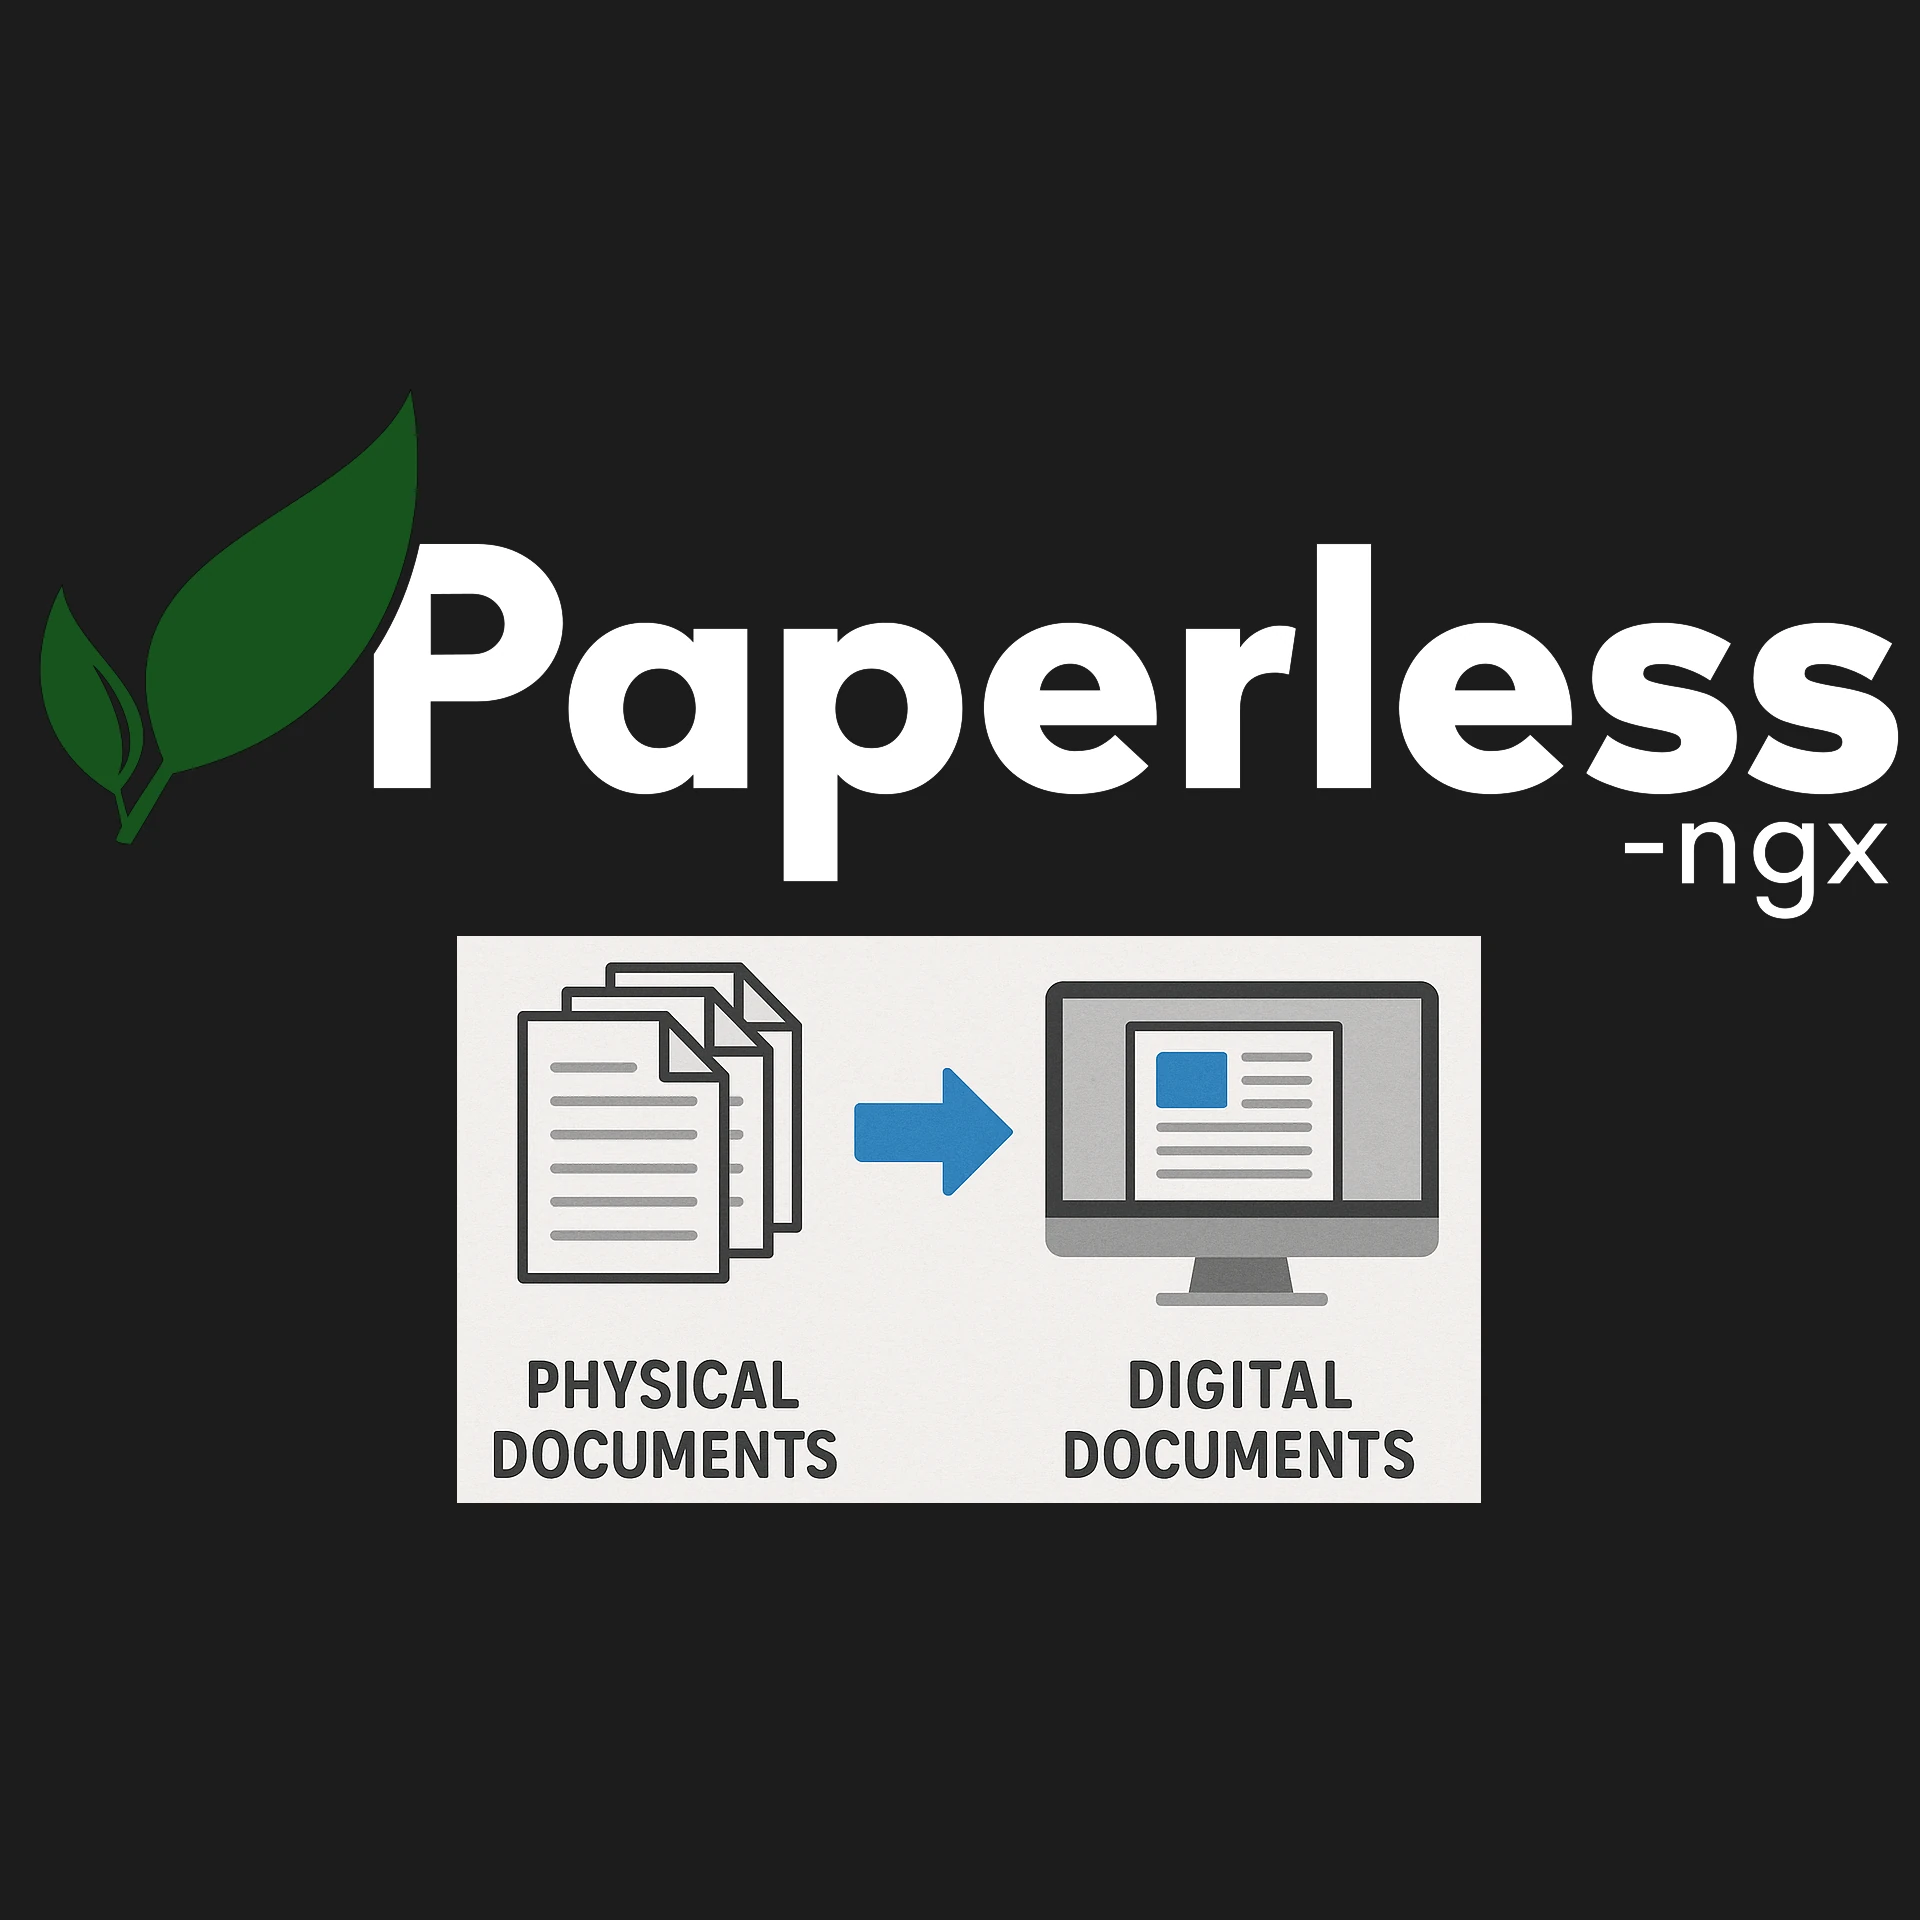
Paperless-ngx is an open-source document management system. "Open-source" means it's built by a community of developers and the software itself is free to use. You get to be in complete control of your documents because you run the software on your own hardware. This makes it even more exciting for people to self-host Paperless-ngx.
It accepts supported documents such as scanned bills, PDF contracts and receipt images. OCR extracts text, while matching rules and a trained classifier can help assign metadata. It does not perfectly understand every document, so review the results. Later, when you need that bill, you just search for "electricity bill June" or even a phrase you remember from the bill itself, and Paperless-ngx can find it when the text or metadata was captured correctly.
How it generally works:
- You add documents to Paperless-ngx. This can be from your scanner, existing digital files, or even directly from your email.
- Paperless-ngx processes them. This is where the magic happens!
- It stores them and makes them searchable through a user-friendly web interface (a document website whose users and permissions you control).
The Magic Inside: How Paperless-ngx Works
Without getting too technical, let's take a look at the different parts that form Paperless-ngx and how they work together to form this amazing product:
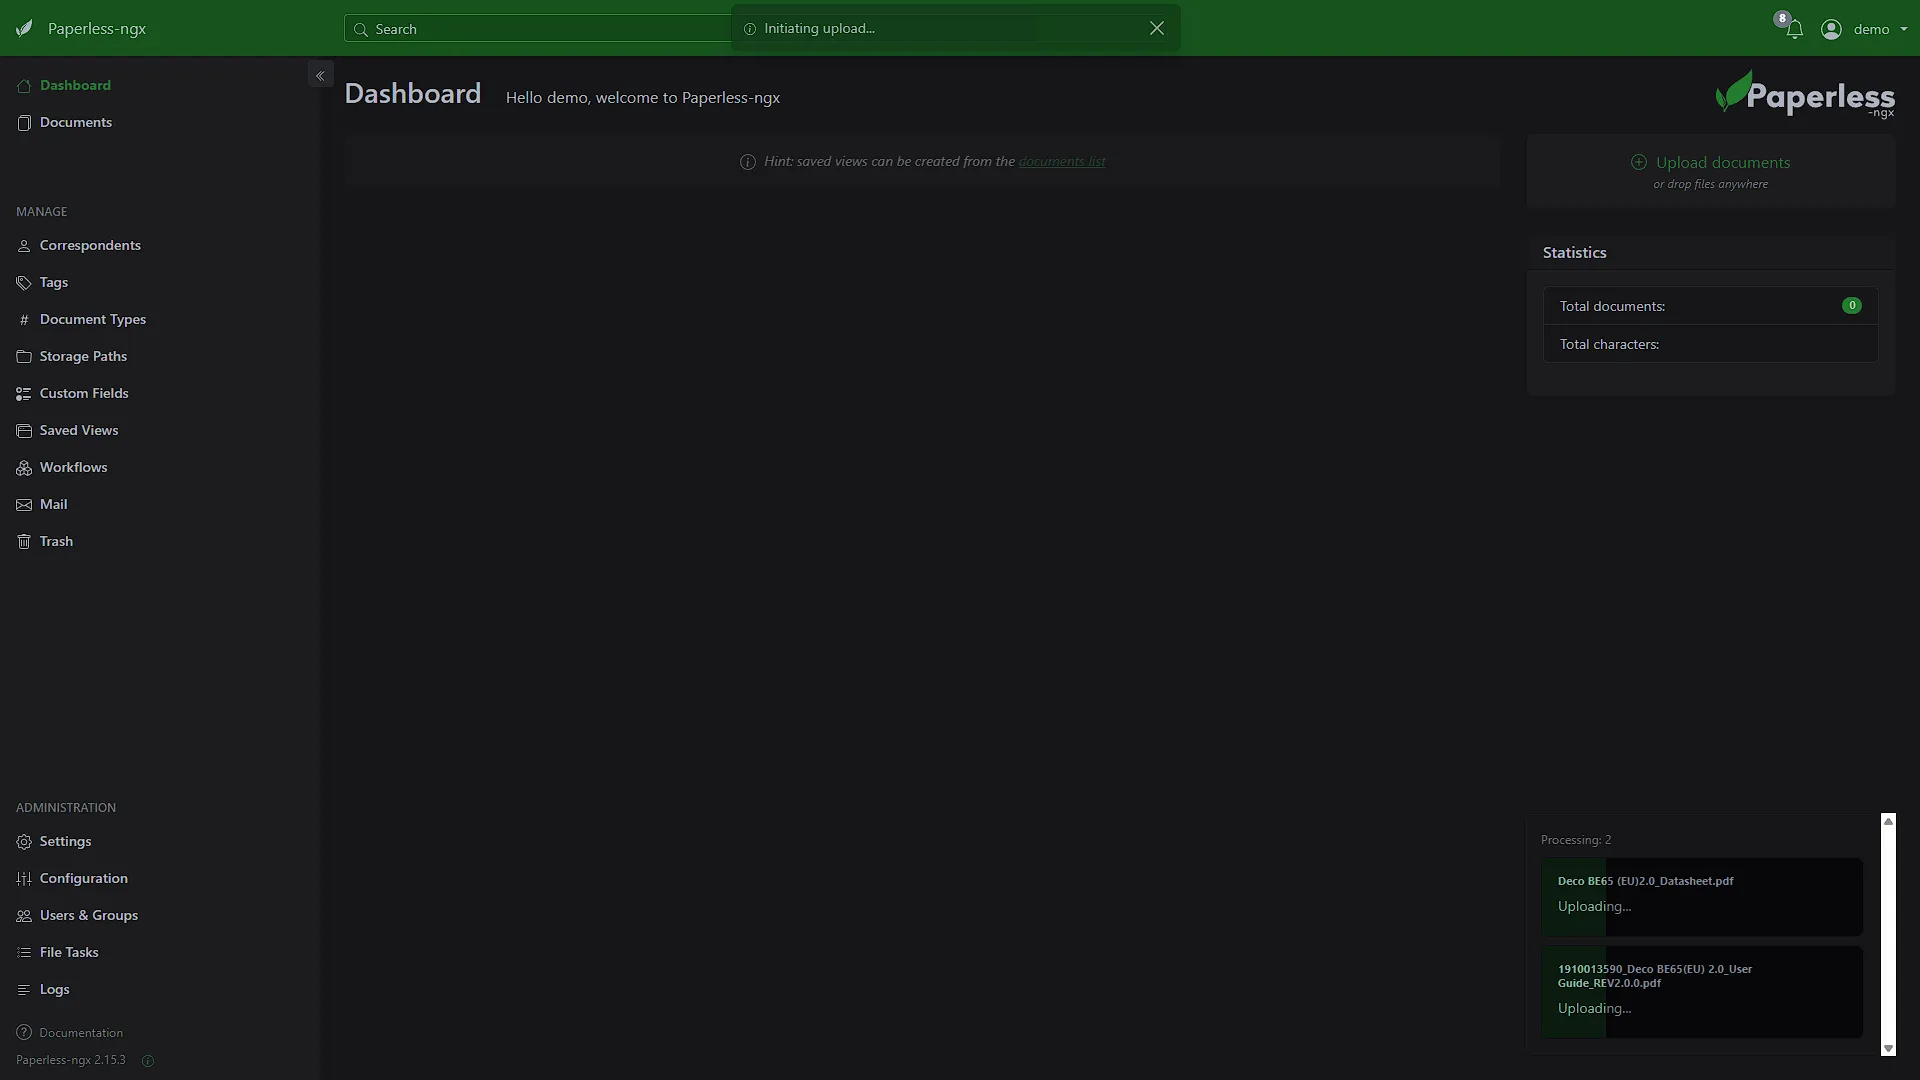
- The "Consumer": Your Document Intake Specialist Paperless-ngx constantly watches a specific folder on your computer (set up by you). When a new file appears there (e.g., from your scanner), the consumer grabs it to start processing. It can also be set up to check an email account for documents. Alternatively, you can manually upload supported documents or images to Paperless-ngx via the web interface. There are also a few mobile clients (Always check the official documentation)
- Paperless Mobile: (Android)
A modern, feature rich app for Paperless-ngx. - Paperless Share: (Android)
Share any files from your application with Paperless-ngx. A share-sheet bridge originally documented for Paperless-ng; verify compatibility with your current server and scanner. - QuickScan: (iOS)
Free, feature-rich app, that supports scanning directly into Paperless. - Scan4Paperless: (iOS)
Check the linked store listing for current availability, supported server versions and its scanning/upload workflow.
- Paperless Mobile: (Android)
- OCR: Reading the Unreadable (Almost!) This is one of Paperless-ngx's superpowers: Optical Character Recognition (OCR). If you scan a paper document, it's essentially just a picture of words. You can't search the text within that picture. OCR technology analyzes that picture and converts the image of text into actual, selectable, and searchable text. So, that scanned letter from your bank? Paperless-ngx will read the text on it, allowing you to search for account numbers, dates, or any other word on that letter later.
- Long-Term Archiving (PDF/A) Paperless-ngx typically converts your documents into PDF/A format. This is a special type of PDF designed for long-term archiving, intended for long-term archiving. Archive generation depends on settings and file compatibility, and the original document is retained alongside generated versions. A PDF/A file still needs backed-up storage and a working reader.
- Automatic Detective Work: Tagging and Categorization This is where it gets really smart. Paperless-ngx tries to automatically figure out:
- Correspondent: Who sent the document or who is it related to (e.g., "City Power," "Dr. Smith").
- Document Type: What kind of document is it (e.g., "Invoice," "Medical Record," "Manual").
- Tags: Keywords that help describe the document (e.g., "taxes2024," "warranty," "car_maintenance").
- Date: When the document was created or is relevant. It even uses machine learning. Correctly labelled examples can improve the configured automatic classifier, but accuracy depends on the documents and training. Review dates and important classifications rather than treating every suggestion as correct.
- Neat Storage & Easy Access Once processed, your documents are stored. You then access everything through a clean web interface – think of it as your personal document website. You can browse, search, and manage everything from there.
Key Features You'll Love
Paperless-ngx is packed with features designed to make your life easier, which also makes it stand out from something like Nextcloud:
- Powerful OCR & Full-Text Search: As mentioned, this is a game-changer. You can search extracted text as well as metadata, rather than only filenames. Faint scans, handwriting, incorrect language settings and unusual layouts can produce missing or mistaken OCR text.
- Multi-Language OCR Support: Do you have documents in different languages? Paperless-ngx uses an OCR engine called Tesseract that supports over 100 languages. By default, it includes several common ones (like English, German, French, Spanish, Italian). If you need others (e.g., Japanese, Portuguese, etc.), you can tell Paperless-ngx to install additional "language packs." This is usually a simple setting change if you're using Docker (a common way to install it), where you specify the language codes you need. Our separate Proxmox walkthrough covers its own installation and language setup. For a current Docker deployment, distinguish additional language-pack installation from the languages selected for OCR; package defaults differ by installation method.
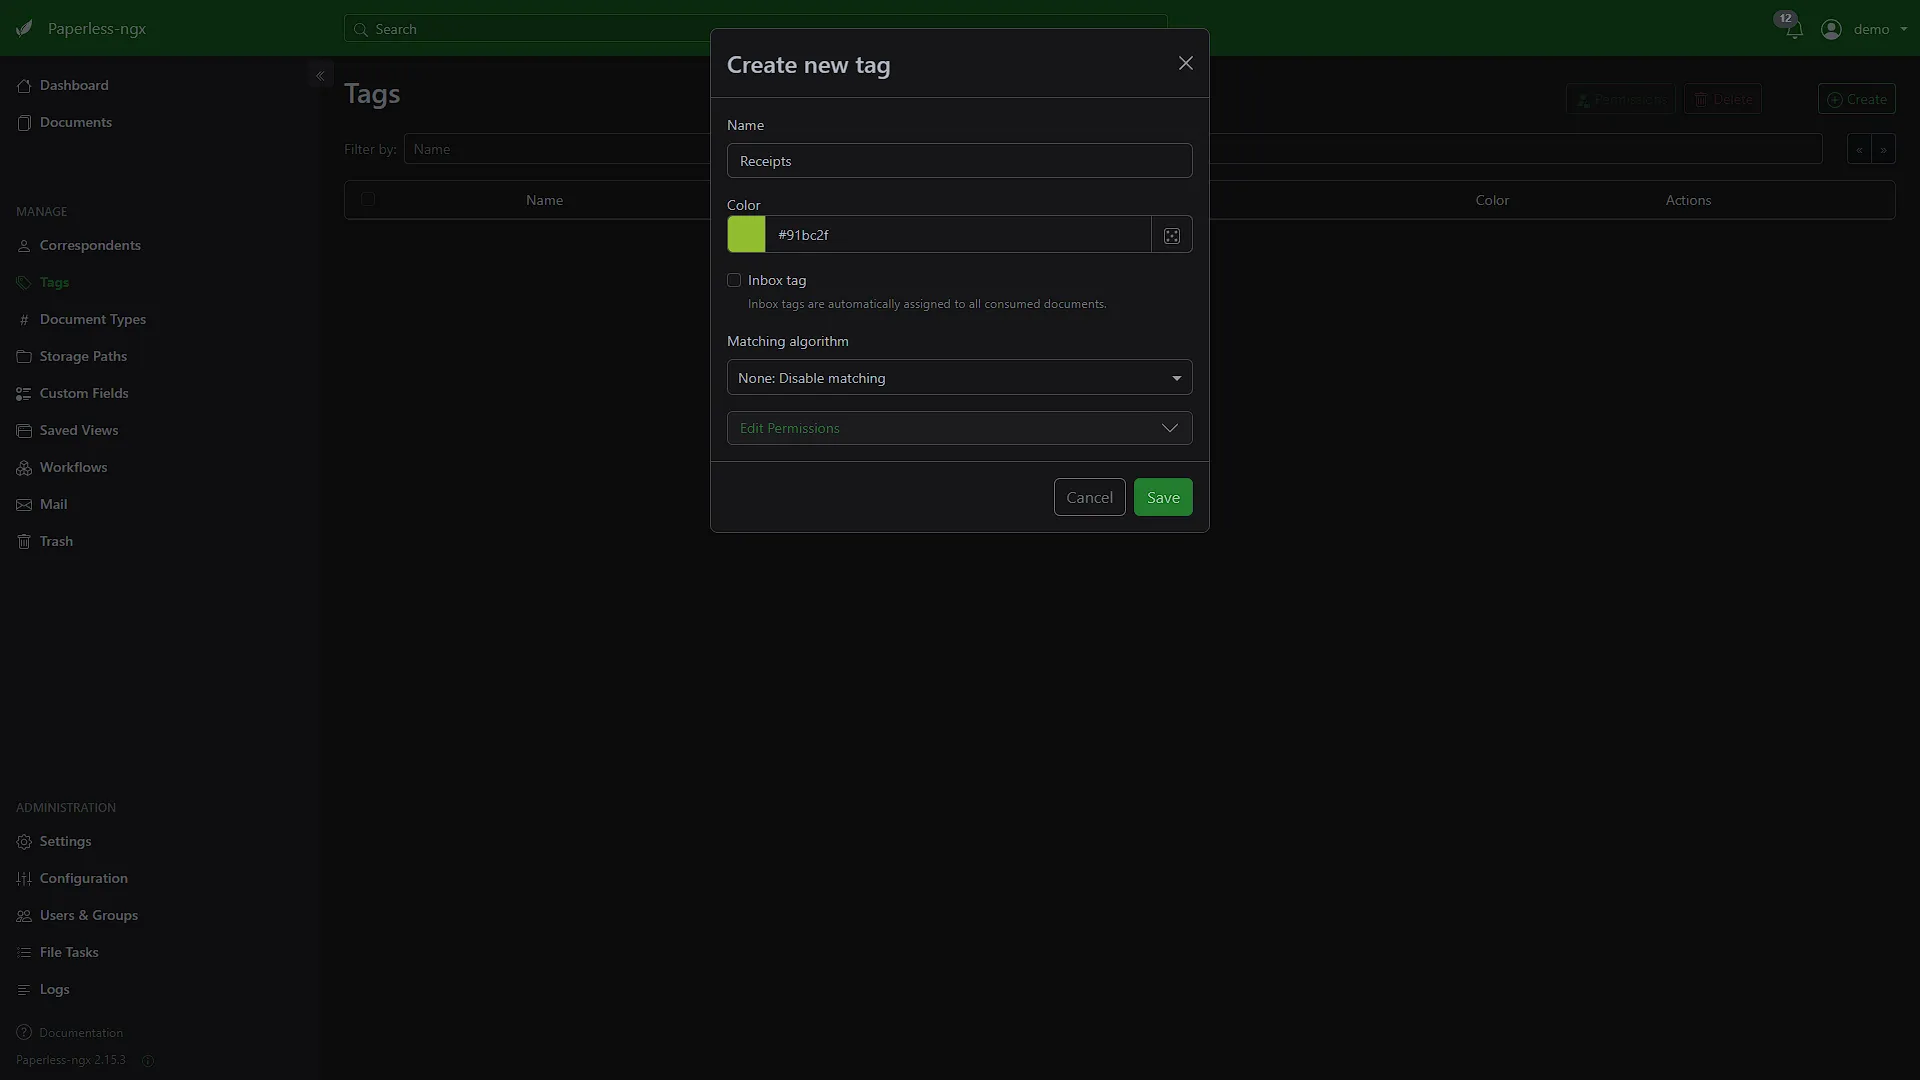
- Smart Automatic Tagging: While you can always add tags manually, its ability to learn and suggest tags, correspondents, and document types saves a massive amount of time. When setting up a new tag, you can specify rules (or hints) as to when this tag should be applied to uploaded documents.
- Advanced Search and Filtering: Find documents by keywords, tags, document types, correspondents, dates, and more. You can even save common searches for quick access.
- Mobile-Friendly Access: The web interface works well on mobile browsers. Plus, there are third-party mobile apps that can connect to your Paperless-ngx instance, allowing you to scan and upload documents directly from your phone (see previous section or the official site).
- Shareable Links: Need to securely share a document with someone without them needing to log in? You can create share links with configured expiry. Treat the link as access to that document: a recipient can download and redistribute it, and revoking the link does not erase their saved copy.
- Customizable Workflows: For more advanced users, you can set up rules to perform specific actions when documents are added or updated.
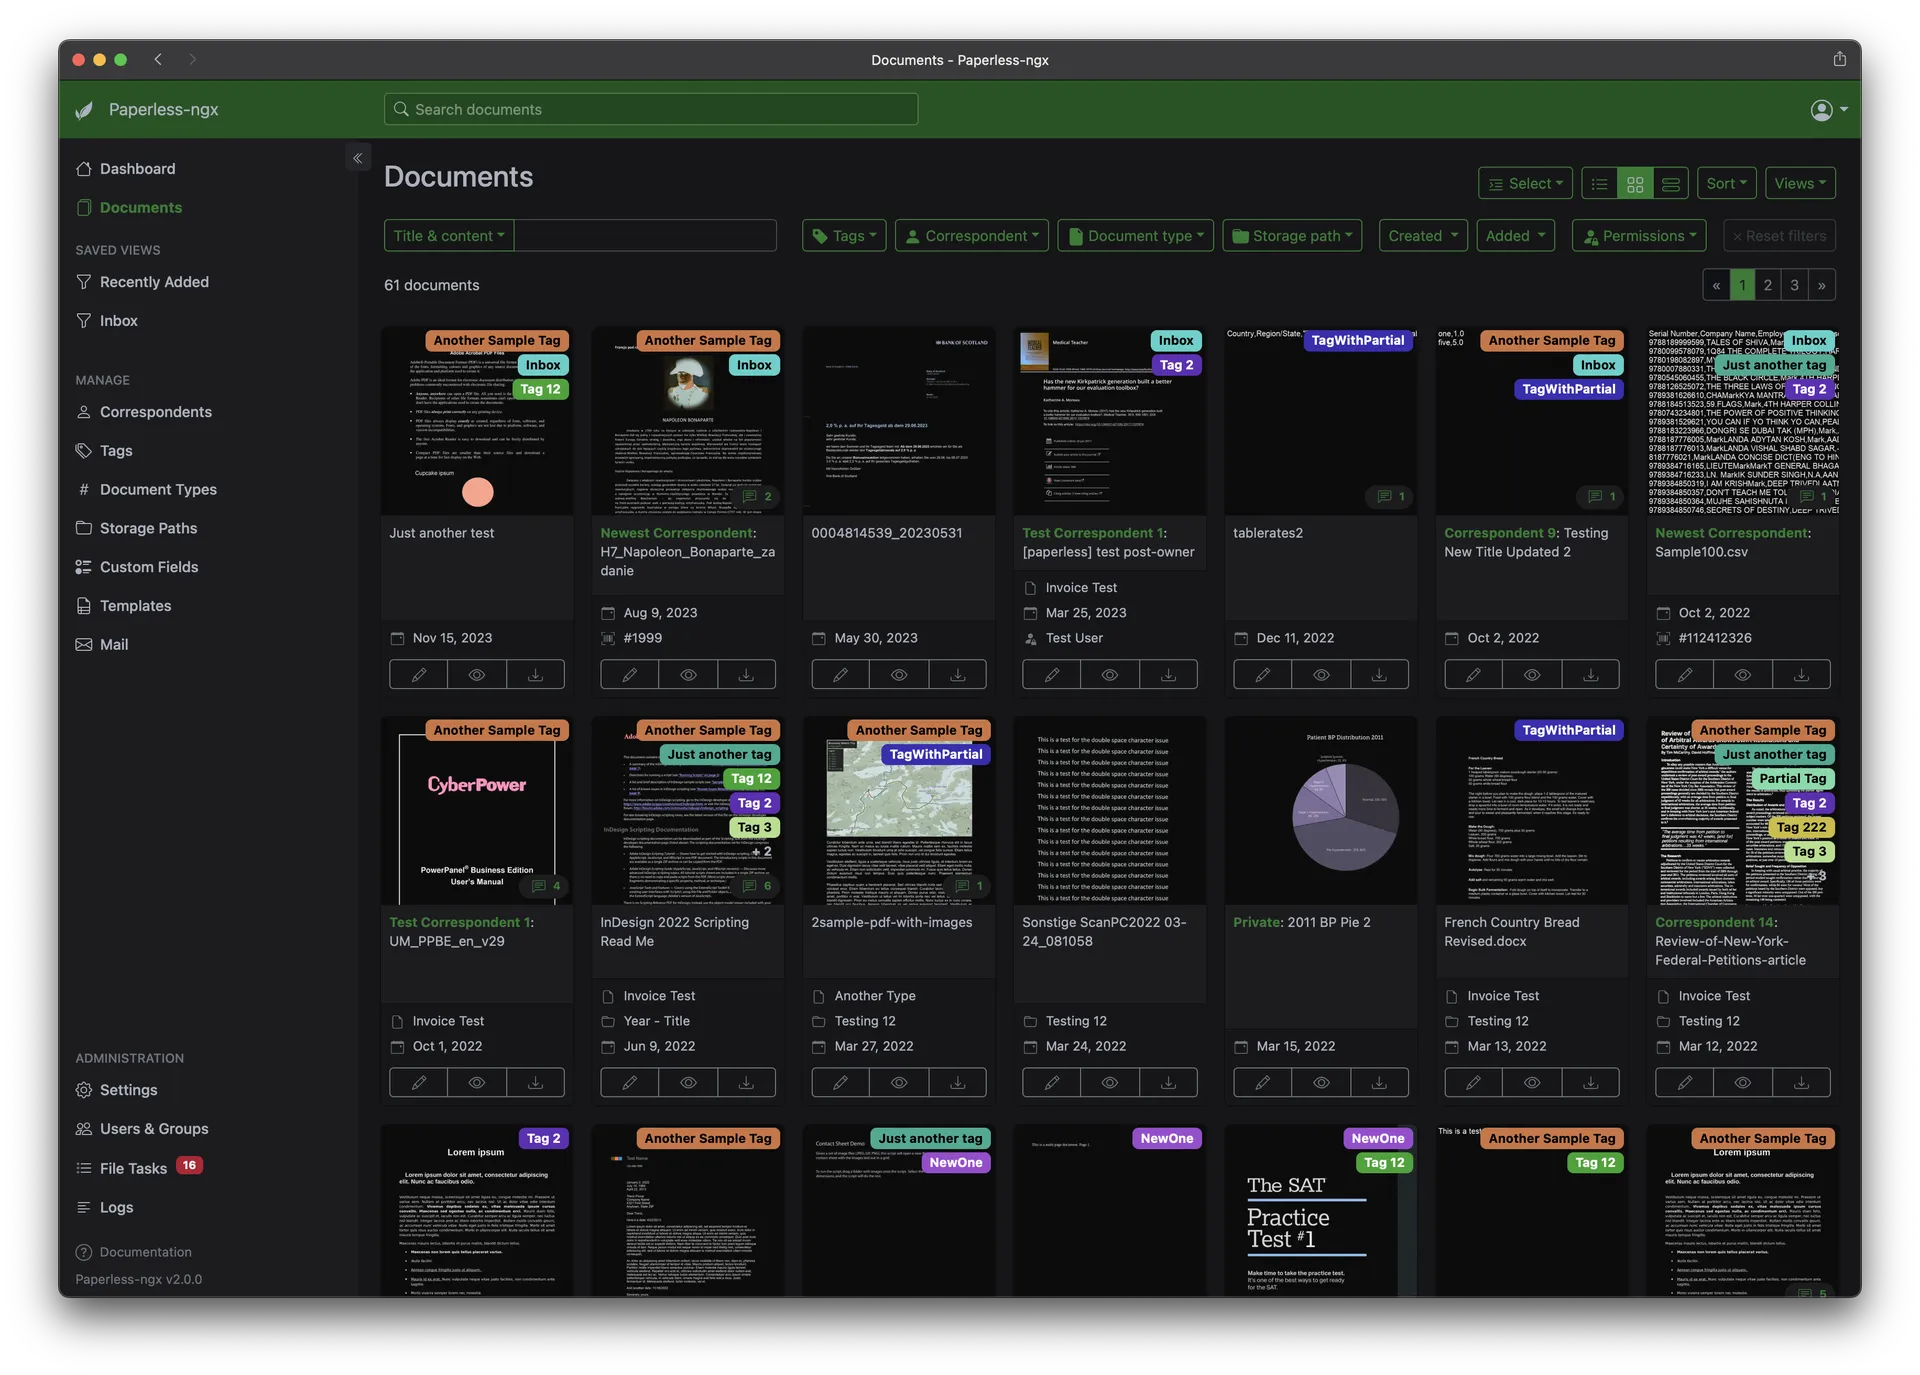
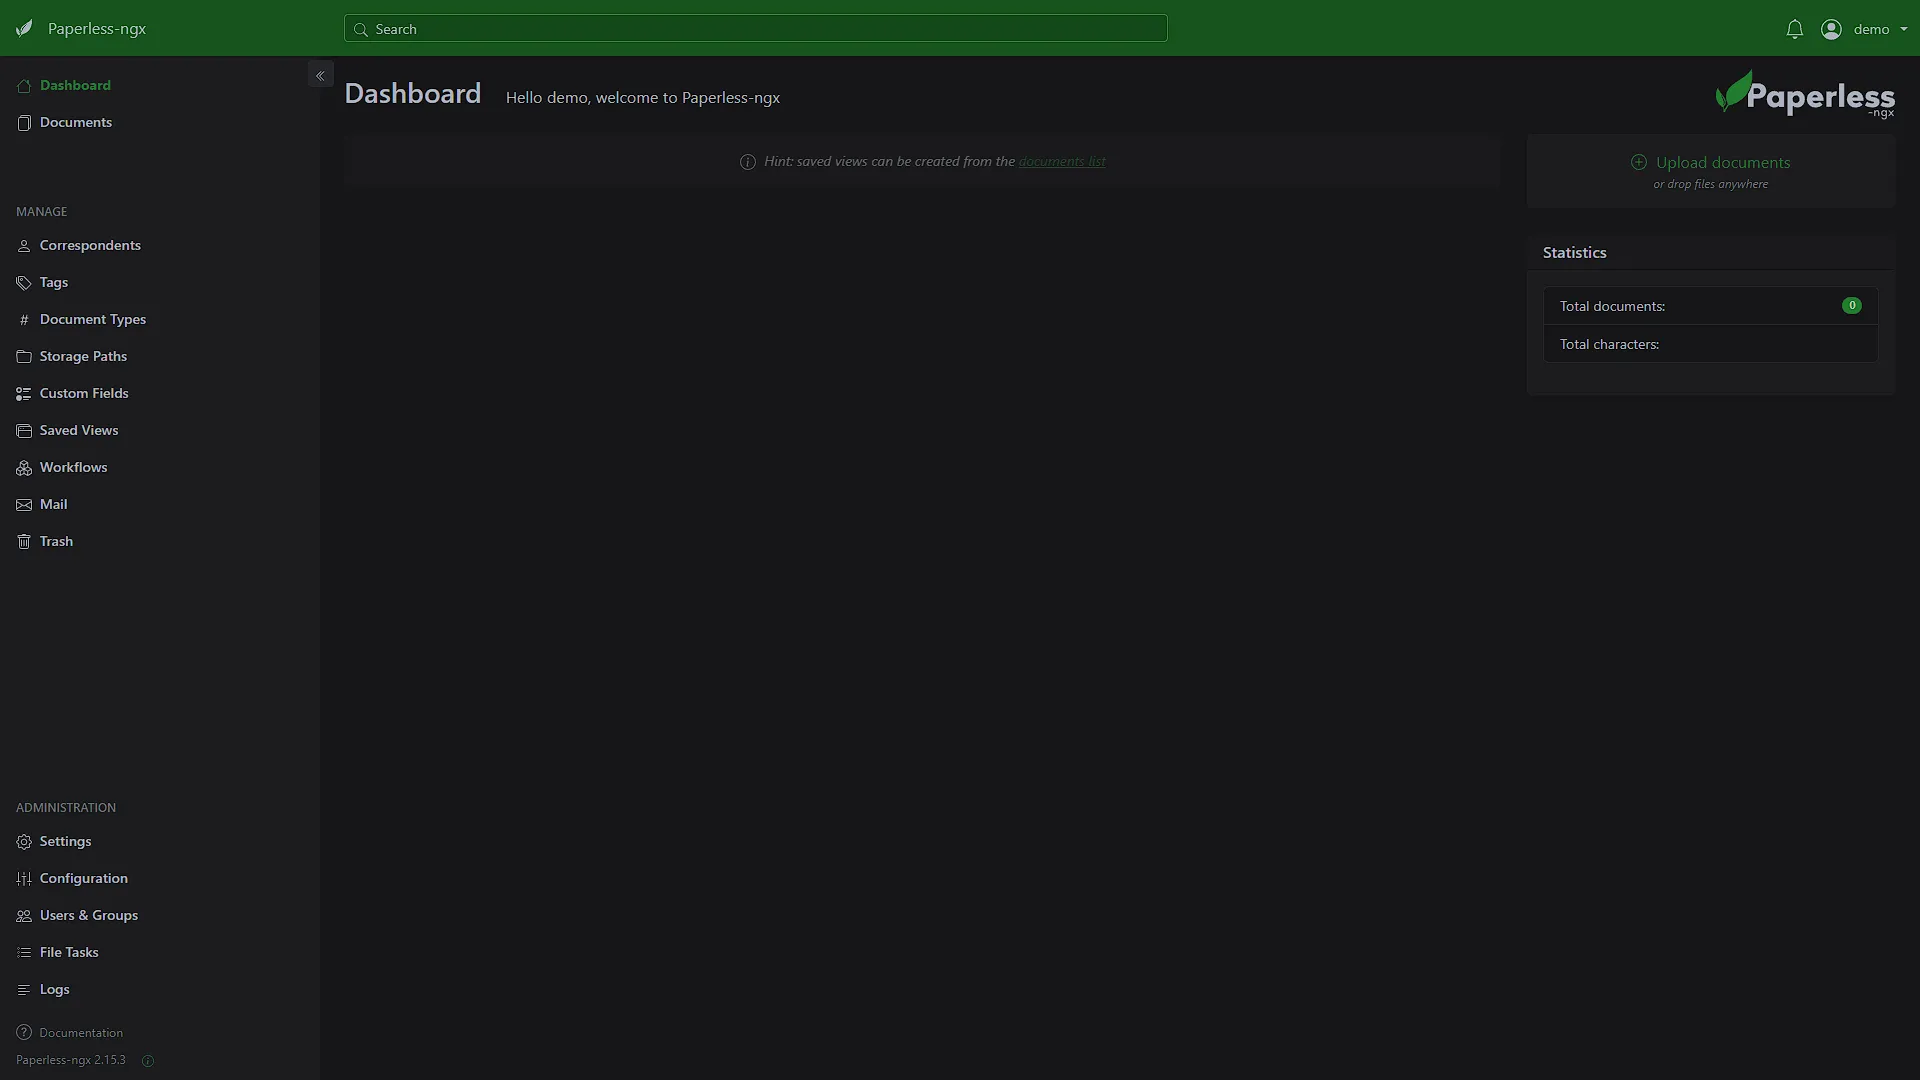
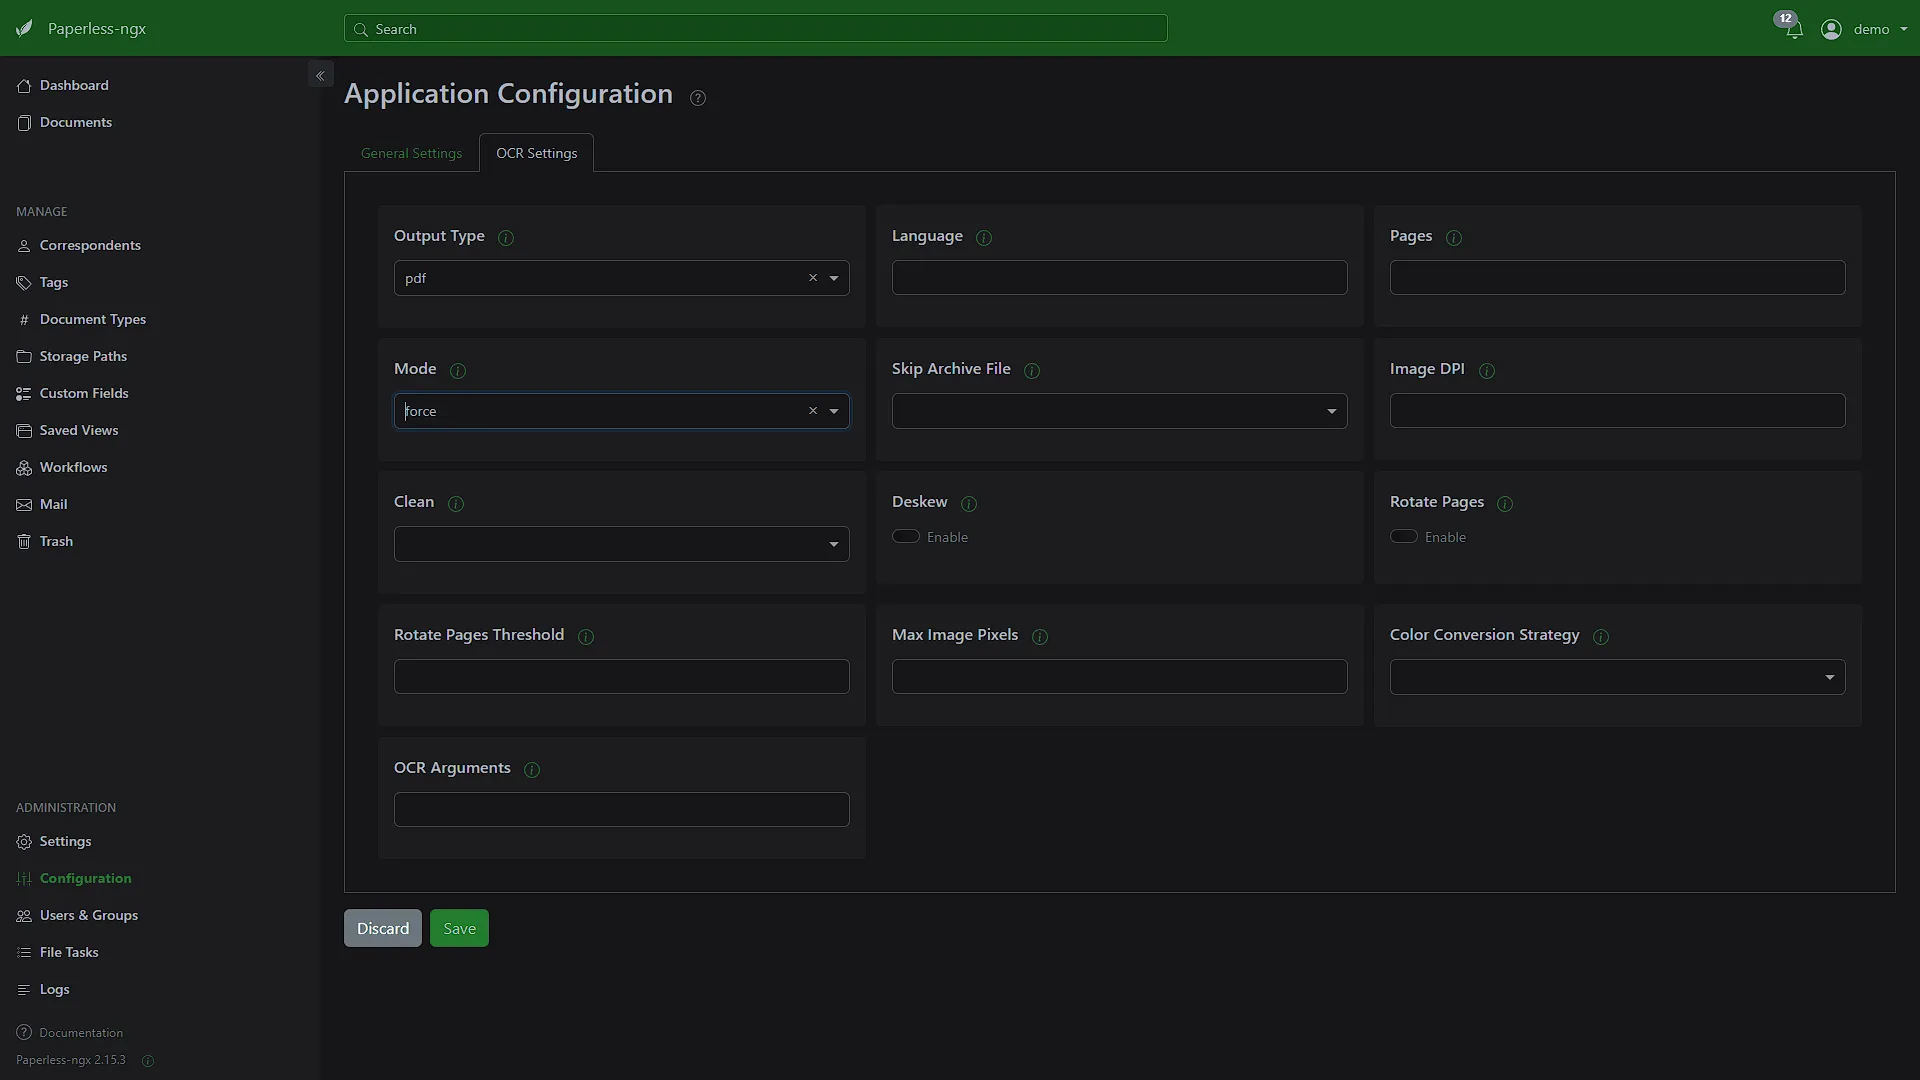
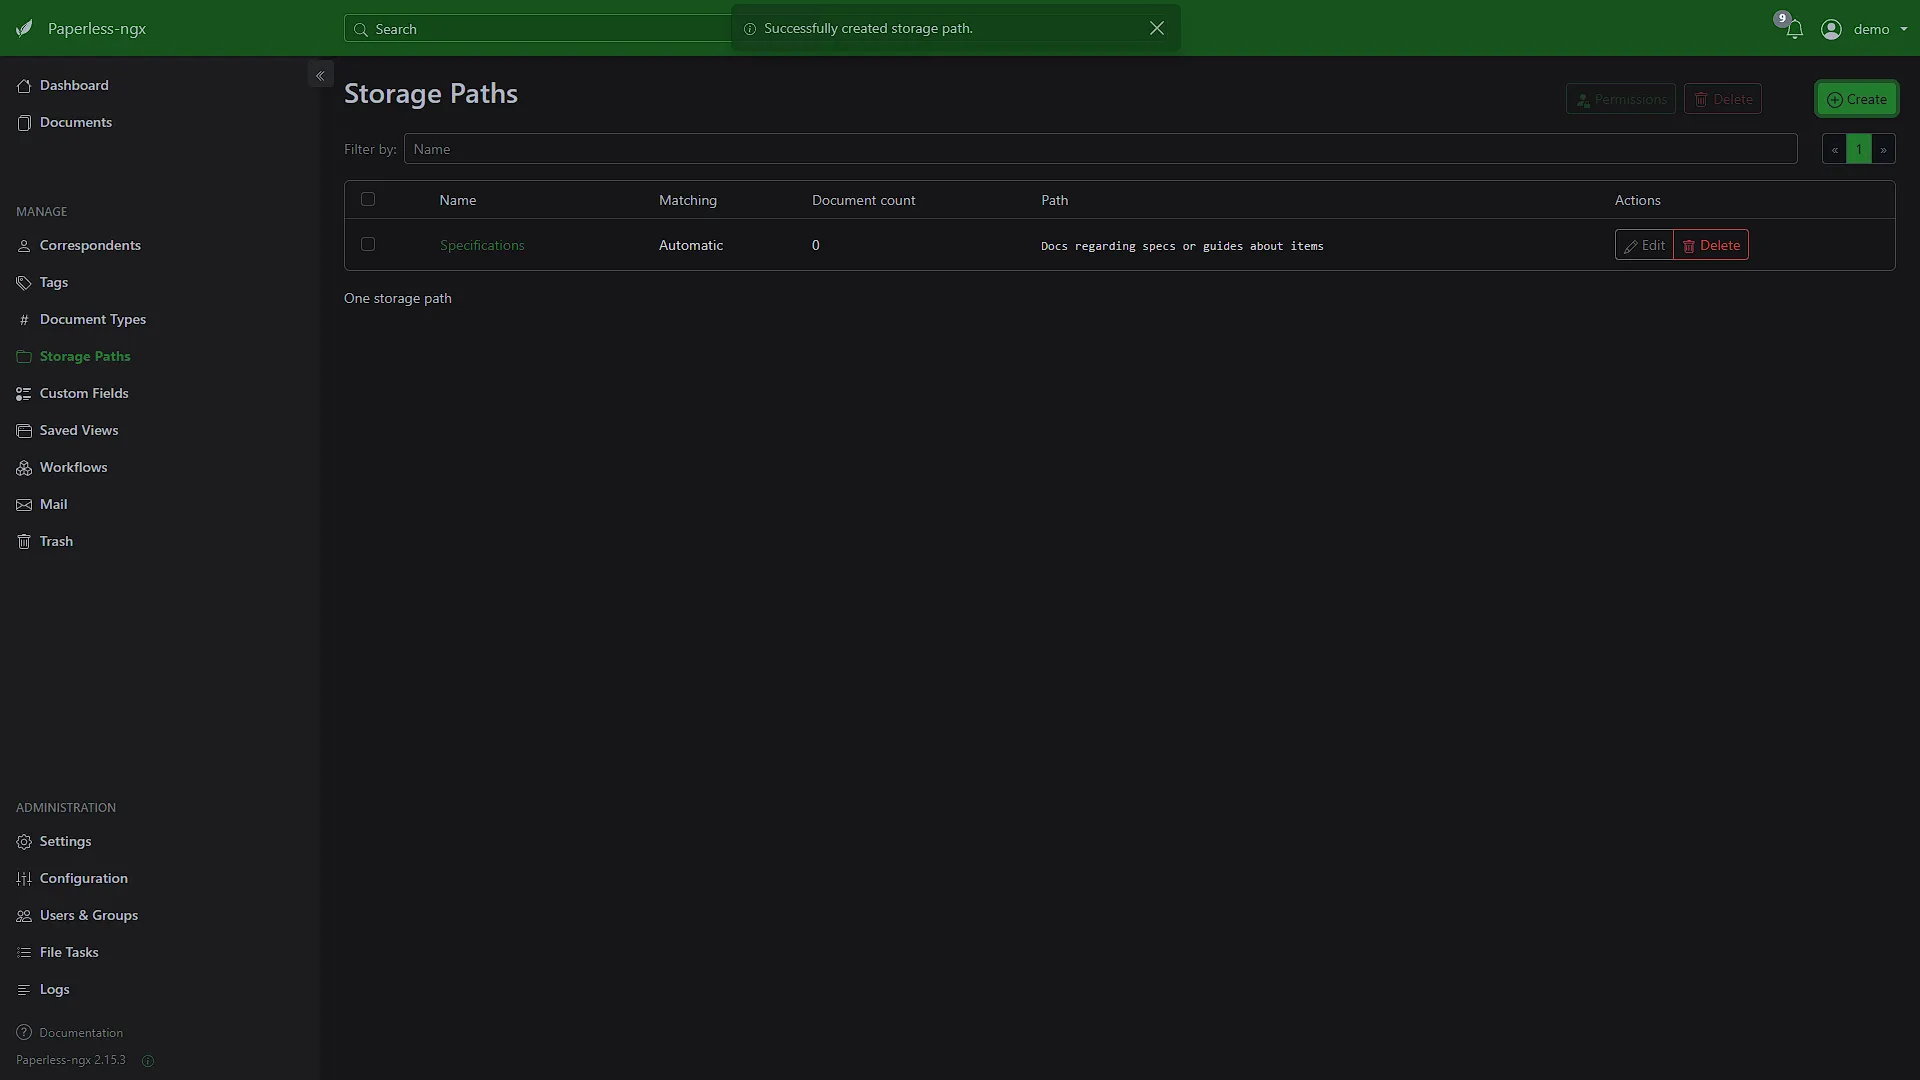
The interface gallery below shows Paperless-ngx 2.15.3; the earlier product-library image shows 2.0.0. These are valid examples of those versions, while current releases can change menus and defaults. In particular, the OCR image's selected force mode is an example, not a recommendation to force OCR on every document.
Why Go "Self-Hosted" with Paperless-ngx?
You might be wondering, "Why run this myself when there are cloud services?" Although the community project is focused on self-hosting, there are other services that provide similar services. Here are some big reasons why you would want to self-host Paperless-ngx:
- You Own Your Data, Completely: When you self-host, your documents live on your hardware (your computer, a home server, or a Network Attached Storage - NAS). You control storage and access, but privacy also depends on accounts, backups and any external email, OCR or AI integrations you enable. Protect the host and choose these connections deliberately.
- No Subscription Fees: Paperless-ngx is free software. While you'll have hardware and electricity costs (or a hosting cost if you prefer to self-host in a hosting centre), you won't be paying a monthly fee to use the document management system itself.
- Tailor it to Your Needs: You have more flexibility to configure it exactly how you want.
The workflow becomes useful once setup, permissions and backups are in place. If you are interested in self-hosting Paperless-ngx and don't know where to start, take a look at our Build your own Homelab series.
The Hurdles of Hosting It Yourself (Cons of Self-Hosting)
- Setup and Configuration Effort: This is often the biggest barrier for non-technical users. It typically involves understanding concepts like Docker.
- Maintenance Responsibility: You're in charge of updating the software, ensuring it's running correctly, and, crucially, backing up your data.
- Hardware Requirements: You need a device to run it on (an old laptop, a Raspberry Pi, a NAS, or a dedicated home server).
- Backup Strategy is Essential: If the hardware fails and you don't have backups, your documents could be lost.
- Security (if accessed from outside your home): If you want to access your Paperless-ngx from the internet, you're responsible for securing it properly.
What can it replace or enhance?
- Physical Filing Cabinets: The most obvious one! Digitize those stacks of paper.
- Basic Cloud Storage (for organization): Services like Google Drive or Dropbox are great for storage, but Paperless-ngx adds a powerful layer of intelligent organization, OCR, and metadata management on top of just storing files.
- Disorganized Folders on Your PC: Instead of a complex maze of folders and cryptic filenames, you get a searchable, tagged database.
Paperless-ngx: The Good Bits (Pros)
There are a plethora of pros to Paperless-ngx, hosting it yourself and using it over a paid service. Some of these highlights are:
- Free and Open-Source: No cost for the software, and a strong community behind it.
- Incredibly Powerful OCR: Makes correctly extracted scan text searchable, subject to OCR quality.
- Intelligent Automation: Learns to tag and categorize your documents.
- Robust Search: Easily find what you need.
- Active Development: Continuously being improved with new features and fixes.
- Handles Various File Types: Especially when paired with companion tools like Tika and Gotenberg (often part of Docker setups), it can process Office documents, emails, and more, in addition to PDFs and images.
- Transforms Your Archive: Turns chaotic paper and digital files into an organized, accessible resource.
Paperless-ngx: Things to Keep in Mind (Cons)
Although they might not necessarily be considered cons, there are still one or two (or three) points to keep in mind when self-hosting Paperless-ngx. Running the community software yourself makes maintenance your responsibility:
- Initial Setup Can Be Technical: While using Paperless-ngx is straightforward, getting it installed and configured for the first time can be a bit challenging if you're not comfortable with computers. Luckily, that is where we come in, taking you through each step as part of our Build your own Homelab series.
- Learning Curve for Automation: The automatic tagging is great but isn't always 100% perfect out of the box. You'll likely need to "train" it by correcting some documents initially.
- Resource Usage: While it can run on modest hardware, processing many large documents or enabling all features (like Office document processing) can require a bit more computer memory and processing power.
How Do You Get Paperless-ngx Running? (Installation Methods Overview)
You don't need to know the nitty-gritty details, but it's good to be aware of the common approaches:
- Docker (Most Common & Recommended): This is like running Paperless-ngx in its own pre-configured container. It simplifies installation and updates. People often use "Docker Compose," which is a tool to define and run multi-container Docker applications (Paperless-ngx often involves a few components like the main application, a database, and Redis for task queuing).
- "Bare Metal" Installation: This means installing it directly onto the operating system (like Linux). This is more complex and generally for more advanced users.
- NAS Appliances: Some Network Attached Storage devices (like those from Synology or QNAP) have app stores or package managers that might offer Paperless-ngx, often using Docker technology behind the scenes. This can sometimes simplify the setup on these devices.
- Proxmox: If you are using Proxmox, like we are, community helper scripts are available. Review the chosen script, supported release and storage arrangement before running it; our separate walkthrough records its own setup.
Other Free, Self-Hosted Document Pals (Alternatives)
Paperless-ngx is fantastic, especially for home users, but here are a few other names you might come across in the self-hosted document management world:
- Mayan EDMS: Very powerful and feature-rich, often geared more towards enterprise or complex archival needs. It has strong version control and auditing. For typical home use, it might be more complex than necessary compared to Paperless-ngx.
- Teedy: Aims to be more lightweight and simple. For the home workflow described here, I favour Paperless-ngx's automation and metadata handling; compare the actual features and maintenance requirements with your own needs.
- Docspell: Another capable option. Some users prefer its interface or specific features like how it handles date extraction. However, Paperless-ngx is often praised for its overall ease of use (once set up), its straightforward way of storing files on your file system (which some users like for transparency and backup simplicity), and its active community.
- Nextcloud: Although Nextcloud does not offer all the specialised features of Paperless-ngx, it does offer other services, like auto upload, Calendar functionalities, Contacts management, chat etc.
For most home users looking for a balance of power, ease of use (after setup), and excellent OCR and automation, Paperless-ngx hits a sweet spot.
Ready to Conquer Your Paper Mountain?
Paperless-ngx offers a powerful, private, and free way to finally get your documents in order. While the "self-hosted" aspect means taking on a bit more responsibility (especially for setup and backups), the rewards of having a well-organized, searchable digital archive that you control are immense.
If you're tired of paper clutter and digital disarray, Paperless-ngx is definitely worth exploring. You might just find it's the key to your paper-free (or at least, less-paper) future!
Choose a Complete Docker Compose Recipe
The official Paperless-ngx setup guide explains supported installation methods. For a new Docker installation, use the publisher's installation route and complete files for the selected release. The optional PostgreSQL/Tika recipe adds Tika and Gotenberg for supported Office documents; installing those services does not guarantee successful conversion of every encrypted, malformed or unusual file.
Download the matching Compose file, docker-compose.env and .env together. Review the database password, persistent volumes, broker connection and actual browser URL before first startup. For a local trial, restrict the published web port to the intended host interface, then plan authenticated HTTPS or VPN access separately. A URL setting does not install a certificate or make the service publicly reachable.
Current v3 configuration requires an explicit PAPERLESS_SECRET_KEY and an explicit database engine for PostgreSQL or MariaDB. Generate a private random signing key for a new instance, keep it out of public files and retain it with protected configuration backups. Do not replace an existing installation's key casually or reuse a shared example password.
The v3 migration guide requires upgrading an existing v2 installation to 2.20.15 before moving to v3. It also changes consumer settings and duplicate handling. Review that guide rather than applying a moving application image to older settings unchanged. A PostgreSQL major upgrade has its own data-migration procedure; changing a database image tag is not that procedure.
OCR, Intake and Permission Checks
In Docker, PAPERLESS_OCR_LANGUAGES installs additional language packages, while PAPERLESS_OCR_LANGUAGE selects languages used for recognition. The publisher documents an English/German/Italian/Spanish/French image baseline and deployment-specific limits. Installing a pack without selecting it may not change your OCR results. Test a representative page and check names, dates and important numbers against the scan.
Start with a small set of disposable examples: a born-digital PDF, an image scan and an Office file only if its companion converters are configured. Verify page count, readable original, generated archive where appropriate, extracted text and search results. Then test the consume folder, scanner or email route individually. Upload success and completed document processing are separate stages.
Use an inbox tag or saved view for documents awaiting review. Add a few meaningful tags and correspondents, then check matching against both a document that should match and one that should not. Broad terms or a misleading date can quietly file a document incorrectly. Current v3 permits duplicates by default; enabling duplicate deletion is a deliberate choice, and repeated scans may differ at the file-hash level.
Create a normal account for daily work and test its actual access to documents, downloads and metadata. A server administrator has much broader access. Mobile clients need a reachable server address and suitable account/token permissions; protect those credentials and verify the client's current server compatibility. Keep private documents out of public support screenshots and logs.
Storage Paths and Recoverable Exports
Paperless stores document files separately from database metadata. The configured media root, filename format and storage paths determine where files live; do not assume every container uses a host path named /media. Use the application to manage storage and renaming, because manually moving its files can leave database references broken.
For the publisher's Compose service named webserver, inspect the exporter's options, then export into the mounted export directory:
docker compose exec -T webserver document_exporter --help
docker compose exec -T webserver document_exporter ../export
Use a dedicated export destination, pause document intake and wait for active work to finish before copying the backup. The exporter includes document data and metadata, but not API tokens; retain configuration and other required secrets separately. Its optional --delete removes destination files outside the current export, so do not add it casually to a folder holding unrelated backups. An export on the same server is still vulnerable to that server's loss.
Copy the completed export to independent protected storage and keep useful history. The administration guide requires the same Paperless version for a full import because database layouts can differ. Restore into a separate test instance, then check a representative original, archive, search result and permission. Protect the backup as carefully as the live documents and regenerate needed API tokens after restoration.
Keep any physical originals you need and check the archive before discarding replaceable paper. OCR and automated matching help find documents; they are not proof of a complete scan, a working recovery plan or the requirements governing a particular original. Begin with a manageable inbox and a tested backup, then expand the collection as the workflow becomes dependable.