Now that we have ntfy up and running, and more importantly, can access it from outside of our home network, it also means other actors can access our ntfy from the world wide web. If you are following along with our Build Your Own Homelab series, you know that we want to make sure that our services are secure and protected from outside interference. By default ntfy is open to everyone and everyone can use it, meaning the fact that anyone can now also access it from outside, we really need to secure it unless we want unknown people spamming us with notifications. So let's get to it.
Before entering credentials: Complete the HTTPS setup and verify a valid certificate before using a public ntfy endpoint. Interim HTTP examples belong only on a trusted local network. Use the final HTTPS URL in the browser and phone app; never send passwords or tokens over public HTTP.
Step 1: ntfy Configuration
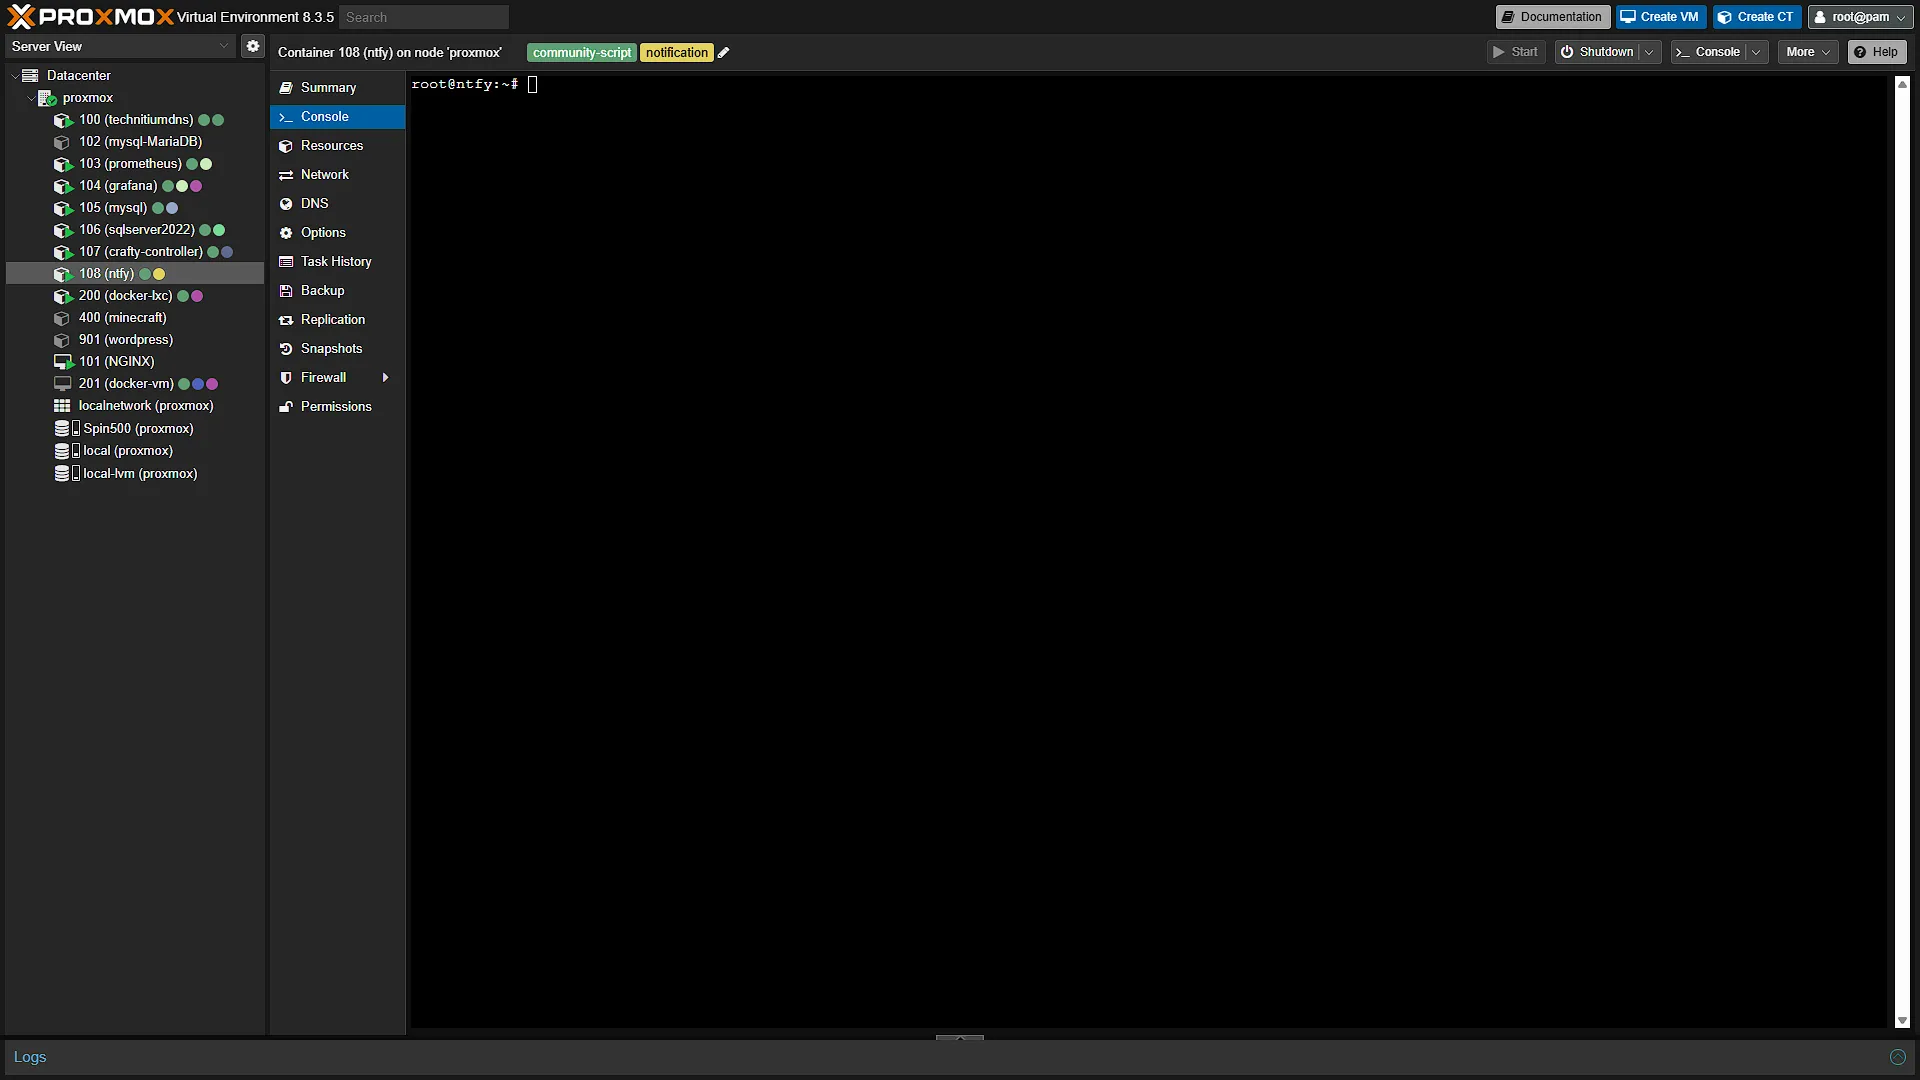
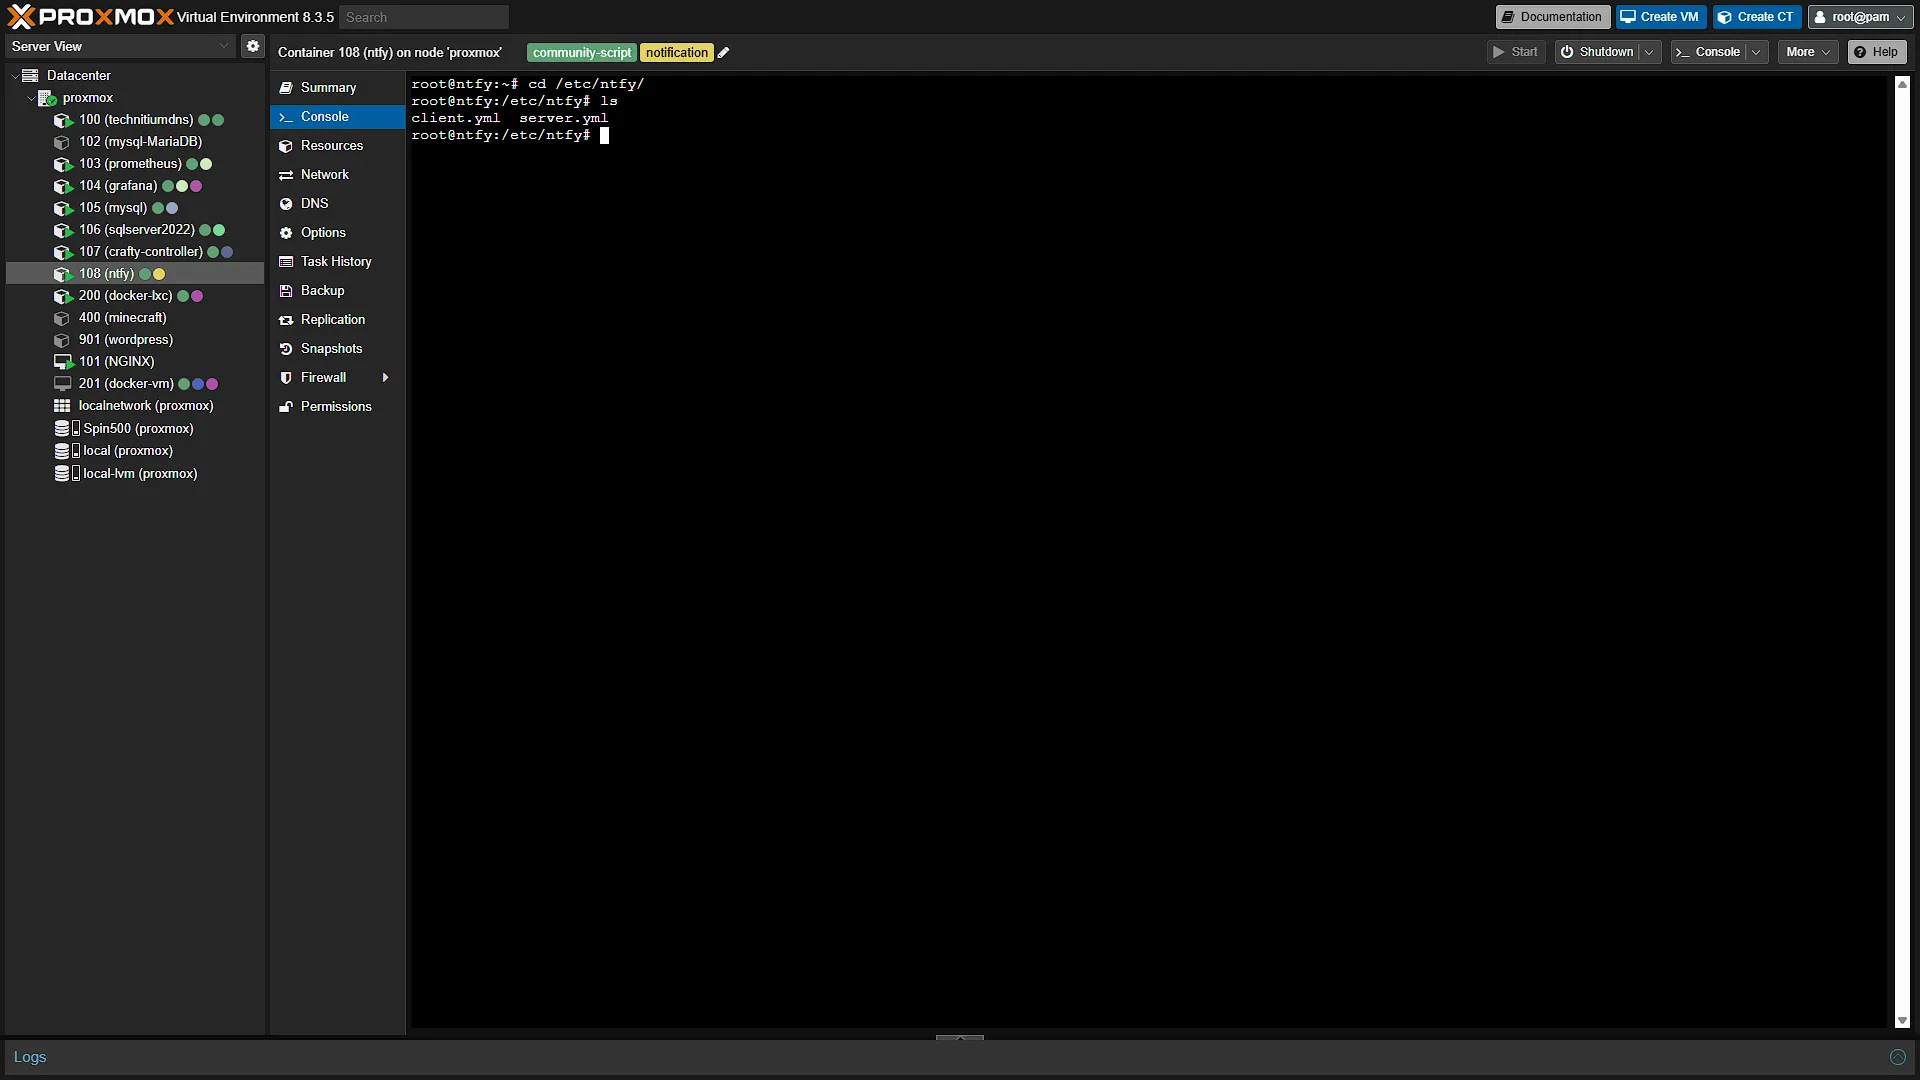
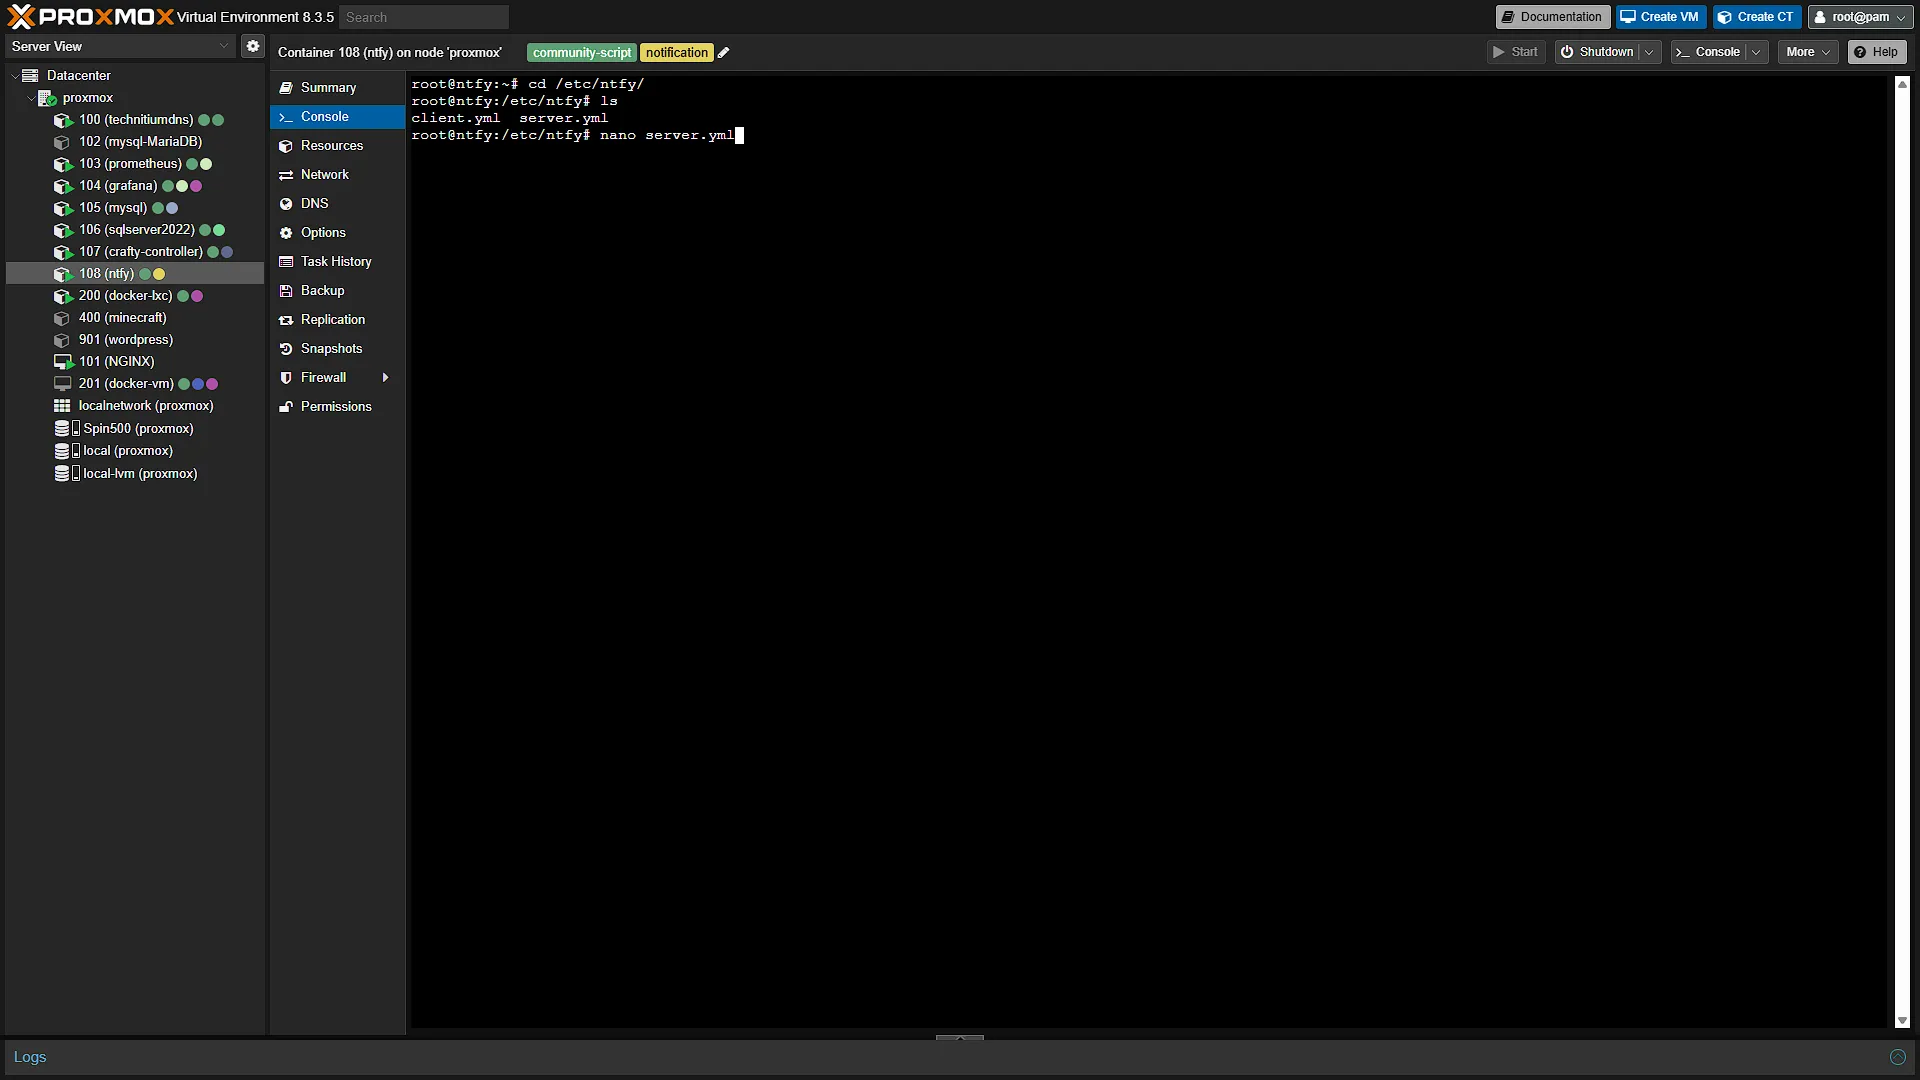
By default, our ntfy instance does not have any access control. Basically, anyone can read and write to any and all topics. This is what we are going to lock down. First access your Proxmox again and log in. In the left navigation menu, expand Datacenter and then expand the Proxmox node that is hosting ntfy. After expanding it, select the ntfy LXC container and in the middle navigation menu, select  . The integrated shell will open. In this shell, we need to get our server locked up, so we need to access the server configuration. First navigate to the folder where the config is:
cd /etc/ntfyThe file we are looking for is server.yml. To edit this file, we can just run the command:
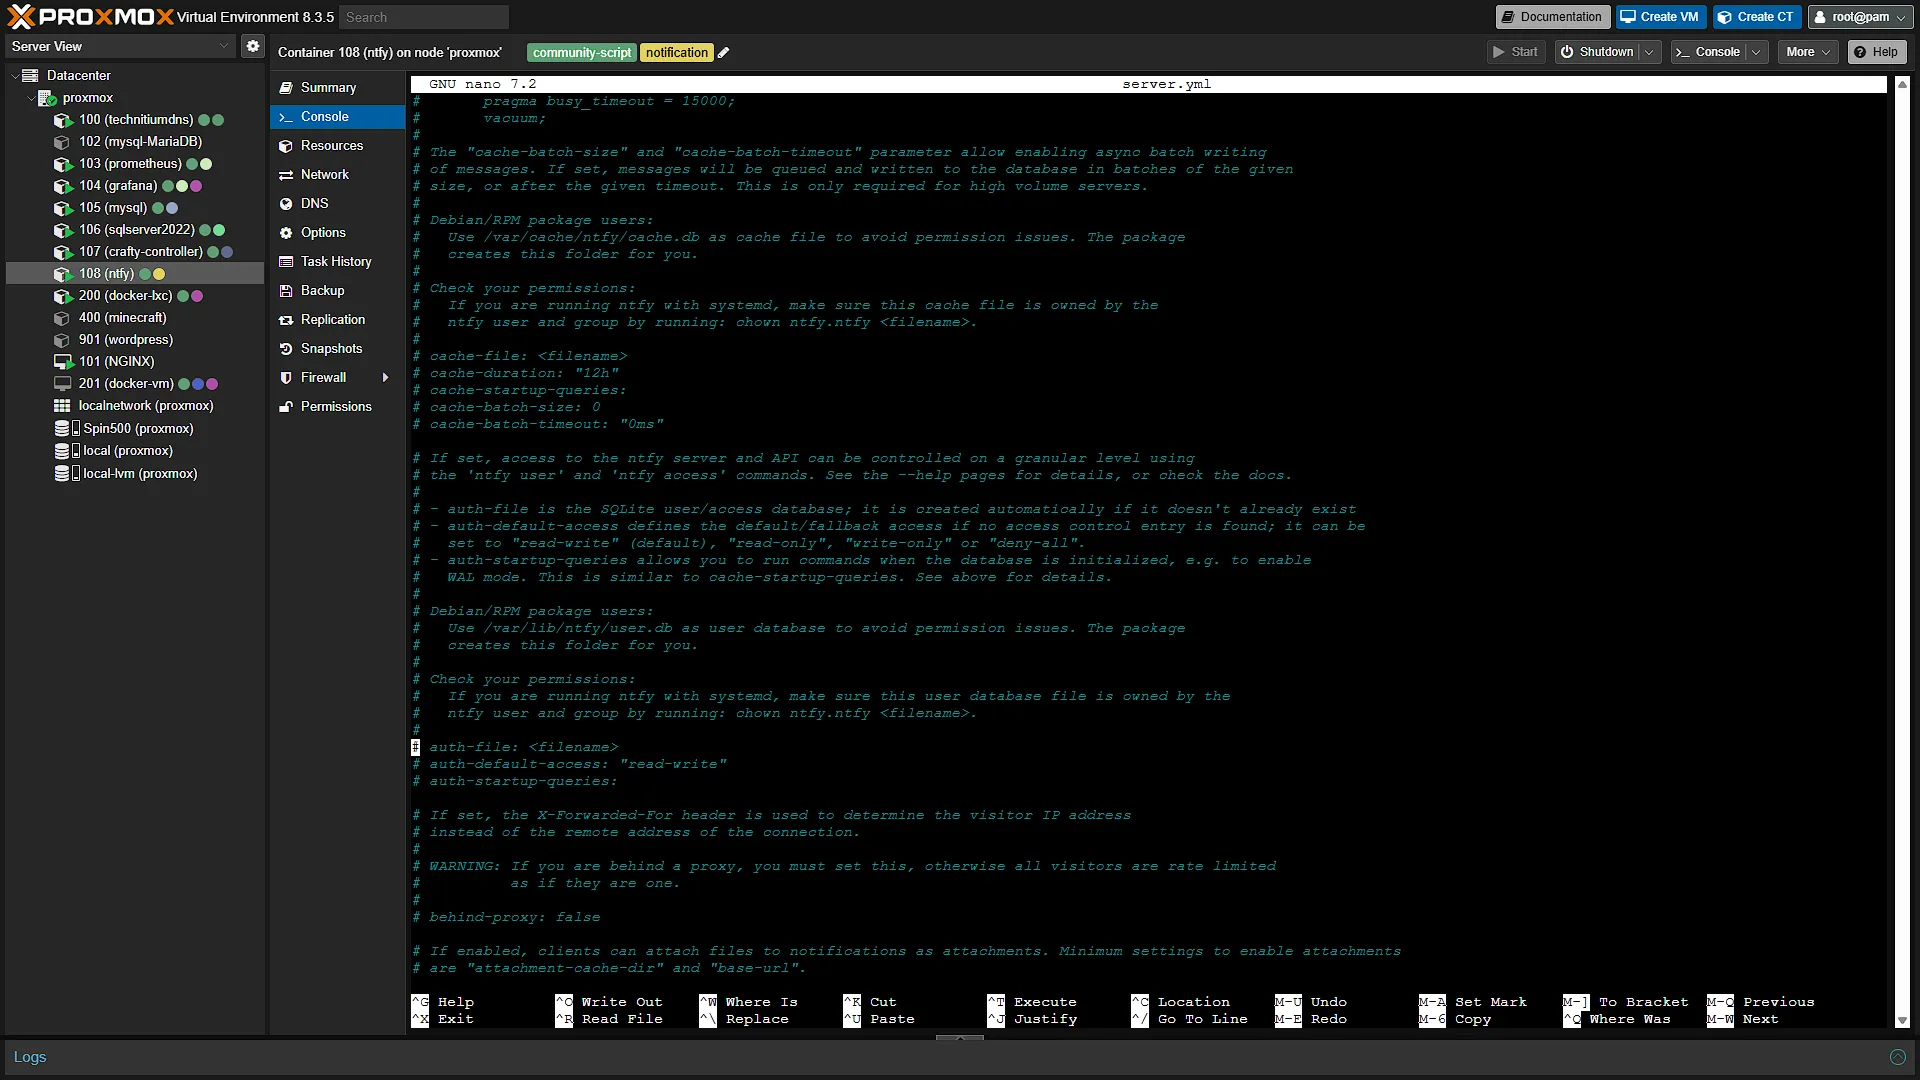
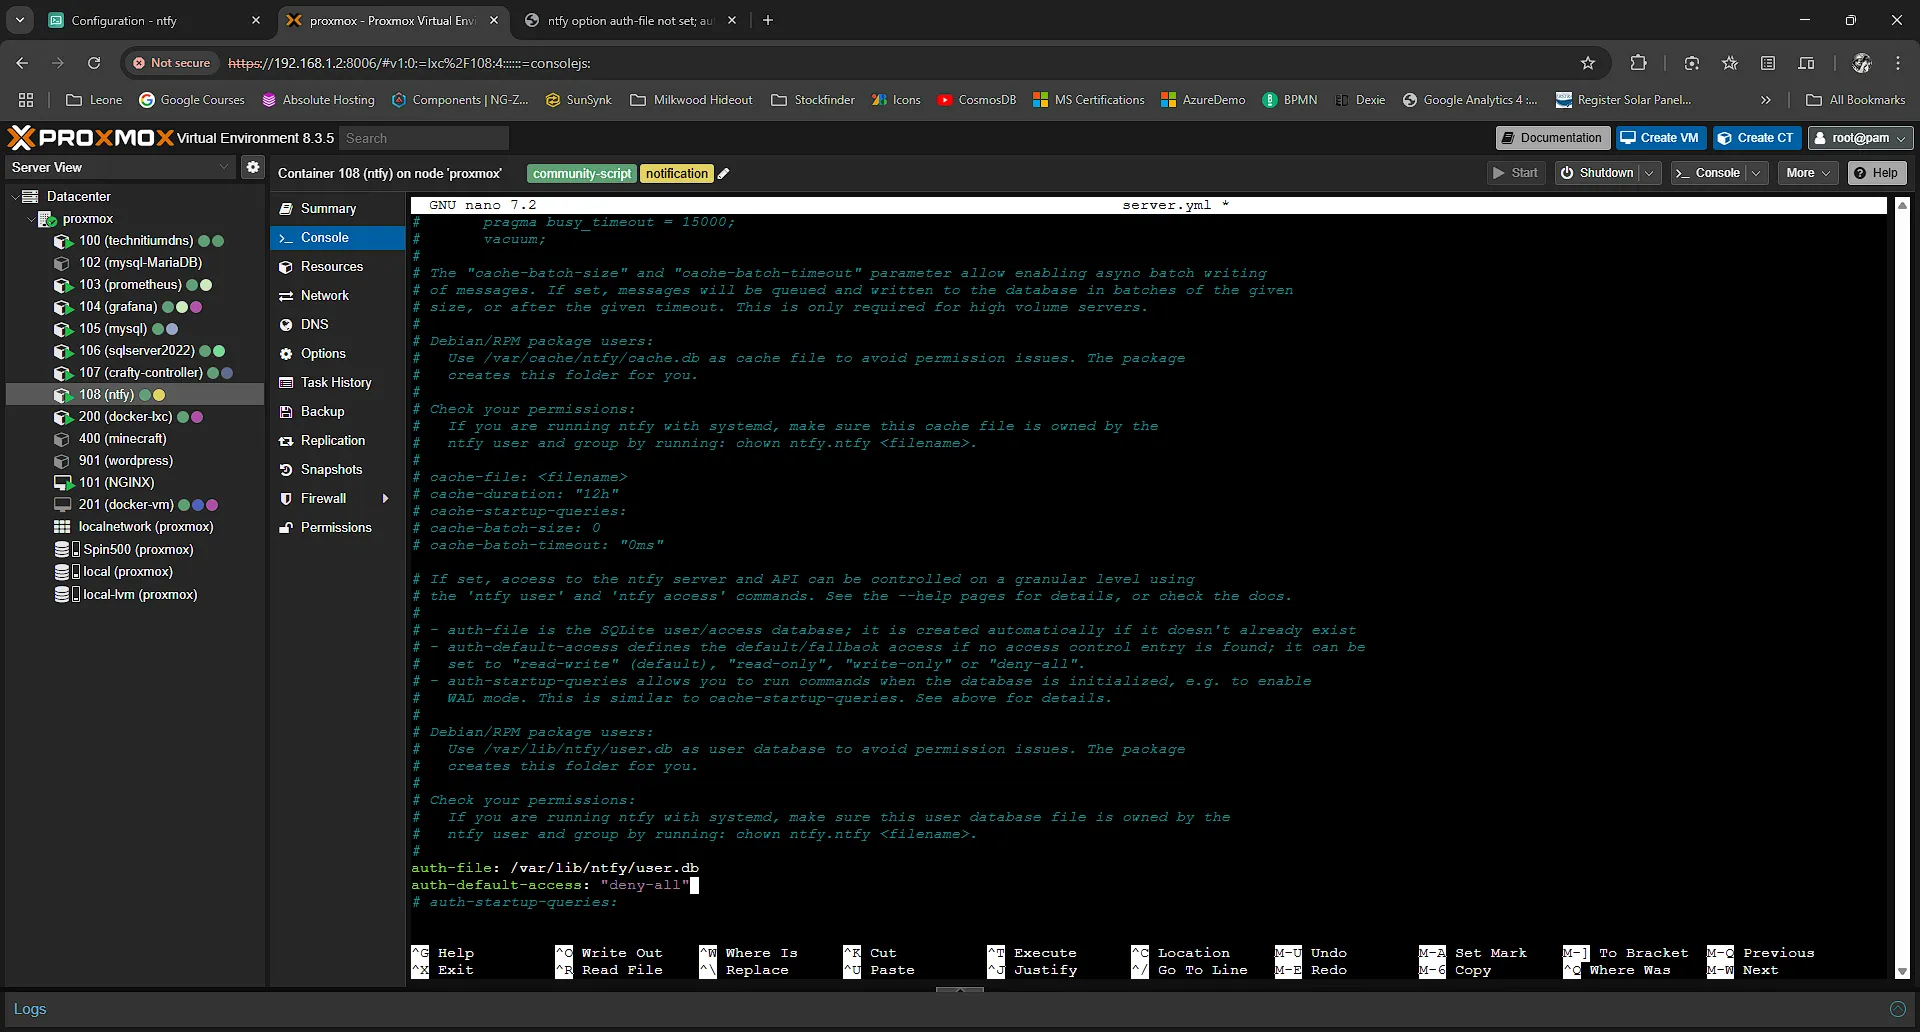
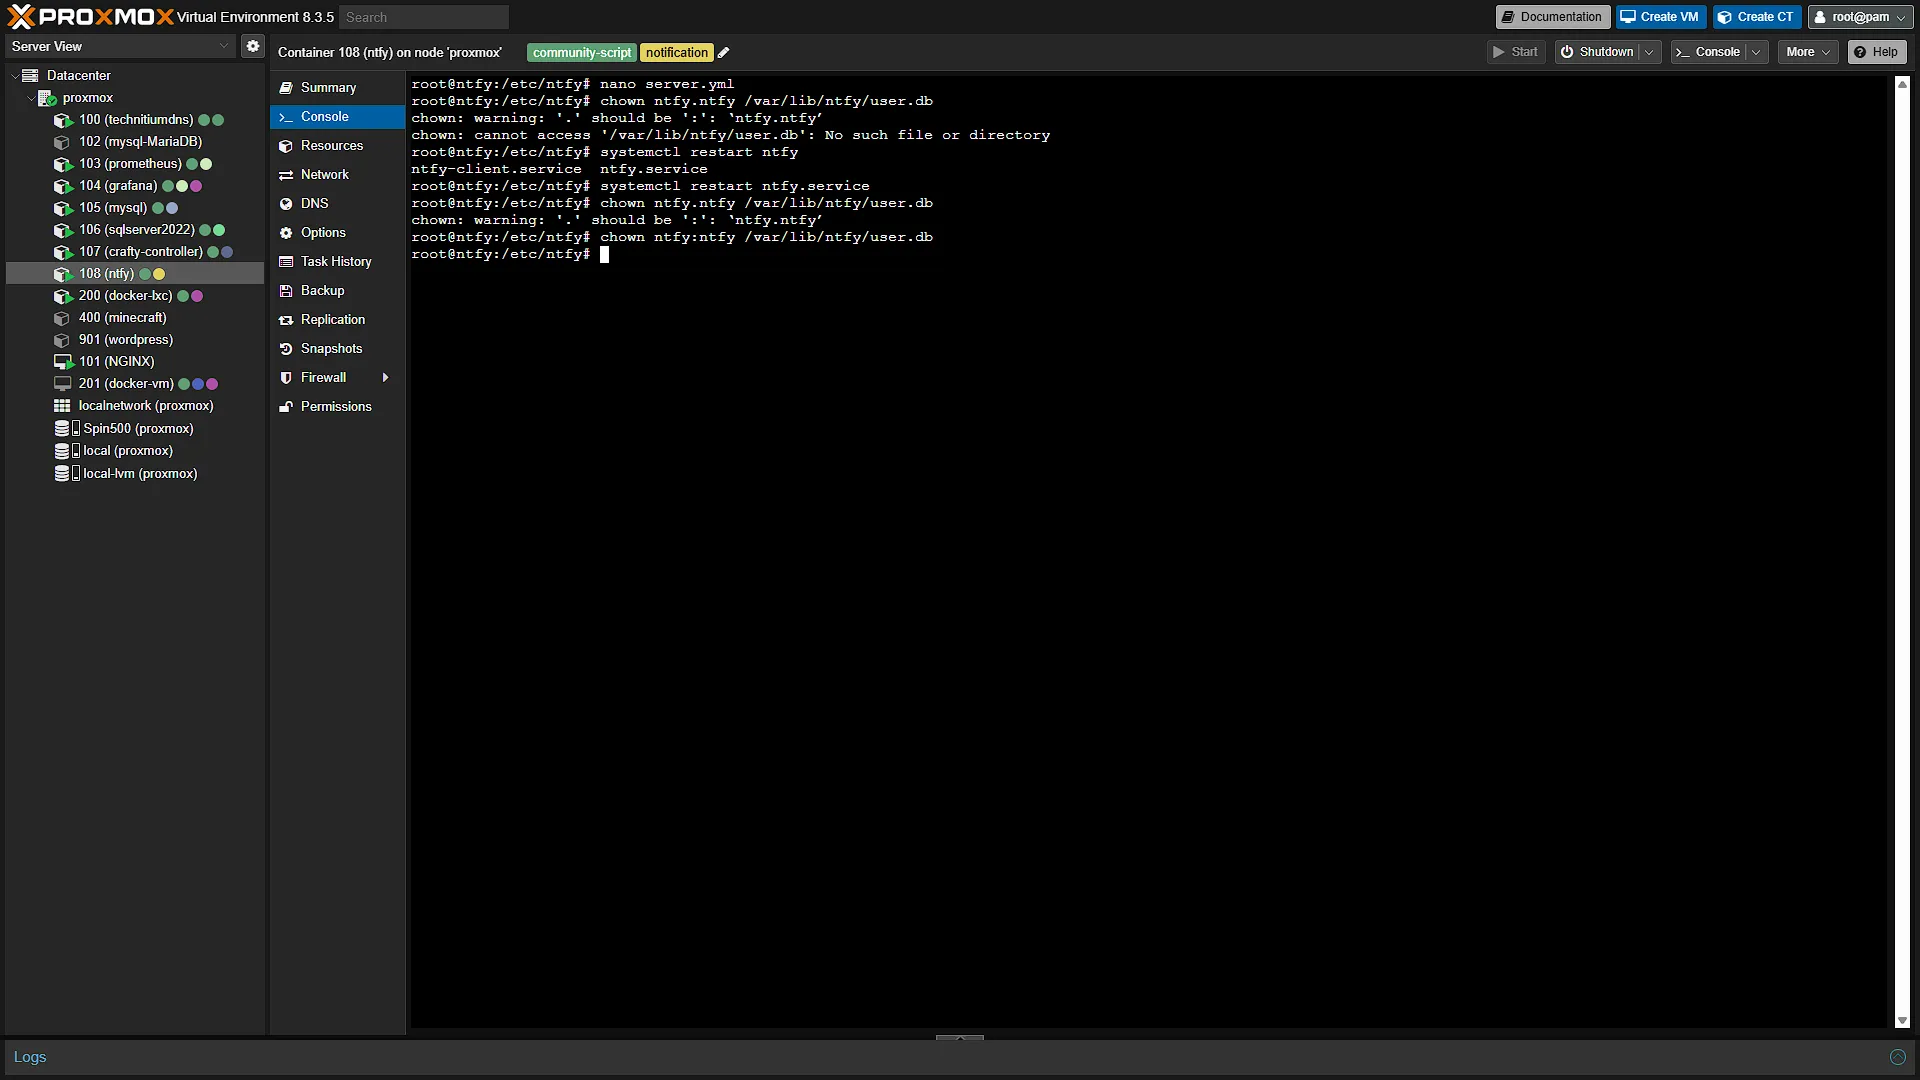
nano server.ymlIn this file, we are looking for the section with the auth-file setting. Scroll down until found. Uncomment the lines (remove the # in front of them) and add the settings:
auth-file: "/var/lib/ntfy/user.db"
auth-default-access: "deny-all"
Save the file with Ctrl+S and exit with Ctrl+X. We now need to give access to the user.db file, but this file does not exist yet. Luckily, ntfy will automatically create this file, but we first need to restart ntfy. Run the following to restart ntfy:
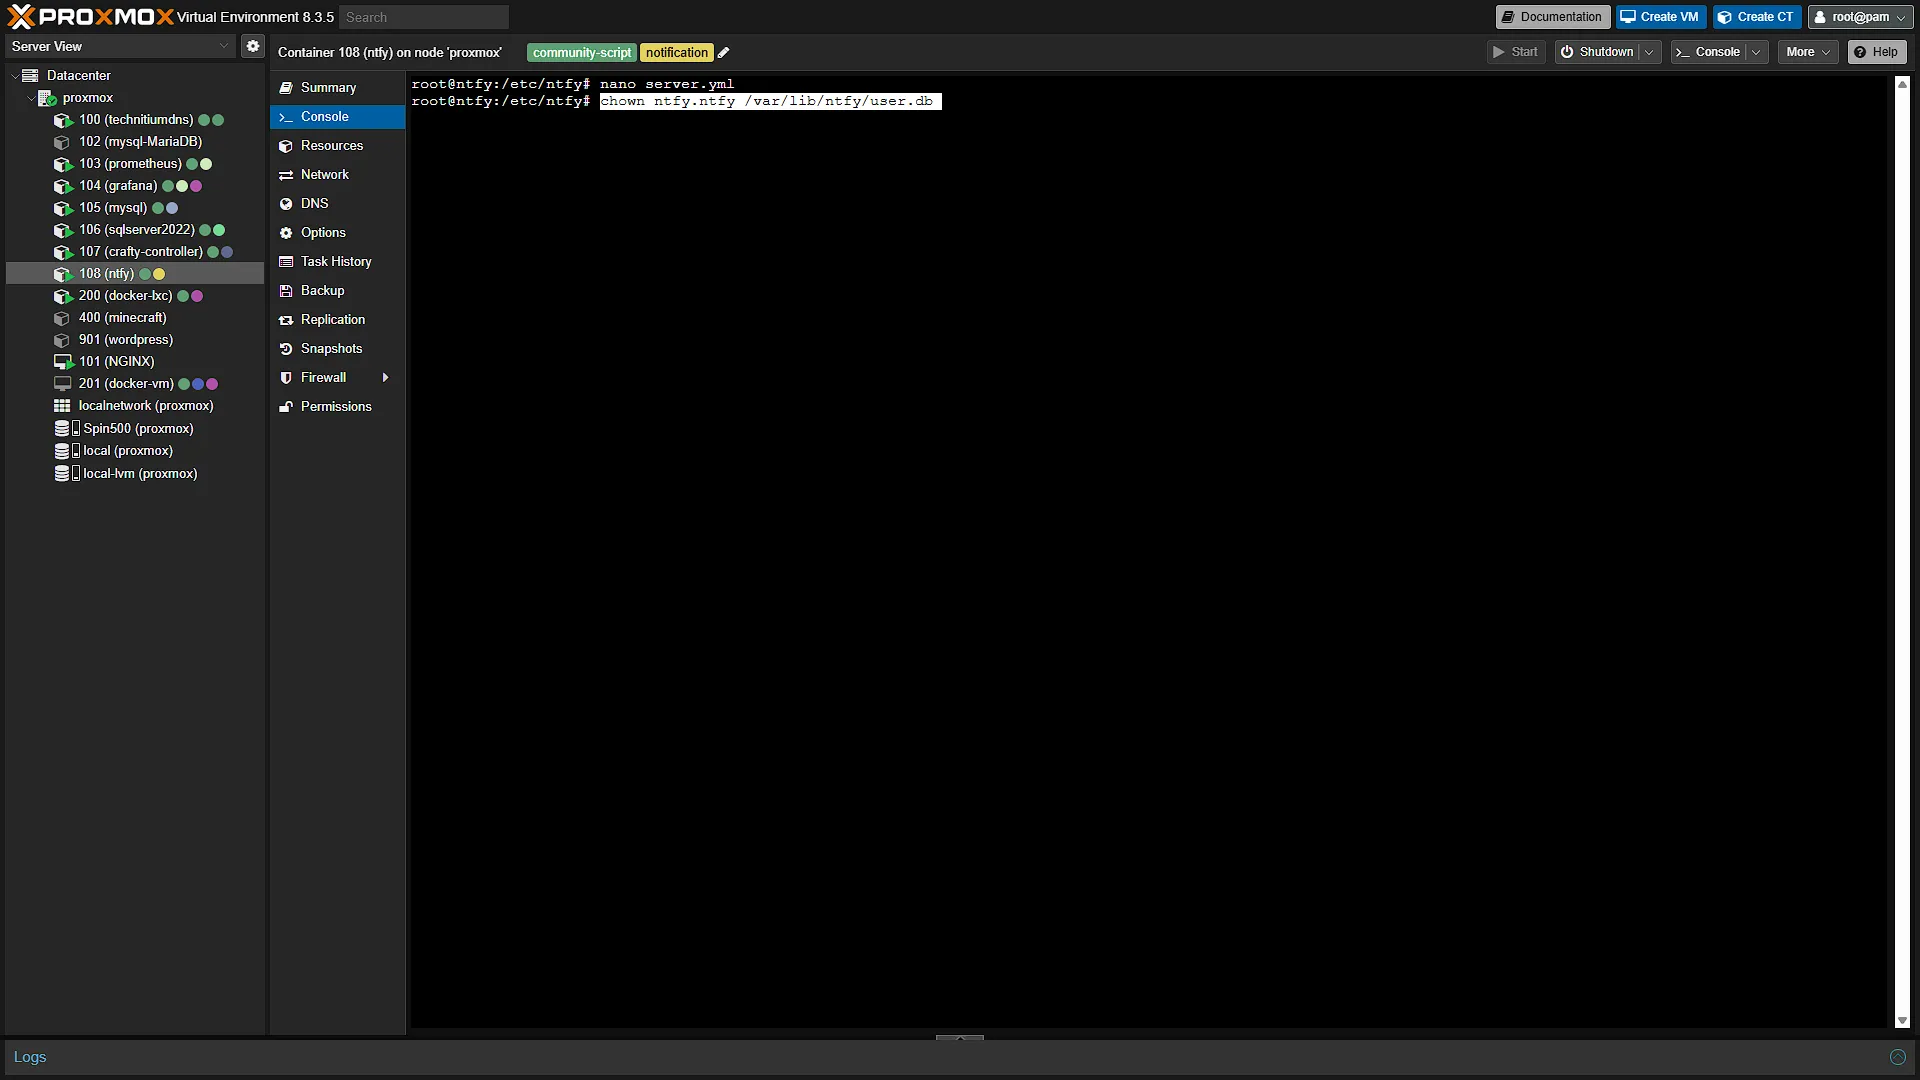
systemctl restart ntfy.serviceOnce restarted, we need to give access to the file, so run the command
chown ntfy:ntfy /var/lib/ntfy/user.dbThat will change ownership and the systemctl service will have all the access it needs.
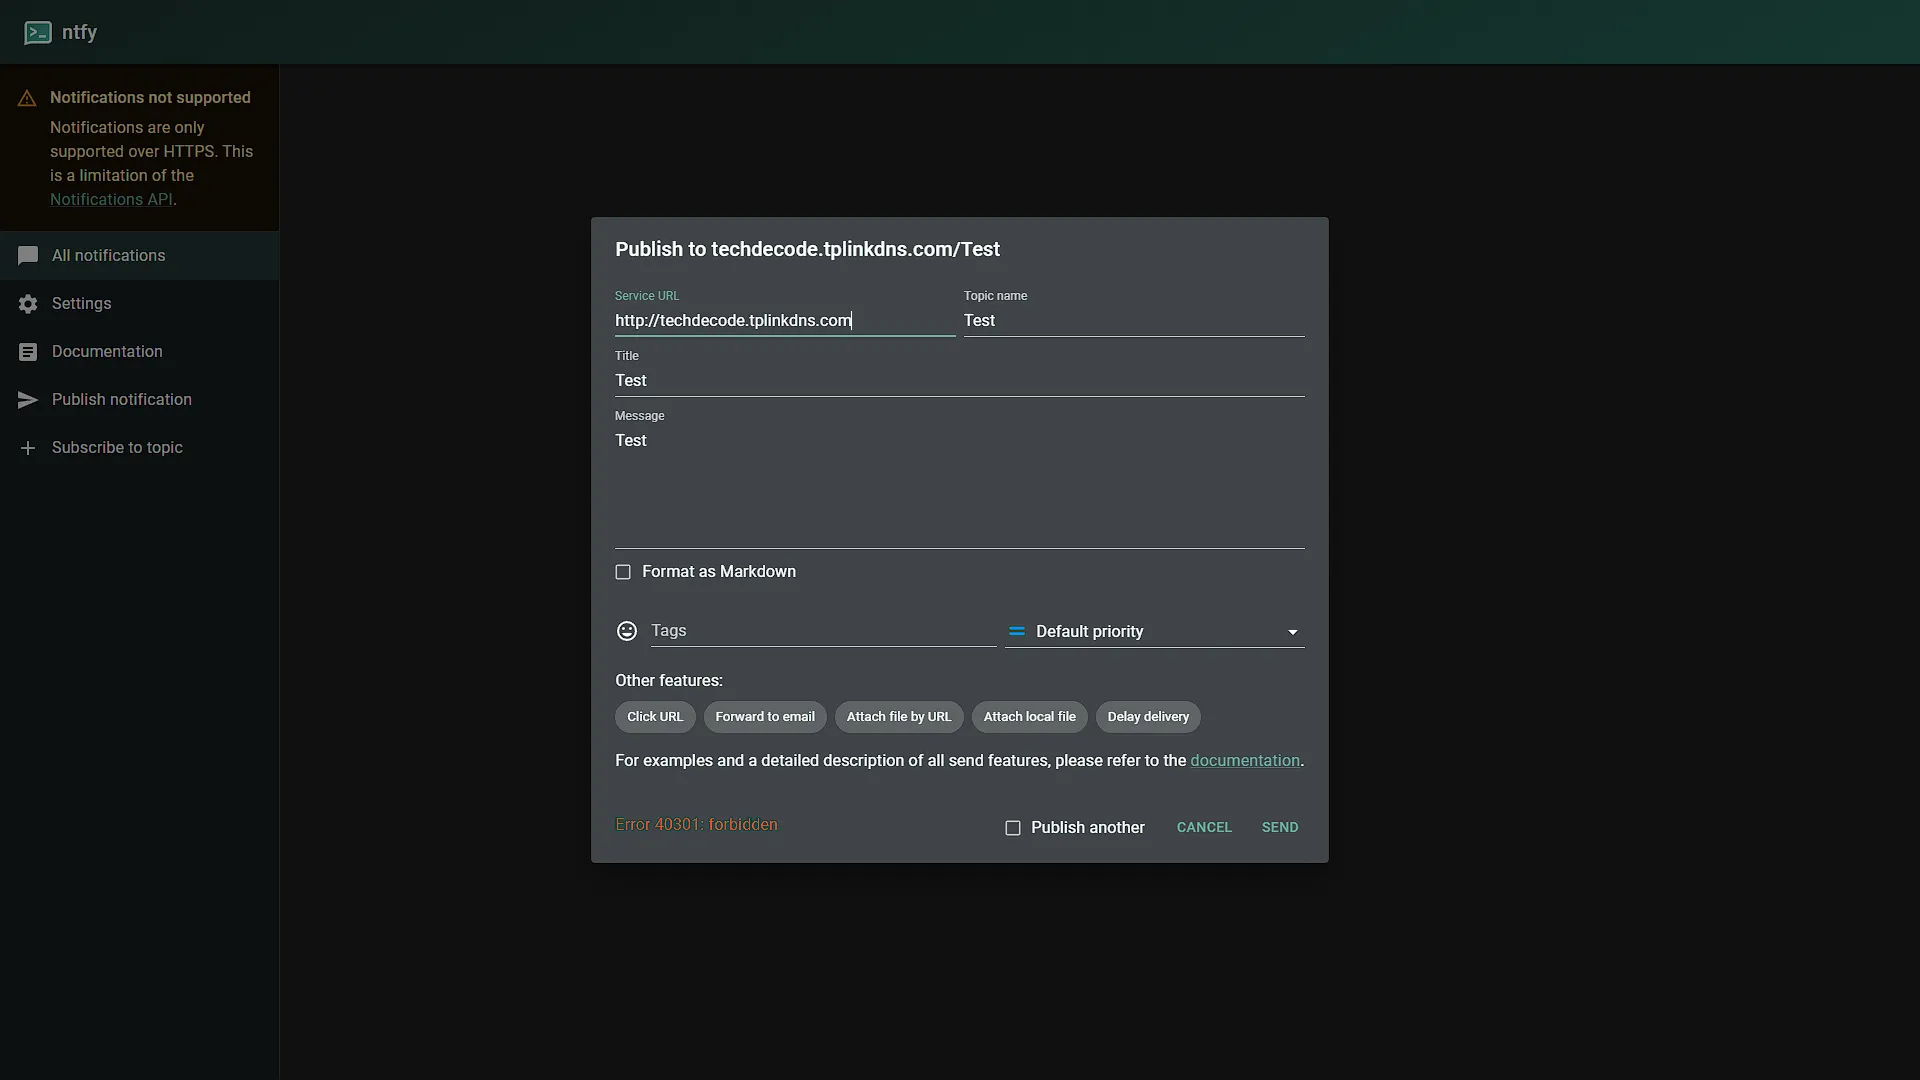
That is it to lock down the service. You are welcome to access the server again and try sending a message. You should get an error that states the request is forbidden. That is exactly what we need.
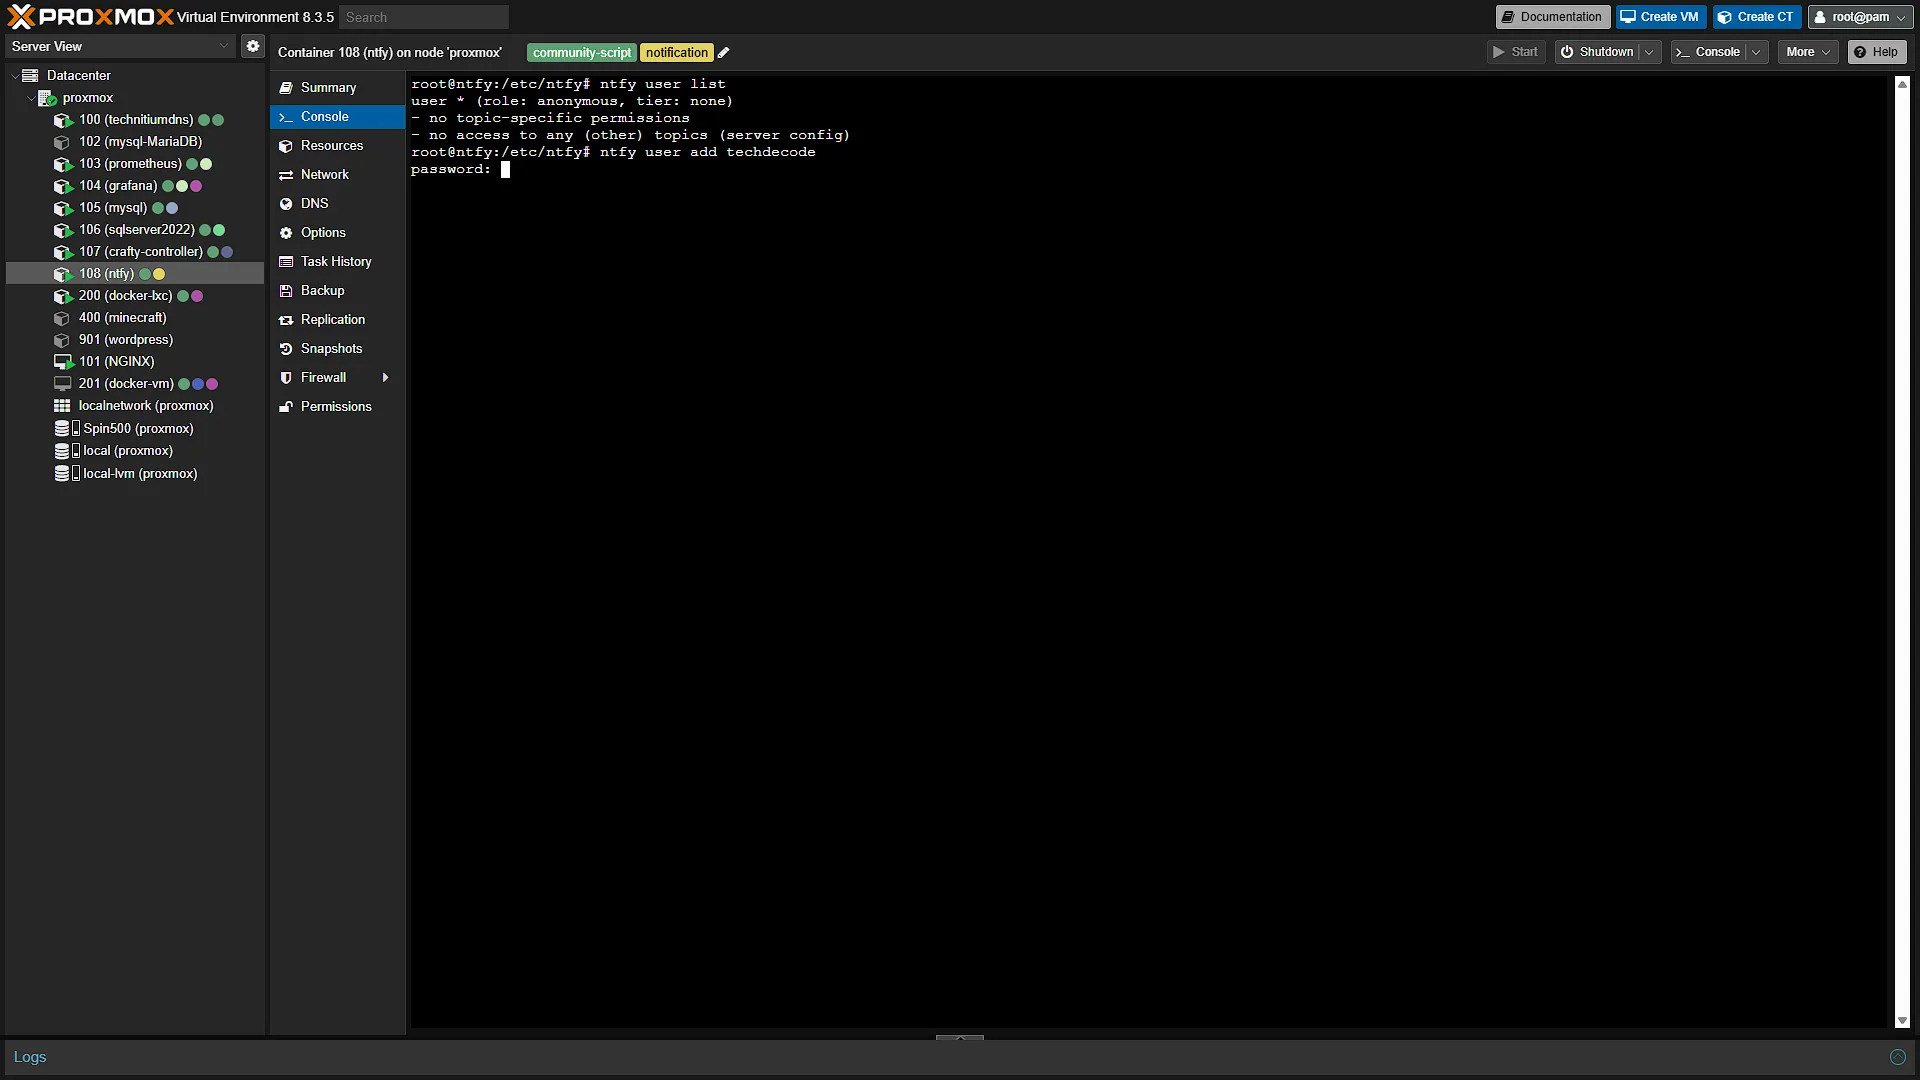
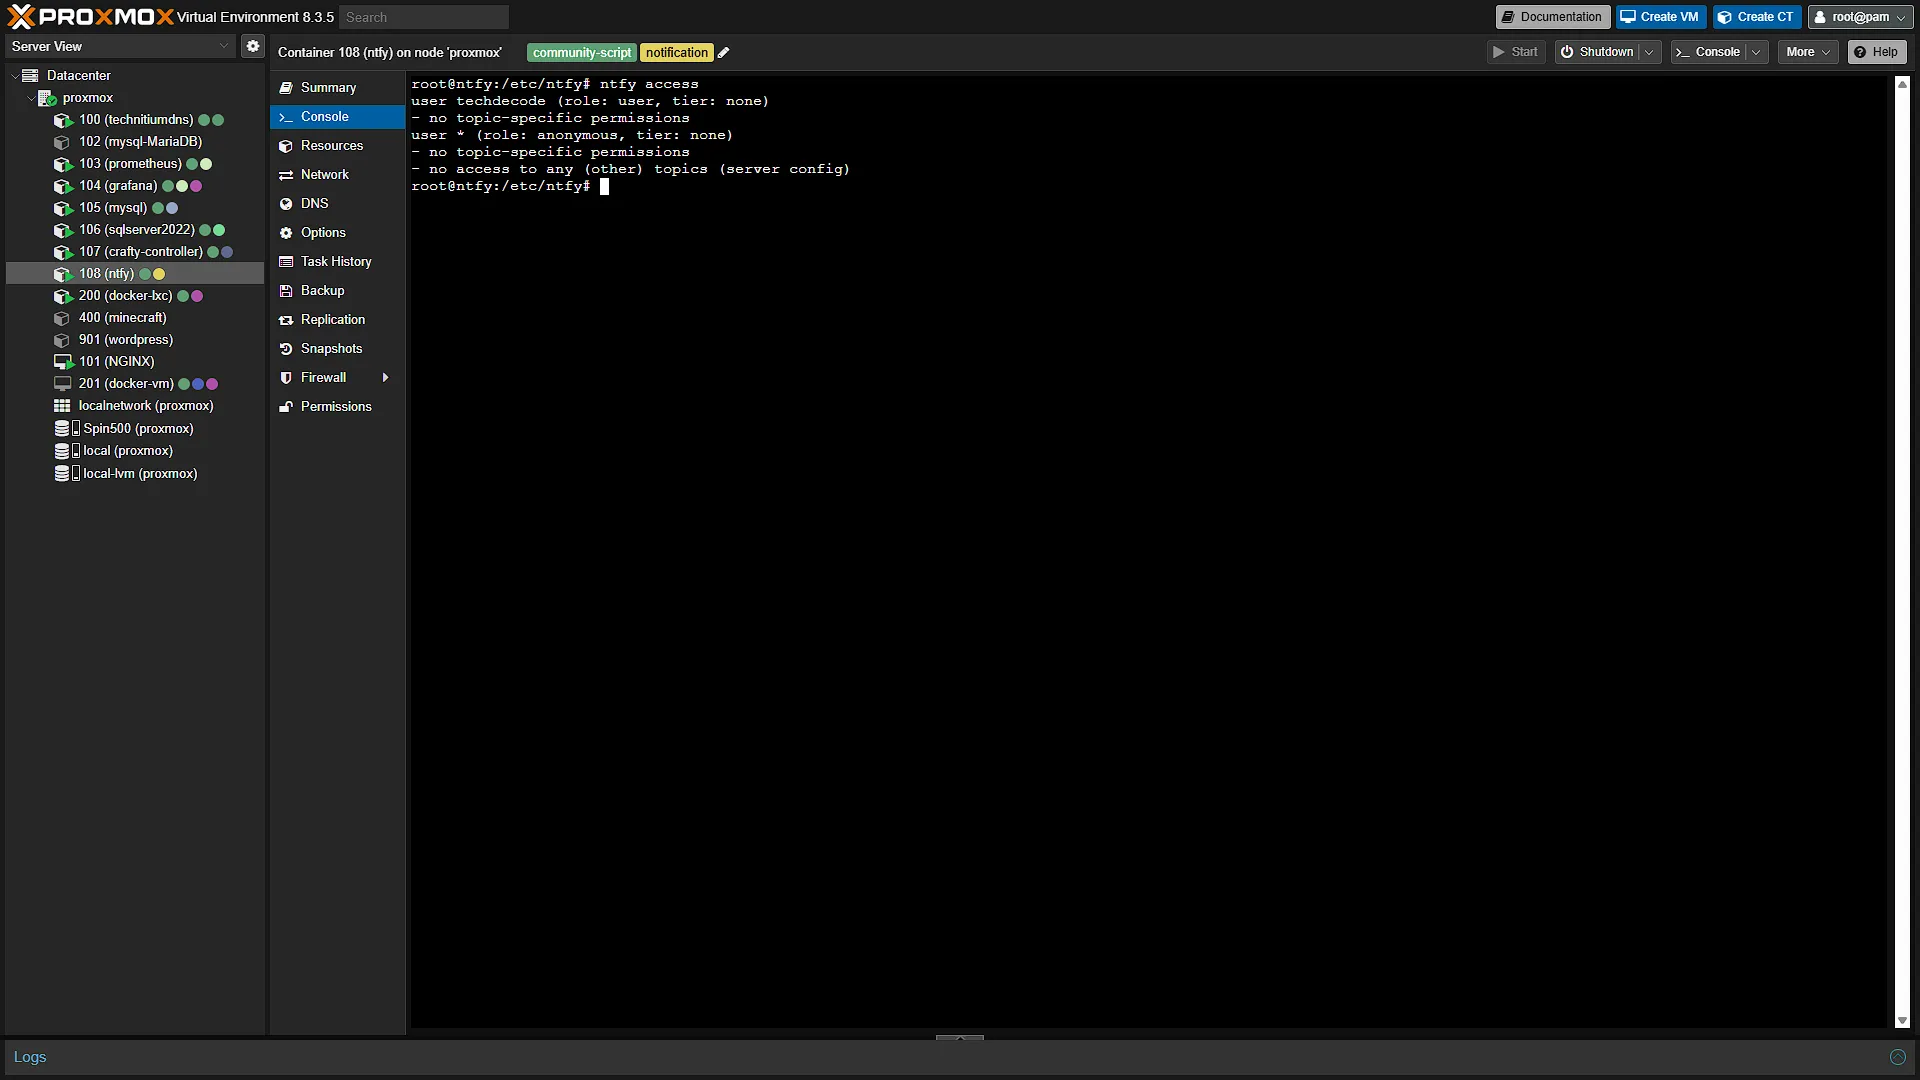
Now let's get access set up. First we need to add a new user, so run
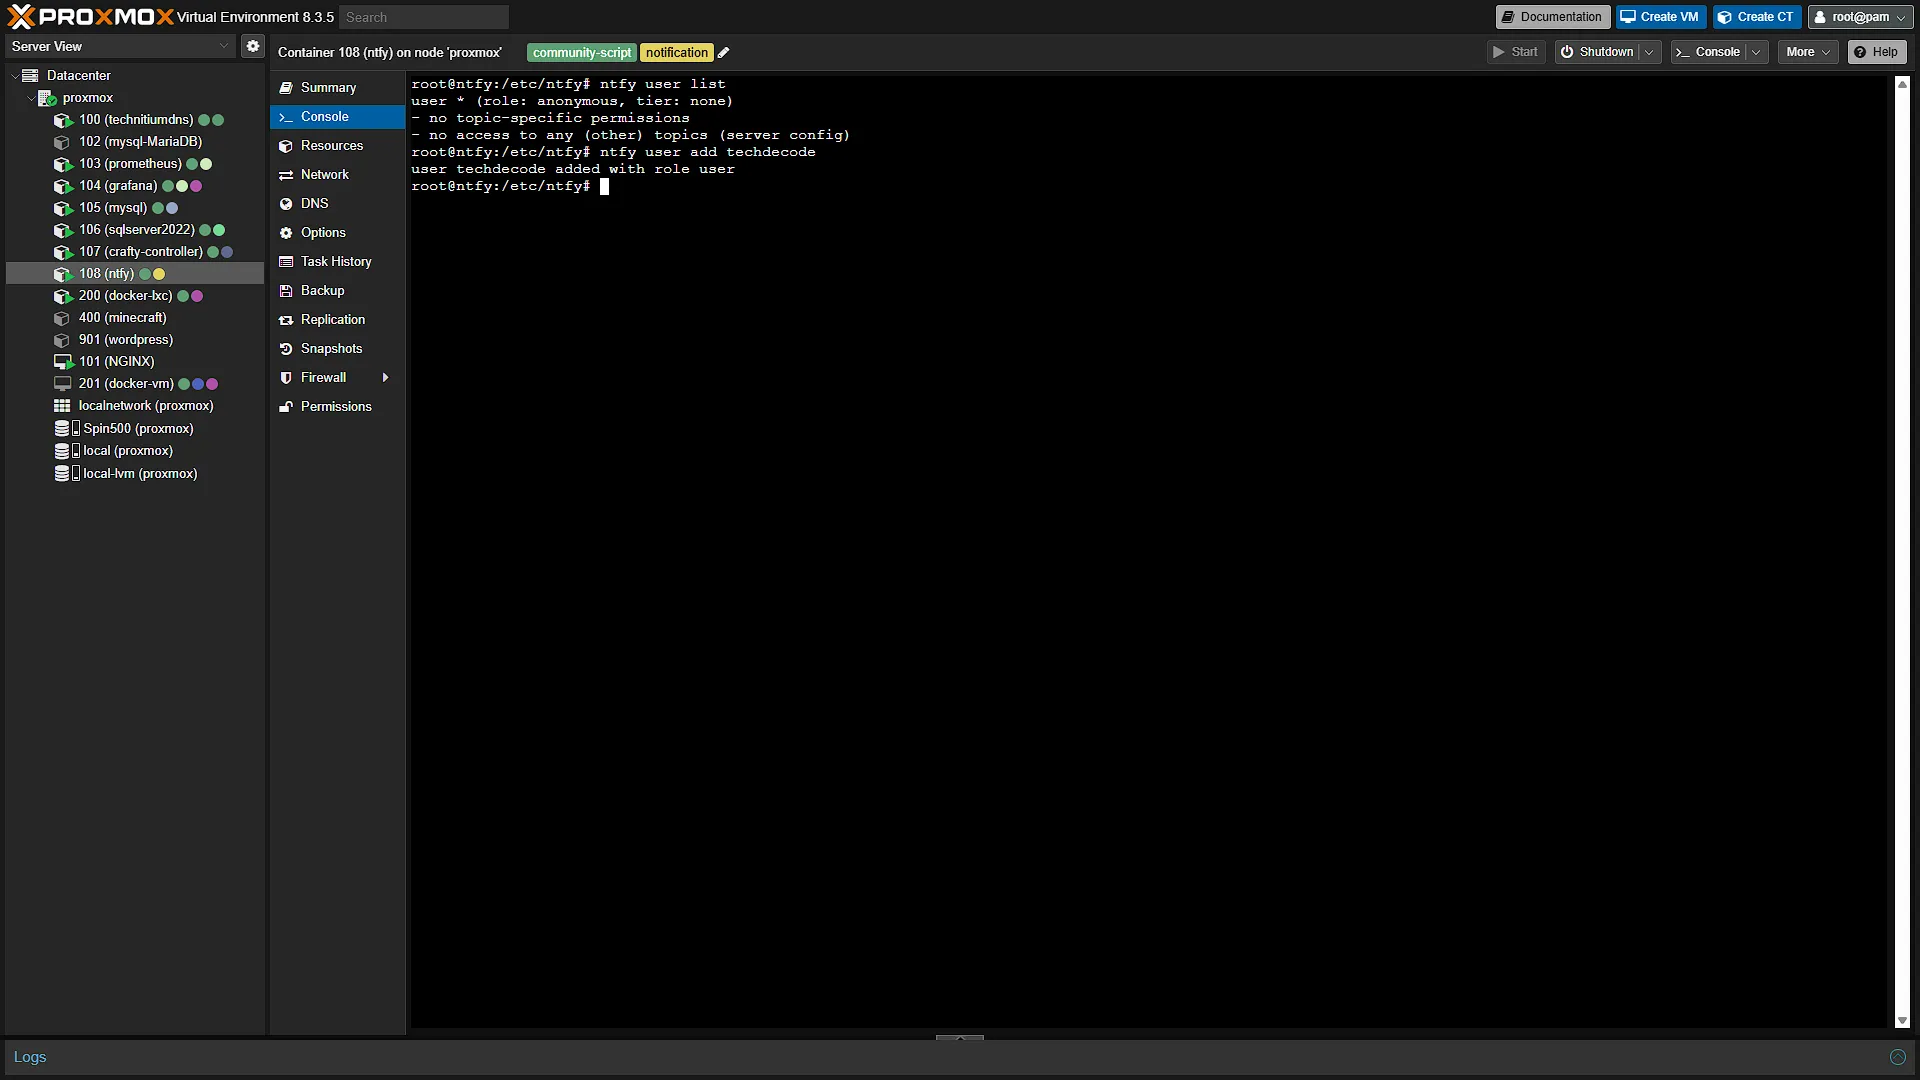
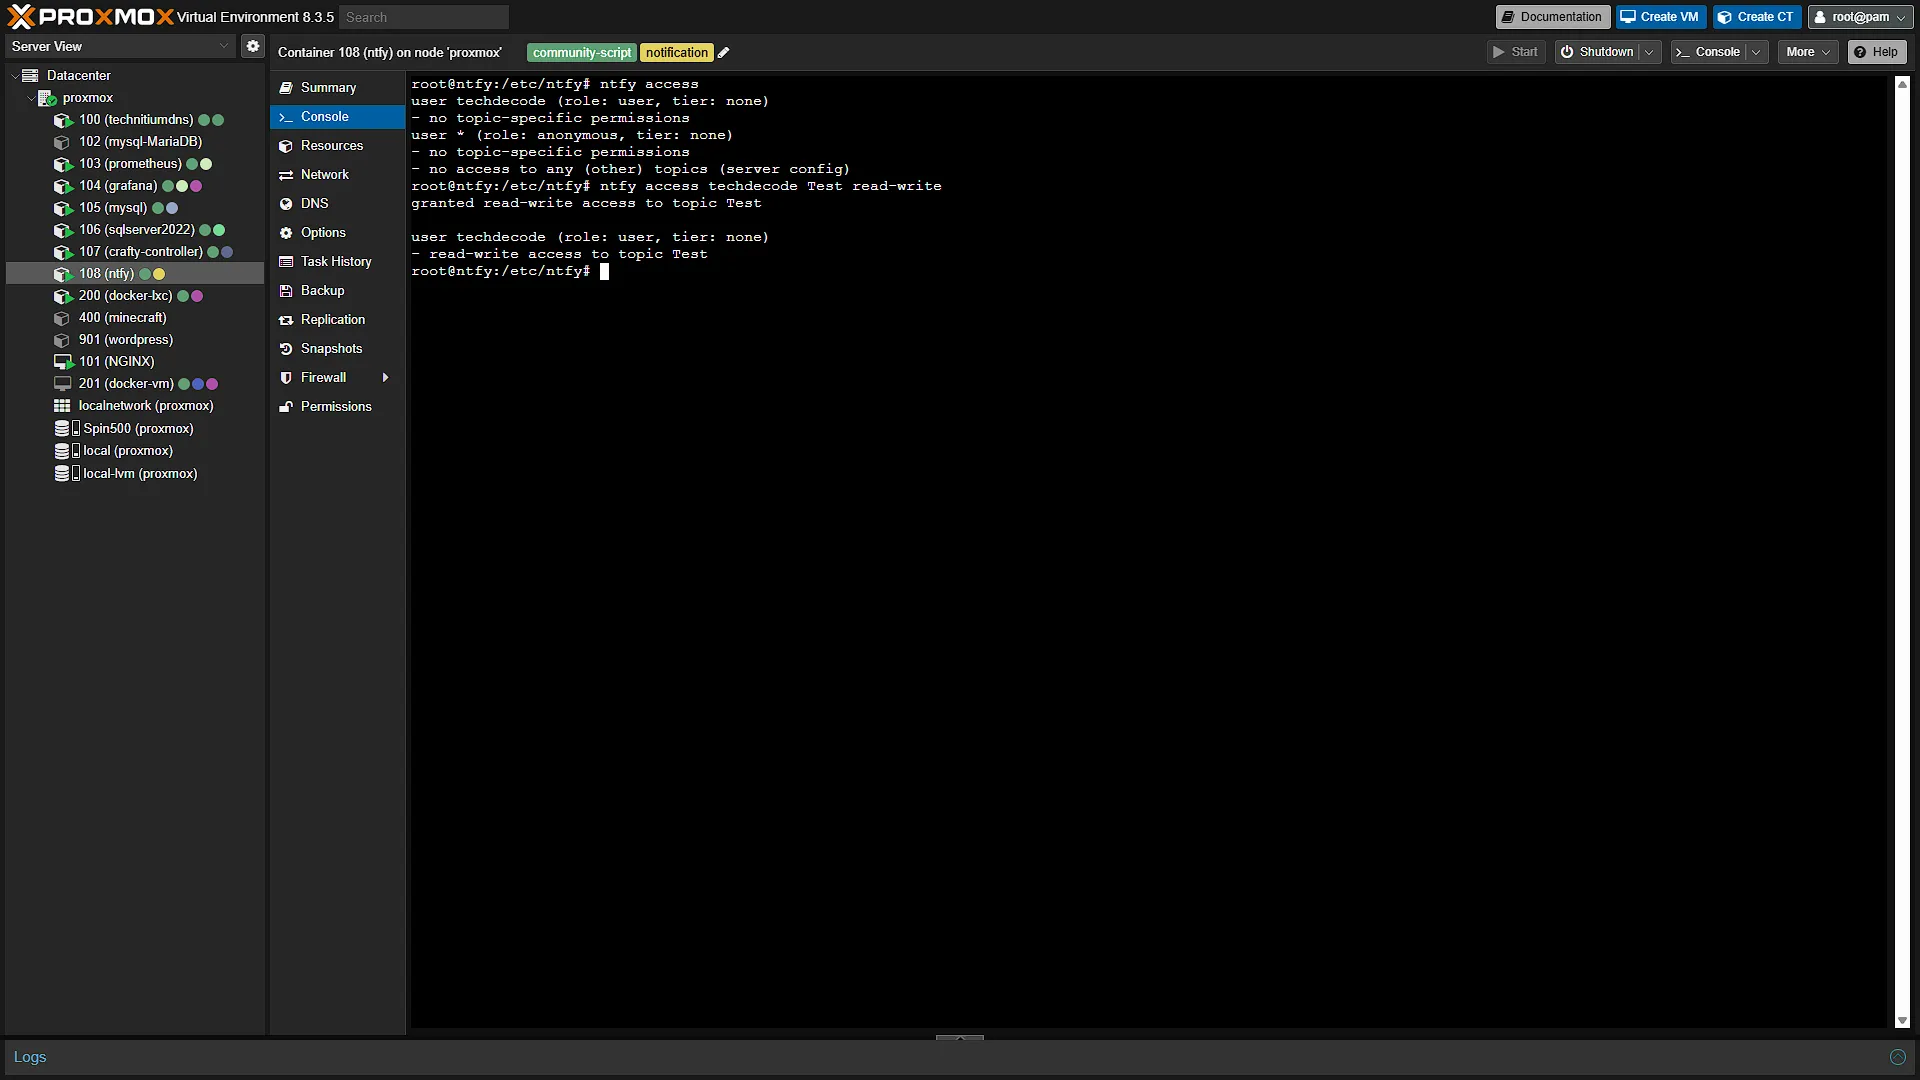
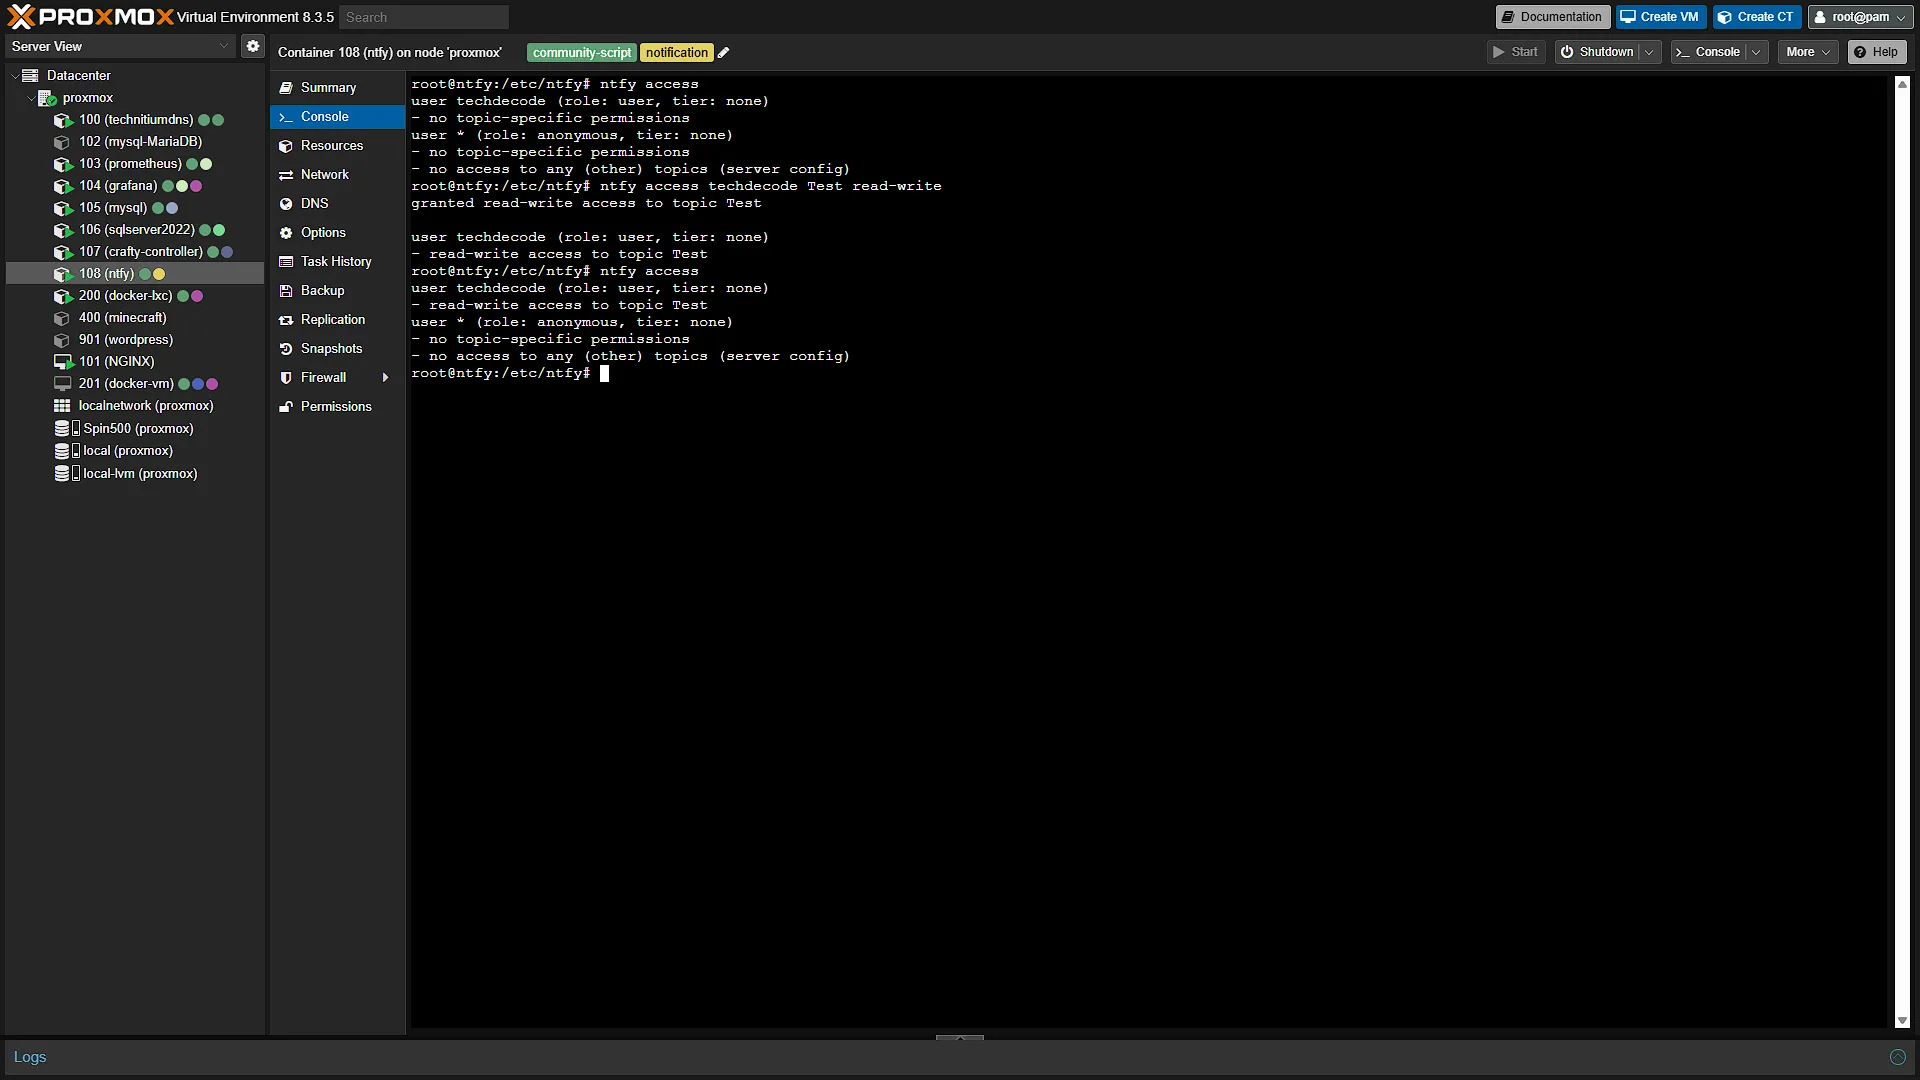
ntfy user add techdecodeSubstitute techdecode with any user name you prefer. You will be asked for a password, and then to confirm the password. Once done, we can give certain access for the user to certain topics. Run the command:
ntfy access techdecode Test read-writeThis will give read and write access to the Test topic to the user techdecode. Substitute techdecode username with the one you selected, and give it access to all the topics you prefer.
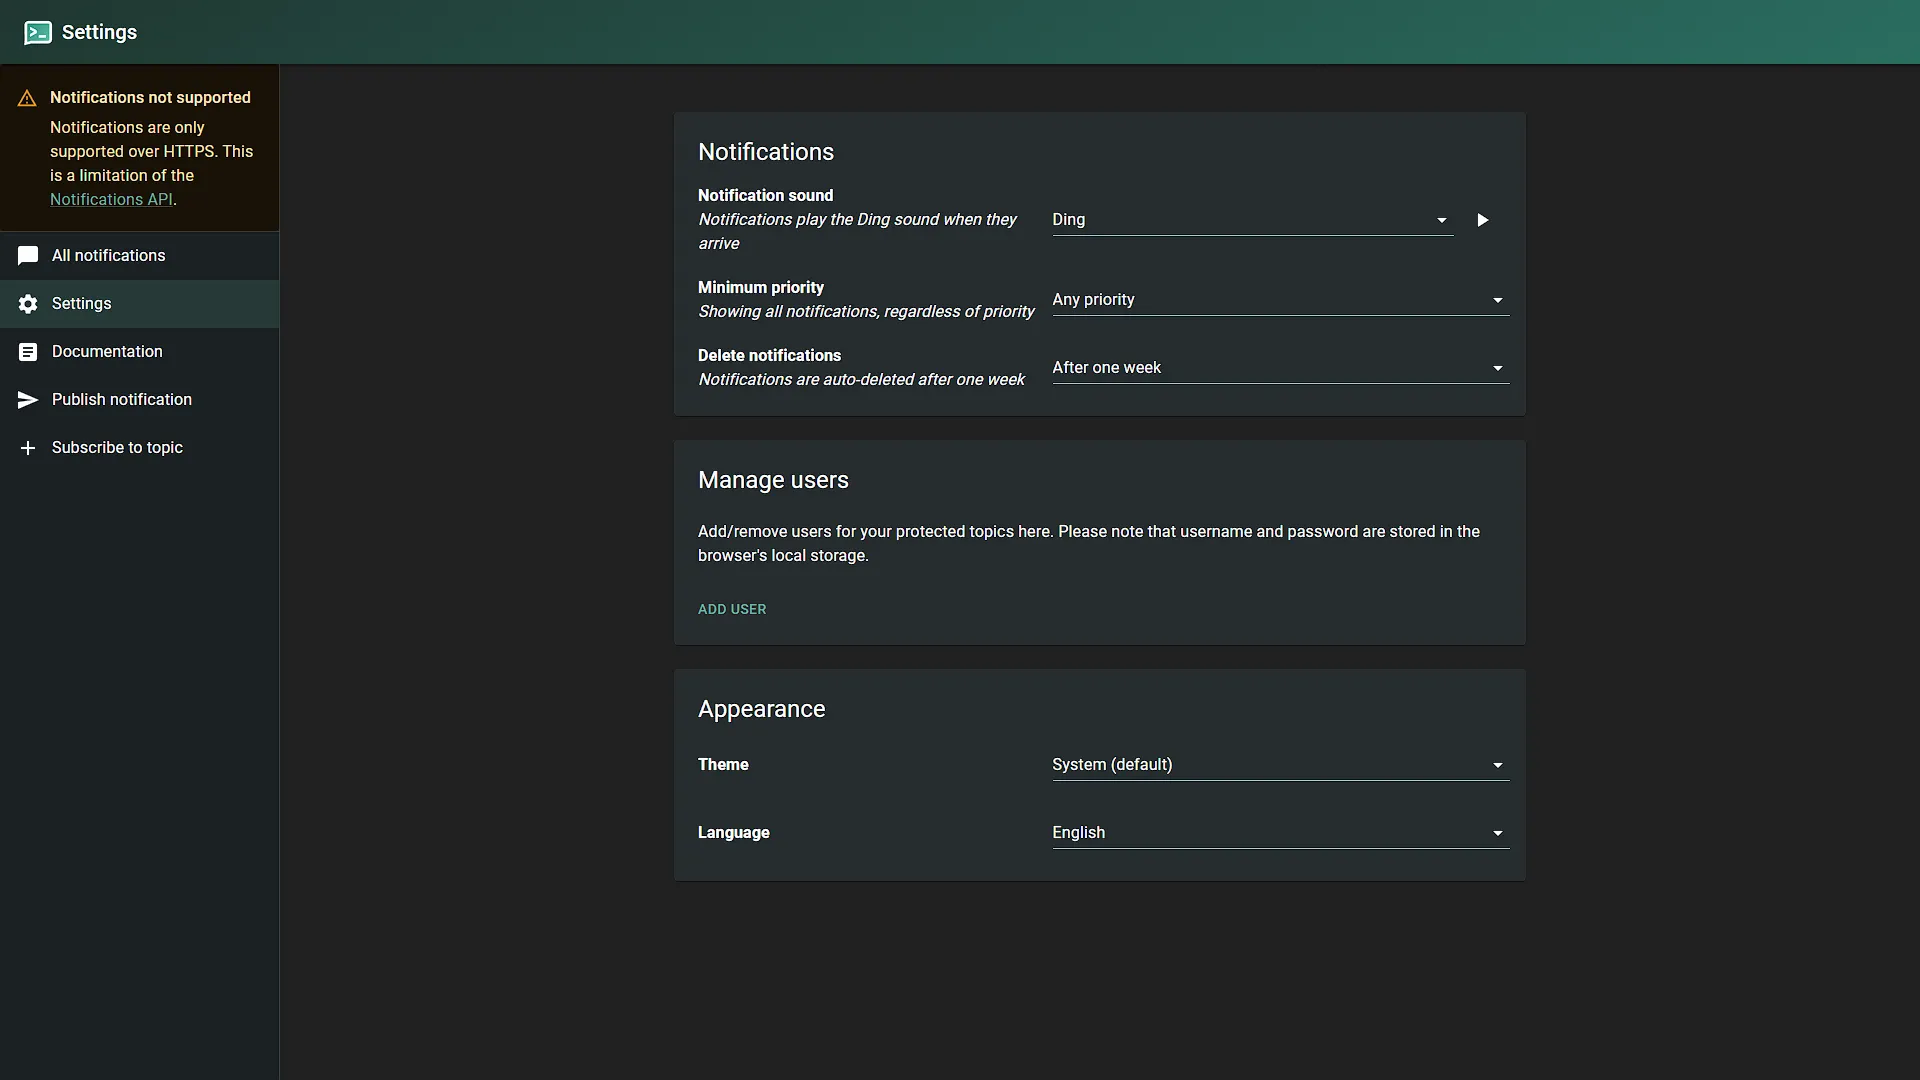
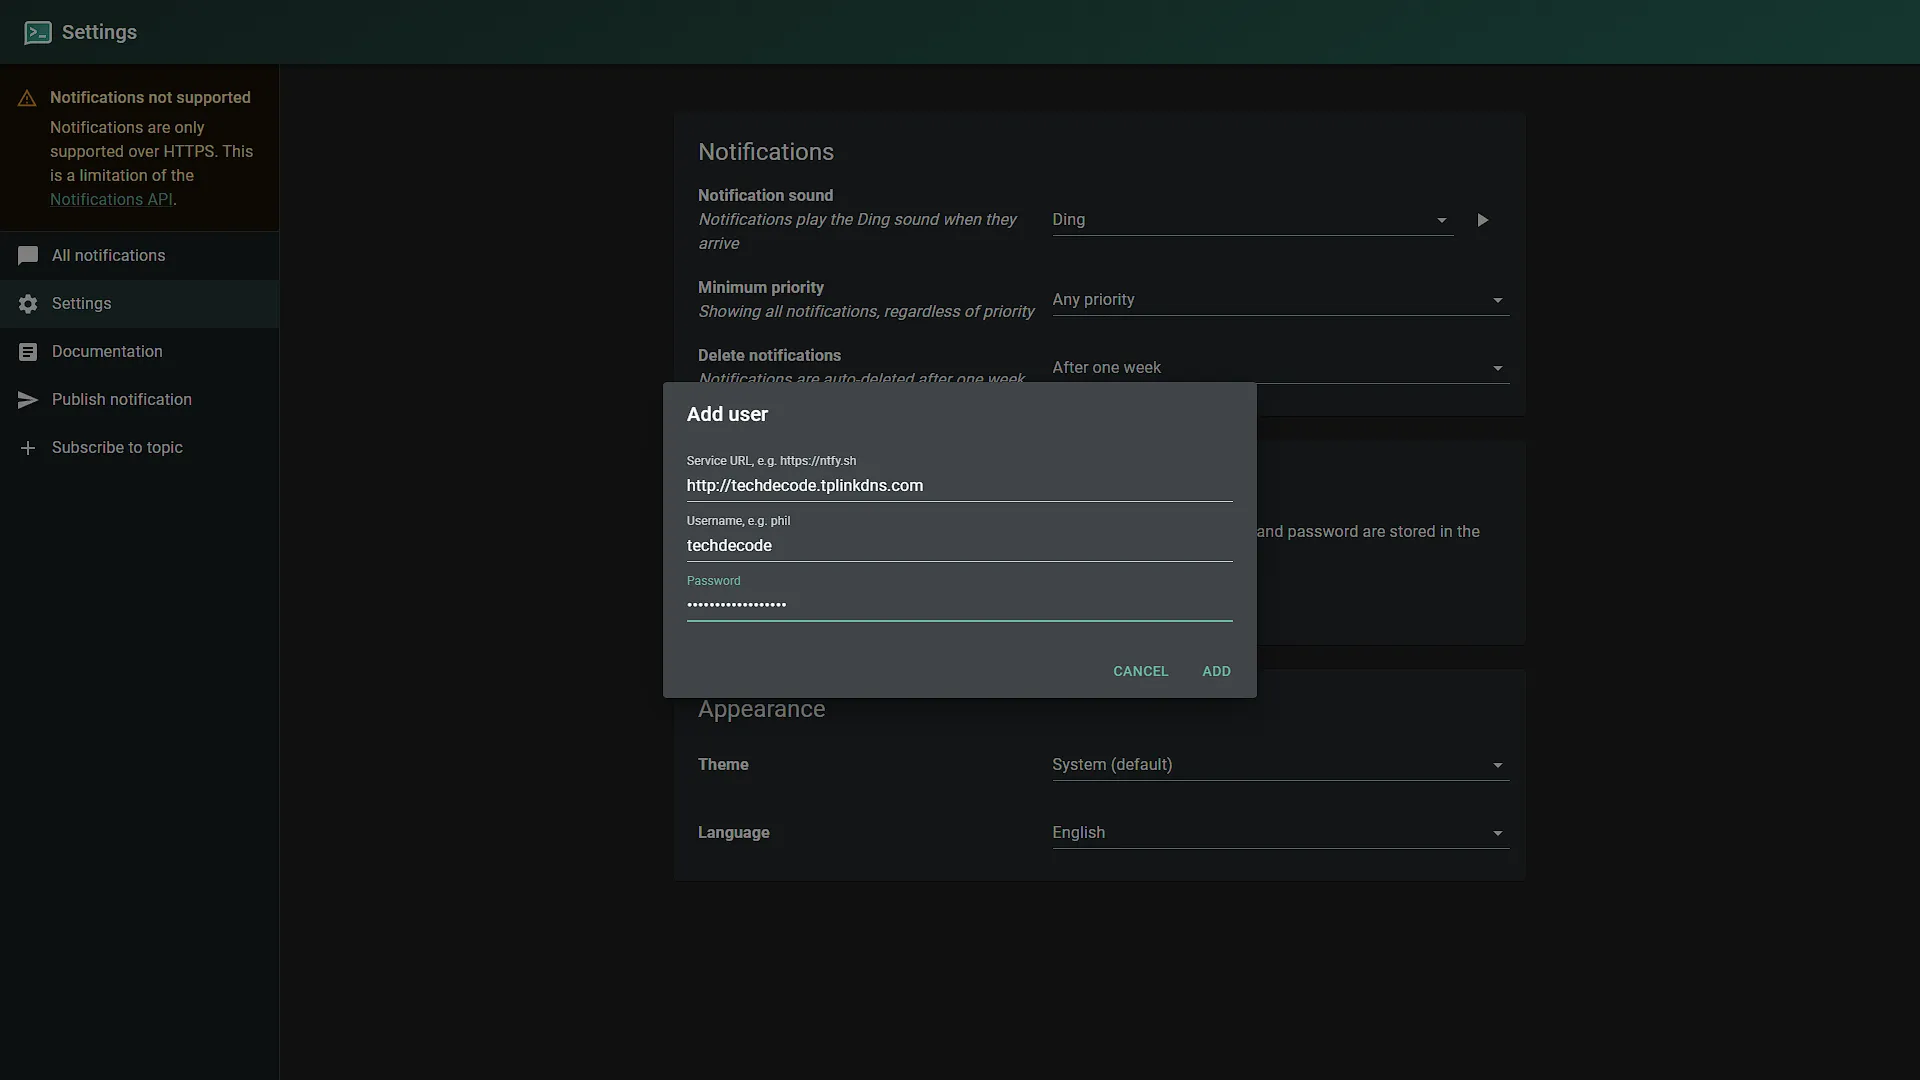
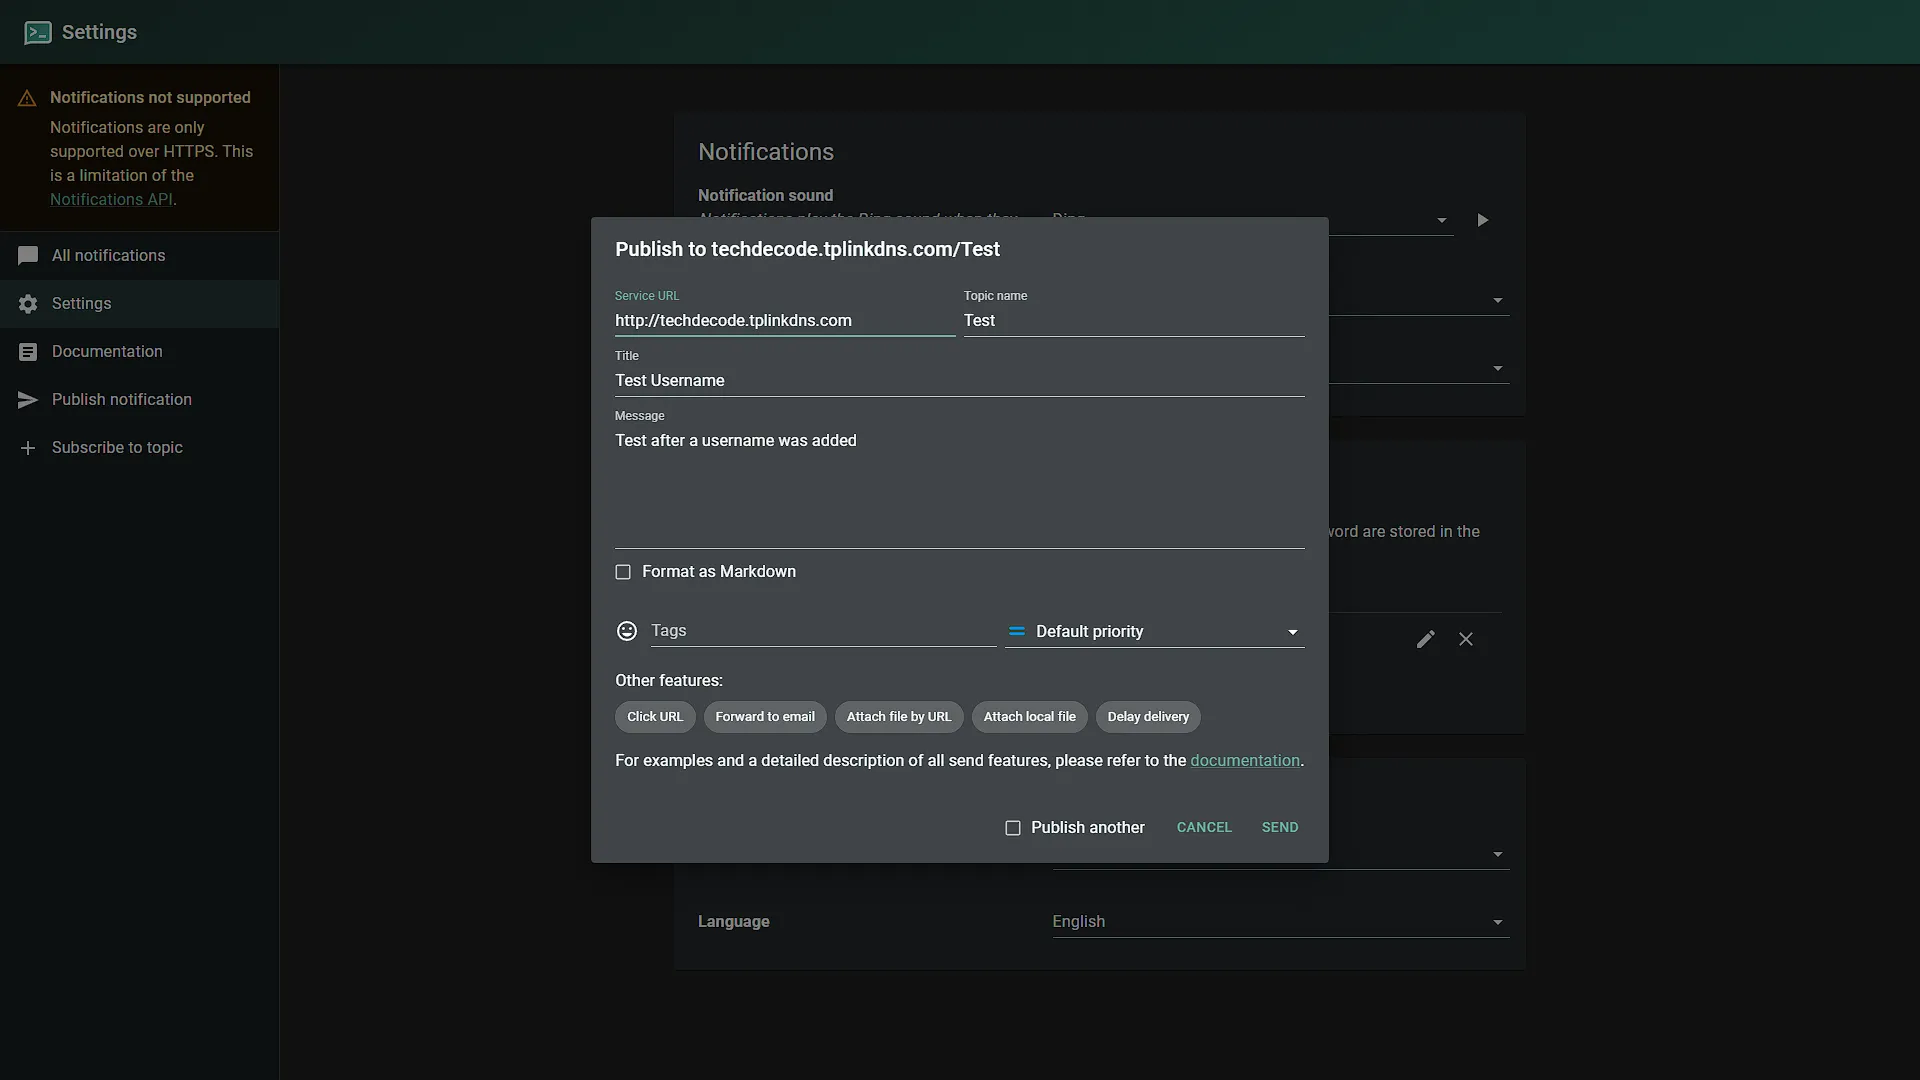
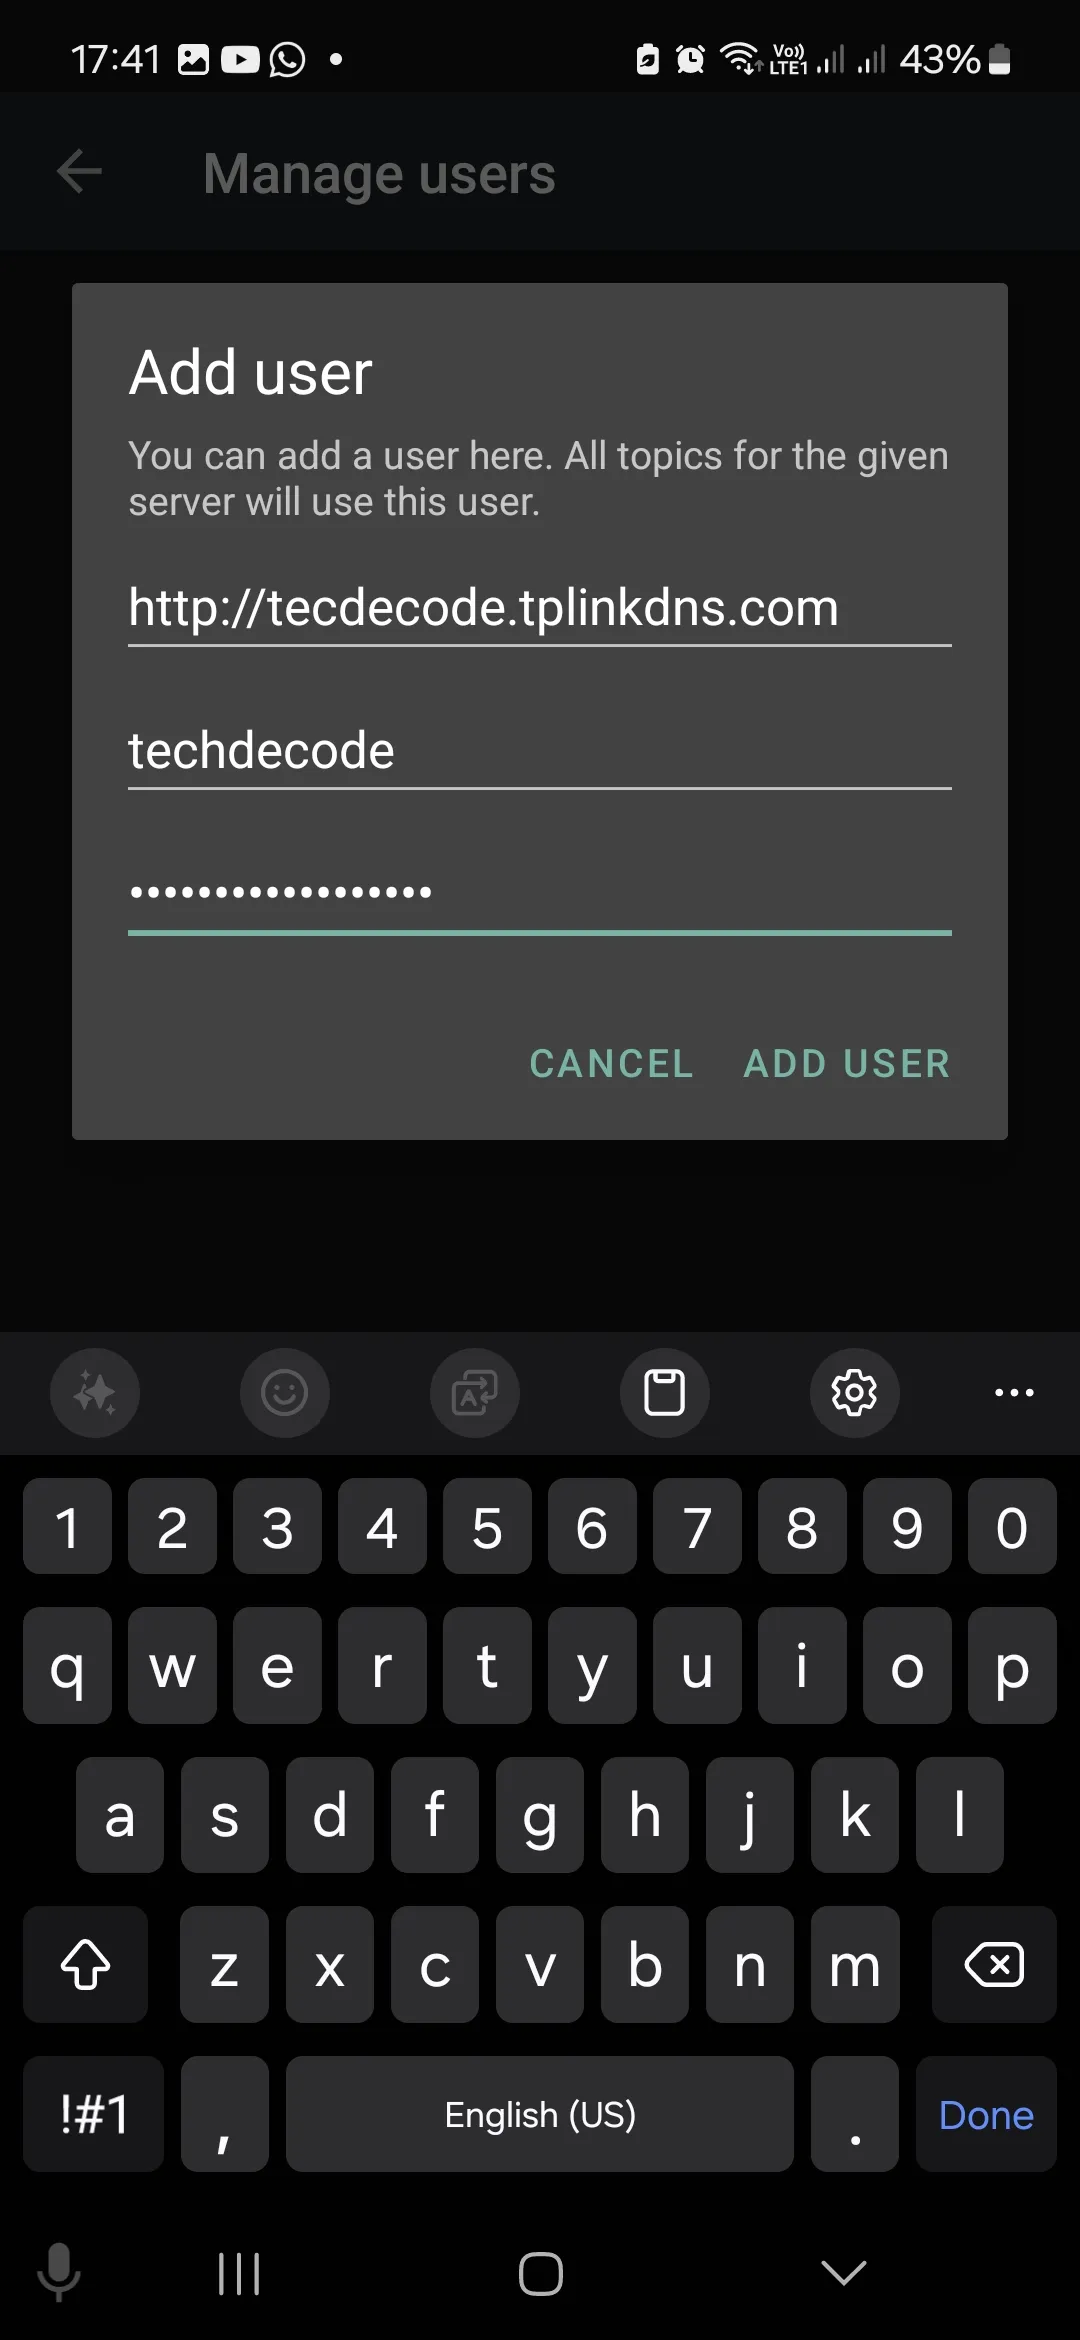
To test access, open ntfy in your browser again. This time first go to settings, then under manage users, add a new user. You will be prompted for the server, the username and password. Once added, click save. You should now be able to send messages again.
Step 2: Set up your phone
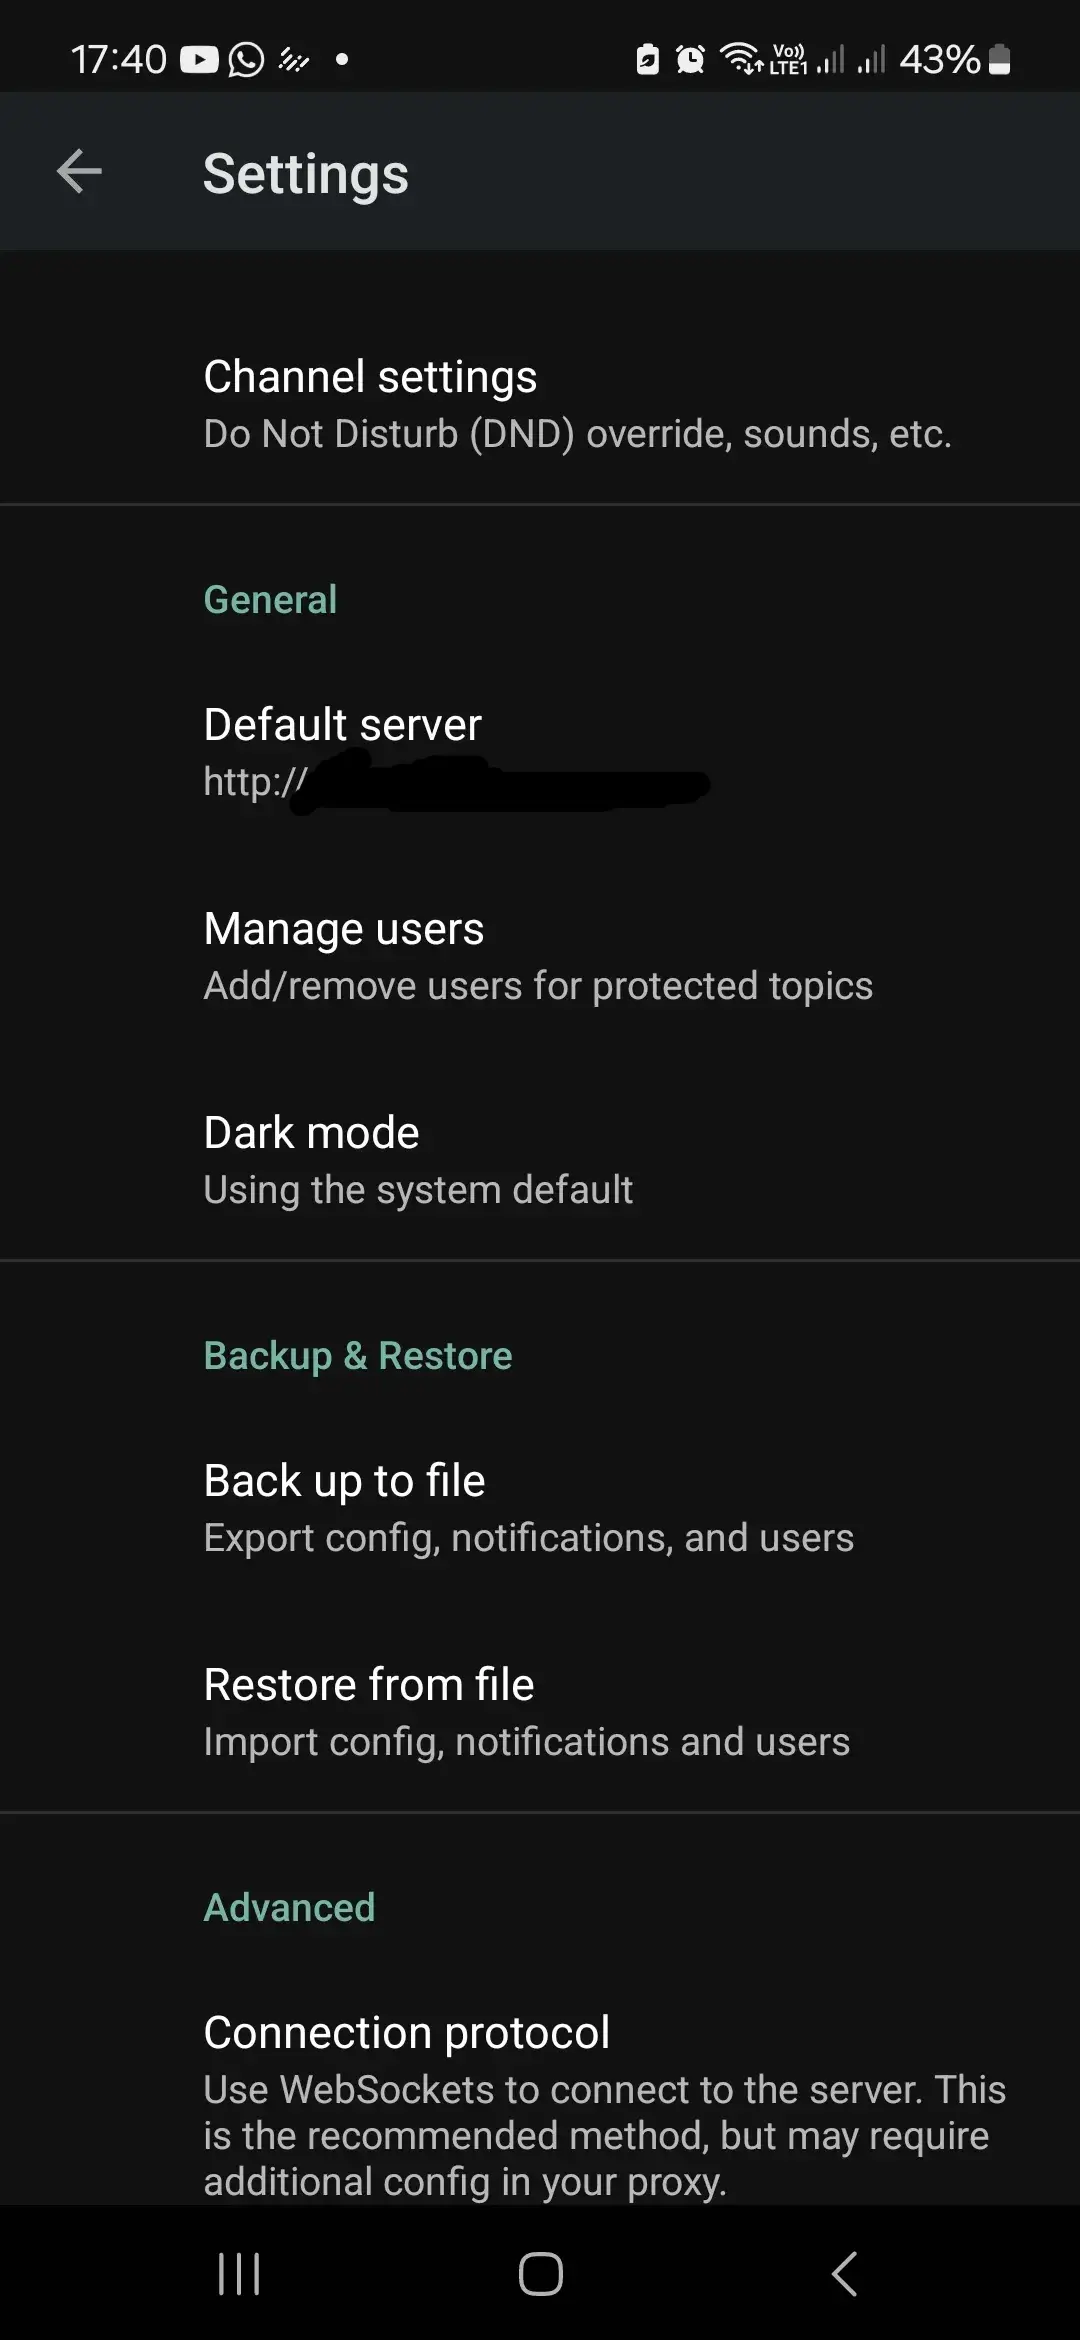
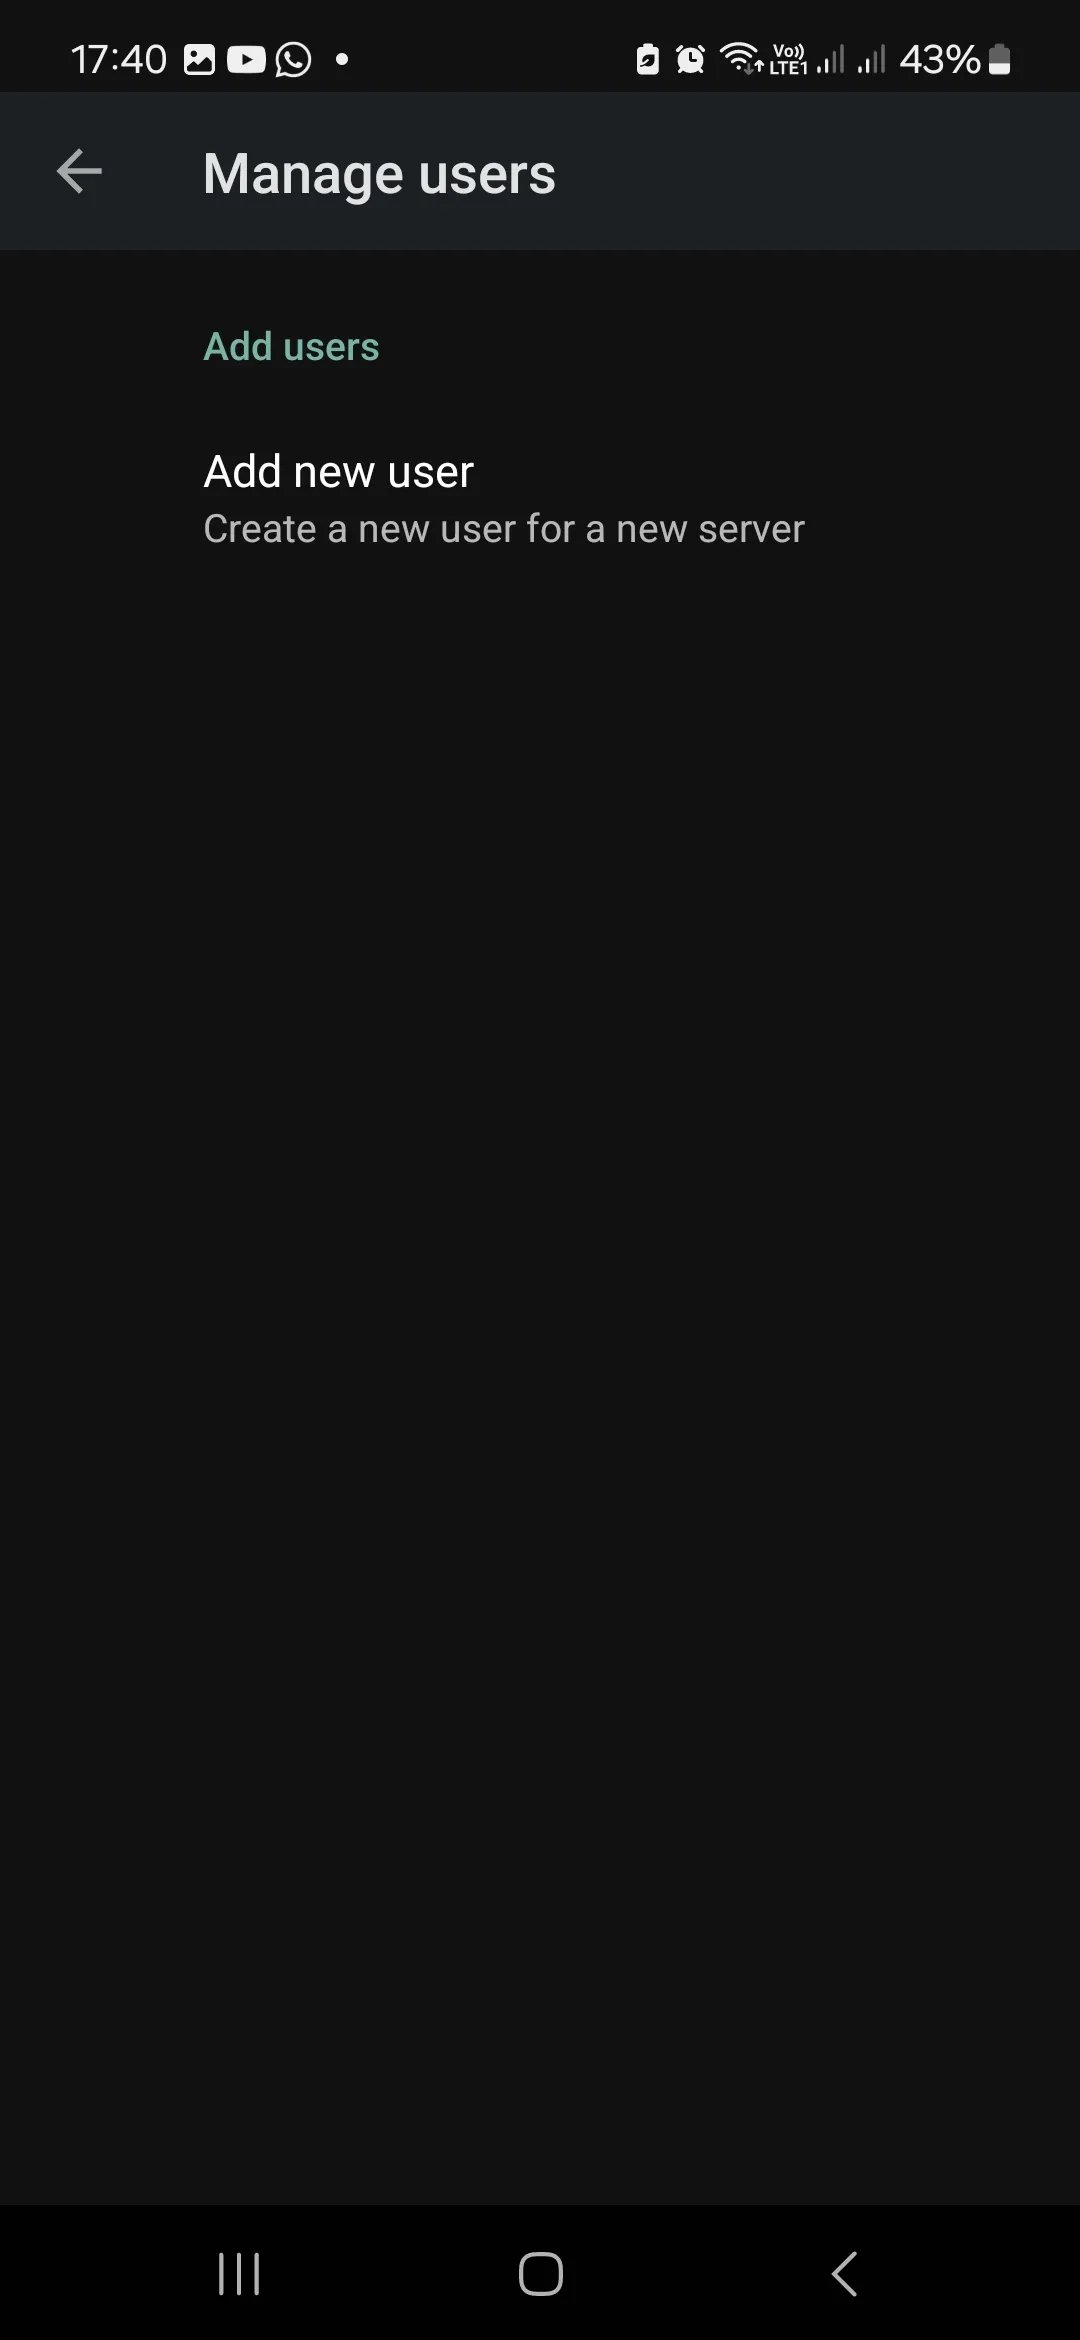
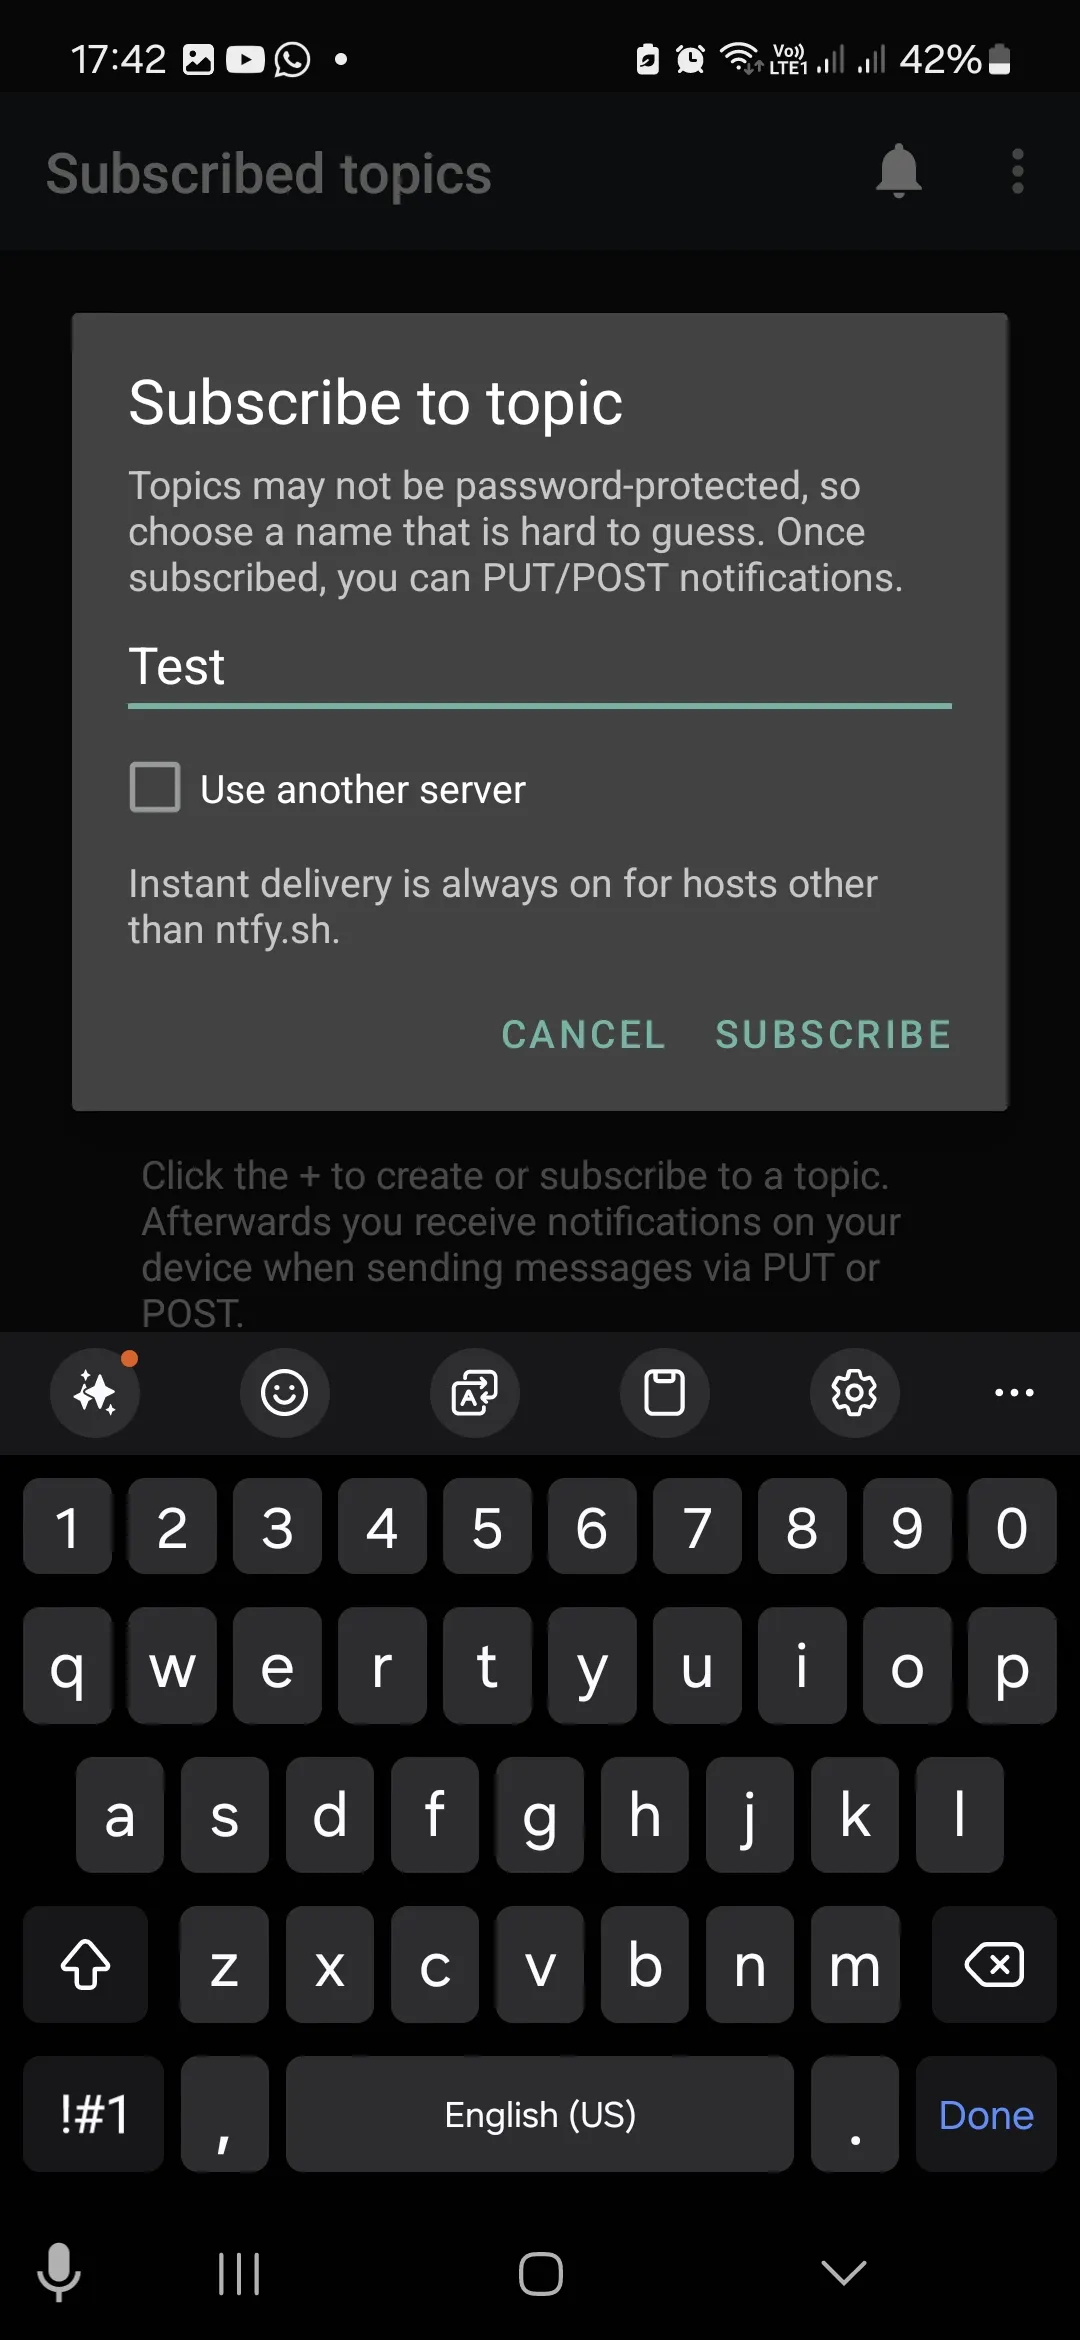
Now that we have locked access, your phone will also not be able to receive the notifications. We just need to add the username and password as we did in the browser. Open the ntfy app on your phone, open settings. Look for the General section, specifically the Manage Users section. Here you will be able to add a user like we did in the previous step. Again select the server, add the username and password and save. You might not immediately receive notifications, but just unsubscribe from the topics and subscribe again. You should now be receiving all your notifications as we did before.
Optional After the Walkthrough: Account Permissions and Script Tokens
The main steps use the regular account techdecode and grant access to the case-sensitive topic Test. A normal ntfy user add techdecode does not create an administrator. Keep that demonstrated account and its ACL; do not promote it merely to make an example script work. An administrator can access every topic, which changes the intended restriction.
With deny-by-default enabled, test both an authorised request and an anonymous request to the same topic. The authorised account should be able to perform the granted operation, while anonymous access should be denied. A phone subscription and a publishing script must use exactly the same topic spelling and the intended server, not the similarly named public ntfy service.
Tokens are optional after the account works. A token inherits the account's permissions; it is not an independently topic-scoped credential. For a restricted sender, use a separate account with the required ACL, as the later optional guidance in Part 23 describes. Do not embed a demonstration tk_... value in a real script.
ntfy token add --expires=30d --label="homelab-script" techdecodeRun this inside the ntfy container if the installed version supports those options, checking ntfy token add --help first. Save the generated value privately, test it and record its expiry. Revoking one script's token is useful, but does not remove other tokens belonging to the same account.
Part 26 adds HTTPS. The interim HTTP tests here belong on a trusted LAN; complete HTTPS before sending account credentials or tokens over the public endpoint. Rate limiting can reduce some abuse but is not a guarantee against password guessing. After the HTTPS change, repeat publishing, subscribing and anonymous-denial tests using the final address.
Further reading: ntfy users, ACLs and tokens.
Conclusion
Although we have not completely blocked off access to our service, we have locked down all functionality of our ntfy app. We can still use it for all our notifications, but now you need to authorise before being able to send notifications. Default rate limits can slow repeated requests, but do not guarantee protection against password guessing. Use unique strong credentials, restricted topic permissions and HTTPS, and monitor unexpected access. Complete the HTTPS prerequisite before using credentials over the public endpoint. We will soon look at a way of monitoring our services so that if they go down, we can send notifications on our ntfy app.